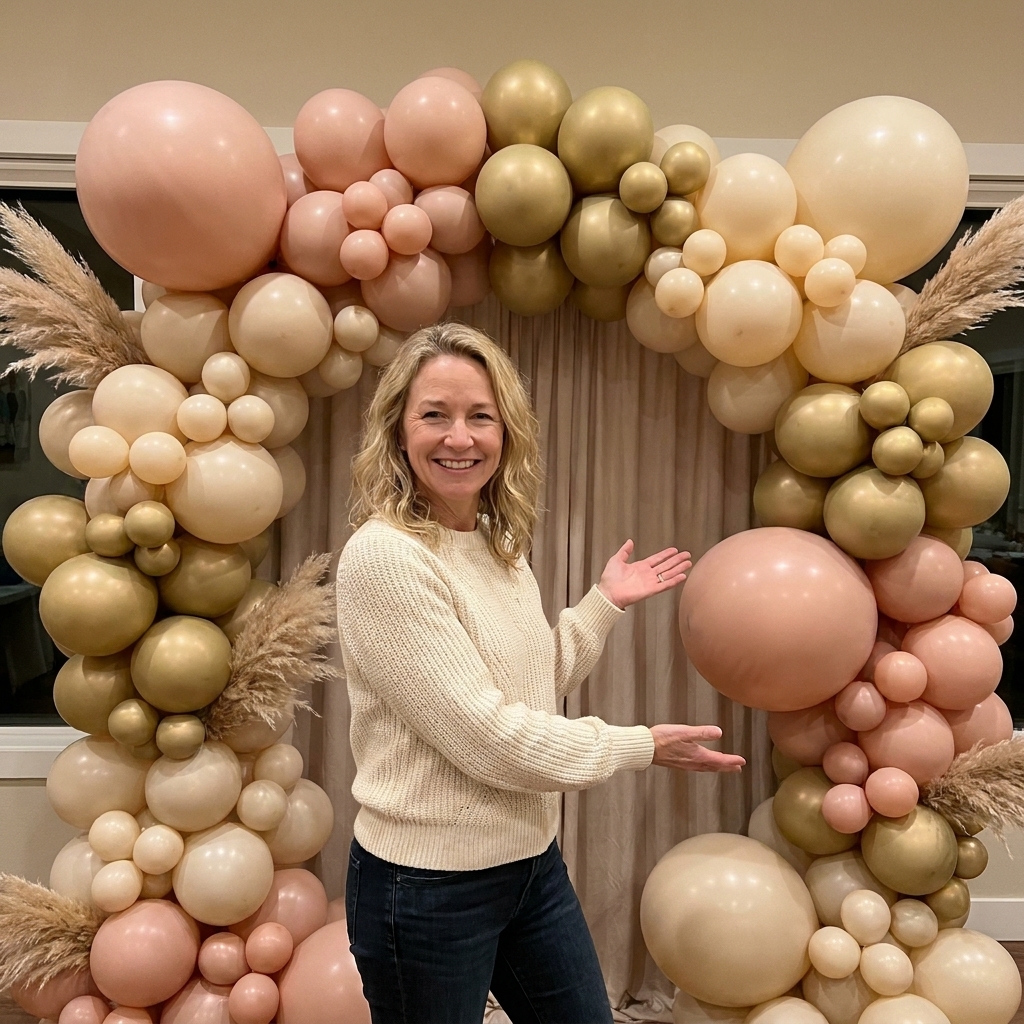
Turn dollar-store plastic tablecloths into a thick, photo-ready backdrop. Follow step-by-step braided and ruffled builds, sizing and color tips, and easy han...
Gathova
DIY PVC Pipe Photo Booth Backdrop Stand

Joanna Mercer
Joanna Mercer is an enthusiastic DIY event decorator and the creative spirit behind Gathova's party guides. With years of hands-on experience designing stunning tablescapes, balloon garlands, and custom photo backdrops for friends and family, she specializes in accessible, budget-friendly celebrations. Joanna loves sharing her practical tips and crafting tutorials to help anyone turn an ordinary space into a memorable party venue.
Published · Last updated
If you have ever tried to tape a backdrop to a wall five minutes before guests arrive, you already know why I love a good stand. A PVC pipe frame is one of those unglamorous party heroes: it is inexpensive, surprisingly sturdy when built correctly, and it breaks down fast for storage. I built my first one for a friend’s baby shower photo corner, and it has been reused for birthdays, holiday parties, and one very chaotic graduation open house.
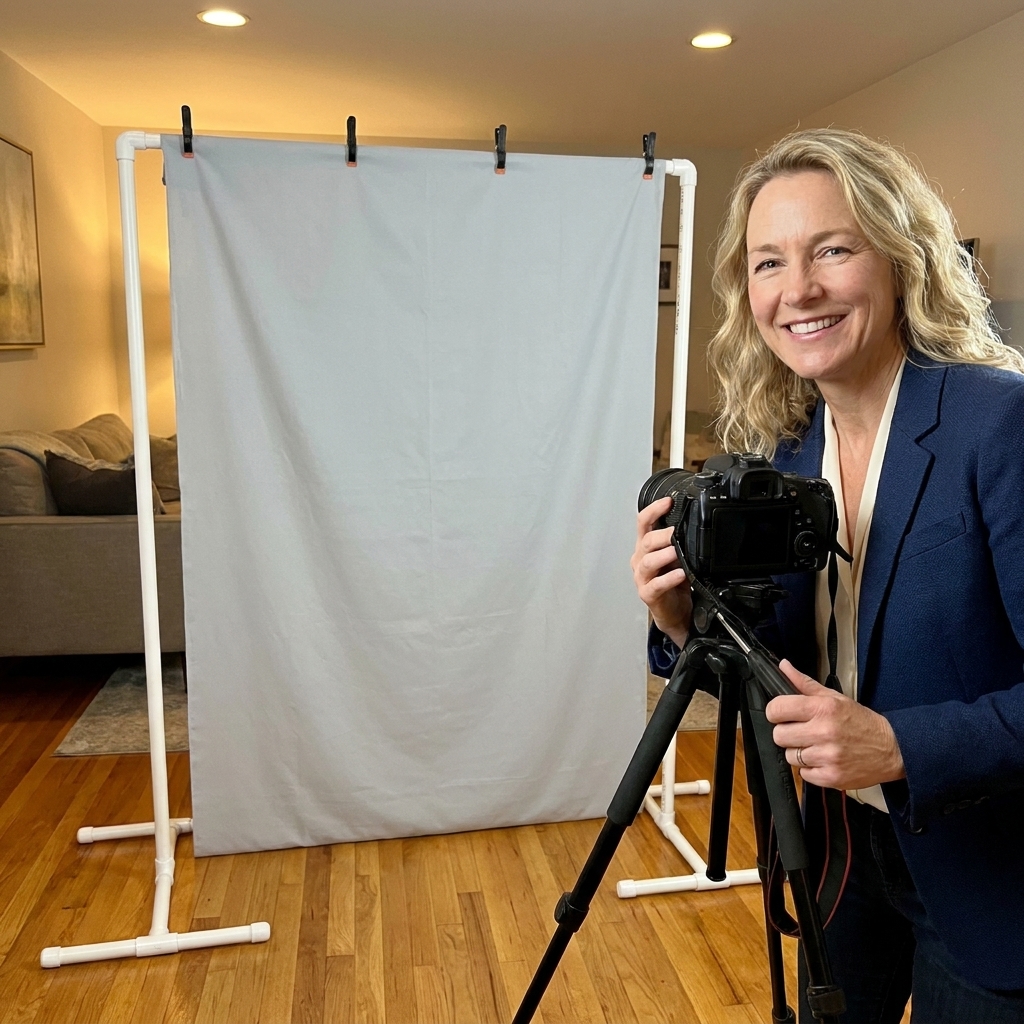
This guide walks you through planning your size, measuring and cutting PVC, and assembling a frame that can handle everything from paper streamers to fabric panels.
Before you start: pick the right size
The best backdrop size depends on what you are hanging and how many people need to fit in the photo. Here are my go-to dimensions.
- Small party corner: 5 ft wide x 6.5 ft tall (good for kids and tight spaces)
- Most versatile: 6 ft wide x 7 ft tall (my favorite for adult parties and balloon garlands)
- Big group photos: 8 ft wide x 7 ft tall (great, but needs more stability)
Quick reality check: Many popular fabric backdrops come in sizes like 5x7, 6x8, or 8x8 feet. If you want yours taut, you will appreciate a top bar that is a few inches wider than the fabric so you can clip the edges and pull gently.
Materials and tools
PVC and fittings
You can build this with 1-inch PVC (Schedule 40) for a nice balance of strength and price. For lighter backdrops, 3/4-inch can work, but 1-inch holds up better when someone inevitably bumps it during photos. Make sure your fittings match the pipe size you choose (PVC sizing is nominal, so the “1-inch” label matters more than what it measures with a ruler).
- PVC pipe: 1-inch Schedule 40, total length depends on your final size
- Fittings:
- 2 x 90-degree elbows (top corners)
- 2 x T-connectors (bottom corners)
- 4 x end caps (ends of base feet)
- Optional stability add-ons: 2 more T-connectors and extra pipe for longer base feet, sandbags, or small weight plates
- Optional (but nice): A coupler (or two) if you want to split long pipes for easier transport and storage
Tools
- Tape measure
- Permanent marker
- PVC cutter or a fine-tooth saw
- Sandpaper or a utility knife (to remove burrs)
- Rubber mallet (optional but helpful for snug fittings)
- PVC primer and cement (optional, see my note below)
My approach on glue: If you want this stand to be reusable and packable, do not glue the whole thing. I typically keep it friction-fit, then glue only the base feet pieces if I know I want those to stay together long-term. A fully glued frame is very sturdy, but storage becomes a pain.
Cut list (example: 6 ft wide x 7 ft tall)
Here is a classic, sturdy build that fits most party backdrops. You can adjust the measurements, but keep the structure the same.
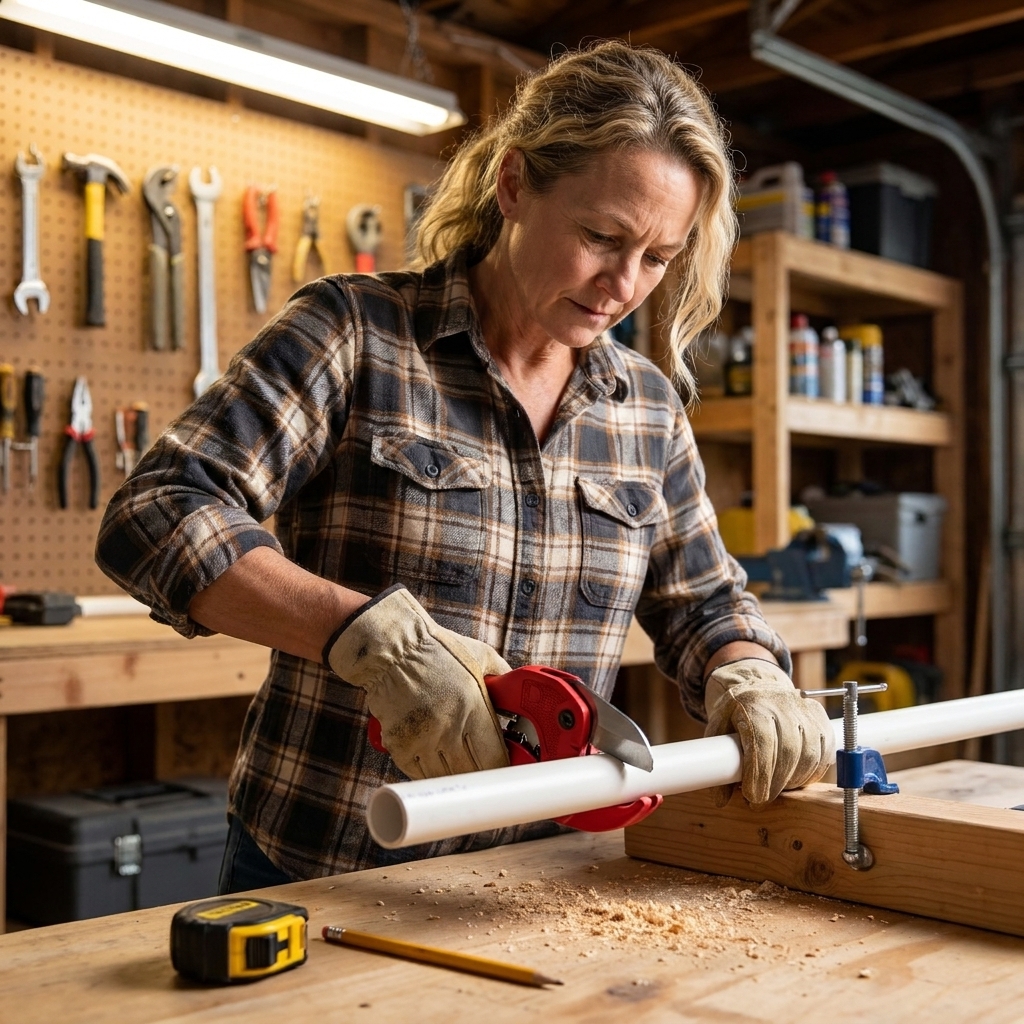
- Top bar: 1 piece at 72 in (6 ft)
- Side uprights: 2 pieces at 84 in (7 ft)
- Bottom connectors into the T: 2 short pieces at 4 in (these connect the upright to the bottom T)
- Base feet (depth): 4 pieces at 18 in (two feet per side)
One important measuring note: These cut sizes are for the pipe pieces only. The exact finished height and width can vary slightly depending on how far your pipe seats into each fitting (socket depth) and how tightly you push everything together. If you need an exact finished height for a tight ceiling or a specific backdrop, do a quick dry fit and adjust your cut lengths.
Why the little 4-inch pieces matter: They give you room for the T-connector to sit flat and keep the uprights straight. Shorter than 3 inches can feel cramped and wobbly.
Want it wider? For an 8 ft wide frame, make the top bar 96 inches. Also increase base feet to 24 inches if you can. Wide frames tip more easily if the base is too shallow.
Step-by-step assembly
1) Measure and mark every cut
Measure twice, cut once, especially here. I like to lay all the pipe on the floor and mark cuts with a bold line all the way around the pipe so I can keep my cut straight.
2) Cut the PVC and clean the edges
Cut your pieces. Then run sandpaper or a utility knife around the cut ends to remove plastic burrs. This helps the pipe seat fully into the fittings, which directly affects how stable the stand feels.
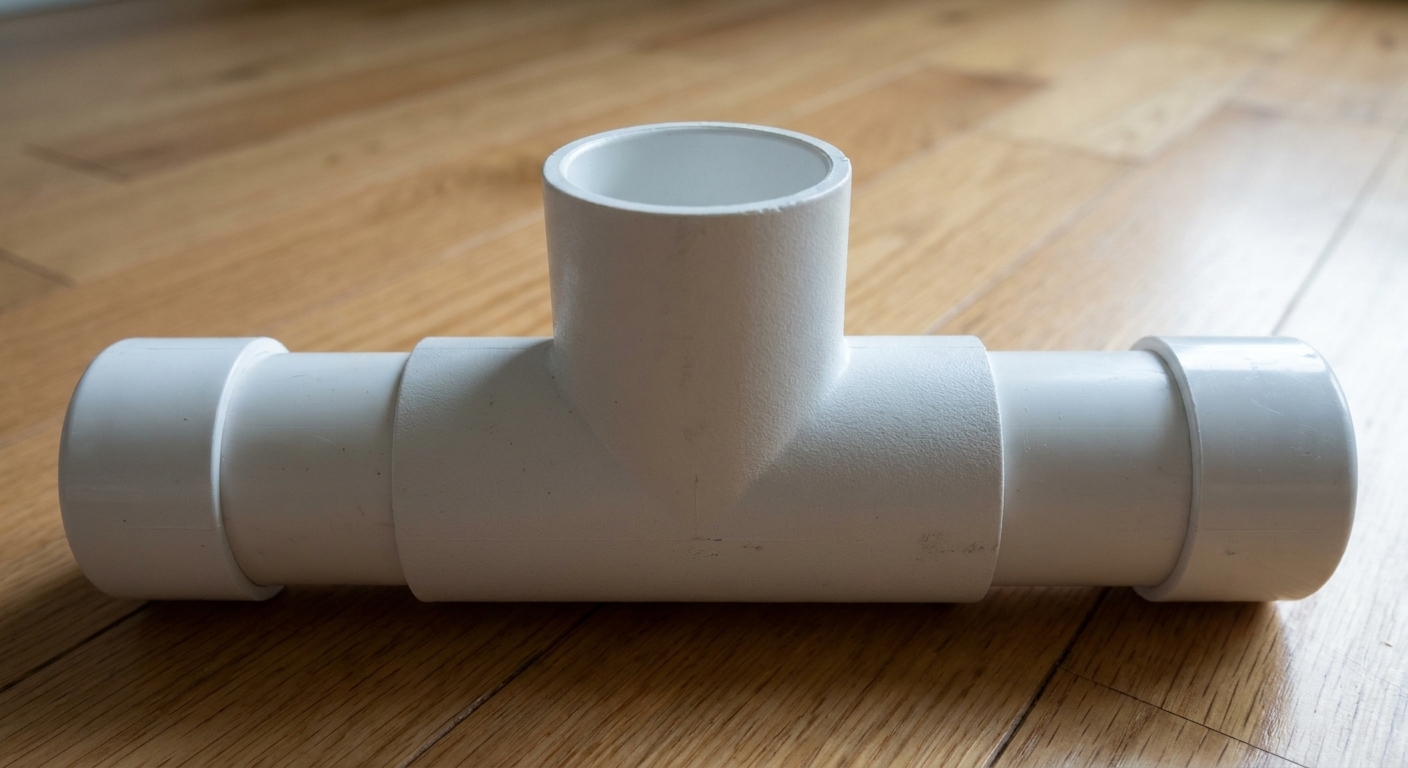
3) Build the two side bases
Each side base looks like a capital “T” on the floor.
- Push an 18-inch base foot piece into each side of a T-connector.
- Cap the open ends with end caps.
- Insert a 4-inch connector piece into the top opening of the T.
Repeat for the second side.
4) Add the uprights
Insert one 84-inch upright into the 4-inch connector on each base. Press firmly. If it is stubborn, a gentle tap with a rubber mallet helps.
5) Attach the top corners
Put a 90-degree elbow on top of each upright, both elbows pointing inward toward the center.
6) Add the top bar
Slide the 72-inch top bar into one elbow first, then into the other elbow. If you are working solo, lay the stand down on the floor to connect the last side, then stand it up.
7) Square it up
Set the frame upright where it will live and nudge the bases until it looks straight. If you are on carpet, press down on the base feet to help them settle evenly.
How to make it sturdier
Most wobble issues come from a base that is too small for the weight up top. Here are my favorite upgrades.
- Longer base feet: Increase base feet from 18 inches to 24 inches, especially for 8 ft wide frames.
- Add weight: Place sandbags or hand weights over each base foot. Five to 10 lb per side is a good starting point indoors. Use more for balloon garlands, heavier fabrics, or any outdoor setup.
- Double T base: Use two T-connectors per side to create a longer “sled” base (great for balloon garlands).
- Use 1-inch pipe: If you are debating 3/4-inch vs 1-inch, go 1-inch for party durability.
- Keep the heavy stuff low: If you are adding decor, put weight on the base, not on the top bar.
Kid and pet note: PVC stands are not a climbing structure. If your event has kids running around, weight those bases like you mean it and position the frame against a wall when possible.
Backdrop attachment ideas
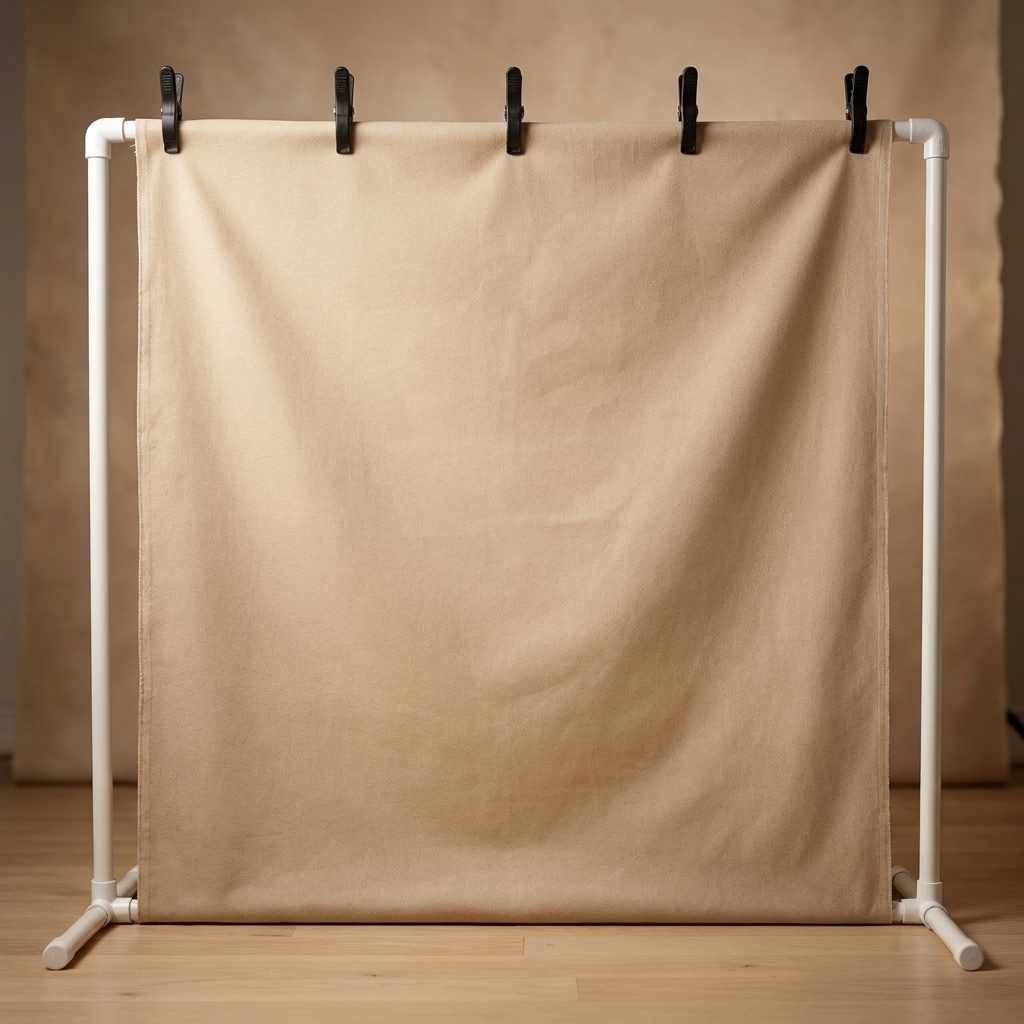
- 2-inch spring clamps: My top pick for fabric, plastic tablecloths, and paper.
- Zip ties: Great for balloon garlands or anything that needs to stay put. Bring snips.
- Removable hooks: Helpful for hanging lightweight strands like tassels or ribbons. Clean the PVC with rubbing alcohol first and keep the load very light. When in doubt, tie it on or use a zip tie.
- Pocket rod method: If your fabric has a sewn pocket, slide the top bar through for a smooth, professional hang.
If you are creating a luxe-looking photo wall on a budget, my plastic tablecloth trick pairs beautifully with this stand. See Plastic Tablecloth Photo Backdrop That Looks Expensive.
Make it look less like PVC
PVC can look clean and modern as-is, but if you want it to disappear in photos, here are easy upgrades.
- Wrap with fabric: Use white or black fabric strips and pin or tape on the backside.
- Paint it: Lightly sand, wipe clean, then use a spray paint made for plastic. Let it cure fully before assembly.
- Cover the uprights: Balloons, faux greenery, or draped tulle can hide the vertical pipes quickly.
If you love quick upgrades with big payoff, my lantern tricks can add soft light around a photo area: DIY Paper Lantern Upgrades: 7 Easy Hacks for Any Theme.
Storage and reuse tips
- Label your pieces: A tiny marker note like “TOP” and “UPRIGHT” saves time at the next party.
- Store fittings on a pipe: Keep elbows and T-connectors on one short scrap piece so they do not vanish into the garage abyss.
- Transport smart: Seven-foot uprights can be awkward in smaller cars. If you need a smaller bundle, cut the uprights into two sections and reconnect them with a straight coupler at setup.
If you are building a whole DIY party toolkit, you will probably also like my roundup of upcycled decor wins: Thrift Store Decor Flips: 9 High-End Event Props.
Troubleshooting
My frame feels wobbly
- Make sure every pipe is pushed fully into each fitting.
- Increase base feet length to 24 inches.
- Add weight at the base (sandbags or hand weights).
The top bar sags in the middle
- Use 1-inch Schedule 40 PVC if you are not already.
- Shorten the span (go 6 ft instead of 8 ft) or add a center support leg (extra T-connector at the top center with a vertical pipe down to the floor).
It keeps sliding on smooth floors
- Add non-slip shelf liner under the base feet.
- Use small rubber furniture pads under the end caps.
- Weight the base so it grips better.
My backdrop looks wrinkly
- Steam or iron fabric backdrops ahead of time if the material allows.
- Pull gently outward with clamps on both ends of the top bar.
- For plastic tablecloths, let them hang for a few hours to relax before photos.
Simple variations
Balloon garland frame
Keep the same stand, but increase base feet, then attach the garland with zip ties. I like to anchor the heaviest balloon clusters closer to the base for stability.
Outdoor setup
Wind is the enemy. If you are outdoors, plan on serious weighting and a smaller “sail.” Lower the height if you can, keep the backdrop material tight, and do not hesitate to take the whole thing down if gusts pick up. Stakes and cord can help on grass, but they do not make a lightweight frame magically windproof.
Double-wide photo wall
For a larger setup, build two identical frames and place them side-by-side, then cover with one continuous backdrop. This is often sturdier than one super-wide span.
Quick shopping checklist
If you are running to the hardware store, here is the simplest version of what to grab for a 6 ft x 7 ft stand.
- 1-inch PVC pipe for: 1 x 6 ft, 2 x 7 ft, 2 x 4 in, 4 x 18 in (buy a little extra for mistakes)
- 2 elbows (90-degree)
- 2 T-connectors
- 4 end caps
- Spring clamps
Buying PVC tip: PVC is commonly sold in 10 ft lengths. For the 6x7 example above, two 10 ft sticks usually cover your cuts with a little planning, but I often grab a third if I want longer base feet, a center support, or I know I will mess up at least one cut.
Once you build one, you will start finding excuses to use it. Photo booth corner today, dessert table backdrop tomorrow, and a “we need something behind the gift table” moment next weekend.