Turn dollar-store plastic tablecloths into a thick, photo-ready backdrop. Follow step-by-step braided and ruffled builds, sizing and color tips, and easy han...
Gathova
DIY Organic Balloon Arch That Lasts All Weekend

Joanna Mercer
Joanna Mercer is an enthusiastic DIY event decorator and the creative spirit behind Gathova's party guides. With years of hands-on experience designing stunning tablescapes, balloon garlands, and custom photo backdrops for friends and family, she specializes in accessible, budget-friendly celebrations. Joanna loves sharing her practical tips and crafting tutorials to help anyone turn an ordinary space into a memorable party venue.
Published
The first time I made an “organic” balloon arch, I did what every eager DIYer does. I built it the night before, admired it for five minutes, went to bed feeling like a party goddess… and woke up to a sad, squishy noodle of balloons drooping into my snack table.
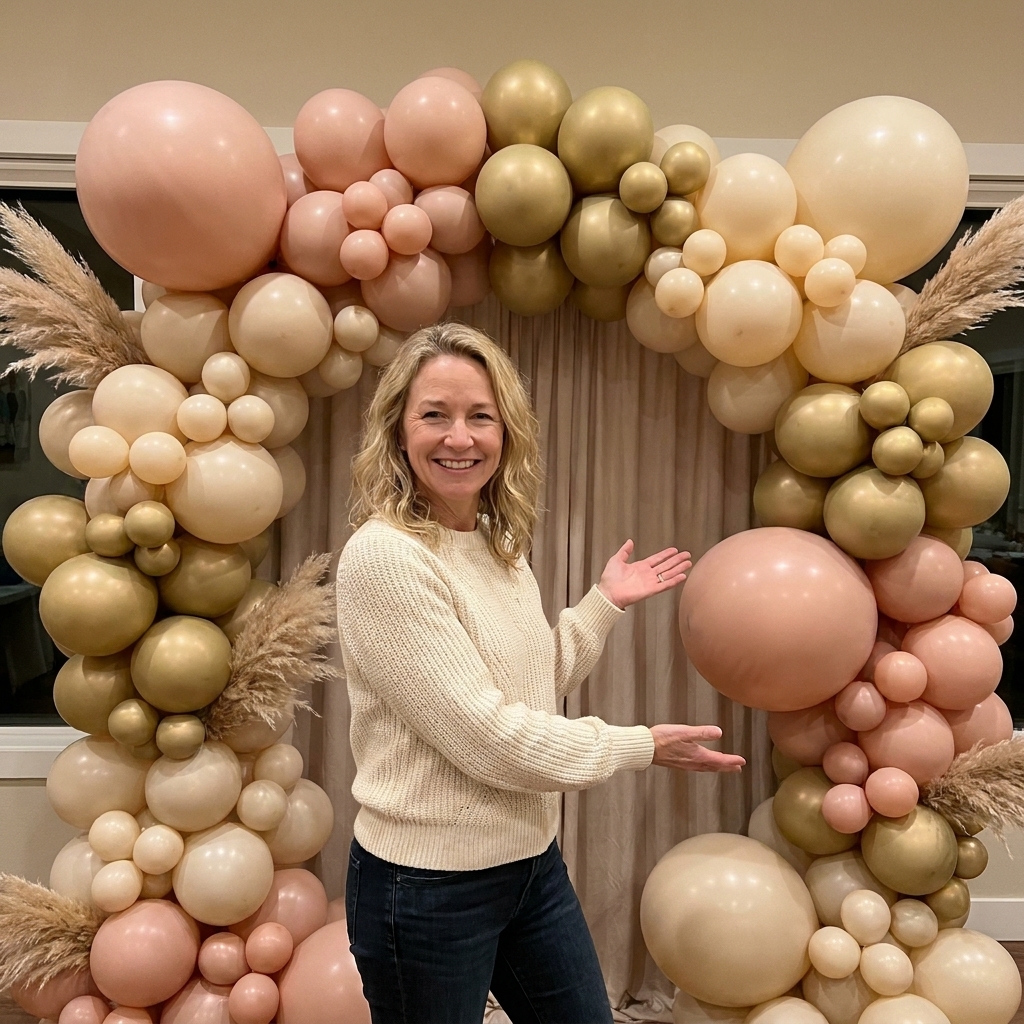
Good news: you do not need helium to get that full, floaty, professional balloon-garland look. You just need the right balloon sizes, the right structure, and a few weekend-proofing habits. Here is my tried-and-true method for an organic balloon arch that holds its shape from Friday setup through Sunday leftovers.
Quick vocab check: most DIY “balloon arches” are really balloon garlands (a swoopy, air-filled strand) that you anchor in an arch shape. A true arch usually means a freestanding frame.
What makes it last
Air-filled balloons often last longer than helium balloons, especially with latex. They still lose a little firmness over time, though. Heat, sun, wind, and friction are the usual troublemakers. A weekend-ready arch is built around three principles:
- Structure first: You are building on a frame or line that carries the weight so the balloons are not fighting gravity.
- Size variety: Mixing 5-inch, 10 to 12-inch, and a few 18-inch balloons fills gaps so you do not need to over-stretch anything.
- Protection and placement: Shade, gentle airflow, and smooth tie points keep balloons from popping or deflating fast.
Supplies
Core balloon tools
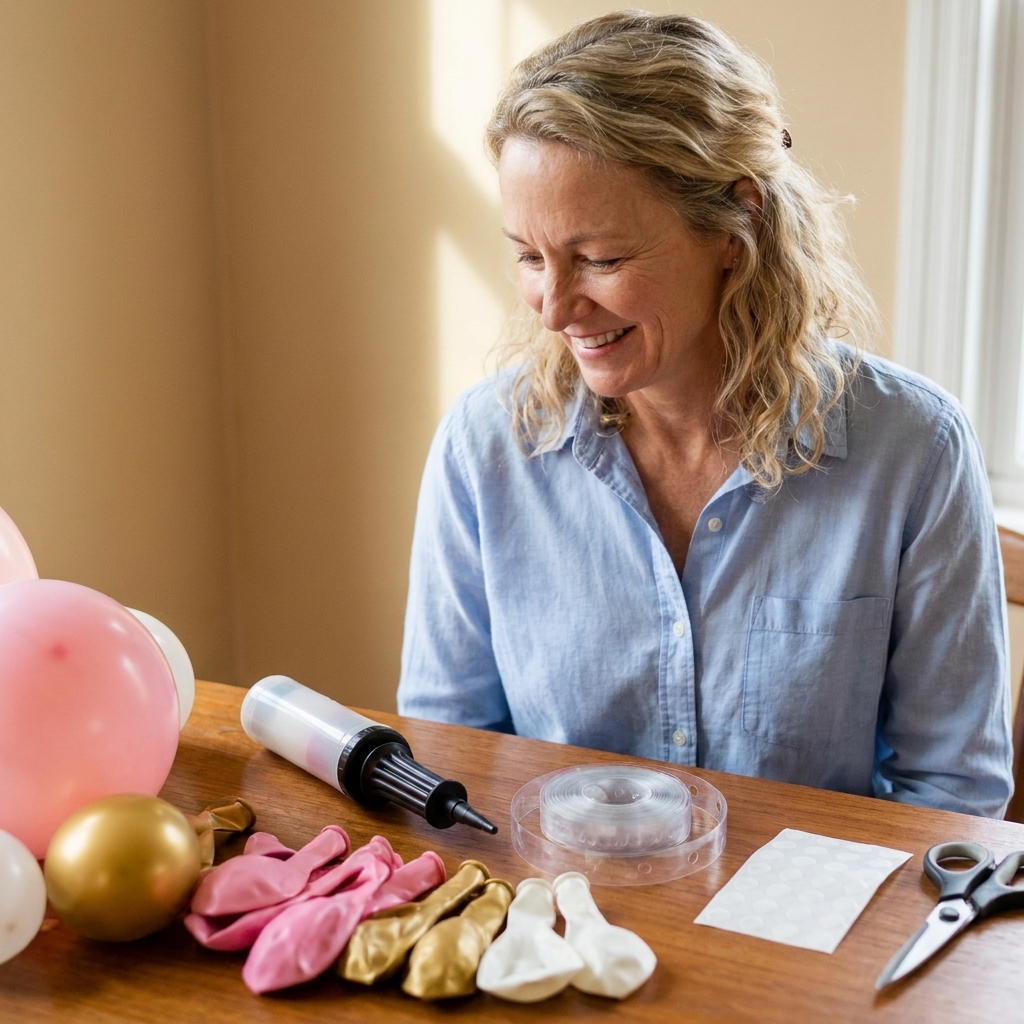
- Balloons in 2 to 3 sizes: I use mostly 10 to 12-inch latex, plus a handful of 5-inch for “organic” filler. Add a few 18-inch latex if you want extra drama.
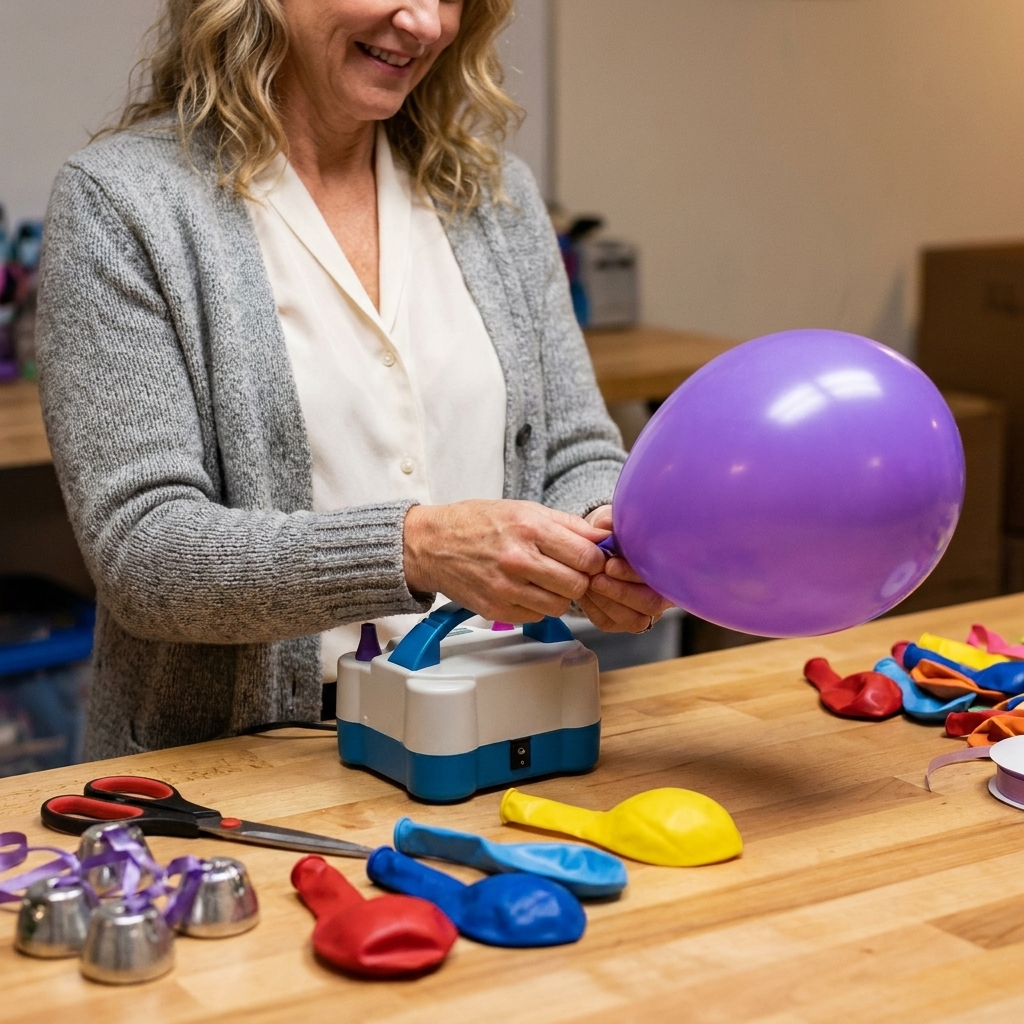
- Balloon hand pump or electric inflator: Electric saves your lungs and your schedule.
- Balloon decorating strip (balloon tape): This is the easiest base for beginners. It is a plastic strip with holes that hold single balloon knots.
- Balloon glue dots: For tucking in small balloons and hiding gaps.
- Fishing line or sturdy string: Helpful for hanging, stabilizing, and making a true curve.
Hanging or freestanding options
- Command hooks or removable wall hooks: Great for indoor walls (always test your paint first). Use the right weight rating, apply to fully cured paint, and remove slowly per package directions.
- Backdrop stand: If you already have one, it makes placement easy.
- Freestanding arch frame: Fantastic outdoors or when you cannot attach to walls.
- Zip ties: The unsung hero for securing garlands to frames.
- Sandbags or water weights: Mandatory if your frame is freestanding, especially outside.
Optional, but makes it look expensive
- Greenery stems (realistic faux or fresh): Use sparingly for a styled look.
- Crepe streamers or fabric accent tails: Adds movement without adding more balloons.
Quick safety note: Latex allergies are real, and broken balloons are a kid and pet hazard. Keep uninflated and popped pieces out of reach, and consider non-latex options if you are decorating for a crowd with sensitivities.
If you are building a whole photo moment, my favorite budget pairing is a simple wall backdrop plus balloons. This plastic tablecloth trick looks surprisingly polished: Plastic Tablecloth Photo Backdrop That Looks Expensive.
How many balloons?
Balloon counts vary based on balloon size mix and how dense you want the garland. These are typical numbers for a dense organic garland using mostly 10 to 12-inch balloons, plus a handful of 5-inch fillers:
- 4 to 5 foot garland: 50 to 70 balloons
- 6 to 7 foot garland: 80 to 110 balloons
- 8 to 10 foot garland: 120 to 160 balloons
- 12 foot garland: 180 to 220 balloons
My rule: buy at least 20 percent more balloons than you think you need. Between surprise pops, odd sizes, and color balancing, extras are a gift to Future You.
Color planning tip: For a pro palette, choose 1 main color (about 50 percent), 1 secondary (about 30 percent), and 1 accent (about 20 percent). Then add 5-inch balloons mostly in the main and secondary colors.
Step by step
Step 1: Pick placement
Before you inflate anything, decide where the arch will live and how it will be held up.
- Indoors on a wall: Plan for two anchor points (one high, one low). Command hooks work well when installed properly.
- On a backdrop stand: You can lash the garland to the top bar and down one side for an asymmetrical swoop.
- Freestanding frame: Set your base weights first so you are not wrestling a full garland while the frame wobbles.
If your party is outdoors, put your arch in the shade whenever possible. Sunlight heats the air inside balloons and can cause popping. Wind will also twist and rub balloons against one another, which is a slow-motion disaster.
Step 2: Inflate in batches
This is where weekend longevity starts. Overinflated balloons pop more easily and can look pear-shaped sooner. A tiny bit of underinflation keeps them round and more forgiving with temperature swings.
- 10 to 12-inch balloons: Inflate to about 85 to 90 percent of their max size so they are rounder, not stretched into a teardrop.
- 5-inch balloons: Inflate to a firm small plum shape, not rock hard.
- Keep sizes consistent: If you have a balloon sizer, use it. If not, pick a “reference balloon” and match the rest by eye.
My garage-hack: I keep a piece of string cut to my target balloon diameter. Wrap it around the balloon to check sizing quickly.
Step 3: Choose your build method
Here is the part that trips beginners: a balloon decorating strip is made for single balloon knots, not for shoving a whole 4-balloon quad into one hole. You have two easy options, and both work.
- Option A (my beginner favorite): Build the base with single balloons on the strip, then add mini clusters later to fill gaps.
- Option B (strip-free): Build with quads and tie them together with fishing line or strong string the whole way down.
In this tutorial I am using Option A because it is the least chaotic to hang and adjust.
Step 4: Build the base on a decorating strip
Lay your balloon strip on the floor. Add one balloon knot per hole, alternating colors as you go. I like to work in a gentle rhythm:
- Mostly main color
- Secondary color every few balloons
- Accent color sprinkled in clusters, not evenly spaced
Density tip: Use every hole for a very full look. For a lighter look, skip every third hole.
Step 5: Pre-shape the curve
Most organic installs are really a swooping garland that looks arched once anchored. Before you hang it:
- Pick which end will be the “heavy” end (where you want the most volume).
- Bend the garland gently into the curve you want while it is still on the ground.
- Run a support line (fishing line) along the back, tying it to the strip every 1 to 2 feet. This helps the curve hold for days and takes stress off your anchor points.

Step 6: Hang in two phases
Phase 1: Rough hang. Get the garland up and stable first. Attach your top anchor, then the bottom or side anchor, then add one or two midpoints if needed.
Phase 2: Finesse. Step back, look for flat spots, and rotate sections so the best balloon faces forward. This is where it starts to look “professional” instead of “DIY.”
Step 7: Add clusters and fillers
Now you build the organic depth.
Make mini clusters (quads):
- Inflate two balloons and tie them together at the knots to make a pair.
- Make a second pair.
- Twist the pairs together to form a quad (a four-balloon cluster).
Attach quads to your base: Use a small piece of fishing line to tie the quad around the strip (or around the support line on the back). You can also use glue dots for tiny adjustments, but I prefer tying larger clusters so they do not slide over time.
Fill gaps with 5-inch balloons: Inflate 5-inch balloons and use glue dots to tuck them into visible holes. Place them where you need:
- To soften transitions between colors
- To cover the strip showing through
- To create that layered, organic look
If you are adding greenery, add it last. Use fishing line to secure stems so they do not slowly migrate downward during the party.
Weekend checklist
When to build
- Indoors: Build 24 to 48 hours ahead. Air-filled latex often looks great for several days indoors.
- Outdoors: Build the garland the day before if you can store it inside, then install it the day of. If it has to live outside the whole time, install as close to guest arrival as possible.
Overnight storage
- Keep it inside in a cool room, away from sunlit windows and HVAC blasts.
- Do not crush it: Store it along a wall, on a bed, or in a large clean space. I have also laid garlands in an empty bathtub overnight (weird but effective).
- Avoid friction: Balloons rubbing against textured walls, brick, or rough wood pop faster. If you must store near a surface, put down a smooth sheet.
Outdoor weatherproofing
- Shade is non-negotiable for a long-lasting arch.
- Anchor more than you think you need: Use extra tie points to keep the garland from swinging in the wind.
- Use weights: Sandbags or water weights at the base of a frame.
- Skip sharp nearby decor: Rustic wood signs and balloon arches can be a dangerous combo if edges are rough.
Day two refresh (5 minutes)
- Rotate any droopy clusters so the fuller side faces front.
- Add a few 5-inch balloons to revive sparse spots.
- Wipe dusty balloons gently with a soft, dry cloth if needed.
Quick fixes
Sagging in the middle
- Fix: Add a midpoint anchor. Tie fishing line around the strip (not around a balloon neck) and attach it to a hook, stand crossbar, or frame.
- Prevention: Build that support line along the back as you assemble.
Popping during setup
- Fix: Underinflate slightly and keep balloons away from textured surfaces.
- Prevention: Avoid dragging the garland. Lift and carry with help, especially through doorways.
Gappy and homemade
- Fix: Add 5-inch balloons with glue dots and tie on a few quads in the thinnest sections.
- Prevention: Mix sizes from the start and cluster accent colors.
Lopsided
- Fix: Rotate sections and redistribute accent clusters. Organic is asymmetrical, but it should still look intentional.
- Prevention: Decide where the “heavy” end goes before hanging.
Budget notes
If you want the biggest impact for the least money, spend on balloon quality and save on the extras. Cheap balloons are thinner, pop more, and go cloudy faster.
- Worth it: A decent electric balloon pump, sturdy balloon tape, and good latex balloons.
- Save: Greenery accents (use fewer stems), fancy specialty shapes (use one or two, not ten), and oversized installs (a smaller, denser garland photographs better than a huge sparse one).
For more cost-cutting tricks that actually look good in photos, I keep a running list here: Budget Party Hacks.
Easy add ons
Pair with a simple tablescape
A balloon arch does a lot of visual heavy lifting, so your table can be simpler. If you need fast height and dimension, I love using hardcover books as risers under trays and florals: Hardcover Books as Centerpiece Risers.
Create a walkway moment
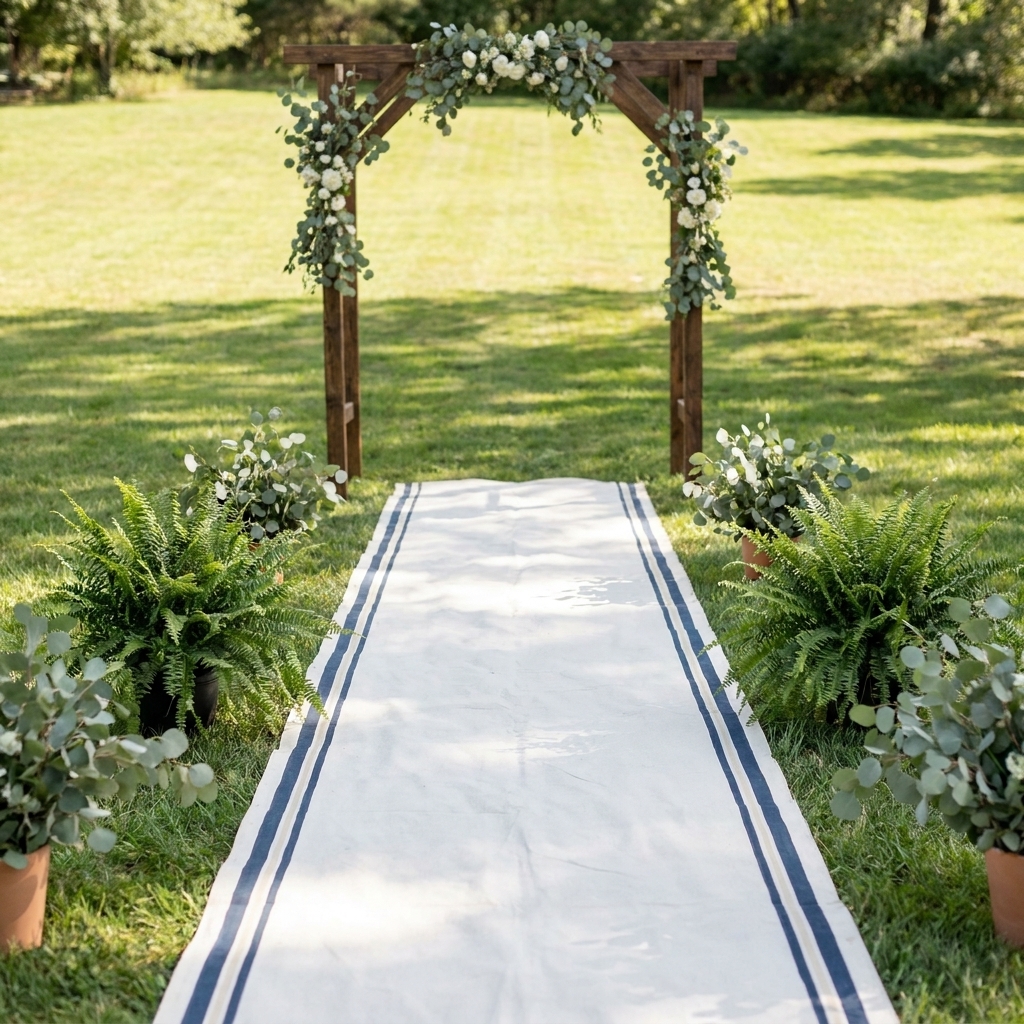
If your arch is at the entrance, a quick DIY walkway makes it feel like an event before guests even step inside: DIY Walkway Decor with Canvas Drop Cloths.
Balloon arch FAQ
How long will it last?
Indoors, a well-built air-filled latex garland often looks great for 2 to 5 days, sometimes longer. Outdoors, expect a shorter lifespan depending on sun and wind. If your goal is all weekend, keep it shaded and anchor it well.
Can I build it the night before?
Yes, and I usually do. Build it 24 to 48 hours ahead and store it inside in a cool spot. Install it the day of the party if it is going outside.
Do I need a kit?
Not necessarily. A balloon decorating strip plus glue dots gets you very close to kit results. Frames and stands are helpful for freestanding installs, but they are not required for wall-mounted garlands.
Will balloons deflate overnight?
Latex balloons can soften a bit, especially with temperature swings. That is normal. The garland should still look full if you did not overinflate and if it is supported by structure rather than relying on balloon tension.
One last Joanna tip
Give yourself more floor space than you think you need. Every time I try to “just build it on the couch,” I end up with tangled tape, popped balloons, and a spiral into chaos. Clear a big area, put on a playlist, and build in calm little batches. Your weekend self will be so grateful.
If you want more DIY decor ideas like this, you can browse all of my projects here: DIY Decor Projects.