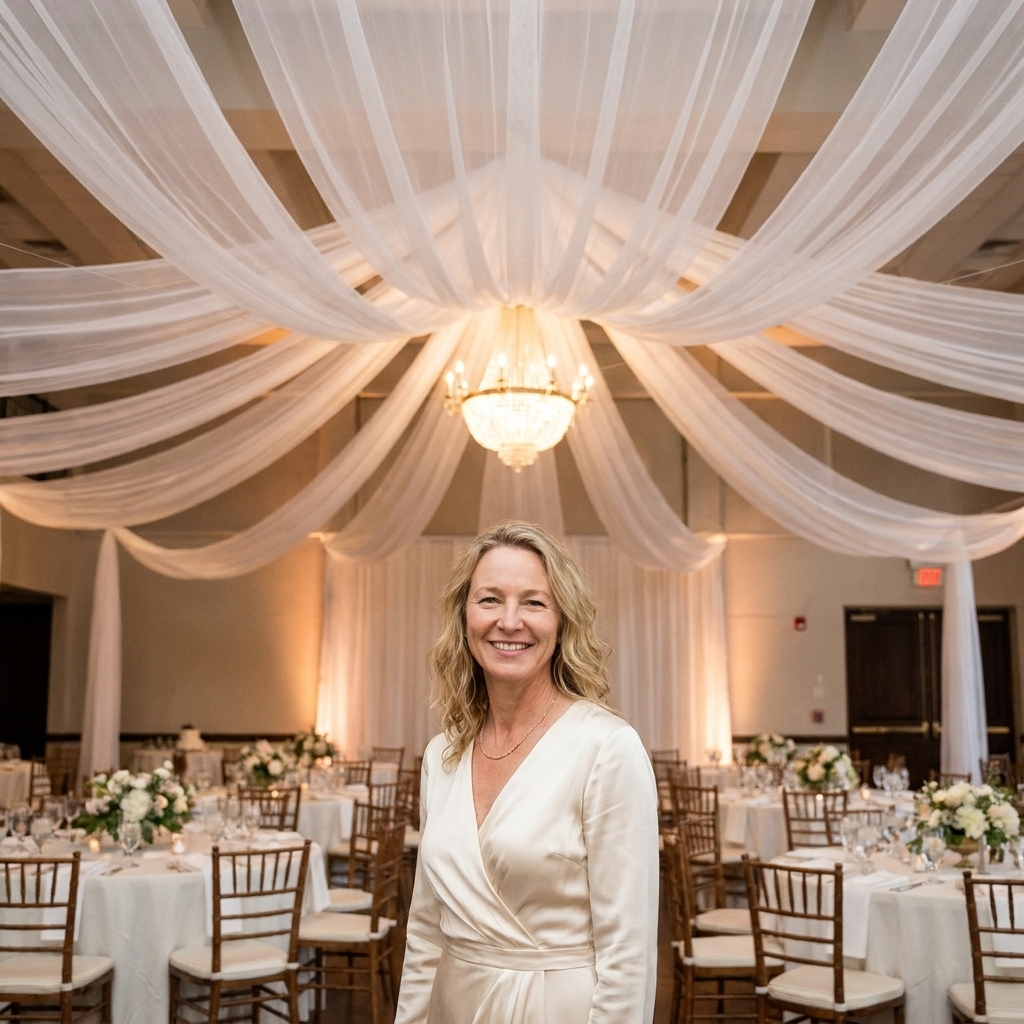
Create dreamy ceiling draping without the wedding-tent mess. Learn safe, venue-friendly ways to hang tulle with fishing line, prevent sagging, and get clean,...
Gathova
DIY Paper Lantern Upgrades: 7 Easy Hacks for Any Theme

Joanna Mercer
Joanna Mercer is an enthusiastic DIY event decorator and the creative spirit behind Gathova's party guides. With years of hands-on experience designing stunning tablescapes, balloon garlands, and custom photo backdrops for friends and family, she specializes in accessible, budget-friendly celebrations. Joanna loves sharing her practical tips and crafting tutorials to help anyone turn an ordinary space into a memorable party venue.
Published · Last updated
I have a soft spot for paper lanterns. They are one of those “instant party” items I grew up seeing at backyard get-togethers, and now I keep a small stash in my garage for last-minute decorating saves. The only problem is the basic ones can look a little… cafeteria if you hang them straight out of the package.
The good news: paper lanterns are basically blank canvases. With a few low-cost add-ons (and a tiny bit of patience), you can make them look like custom event installs you would swear were professionally styled.

Before you start: my quick lantern rules
- Pick one “hero” upgrade. If you do dye plus cutouts plus fringe plus florals on the same lantern, it gets busy fast.
- Keep weight low. Lantern frames are light. Heavy florals and thick glue blobs can warp them.
- LED only. Use battery LEDs, and skip anything that gets warm to the touch. No candles and no heat sources.
- Plan your hanging first. Decide where they will go before you start adding extras. If you need help with overhead setups, I share budget-friendly hanging tricks in Budget Ceiling Draping With Tulle and Fishing Line.
Quick setup and safety
- Assemble first, decorate second, light last. It’s way easier to work on a fully opened lantern, and you are less likely to crush it while you decorate.
- Pick adhesives that behave. Glue dots and a glue stick are my go-tos. Hot glue can warp thin paper, and tape can let go outdoors if it gets warm.
- Paper hates weather. If you are outside, keep lanterns under a covered patio or pergola. Wind plus damp air equals saggy lantern heartbreak.
- Secure the line. Use removable hooks where appropriate, and choose fishing line or cord that is actually rated to hold your cluster, especially if you are adding greenery or fringe.
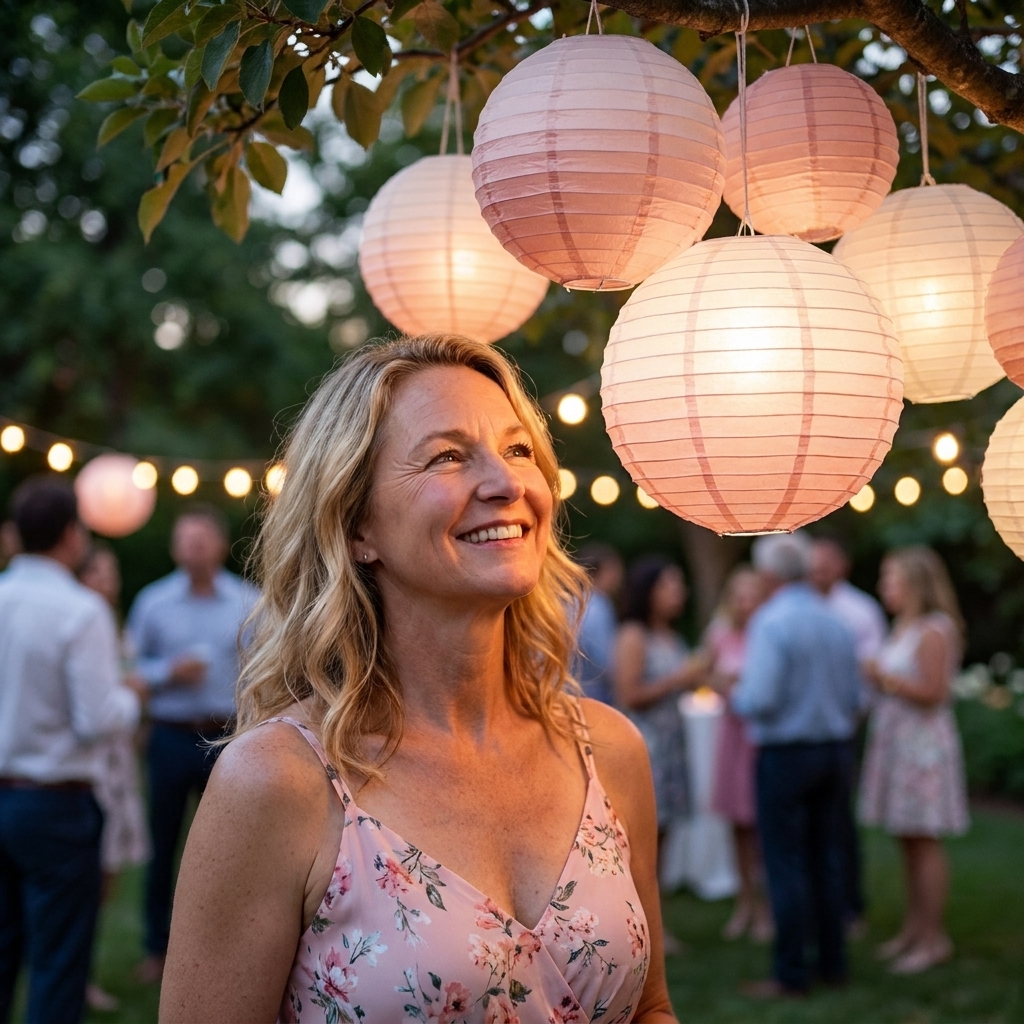
Hack 1: Ombre dye dip
If you want lanterns to match your exact palette, an ombre dip is my favorite upgrade. It reads intentional and elevated, especially when you cluster sizes together.
Best for
Baby showers, bridal showers, outdoor birthdays, garden parties, pastel themes.
You’ll need
- White paper lanterns
- Liquid watercolor, acrylic ink, or diluted acrylic paint
- Spray bottle or foam brush
- Drop cloth
How I do it
- Pop the lantern open and insert the metal expander so it holds shape.
- Mix a watery dye (think “colored tea,” not paint).
- Work in light passes. Mist or brush the bottom third of the lantern, then pause and let it absorb for a minute.
- While it is still slightly damp, fade upward with clean water in a spray bottle to soften the edge.
- Dry completely before hanging.
Jo tip: Avoid saturating the seams. That is where wrinkling loves to start. Always test on one lantern first, too. Different lantern brands absorb color differently, even if they look identical in the package.
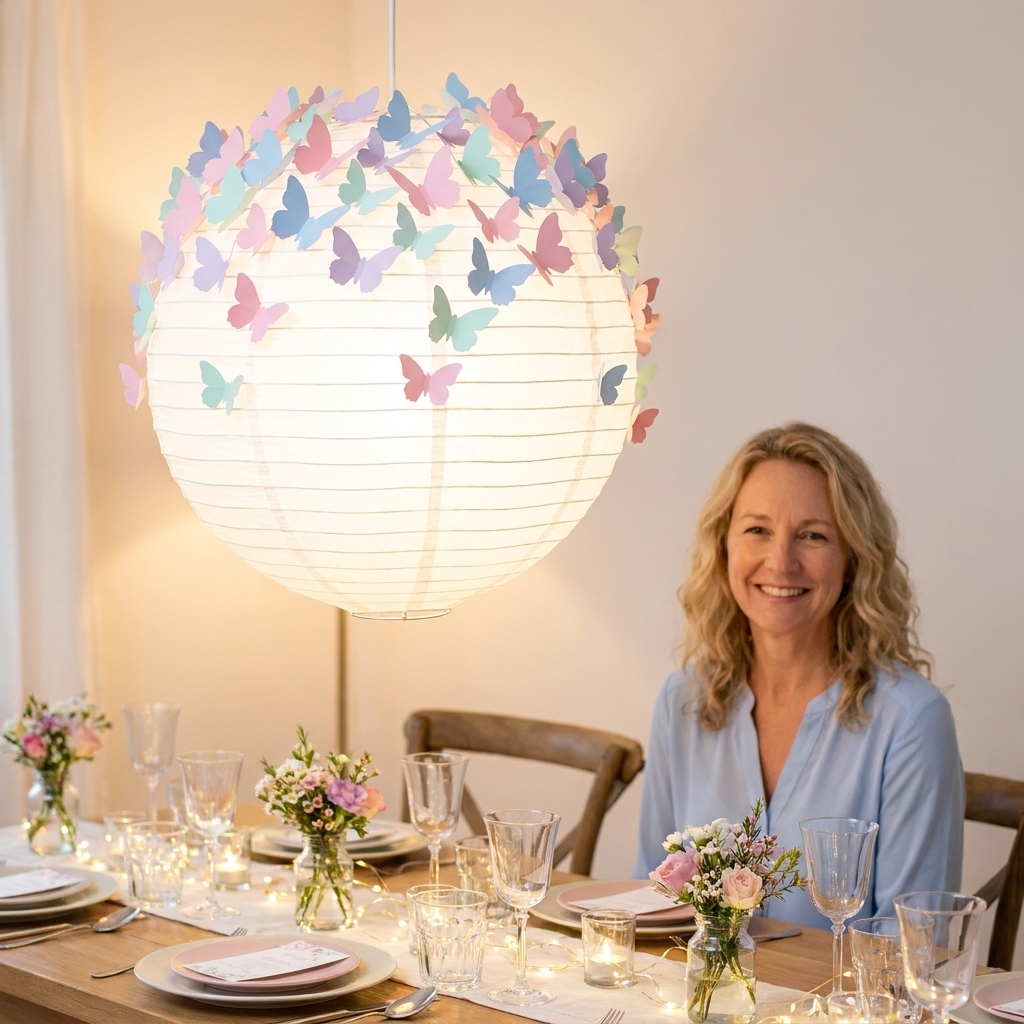
Hack 2: Faux butterfly swarm
This is the upgrade people ask about the most because it looks intricate, but it is basically just strategic placement. You are creating the illusion that butterflies are landing and fluttering around the lantern.
Best for
Garden parties, tea parties, fairy themes, kids’ birthdays, spring brunches.
You’ll need
- Lightweight faux butterflies (paper or fabric)
- Glue dots or tiny rolled tape loops
- Optional: clear fishing line for a few “flying” butterflies
How I do it
- Attach 5 to 12 butterflies around one side of the lantern, concentrated near the top and tapering down.
- Bend wings up slightly so they cast shadows (that’s what makes it feel real).
- If you want motion, hang 2 or 3 butterflies from the lantern’s bottom ring using short pieces of fishing line.
Keep it classy: Stick to one butterfly style and two colors max per cluster.
Hack 3: Paper cutout overlays
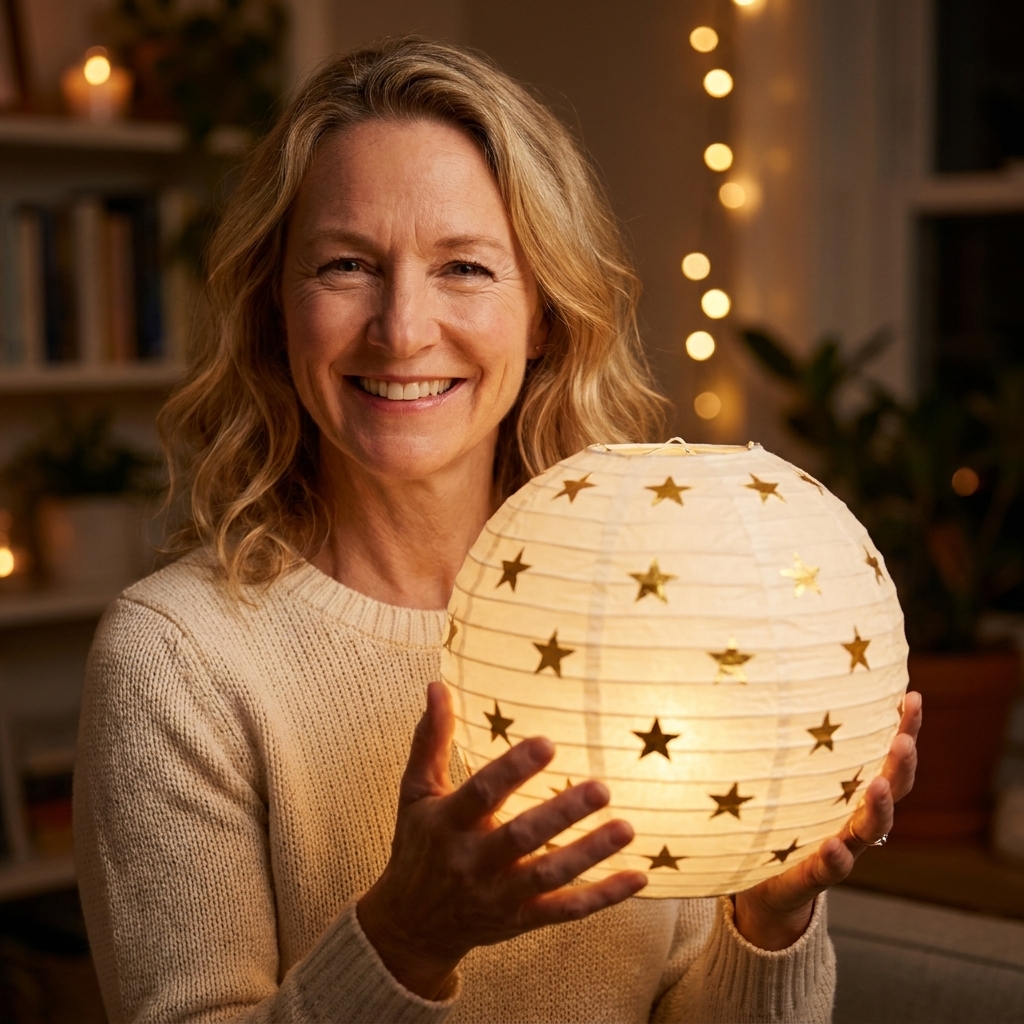
Cutout overlays are how you make lanterns scream a theme without looking like store-bought character party supplies. Think stars, scallops, monstera leaves, bats, or even modern arches.
Best for
Halloween, celestial themes, tropical parties, modern birthdays, themed dinners.
You’ll need
- Cardstock or lightweight craft paper
- Scissors or craft knife
- Glue stick or tiny glue dots
How I do it
- Cut 8 to 20 shapes (depending on lantern size).
- Curve each cutout gently over a table edge so it hugs the lantern.
- Attach with glue dots or a glue stick, pressing lightly to avoid denting.
- Group lanterns with the same shape but different sizes for a “designed” look.
Design shortcut: Use a repeating motif you already have in your party. If your table has star confetti, do star lanterns. If you are building a photo backdrop, match the shapes. My favorite budget backdrop trick is in Plastic Tablecloth Photo Backdrop That Looks Expensive.
Hack 4: Tissue petal texture
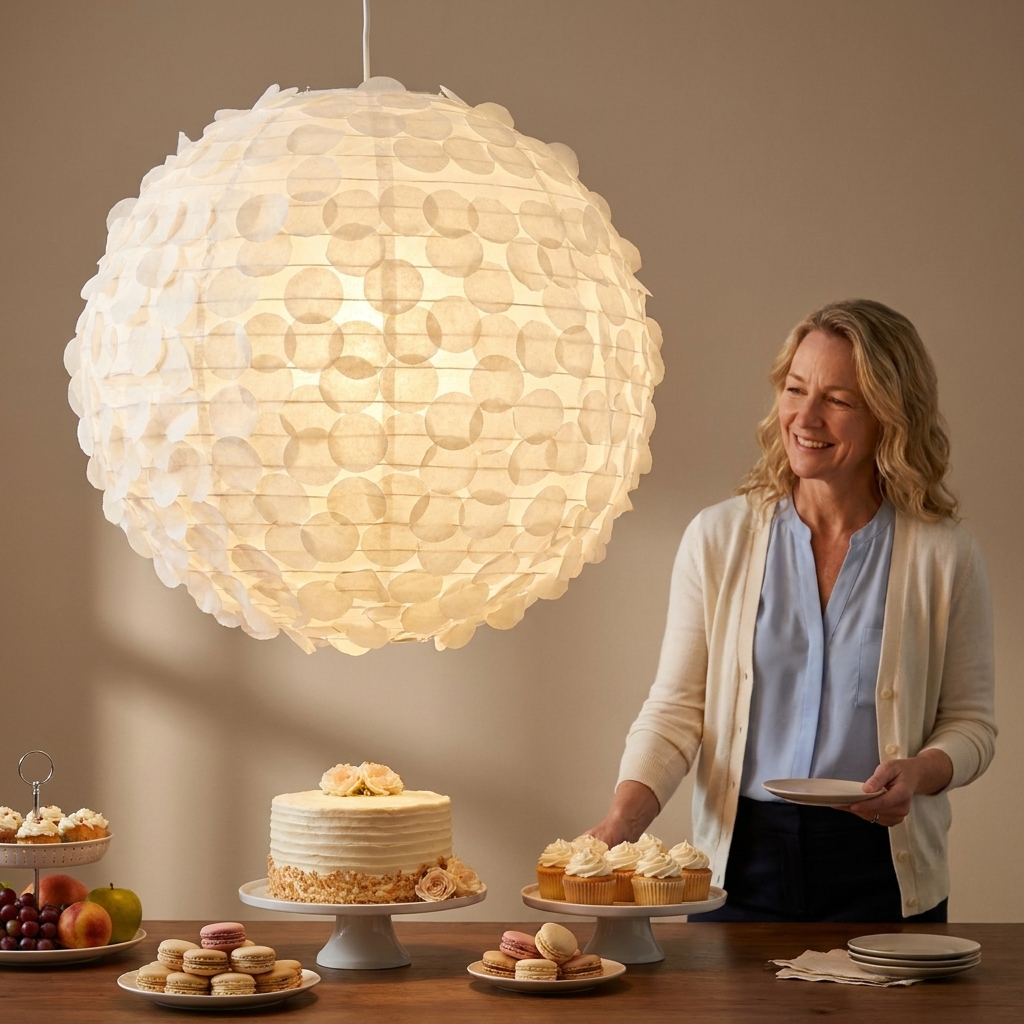
If you want lanterns to look like oversized flowers or pom textures, tissue petals do the job without needing special lantern styles.
Best for
Girl birthdays, bridal showers, baby showers, romantic dinners, Valentine parties.
You’ll need
- Tissue paper in your palette
- Circle punch or scissors
- Glue stick
How I do it
- Cut lots of circles (2 to 3 inches is a sweet spot).
- Glue circles starting at the bottom, overlapping like shingles.
- Work upward and rotate the lantern as you go.
- Leave the very top mostly clear so the hanger hardware stays neat.
Budget note: One pack of tissue goes farther than you think. Mixing two close shades (like blush and peach) adds depth without extra work.
Hack 5: Greenery collar
A little greenery goes a long way. Adding a collar around the top makes the lantern look like part of a larger floral installation, even if your “installation” is just three lanterns over a table.
Best for
Weddings, engagement parties, backyard dinners, boho themes, rustic-modern parties.
You’ll need
- Light faux greenery stems (eucalyptus, ruscus, ivy)
- Floral wire or thin zip ties
- Optional: small faux blooms
How I do it
- Make a small ring of greenery using floral wire.
- Attach it around the lantern’s top support ring, not the paper surface.
- Add 1 to 3 small blooms only if your tablescape is floral-heavy.
Jo tip: If your party has budget florals, focus them where guests are closest. Lantern greenery reads best above a dessert table, gift table, or head table.
If you are working with simple flowers like baby’s breath, you can make it look surprisingly luxe. I wrote exactly how I do it in How to Make Baby’s Breath Look Expensive.

Hack 6: Fringe or tassels
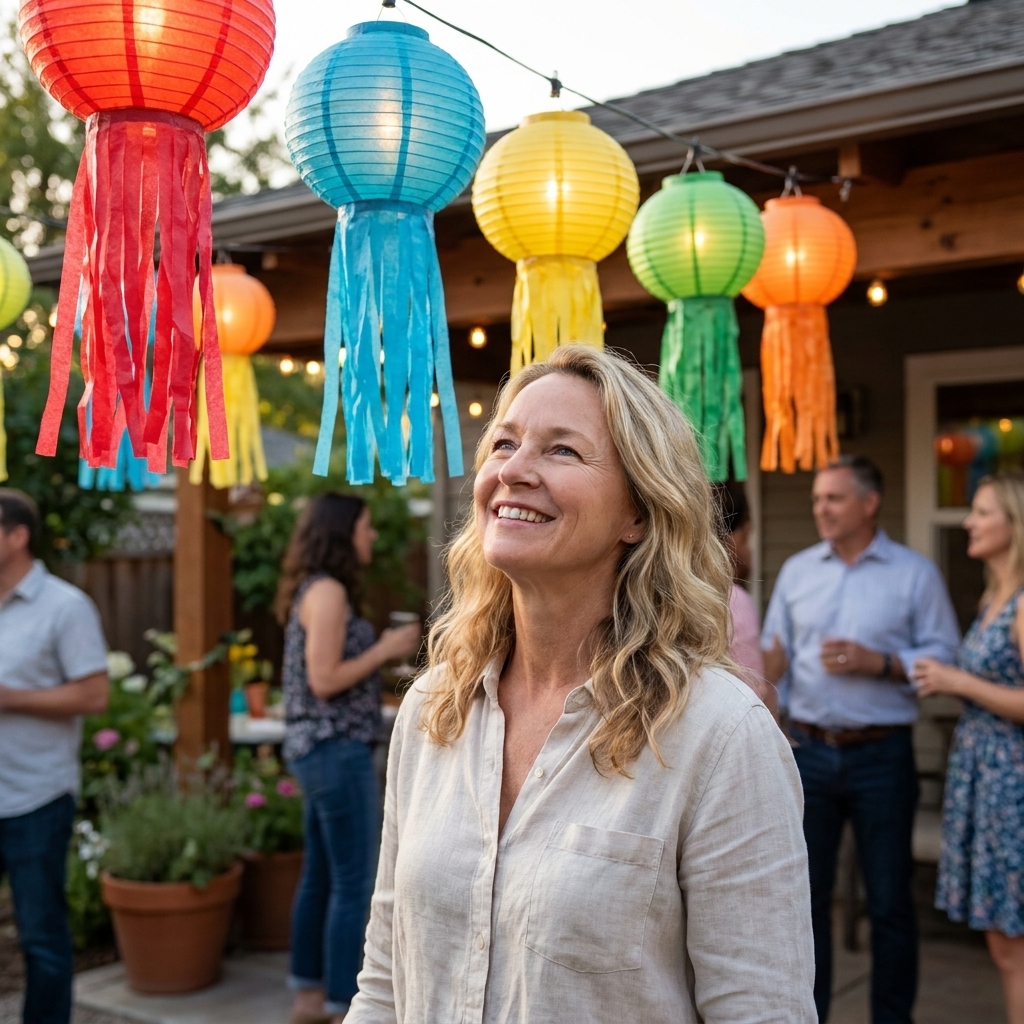
Adding movement is a cheat code for making lanterns look more expensive. Fringe also photographs beautifully because it catches light and makes the whole setup feel lively.
Best for
Fiesta themes, disco parties, retro birthdays, New Year’s parties, graduation celebrations.
You’ll need
- Tissue paper, crepe paper, or mylar fringe garland
- Double-sided tape
- Scissors
How I do it
- Decide your look: full fringe ring (my favorite) or spaced tassels (lighter and faster).
- For a full ring, cut 6 to 10 strips that are about 6 to 10 inches long and wide enough to wrap around in sections.
- Fringe each strip (leave 1 inch uncut at the top).
- Tape strips around the bottom ring of the lantern, overlapping seams so you do not see gaps.
- Fluff gently.
Make it look clean: Keep fringe lengths consistent across your lantern cluster. Random lengths can look accidental.
Hack 7: Shadow insert
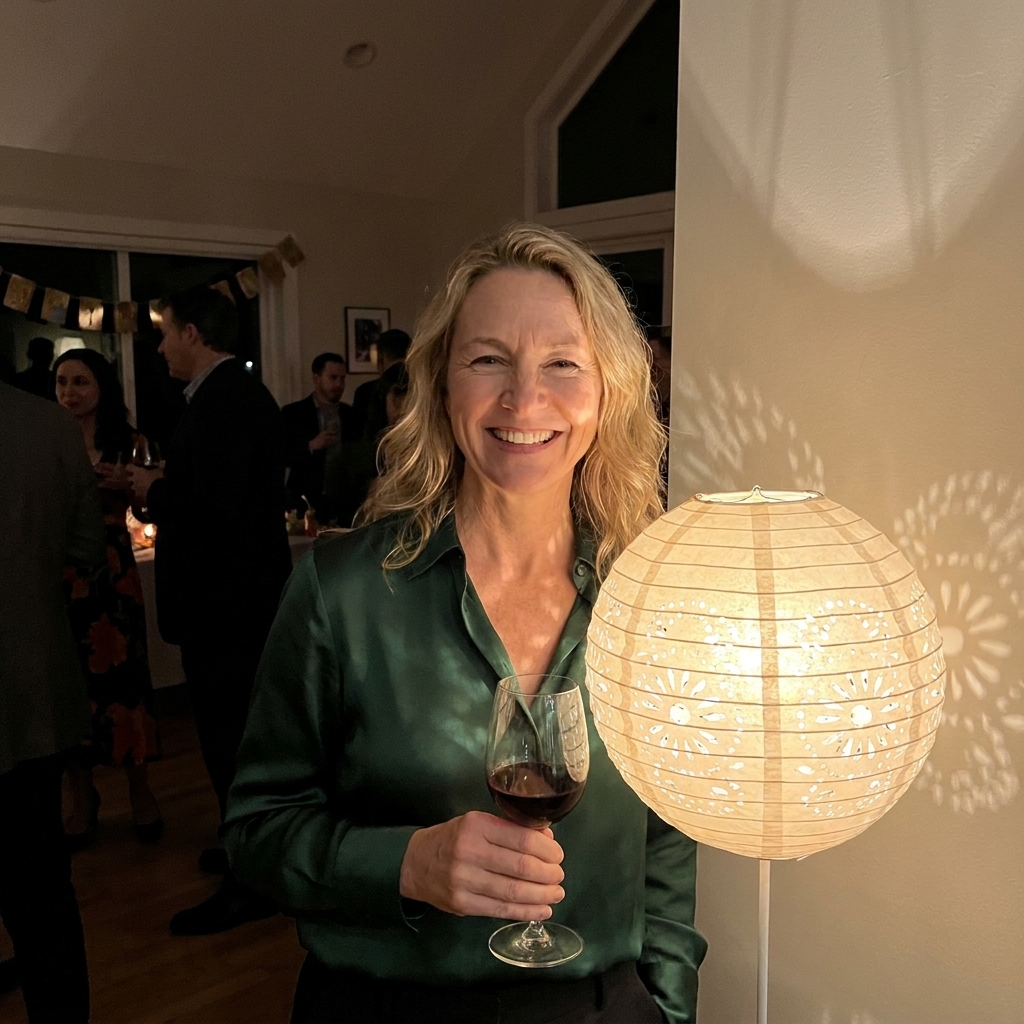
This one feels like magic at night. You create a simple inner sleeve with cutouts so the lantern throws patterned shadows. It is not as crisp as a stage gobo, but it adds a dreamy, custom glow.
Best for
Evening parties, movie nights, Halloween, celestial themes, cozy winter gatherings.
You’ll need
- Vellum or thin cardstock
- Scissors or craft knife
- LED puck light or LED string light bundle
How I do it
- Cut vellum into a rectangle that can curl into a tube inside the lantern.
- Cut repeating shapes into the vellum (moons, dots, florals, waves).
- Place the tube inside the lantern so it sits against the inner frame.
- Add an LED light source and test in a dark room before hanging.
Reality check: The sharper your cutouts and the more translucent your lantern paper, the more you will see the pattern. Thicker lanterns give a softer effect, and that can still be really pretty.
Safety reminder: LED only. If any part of the insert touches the light and feels warm, swap to a cooler light source or reposition the insert.
How to hang lanterns
Even the prettiest lantern upgrade can look random if the hanging is off. Here is the arrangement I use most often for a “designed” look on a budget.
My go-to layout
- Odd numbers: 3, 5, or 7 lanterns in a cluster looks natural.
- Vary sizes: Mix at least two sizes, three is even better.
- One focal point: Center your biggest lantern above the most photographed area (dessert table or backdrop).
- Repeat a color: If you have one dyed lantern, echo that color elsewhere, like napkins or a balloon.
For ceiling-friendly ways to suspend decor without expensive rigging, see Budget Ceiling Draping With Tulle and Fishing Line. A lot of those same tricks apply to lanterns.
Quick troubleshooting
My lantern looks wrinkled
Too much moisture or heavy glue. Let it dry fully, then gently reshape with your hands. Next time, use glue dots and lighter layers, and avoid saturating seams.
The lantern is sagging
The add-ons are too heavy or attached to the paper instead of the frame. Move weight to the metal rings and keep embellishments minimal.
You can see the light source inside
Use warm white LEDs, tuck them into the center, and consider a vellum insert (Hack 7) to diffuse the glow.
They look like they are floating randomly
Anchor the design. Hang them over something purposeful, like a table, lounge area, or photo backdrop, and cluster them instead of spacing evenly across a whole room.
More budget-friendly decor ideas
- Budget Party Hacks for more quick wins like this
- Thrift Store Decor Flips: 9 High-End Event Props when you want statement pieces for cheap
- Rent vs Buy Event Decor for Large Parties to avoid overspending on one-time items
If you try one of these lantern upgrades, my biggest advice is this: make a tiny “test cluster” of three lanterns first. Once you love the look, repeat it. That is how you get that cohesive, professional finish without stressing out the night before the party.