Turn dollar-store plastic tablecloths into a thick, photo-ready backdrop. Follow step-by-step braided and ruffled builds, sizing and color tips, and easy han...
Gathova
DIY Walkway Decor With Canvas Drop Cloths

Joanna Mercer
Joanna Mercer is an enthusiastic DIY event decorator and the creative spirit behind Gathova's party guides. With years of hands-on experience designing stunning tablescapes, balloon garlands, and custom photo backdrops for friends and family, she specializes in accessible, budget-friendly celebrations. Joanna loves sharing her practical tips and crafting tutorials to help anyone turn an ordinary space into a memorable party venue.
Published · Last updated
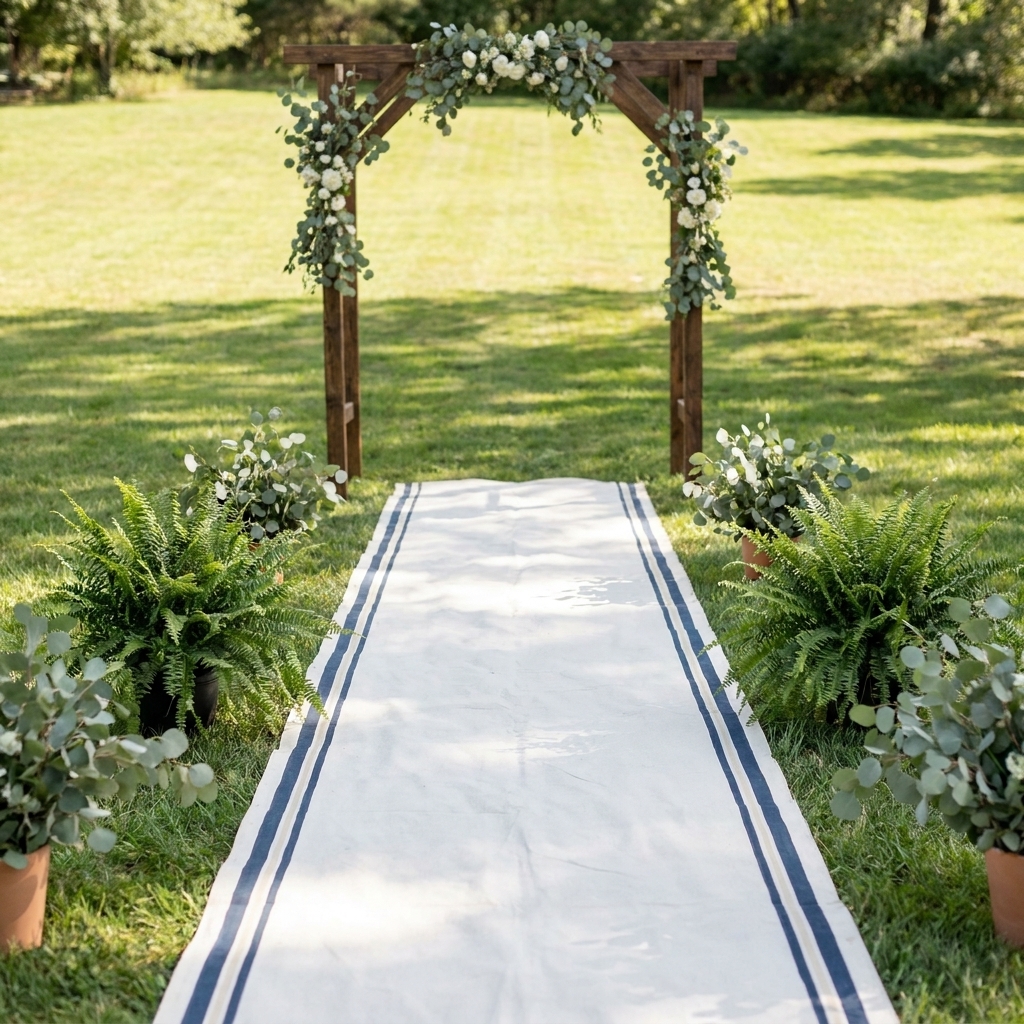
The fastest way to make an event entrance feel intentional is to give people a path. Not a “follow the crowd and hope you end up at the dessert table” situation, but a real, photogenic walkway. My favorite budget trick is also one of the least fussy: heavy-duty canvas drop cloths from the hardware store. With a little prep and a weekend-level paint session, you can turn them into aisle runners, party walkways, and even a dance-floor lane that looks custom made (and is much easier to swap or clean than something precious).
Why canvas drop cloths work for walkways
- They are wide and long. Many come in sizes that read like a real runner once you hem or tape the edges.
- They photograph matte. Canvas does not glare the way plastic and some poly runners do.
- They can stay put better. With pre-washing plus proper anchoring, they behave better than many lightweight disposable runners. They can still slide on smooth floors, so install matters.
- They take paint well. You can do monograms, borders, patterns, and directional arrows without fancy equipment.
- They are forgiving. A little scuffing from shoes looks natural on canvas, especially for outdoor or rustic events.
If you already love turning inexpensive materials into something high-end looking, you will feel very at home with this project. It is the same mindset as my go-to plastic tablecloth photo backdrop, just underfoot instead of behind your guests.
Shopping list (keep it simple)
Canvas and prep
- Heavy-duty canvas drop cloth (avoid super thin ones if this will see lots of foot traffic)
- Scissors or rotary cutter
- Measuring tape
- Painter’s tape (1 in and 2 in are the sweet spot)
- Hem option: double-sided fabric tape or iron-on hem tape or a sewing machine
Painting supplies
- Fabric paint or acrylic paint plus fabric medium
- Foam rollers for large areas
- Stencils (letters, motifs, border patterns) or cardstock to make your own
- Stencil brush or dense sponge
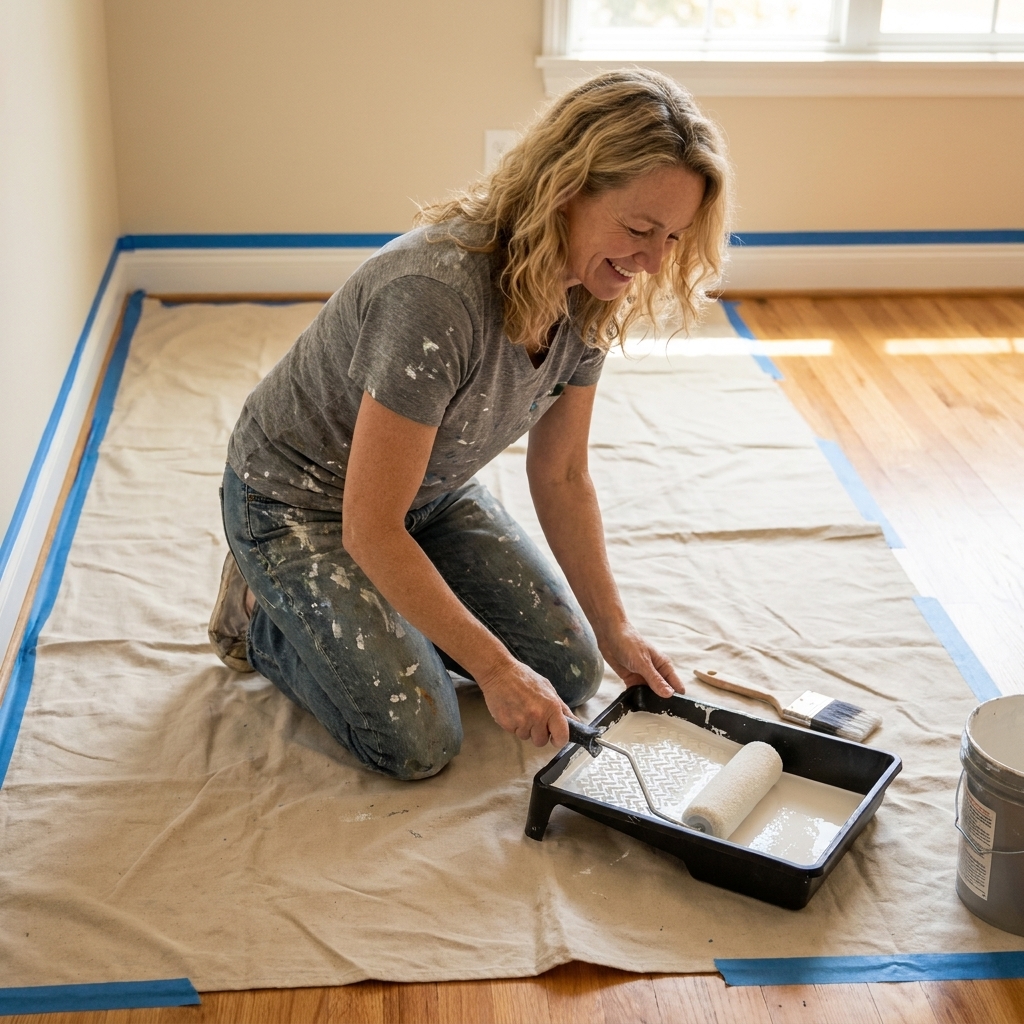
- Cardboard or a plastic sheet to protect your floor
Finishing and install
- Iron (for heat-setting if your paint requires it)
- Non-slip rug pad strips and or gaffer tape (especially indoors)
- Optional: fabric-safe water repellent spray (helpful for damp grass)
Paint note: For high traffic, fabric paint tends to stay flexible and resist cracking better than straight acrylic. If you are using acrylic, add fabric medium so it does not dry stiff.
Step 1: Choose the size
Before you buy, decide where the runner starts and ends, and what width looks right in your space.
- Ceremony aisle: A runner in the 24 to 36 in range usually reads “intentional” without overwhelming the aisle. Keep it centered and leave enough room for chair legs and feet.
- Entry walkway: You can go narrower since it is more about guiding traffic and framing photos.
- Indoor hall: Consider door swing clearance and corners. A runner that catches on a door is the fastest way to make something look DIY in the wrong way.
Canvas drop cloths are often labeled by the overall cloth size, but hems and seams can steal a little usable area. When in doubt, go a bit larger, then trim.
Step 2: Prep the canvas
Check the tag first
Most drop cloths are cotton canvas, but they are not all finished the same way. Before you wash or heat-set anything, check the tag and any manufacturer notes. If there is no tag, test your plan on a corner.
Wash and dry
I always pre-wash canvas drop cloths. They usually come with factory stiffness and sometimes a little dust from packaging. Pre-washing helps the cloth relax, removes sizing, and reduces surprise shrinking after you paint.
- Wash alone the first time. Expect lint.
- Machine wash cold or warm on a normal cycle (unless the tag says otherwise).
- Dry on medium heat (again, follow the tag if it differs).
- Iron if you want crisp stencil lines, especially near the edges.
Flatten and weight
Lay it out on a protected surface and let it relax for a few hours. If the corners curl, place books or folded towels on the corners while you work.
Step 3: Test a swatch
This takes 10 minutes and saves so much frustration. Use a corner or an off-cut and do a quick mini version of your plan.
- Color check: Paint often dries a shade darker on canvas than it looks wet.
- Tape test: Lay a short strip of painter’s tape, paint next to it, pull it up, and see if you like the edge.
- Flex test: When dry, bend the fabric. If it feels crunchy, you may be using paint too thick or you need more fabric medium.
Step 4: Finish the edges
The edges are the giveaway. A clean edge turns “hardware store” into “custom rental.” Pick one of these based on your timeline.
Option A: No-sew tape hem
- Trim any frayed threads.
- Fold the edge under 1/2 in to 1 in.
- Secure on the underside with a strong double-sided fabric tape.
Option B: Iron-on hem tape
- Fold the edge to your desired hem width.
- Place hem tape inside the fold and press with an iron per the package directions.
Option C: Sewn hem
If you have a machine and a little patience, a simple straight stitch hem will survive multiple events. It also helps prevent fraying on outdoor surfaces.
Step 5: Pick a bold design
Walkway decor is like stage makeup. Subtle is pretty up close, but it disappears in photos. My rule is: one bold idea plus one supporting detail.
High-impact, low-effort ideas
- Classic border stripes: Two parallel stripes down the sides in your accent color.
- Monogram at the entrance: Initials or a short phrase near the start, leaving the rest clean.
- Repeating motif: Small florals, stars, hearts, or a simple leaf pattern every 12 to 18 inches.
- Painted “tile” blocks: A grid of soft squares looks stunning for indoor parties and garden showers.
- Direction marks: A subtle arrow pattern for buffet lines or open houses to guide traffic.
If your event style leans romantic, pair the runner with airy overhead details. I love a soft ceiling moment for entrances, and my budget method is here: Budget ceiling draping with tulle and fishing line.
Step 6: Paint without bleed
Tape first, then seal the edge
For clean stripes and borders, lay painter’s tape and press it down firmly. Then do one quick pass along the tape edge with your base canvas color paint. This can help “seal” the tape line so your contrasting color is less likely to sneak underneath. It is not magic on a super loose weave, so still use light coats and a firm tape press.
Use light coats
Two to three light coats beat one heavy coat every time. Heavy paint soaks the canvas, encourages bleed under stencils, and dries stiff. Light coats stay flexible and look more professional.
Stenciling tip
- Use a dense stencil brush or sponge.
- Load paint, then offload most of it onto a paper towel.
- Pounce straight up and down.
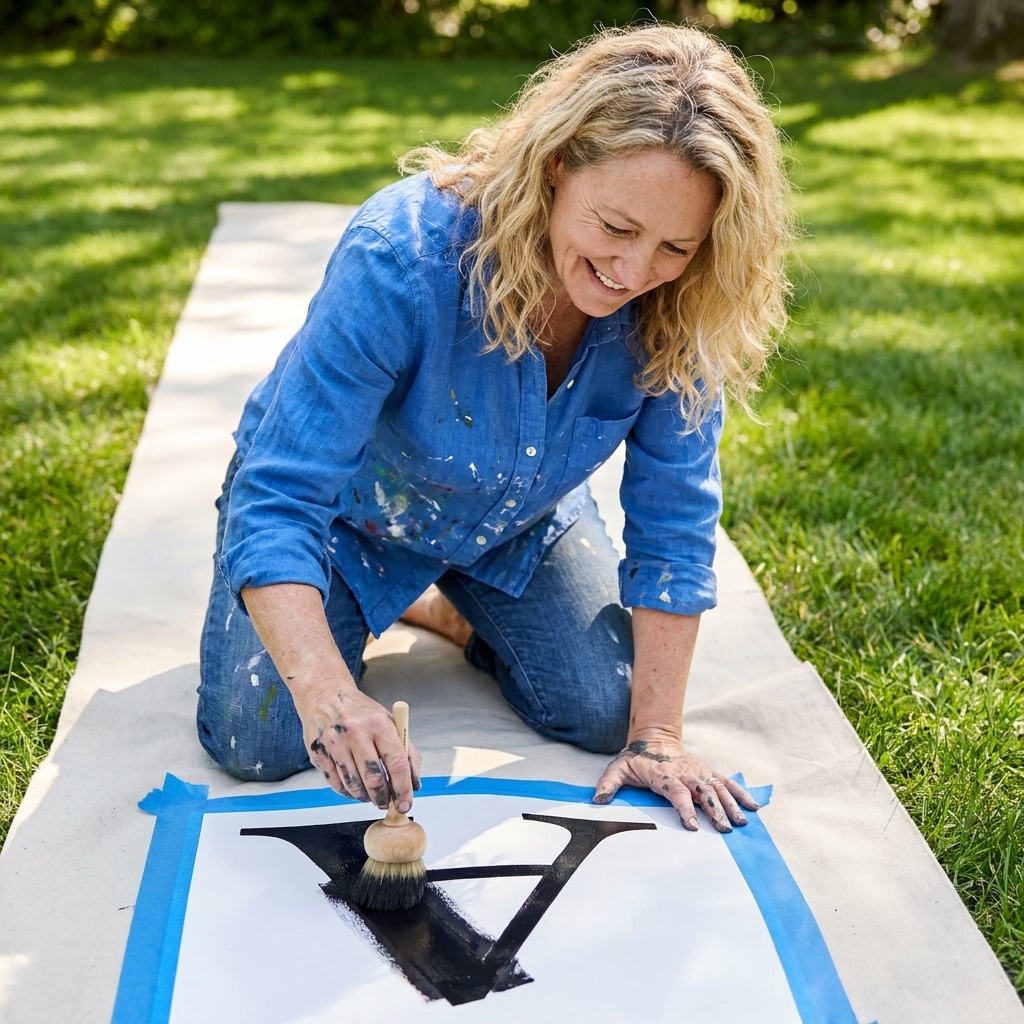
Step 7: Cure and protect
Always follow your paint’s instructions, but here is the general approach that works well for most fabric paint systems:
- Dry fully: Give it a real cure window so paint does not transfer. This is often 24 to 72 hours depending on product, humidity, and how heavy you painted.
- Heat-set if recommended: Usually an iron on the reverse side or through a pressing cloth.
- Optional water repellent spray: For damp grass or dewy mornings, a fabric-safe spray can help. Use it only once the paint is fully cured, spray in a well-ventilated area, and test on a corner first because some sprays deepen canvas slightly.
Install it safely
A gorgeous walkway is not worth it if it becomes a trip hazard. I install runners differently depending on the surface.
Indoors on hard floors
- Add non-slip rug pad strips underneath, especially at the entrance and along the sides.
- If you use gaffer tape, test it in an inconspicuous spot first. Some finishes do not love adhesives.
- If tape is not allowed, rely on non-slip padding plus hidden weights at the ends (tucked under decor).
- Make sure corners are flat and not curled.
Outdoors on grass
- Lay the runner down right before guests arrive to keep it clean.
- Anchor edges with small landscape staples if permitted, or hide weights under florals and greenery along the sides.
- Avoid placing it where sprinklers or runoff will hit first.
- If drinks will be carried over it, remember canvas absorbs liquid and can get slick when wet. Place bar traffic on a separate path if you can.
Gravel, dirt, or uneven ground
This is where canvas shines, but it will show bumps. If the ground is rough, use the runner as a visual guide rather than a pristine photo surface. Add a border of greenery, lanterns, or bud vases so the eye reads the walkway as styled, not stressed.
Budget upgrades
- Match one detail to your tables: Pull the same accent color from napkins, florals, or signage so the runner feels planned.
- Add a moment at the start: A small cluster of candles (LED for safety), lanterns, or florals at the entrance makes the runner feel intentional.
- Use negative space: Too much pattern can look busy fast. Let the canvas breathe.
- Coordinate with centerpiece heights: If you are styling both entrance and tables, my favorite trick for height without spending is using books as risers. Here is how I do it: Hardcover books as centerpiece risers.
Mistakes to avoid
- Skipping the wash: Unwashed canvas can repel paint unevenly and shrink later.
- Ignoring the tag: Some cloths fray, shed, or behave differently in the wash. A quick check prevents surprises.
- Overloading paint: Thick layers crack and look shiny. Lighter coats win.
- Choosing tiny designs: If guests cannot see it from several steps away, it will disappear in photos.
- Not securing the ends: The first 2 feet at the entrance gets the most scuffing and curling. Pad or secure it well.
- Forgetting dry time: Build in a full day buffer so you are not hauling a tacky runner to your venue.
Quick FAQ
Will paint transfer onto shoes or dresses?
If you use fabric paint (or acrylic plus fabric medium), apply light coats, and let it fully cure, transfer is unlikely. The bigger risk is rushing dry time. I always test by rubbing a clean white cloth across the painted area before event day.
Can I use a canvas drop cloth as a wedding aisle runner?
Yes. I prefer it to many disposable runners because it looks matte, lays flatter with good prep, and can be customized to your style. Focus on clean edges and secure installation.
How do I keep the runner from wrinkling?
Pre-wash, then either tumble dry and fold immediately or iron the top surface before painting. After painting, roll it around a cardboard tube for storage instead of folding. Rolling helps avoid hard creases.
How do I clean and store it after the event?
For most events, I spot clean first with a damp cloth and mild soap. If you need to wash it, wash alone on a gentle cycle and expect lint and a bit of fraying at raw edges. Air dry fully before storing. If it was used outdoors, do not store it even slightly damp since canvas can mildew. I like to roll it and store it in a breathable cotton sheet, not plastic.
What if it rains or the ground is wet?
Canvas will absorb moisture. If there is a real chance of wet ground, keep a backup plan like moving the runner indoors, laying it over a tarp (hidden beneath), or using it only for the photo entrance and not the full walkway.
More budget-friendly tricks
If you are building out a whole party look on a real-person budget, you will probably like the rest of my styling ideas in Budget Party Hacks. My decorating philosophy is always the same: pick a few details guests touch and photograph, then do those really well.