Skip the single buffet line. Learn a simple multi-level formula with hidden risers, crates, and tiered stands—plus station layouts that reduce bottlenecks an...
Gathova
Galentine’s Day Brunch Tiered Dessert Display

Joanna Mercer
Joanna Mercer is an enthusiastic DIY event decorator and the creative spirit behind Gathova's party guides. With years of hands-on experience designing stunning tablescapes, balloon garlands, and custom photo backdrops for friends and family, she specializes in accessible, budget-friendly celebrations. Joanna loves sharing her practical tips and crafting tutorials to help anyone turn an ordinary space into a memorable party venue.
Published
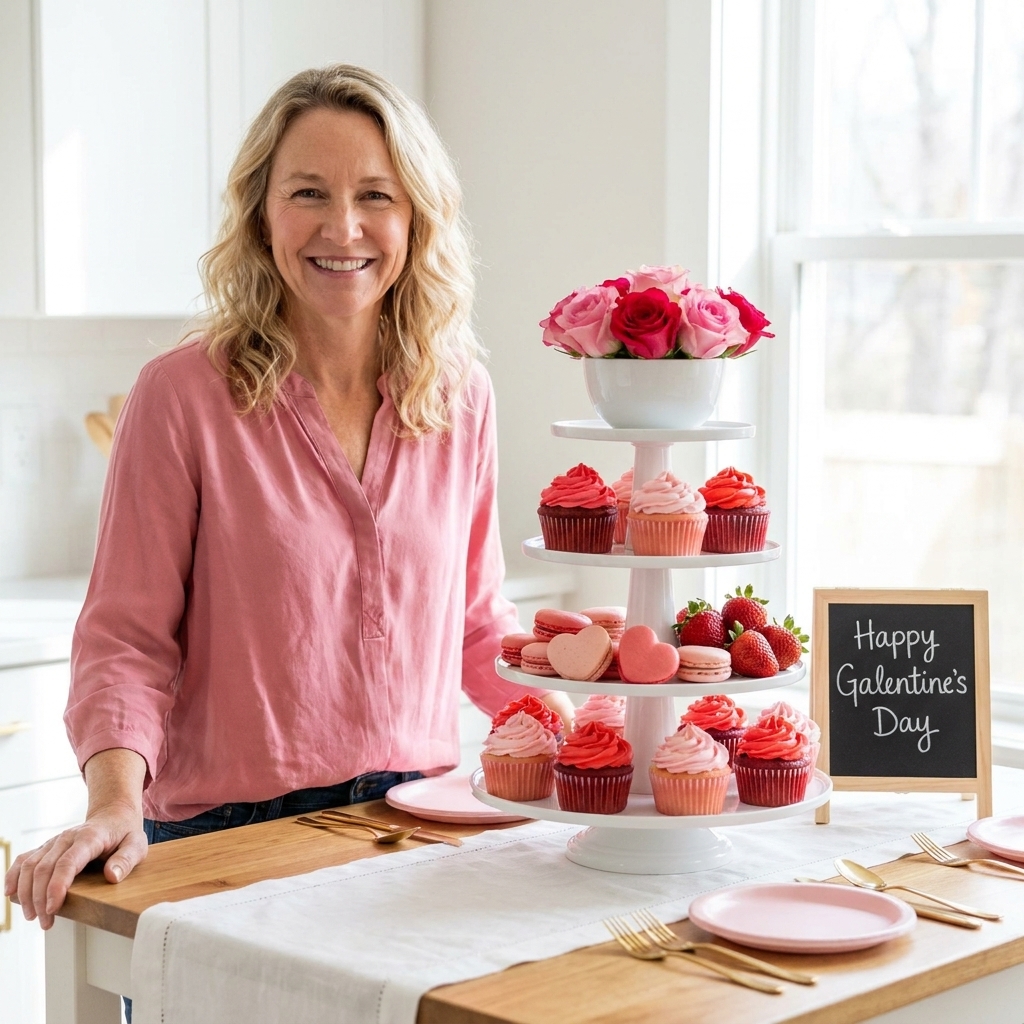
My Galentine’s rule is simple: if you can stack it, you can style it. A tiered dessert display looks fancy, keeps the table from feeling crowded, and makes even store-bought treats feel like they showed up in heels.
This is the exact approach I use when I want a pink-and-red moment that photographs beautifully and still functions like a real brunch. We are building height, creating zones, and using a few sneaky tricks to make it look cohesive without buying a matching set of everything.
The game plan
Before you pull out every cake stand you own, decide on three things. They do most of the heavy lifting.
- Palette: pink, red, white, plus one metallic. Gold reads warm and romantic. Silver reads modern and punchy.
- Heights: in my experience, 3 levels is the sweet spot for a home table. One tall statement piece, two medium risers, and the rest stays low for easy grabbing.
- Texture mix: glossy (berries, glaze), matte (cookies), soft (napkins, florals), and reflective (mirror base or metallic tray).
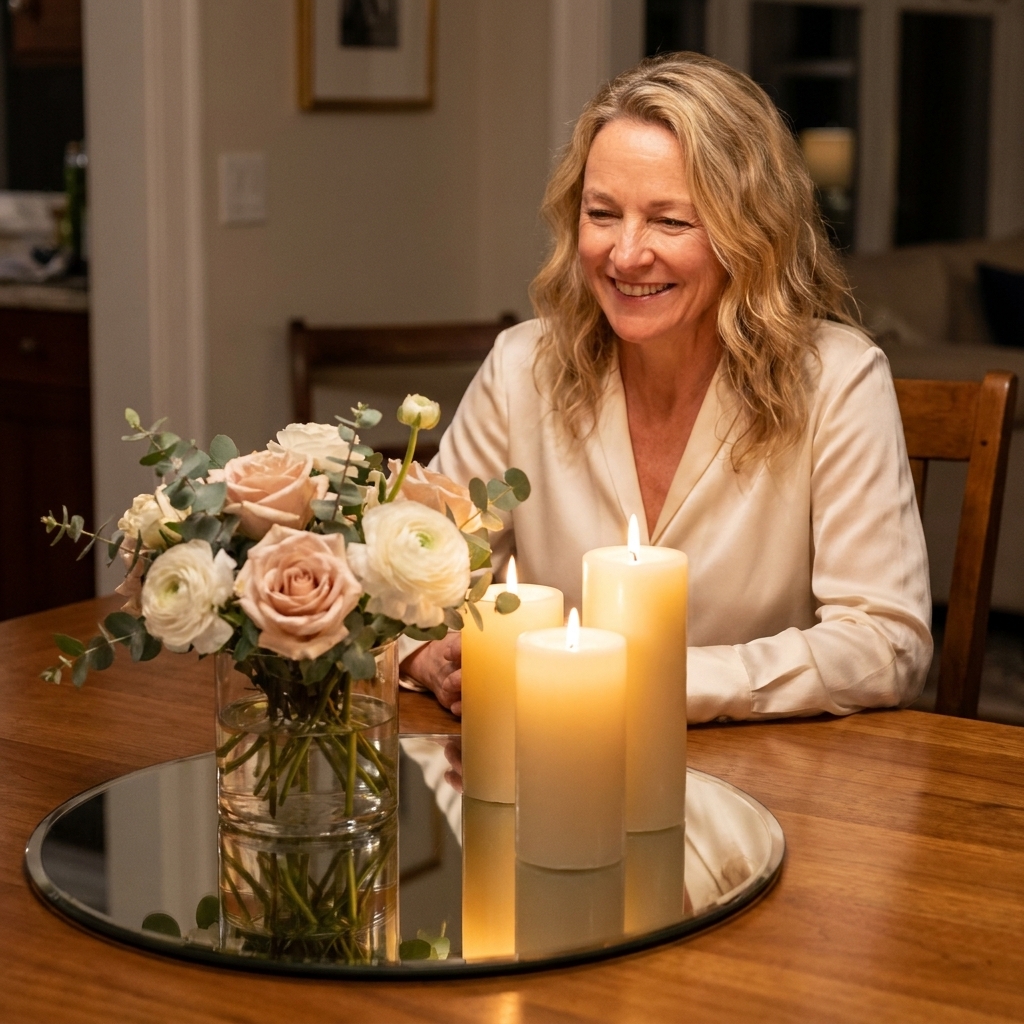
If your table tends to look flat, add one reflective layer under the hero desserts. A small mirror or shiny tray can bounce light and make pinks read brighter in photos, especially in window light. I lean on this constantly and it works for holidays beyond February too. If you want more ideas for that trick, see mirror bases for brighter centerpieces.
What you need
Core structure
- 1 tall tiered stand or a cake stand that sits high
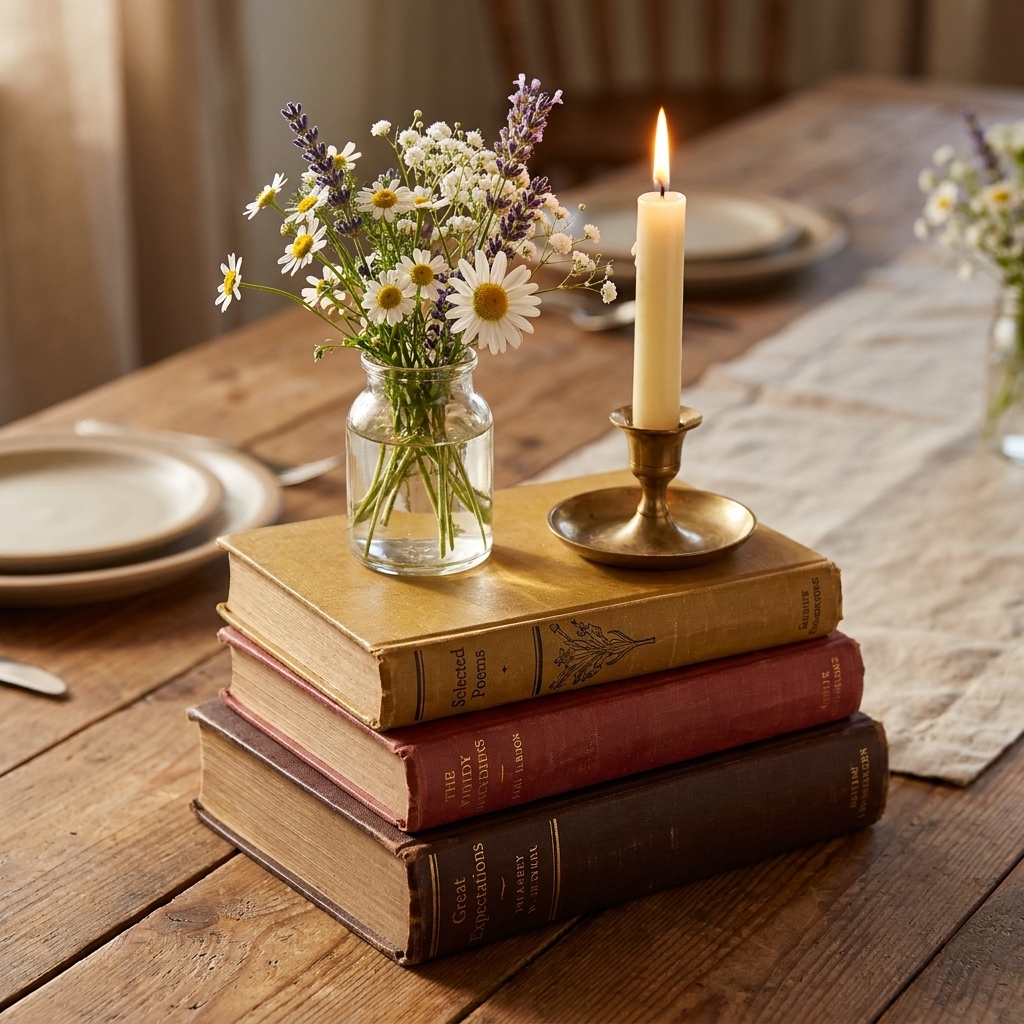
- 2 medium risers (wood blocks, inverted bowls, sturdy boxes, or hardcover books)
- 2 to 4 flat trays or platters (mixing shapes is fine)
- 1 table runner or wide strip of fabric (pink, blush, or white)
Styling helpers
- Doilies, parchment rounds, or white paper liners to unify mismatched plates
- Small bowls for candy and dip (ramekins are perfect)
- Wax paper or cupcake liners for sticky items
- Mini tongs or small serving spoons
- Florals: 1 small bouquet split into bud vases, or faux stems
- Candles (optional): tealights in holders or short pillars
Desserts and sweet snacks
- One hero dessert: cake, frosted cupcakes, or a stack of heart cookies
- One bite-size bakery item: mini donuts, macarons, brownie bites
- Fruit: strawberries, raspberries, cherries, or watermelon hearts
- Candy: pink and red chocolates, conversation hearts, gummies
- Something pale to calm the palette: meringues, vanilla wafers, white chocolate bark
If you are using hardcover books as risers, wrap them in kraft paper or white paper and tape the underside so it stays neat. I do this even with pretty books because frosting and book covers are not friends. Important: books and boxes are structure only. Food should always sit on a washable platter or a lined tray, never directly on paper-wrapped surfaces. For more riser ideas, I have a full guide on hardcover books as centerpiece risers.
How much to buy
For a brunch where people graze (not a sit-down plated dessert), I plan 3 to 5 bite-size pieces per person, plus fruit. If it is a true dessert-only hang, bump that to 5 to 7 pieces per person. I also like to build in one easy refill item (extra cookies or popcorn mix) so the table never looks sad halfway through.
- Fruit: about 1/2 cup per person (more if you have a lot of fresh-fruit people, which you probably do).
- Hero item: enough for everyone to have one, even if it is mini (mini cupcakes count).
- Candy: a small bowl goes a long way. Use it as filler, not the main event.
Step-by-step
Step 1: Anchor with a runner and two lanes
Lay your runner down the center. Then imagine two lanes:
- Back lane: tall pieces and tiered stands
- Front lane: low grab-and-go items and small bowls
This prevents tall pieces from blocking hands and sightlines. It also keeps photos clean because the tall pieces naturally frame the scene.
Step 2: Place your tallest stand first
Put the tallest tiered stand slightly off center. Dead center can feel like wedding-cake energy, which is cute, but for brunch I like it a little casual.
Pro tip: If your stand is wobbly, add a non-slip drawer liner circle under it. Give everything a gentle test nudge now, not when guests are reaching in.
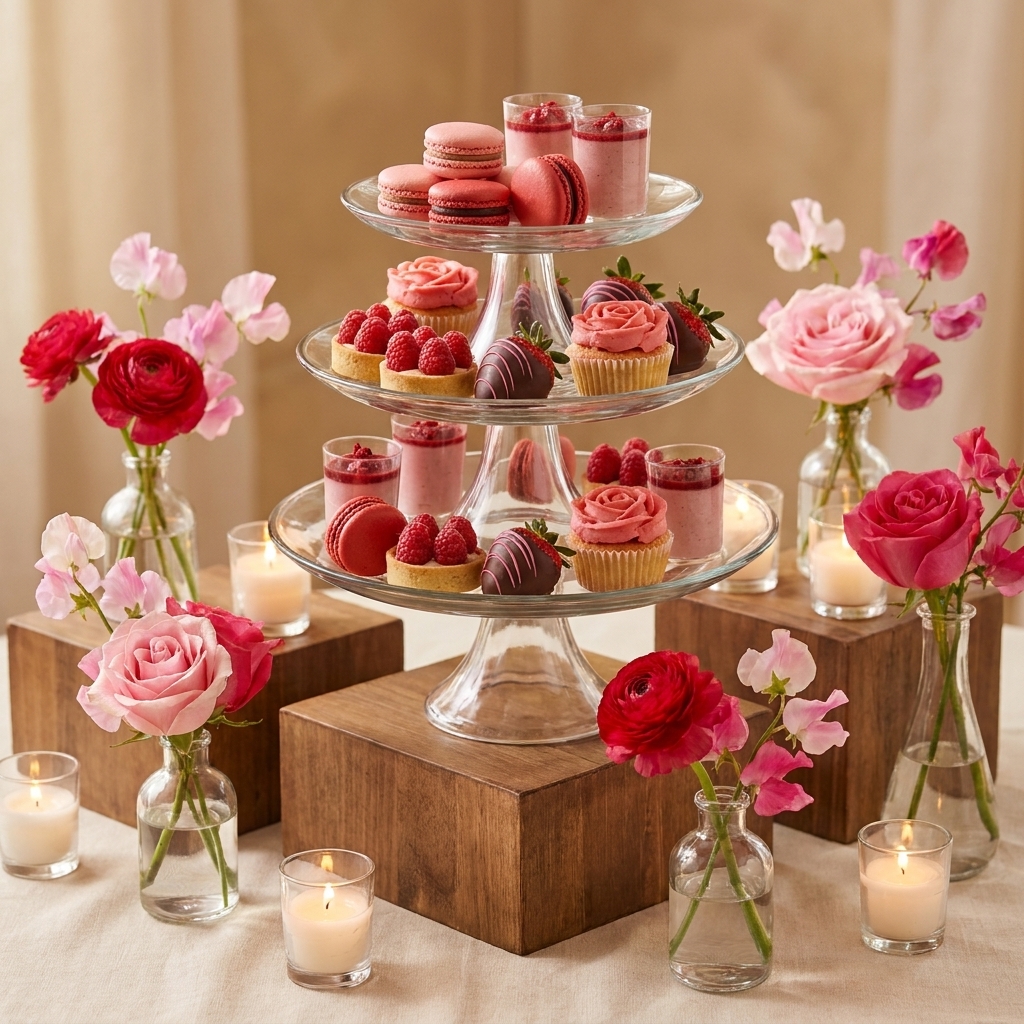
Step 3: Add two medium risers to form a triangle
Set two medium risers on either side of the tall stand, but not perfectly symmetrical. You are aiming for a loose triangle of heights. This is what makes the display look designed.
Step 4: Add liners before food
Drop doilies, parchment, or white liners onto trays and stands. This tiny step makes mixed metals and thrifted platters look like a curated set, and it keeps cleanup easy.
Step 5: Assign zones by type
This is the trick that prevents chaos. Group by what something is, then sprinkle color throughout.
- Zone A: cupcakes or cake slices (needs a server)
- Zone B: cookies and bars (grab-and-go)
- Zone C: fruit (fresh, bright, hydrating)
- Zone D: candy (fills gaps and adds sparkle)
Once zones are set, do a quick sprinkle-and-repeat: add a few pinks into the cookie zone, a few reds into the candy zone, and so on. That cross-mix looks thoughtful in photos.
Step 6: Build micro-height on each level
Even on a flat tray, you can create a little lift.
- Stack cookies in small piles of 3 to 5 instead of laying them flat.
- Use mini cupcake liners to corral truffles so they do not roll.
- Nest berries in a small bowl and then set that bowl on a plate to create a pedestal.
Step 7: Add florals and candles last
Split one bouquet into 3 to 5 mini arrangements. Bud vases make a dessert table feel romantic without eating up serving space.
Keep candles short and away from anything flammable (paper doilies, wrappers, fabric runners). If you are serving kids, pets are involved, or the table is tight, skip open flames and use faux candles instead. If you want tapers, make sure they are secure so you are not playing wax detective at the end of the party. My go-to method is in how to secure taper candles on event tables.
No-bake favorites
1) Strawberry shortcake cups
- Layer cubed pound cake, whipped cream, and sliced strawberries in clear cups.
- Top with a single raspberry or a white chocolate curl.
2) Valentine popcorn mix
- Mix popped popcorn, freeze-dried strawberries, mini marshmallows, and pink candy melts drizzled on top.
- Serve in a big bowl with a scoop so it feels like a treat bar.
3) Dressed-up bakery cupcakes
- Buy vanilla cupcakes, then add your own toppings: heart sprinkles, a single berry, or a piece of chocolate.
- Arrange in a tight cluster on the tallest tier so they read like a centerpiece.
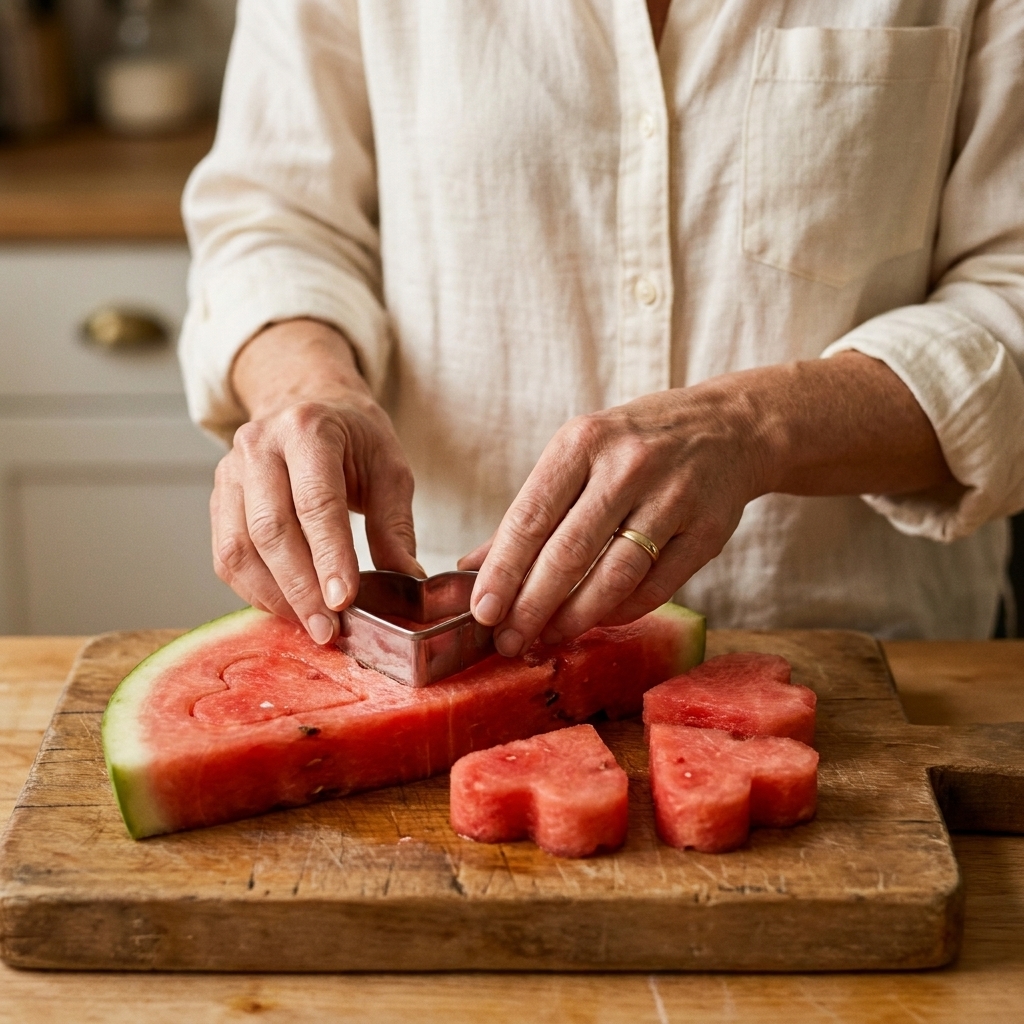
4) Watermelon hearts
- Slice watermelon into 1-inch slabs, then punch hearts with a cookie cutter.
- Stack on a white platter and tuck mint sprigs between stacks.
5) Chocolate dipped strawberries
- Dip in melted chocolate, then sprinkle with crushed freeze-dried berries or sanding sugar.
- Let set fully before they go on the stand so they do not glue themselves to your liners.
Diet-friendly swaps
I like to build one or two options that cover the usual needs, without making it a whole separate table.
- Gluten-free: add packaged gluten-free cookies or macarons, and keep them on their own small tray with their own tongs.
- Dairy-free: use a dairy-free whipped topping for the shortcake cups, or lean into fruit and sorbet-style treats.
- Nut-aware: skip mixed nuts and mystery chocolates, and choose clearly labeled candies. If you are unsure, keep nut items completely separate.
Keep it looking full
Dessert tables get picked over fast, which is the point. But you can set yourself up so it still looks pretty halfway through brunch.
- Backstock in the kitchen: keep extra cookies and berries ready to refill. Refill in small batches so things stay fresh and upright.
- Use smaller platters: in my experience, two small trays usually look fuller longer than one big tray that empties down to crumbs.
- Leave a few decor anchors: a bud vase and a candle (or faux candle) can sit in place all party and keep the structure.
- Crumbs are visual chaos: stash a small plate and damp cloth nearby for quick wipe-downs.
Budget swaps
- Inverted bowls as risers: flip over sturdy cereal bowls, cover with a napkin or fabric square, then place a platter on top.
- Thrifted platters with a faux finish: if you have a plastic tray that looks too casual, a metallic paint finish can make it read more event. My method is in faux metal finish for plastic platters.
- One statement item, everything else simple: splurge energy on the hero tiered stand (or borrow one), then use white plates everywhere else.
- Color through food, not decor: pink and red candies are cheaper than buying a whole set of themed servingware.
Quick fixes
My tiers look cluttered
Remove one item type completely, then re-add it in one zone only. Clutter is usually too many categories on one level.
Everything is the same height
Add two risers, even if they are just wrapped boxes. Height is the difference between snack table and styled display.
The reds feel too harsh
Add more white and blush as breathing room. White liners, meringues, and whipped toppings soften the whole look.
My table is small
Go vertical. One tall stand plus one medium riser can replace three platters. Also, push the display against a wall and serve drinks elsewhere.
Setup timeline
- Night before: wash platters, set risers, lay runner, prep non-perishables (cookies, candy, liners).
- Morning of: assemble fruit, fill cups, dip berries if you are doing them.
- 30 minutes before guests: place the hero desserts, then add florals and candles last.
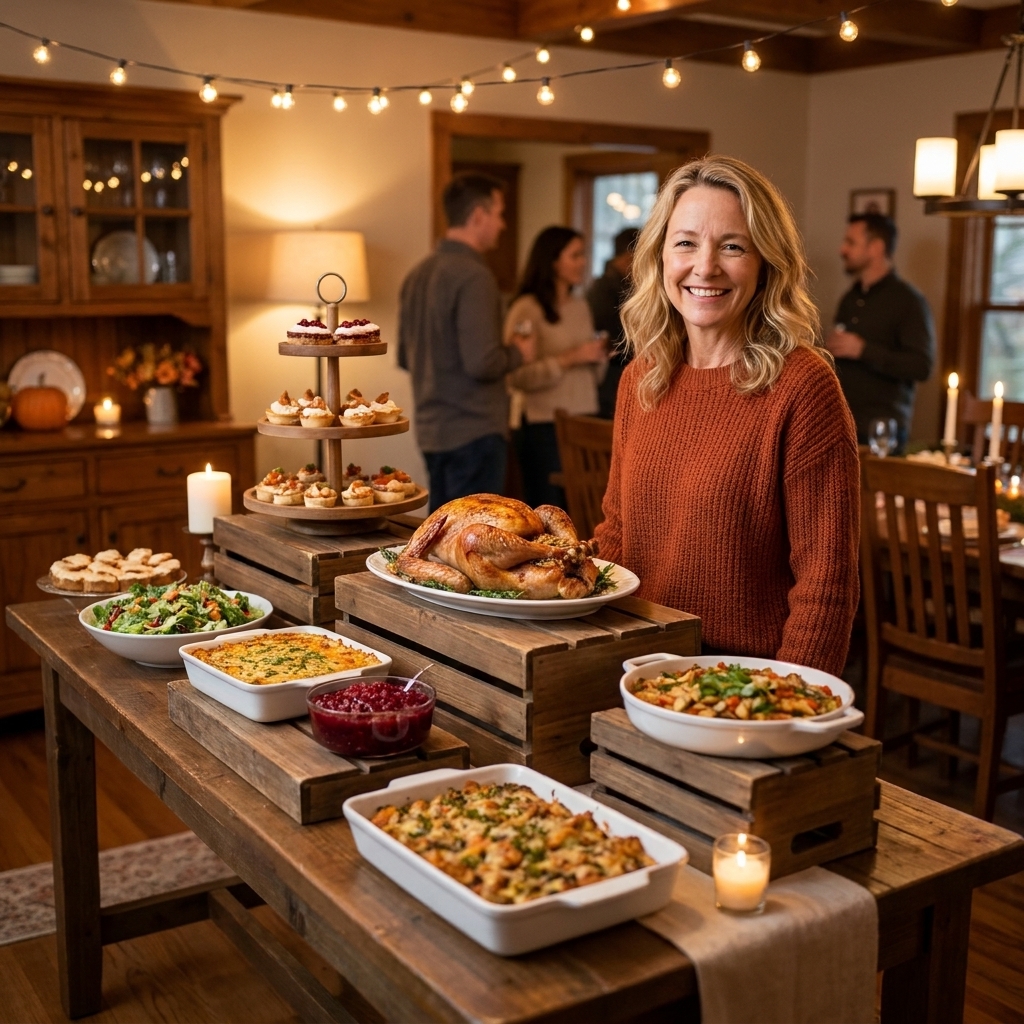
If you love multi-level serving for parties, you will also like my approach to building height for potlucks in Friendsgiving buffet setup with multi-level serving stations. The mechanics are the same, just with more casseroles and fewer macarons.