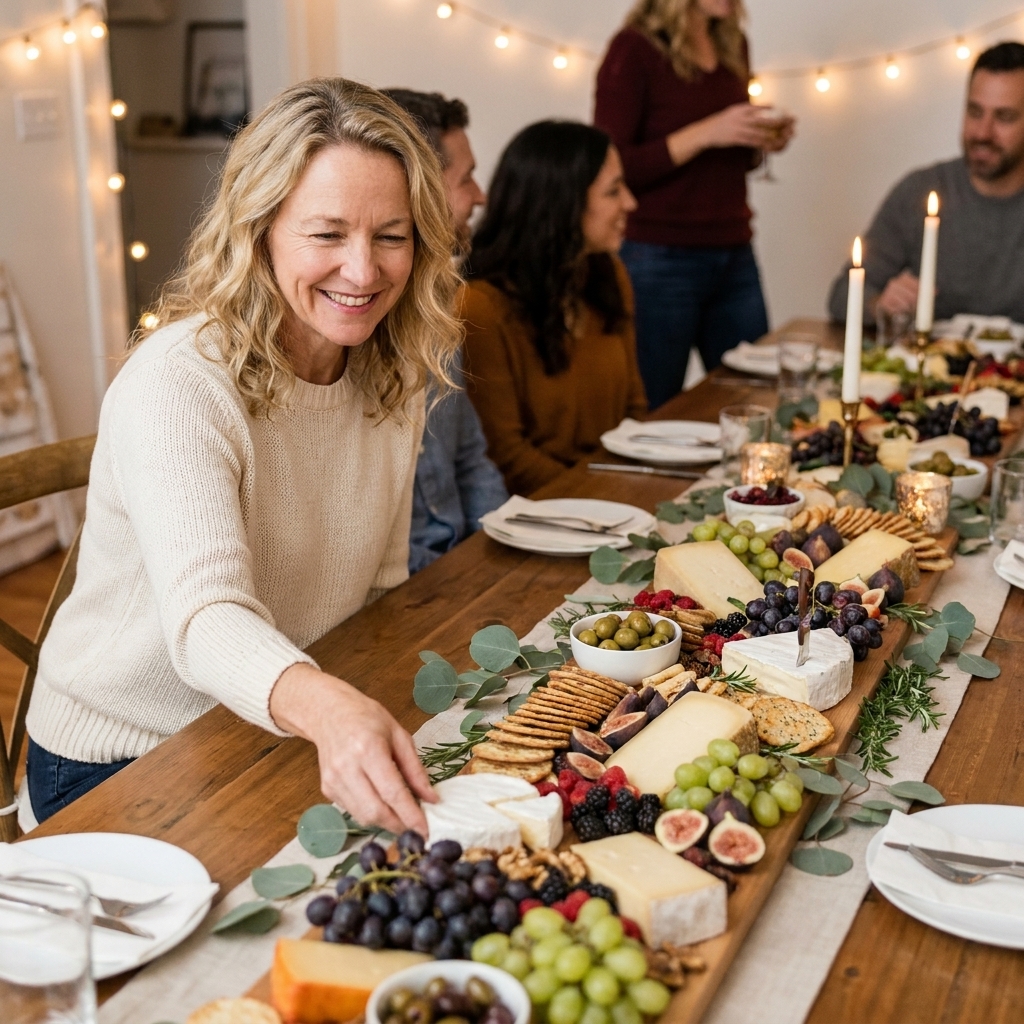
Create a casual, crowd-pleasing charcuterie table runner with parchment, bowls, and easy “flavor zones.” Includes food-safety basics, portion math, styling t...
Gathova
Friendsgiving Buffet Setup: Multi-Level Serving Stations for Potlucks

Joanna Mercer
Joanna Mercer is an enthusiastic DIY event decorator and the creative spirit behind Gathova's party guides. With years of hands-on experience designing stunning tablescapes, balloon garlands, and custom photo backdrops for friends and family, she specializes in accessible, budget-friendly celebrations. Joanna loves sharing her practical tips and crafting tutorials to help anyone turn an ordinary space into a memorable party venue.
Published
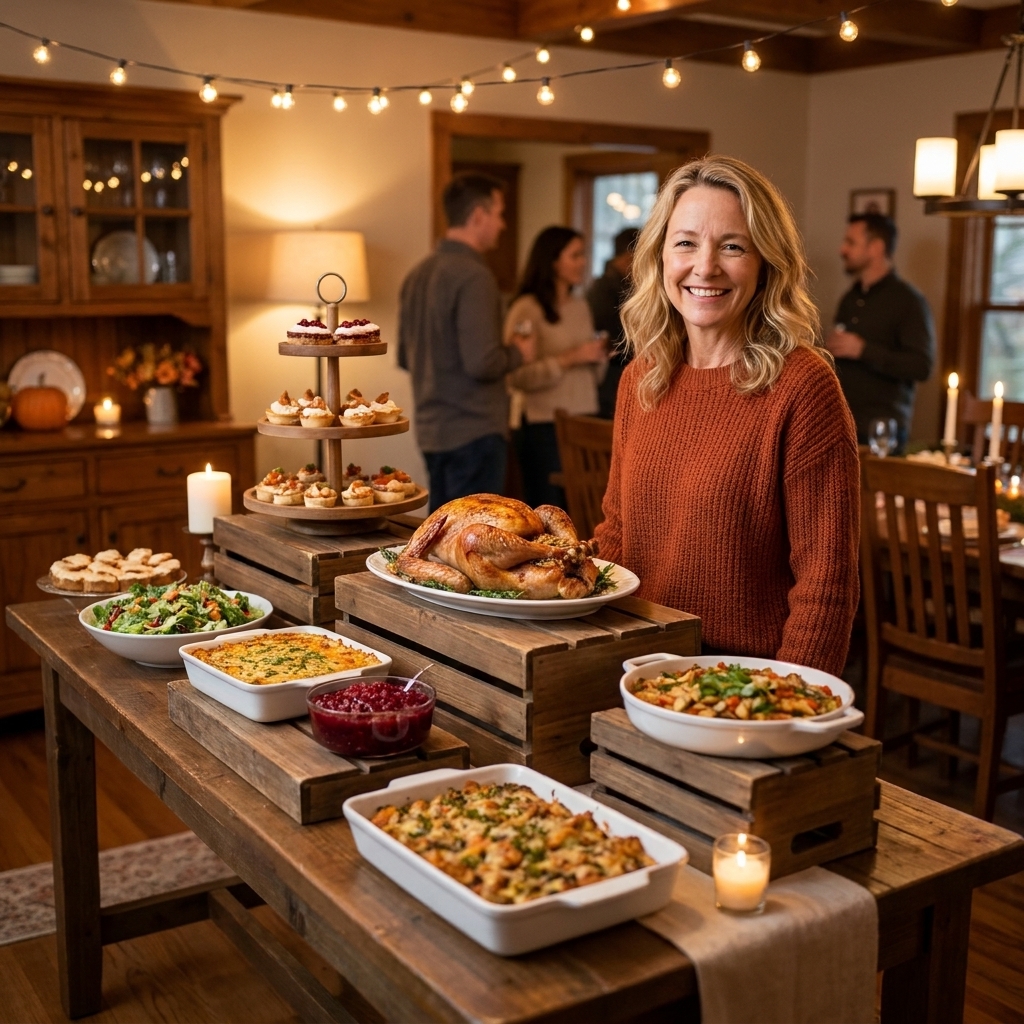
The fastest way to make a Friendsgiving potluck feel calm is to stop thinking “one long buffet line” and start thinking “stations.” I learned this the hard way hosting a tiny-apartment Friendsgiving where everyone arrived hungry at the same time. The food was amazing. The traffic jam was not.
My go-to fix is a multi-level setup: lift some dishes, hide the risers, and build clear zones so guests naturally know where to go next. It looks styled, it protects your table space, and it keeps the serving spoons from turning into a competitive sport.
Start with flow, not decor
Before you pull out the crates and cake stands, decide how people will move. Your buffet layout should answer three questions:
- Where does the line start? (Plates and napkins)
- Where does it naturally end? (Drinks and desserts are ideal end caps)
- Where will bottlenecks happen? (Anything that requires scooping, slicing, or ladling)
If you have the space, I love a “U” or “L” path along walls. If you do not, split into two stations so you are not forcing everyone into one narrow line.
Accessibility note: If you have guests using mobility devices, leave a wider lane where you can (think a clear path to the start and end), and keep essentials like plates, napkins, and drinks within easy reach. Tall tiers are pretty, but I save them for light, non-essential items.
For kid-friendly ideas that also reduce crowding, tuck a separate little table off to the side and borrow a few cues from these interactive Thanksgiving kids table decor ideas.
The multi-level buffet formula
Here’s the simple structure I use almost every time. It scales up or down depending on your guest count.
Level 1: The base layer
This is your table surface. Reserve it for big, heavy dishes and anything hot that should not wobble.
- Slow cookers, roasters
- Large casserole dishes
- Soup tureens (with a drip tray underneath)
Joanna tip: Put hot items toward the back half of the table so sleeves and purses are less likely to brush them. If kids are around, I keep cords routed away from the serving edge and taped down with painter’s tape or gaffer tape so they do not become a trip hazard. Also, do not overload outlets or power strips.
Level 2: Hidden risers
Risers create visibility and free up elbow room. The trick is making them sturdy and invisible.
- Upside-down mixing bowls under a tablecloth
- Sturdy boxes taped shut, then wrapped in kraft paper
- Thick hardcover books under a runner (my favorite for quick height)
Safety check: Whatever you use, press down on it first. If it shifts, creaks, or feels soft, it is not a riser. Keep paper and cardboard away from heat sources and anything damp or drippy.
Want a pretty version of the book trick? I keep a small stack of neutral hardcovers for parties and use them the same way I do for centerpieces: hardcover books as risers look intentional when you repeat them and keep colors calm.
Level 3: Decorative lift
This is where the buffet starts looking styled, even if everything is potluck containers.
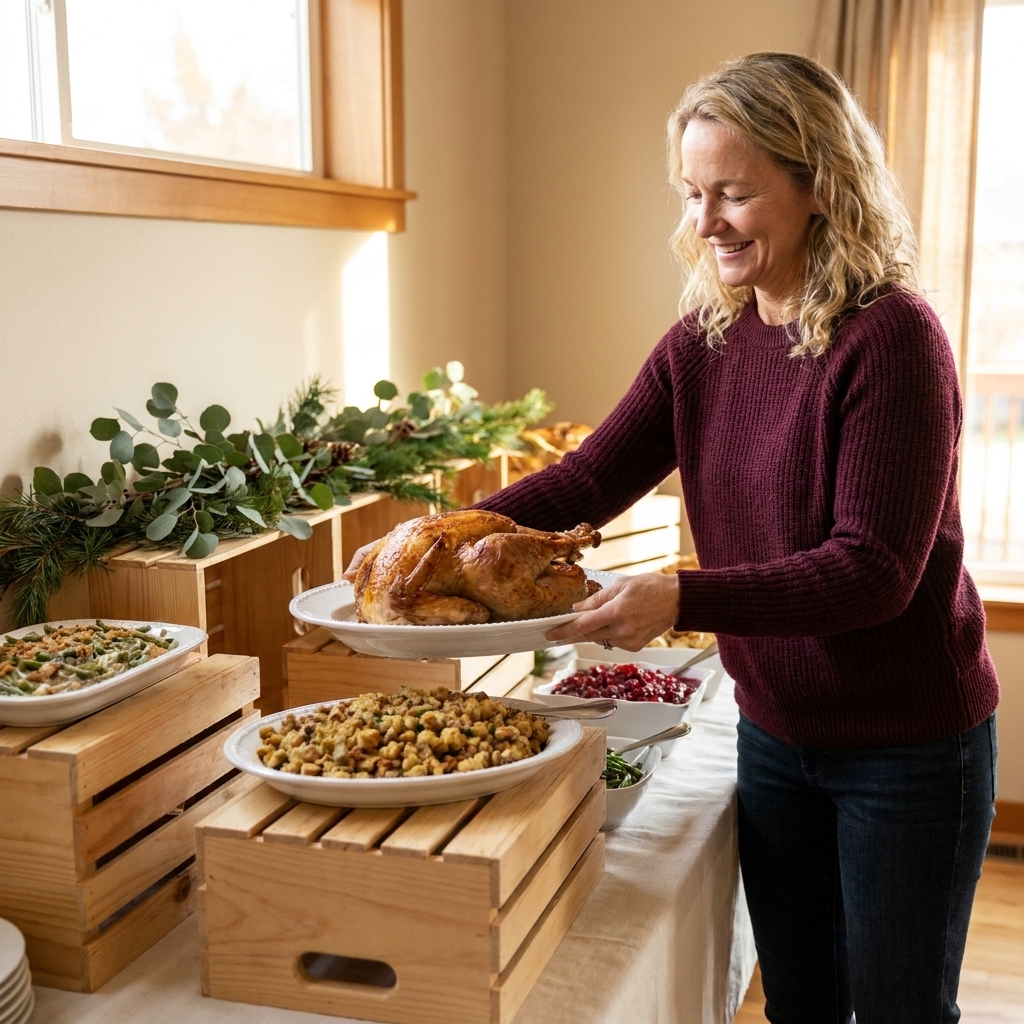
- Wood crates turned sideways for a shelf effect
- Tiered stands for rolls, fruit, cookies, or utensils
- Large serving trays to corral smaller bowls
Rule of thumb: Put light items up high, heavy items down low. Nobody wants to wrestle a 9x13 pan of mac and cheese off a wobbly crate.
Build stations to prevent gridlock
Instead of one overloaded table, aim for 2 to 4 mini areas. Even in a small space, splitting tasks reduces clumping.
Station 1: Plates and flatware
- Plates at the very start, stacked
- Napkins next, then flatware last
- Put extra napkins in a second spot halfway down the table too
Multi-level idea: Set plates on a low riser so guests do not have to bend, then put napkins on a small tray on top of a crate shelf.
Station 2: Mains and warm sides
This area needs the most breathing room. Space out anything that requires scooping or ladling.
- Aim for a few inches between dishes when possible
- Place serving tools on their own little spoon rest or saucer
- Double up popular items (two gravy boats beats one)
If you need extra light bouncing around the table for visibility, a reflective base under a centerpiece or serving tray helps more than you would think. I use the same trick from mirror bases for brighter centerpieces, but scaled for buffet trays.
Station 3: Cold sides and salads
Cold items are quicker to serve, so this station can be tighter and more vertical.
- Use a tiered stand for salad toppers: croutons, seeds, dried cranberries
- Put dressing at the end of the station so people do not stop and debate mid-line
- Use a tray under anything drippy (olives, pickles, marinated veggies)
Station 4: Drinks and dessert
Put drinks and dessert away from the hot food. People linger here, and you want them lingering out of the main traffic lane.
- Use a small side table, kitchen island, or bar cart
- Put cups first, then beverages, then ice last (stirrers and garnishes can go after the ice)
- Dessert plates and forks live here, not at the main plate stack
Keep food at the right temp
You do not need to turn Friendsgiving into a lab experiment, but a few small moves help food stay safe and appetizing.
Keep cold foods cold
- Nest a serving bowl into a larger bowl filled with ice, especially for dairy-based dips and mayo salads.
- Serve in smaller bowls and refill from the fridge so the “on the table” version is not sitting out for hours.
- If a dish tends to get watery, keep a small stack of paper towels tucked behind it for quick wipe-ups.
Keep hot foods hot
- Keep lids on until guests arrive, then partially cover between rounds.
- Cluster warm dishes together so the area holds heat better.
- If you have backups, refresh from the kitchen instead of letting one big pan cool off in place.
Crates and tiers that look styled
Crates and tiers are what turn a potluck into a display. A couple of small styling rules keep it from feeling like you raided the garage five minutes before guests arrived.
Repeat materials
If you use one wood crate, use at least one more wood element: a wood cutting board, a bamboo riser, or a wooden tray. Repetition is what reads as designed.
Keep tall pieces toward the back
This keeps the table looking tidy and makes labels easier to see. It also stops guests from reaching over tall items to grab things.
Corral small items on trays
Butter, jam, olives, and little condiment bowls get visually messy fast. Put them on one tray so you can pick up the whole cluster to refill or wipe spills.
Add one simple greenery moment
A short, low garland strip or a couple of leafy stems in a small vase makes the buffet feel festive without stealing serving space. If you want budget-friendly picks that still look lush, I keep a running list in 7 inexpensive greenery picks for lush table runners.
Placement details that speed things up
Give every dish its own utensil
Every dish gets its own utensil. Always. If the handle will slide into food, wrap the end with a small piece of parchment or set a spoon rest right beside the platter.
Use landing zones
I leave 8 to 12 inches of empty space every few feet, especially near messy items. Guests need a spot to pause, adjust their plate, and not knock over the cranberry sauce.
Label allergens simply
A small card that says “contains nuts” or “gluten-free” keeps everyone comfortable. Keep it consistent and simple. If you do not have card holders, tuck cards into a napkin fold or lean them against a small pumpkin.
Prevent drip trails
- Put sauces and gravies at the end of the hot-food station
- Keep stacks of extra napkins near sauces
- Use a tray under anything that sweats or leaks
Two layouts I use a lot
Layout A: One long table
- Start: plates, napkins, flatware
- Middle: hot mains and warm sides
- End: cold sides, then sauces
- Separate table: drinks and dessert
Layout B: Split stations
- Station 1 (kitchen counter): hot foods, gravies, serving spoons
- Station 2 (dining table): cold sides, breads, toppings
- Station 3 (side table): drinks
- Station 4 (coffee table or console): dessert
This split-station approach is also my favorite trick when you have mixed table shapes and need flexibility. If your dining situation is a little “whatever fits,” you will like these tablescape layouts for mixed table shapes for planning where things can realistically go.
Make it feel like Friendsgiving
Function comes first, but we still want it cozy. A few details give you that warm, gathered feel without cluttering the serving surface.
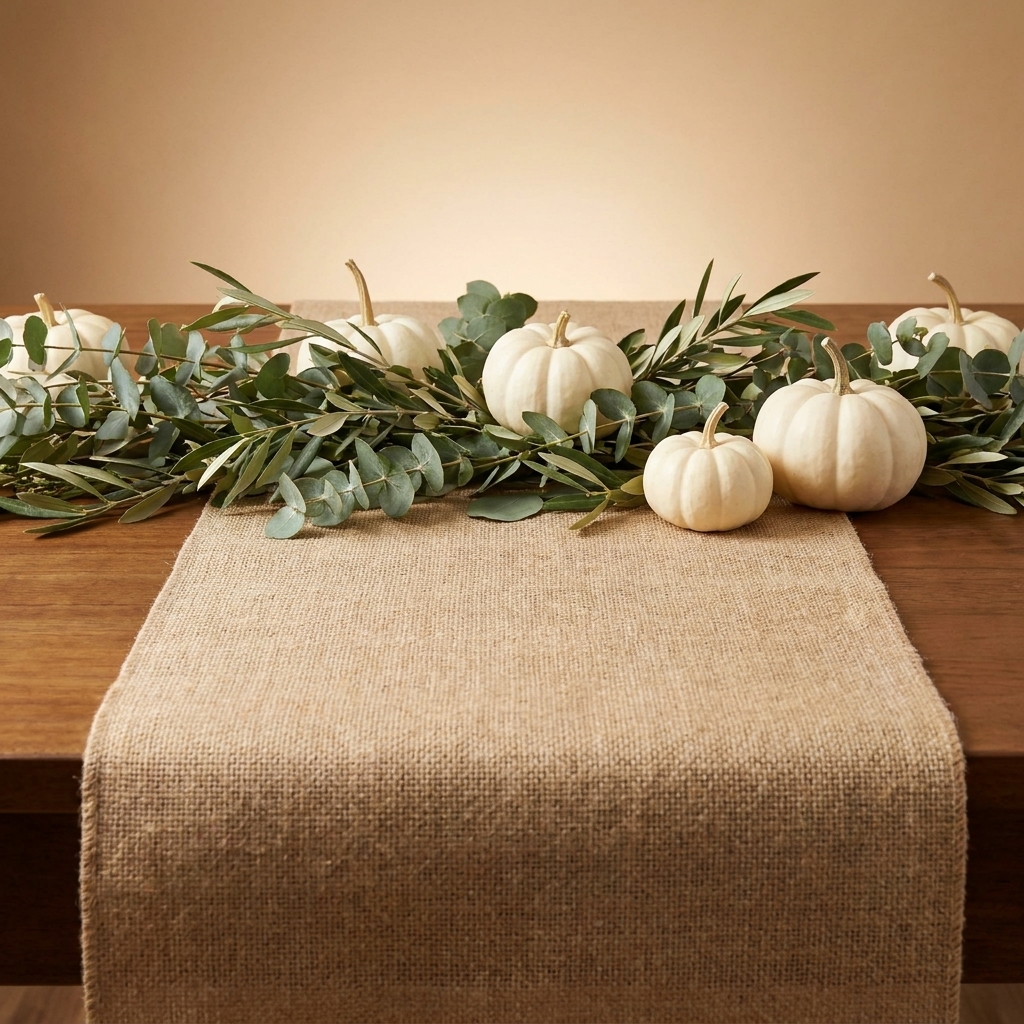
- Runner down the center: It visually unifies mismatched dishes and hides risers.
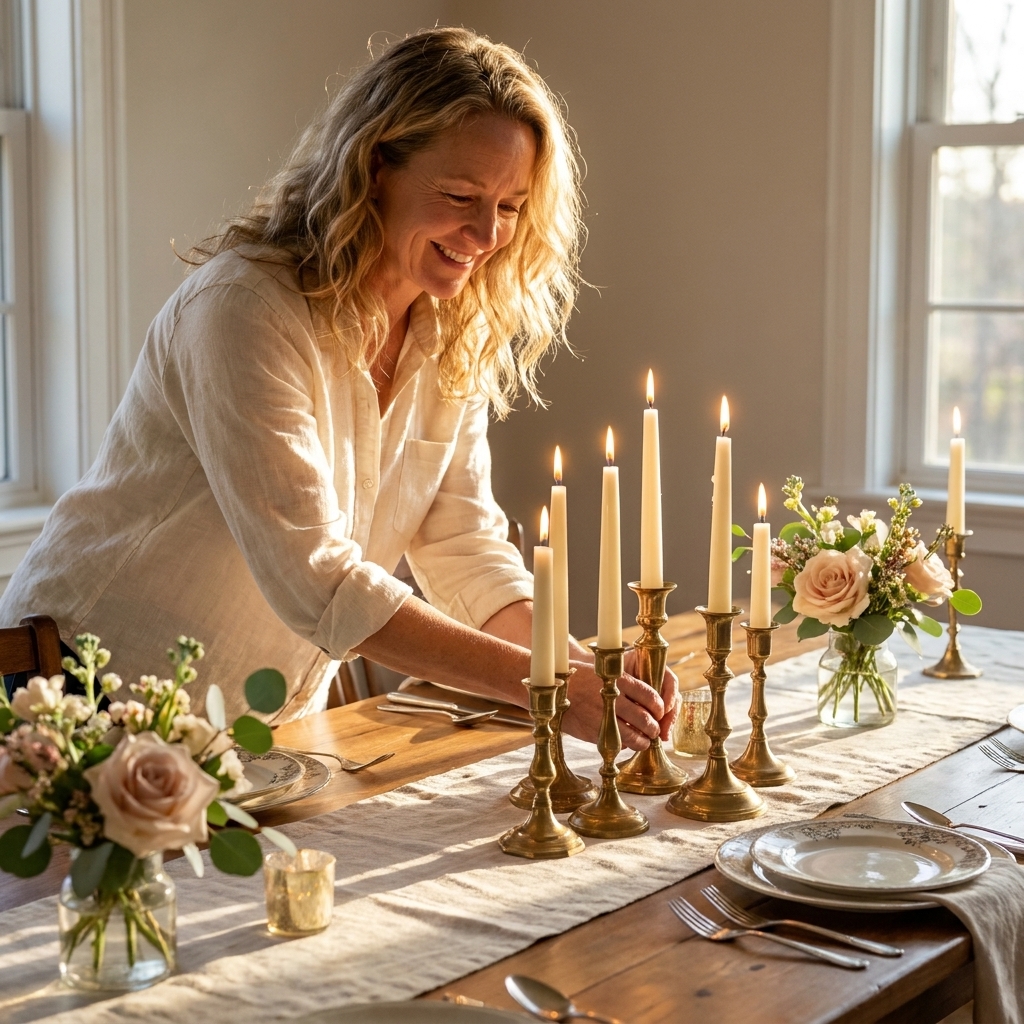
- Low candlelight on a side surface: Keep flames away from traffic, paper runners, and greenery. If you use tapers, make sure they are secure. I follow my own rules from how to secure taper candles on event tables.
- One seasonal focal point: A small vase of leaves, mini pumpkins, or a bowl of citrus (bonus: it smells great).
Quick troubleshooting
The table looks crowded
- Move drinks and dessert off the main table
- Take bread to a separate basket station
- Remove lids and store them underneath the table so guests are not juggling
Guests keep cutting the line
- Create a clear start with plates and a little visual cue (a small pumpkin, a napkin basket)
- Angle platters so the handles of serving spoons point forward, guiding movement
- Split into two stations if possible
Hot food is cooling too fast
- Cluster hot items together instead of spreading them out
- Use insulated carriers until the last minute
- Serve in smaller pans and refresh from backup
You have mismatched serving dishes
Lean into it. Use trays and runners to unify, and keep the busy patterns low and the calm neutrals high. If you need a quick upgrade trick, I use spray paint and faux finishes all the time. The technique in faux metal finish for plastic platters can make thrifted or plastic pieces look surprisingly elevated.
Friendsgiving buffet checklist
- Plates and napkins at the start, with backups placed halfway down
- Every dish has its own serving utensil
- Hot foods grouped, cords routed safely and taped down
- Sauces at the end of the hot station, with extra napkins nearby
- Cold station set up with tongs and small bowls corralled on trays
- Drinks and dessert moved to a separate surface
- Trash and recycling easy to spot (and not blocking the line)
- One wipe-down cloth and paper towels hidden but reachable
Once you have the levels and stations in place, you can relax and enjoy the point of the whole thing: friends, comfort food, and the kind of laughter that makes your cheeks hurt.