Turn thrifted hardcovers into charming centerpiece risers. Learn what books to buy, how to clean and prep them, stack them safely, and style them for wedding...
Gathova
Hand-Dyed Cheesecloth Table Runners

Joanna Mercer
Joanna Mercer is an enthusiastic DIY event decorator and the creative spirit behind Gathova's party guides. With years of hands-on experience designing stunning tablescapes, balloon garlands, and custom photo backdrops for friends and family, she specializes in accessible, budget-friendly celebrations. Joanna loves sharing her practical tips and crafting tutorials to help anyone turn an ordinary space into a memorable party venue.
Published
The first time I dyed cheesecloth for a backyard party, I was chasing that “effortless” rustic look I grew up with at my parents’ summer luaus. You know the vibe: soft fabric draped down picnic tables, colors that feel sun-faded in the best way, and edges that look like they’ve always been that way. The secret is not buying pricey runners. It’s buying bulk cheesecloth and dyeing it yourself, then finishing it like a stylist would.
This guide walks you through everything: picking dye, mixing custom shades, getting consistent color across multiple runners, setting the dye so it survives real life, and fraying the edges for that airy, gathered look.
Why cheesecloth runners look expensive
Cheesecloth does three things that make a tablescape instantly feel styled:
- It drapes beautifully without stiff folds, so your table looks soft and layered.
- It takes dye in a slightly uneven way (especially when you scrunch it), which reads as hand-crafted and organic.
- It frays on purpose, giving you that airy edge that looks like boutique linen.
I love pairing dyed cheesecloth with simple bud vases, taper candles, and thrifted serving pieces. If you’re building a whole tabletop moment, you’ll also like our ideas in Tablescapes & Centerpieces.
What to buy (and what actually matters)
Cheesecloth: what kind?
Event cheesecloth is often 100% cotton in a loose weave, but “cheesecloth” gets used as a catch-all term online. You’ll also see cotton blends and gauze-y fabrics sold under the same name. If you want richer, longer-lasting color, 100% cotton is the easiest win.
How to verify fiber content: Check the packaging or product details for “100% cotton.” If it’s unclear, message the seller or do a small dye test on a scrap first. (If you do a burn test, do it safely outside with tiny threads only, and follow fire safety basics.)
Dye options you can use
- Fiber-reactive dye (best for cotton): Most colorfast, brightest results. Great if you want runners you can rinse, store, and reuse without worrying.
- All-purpose dye: Easy to find and works fine for one-time events, but can fade faster and may bleed more if not set well.
- Natural dyes: Beautiful, muted, and unpredictable (in a fun way), but they require more testing and usually a mordant step.
Other supplies
- Large plastic bin or bucket (big enough for the runner to move freely)
- Rubber gloves
- Measuring spoons/cups
- Wooden spoon or tongs
- Old towels or a drying rack
- Optional but helpful: a kitchen scale for repeatable color
Quick safety note: Use tools dedicated to dyeing, not your everyday food-prep utensils. Wear old clothes, protect surfaces and floors, and keep kids and pets out of the splash zone.
Protect your space: Cover counters with a trash bag or old tablecloth. Dye splashes have zero respect for “I’ll be careful.”
How much cheesecloth do you need per table?
For the most common event tables (and depending on how much drape or pooling you want):
- 6-foot rectangular table: 8 to 10 feet of cheesecloth for a soft drape with some pooling at both ends
- 8-foot rectangular table: 10 to 12 feet
- 60-inch round table: 8 to 10 feet laid across the center with ends hanging
I like runners that are 20 to 35 inches wide once they’re fluffed and styled. Cheesecloth often comes wider than that, so you can cut it down or gather it more.
Prep: wash first (yes, even if it’s “new”)
If you want even color, wash your cheesecloth first. New fabric can have sizing, oils, or warehouse dust that blocks dye.
- Wash in warm water with a small amount of detergent.
- Skip fabric softener. It can create a coating that resists dye.
- Dry or use damp. Damp fabric often dyes more evenly, so I’ll go straight from the wash to the dye bath.
Mixing your color: my method for predictable results
The easiest way to get a custom shade is to think like a painter: start light, then deepen slowly.
Step 1: decide your “undertone”
- Dusty rose: pink + a tiny touch of brown or gray
- Terracotta: orange + a little brown
- Sage: green + a tiny touch of gray or brown
- Moody plum: purple + a touch of black or brown
- Soft greige: beige + a hint of gray
Step 2: do a tiny test swatch
Cut a small strip (even 6 inches is fine), dip it, rinse it, and dry it quickly with a towel. It looks darker when wet and will dry lighter. Your dried swatch is the truth.
Step 3: write it down
If you’re dyeing multiple runners, jot down your measurements. Nothing is more annoying than nailing the perfect color once, then guessing your way through runner number four.
Hand-dye method (bucket dye bath)
This is my go-to for runners because it gives that soft, slightly varied tone that looks expensive on a table.
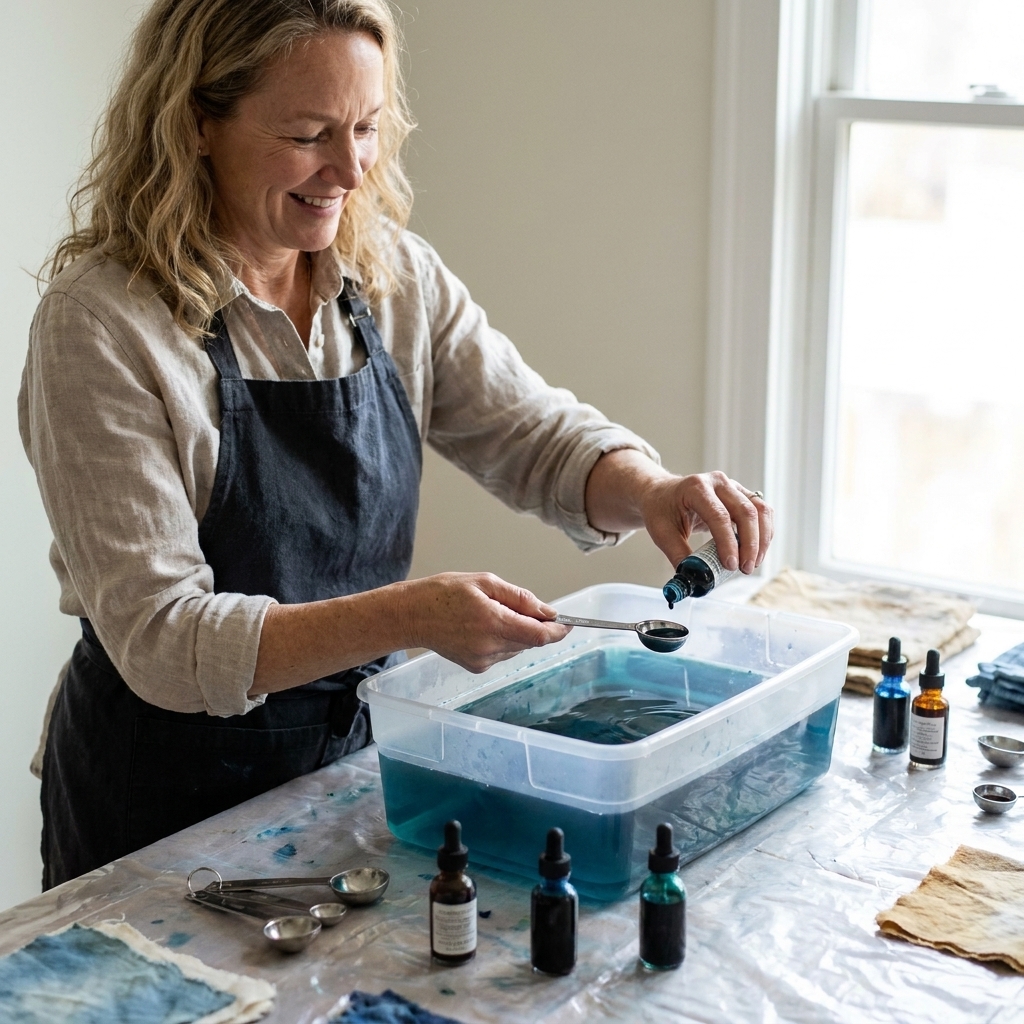
1) Fill your bin with warm water
Warm water helps dye dissolve and penetrate evenly. Use enough water that the fabric can move around without bunching into a tight ball. If you’re using an all-purpose dye, check the label first. Some formulas want hotter water for best results.
2) Dissolve dye completely
Add dye to the water and stir until you see no specks. Undissolved dye can cause dark spots.
3) Add fabric and keep it moving
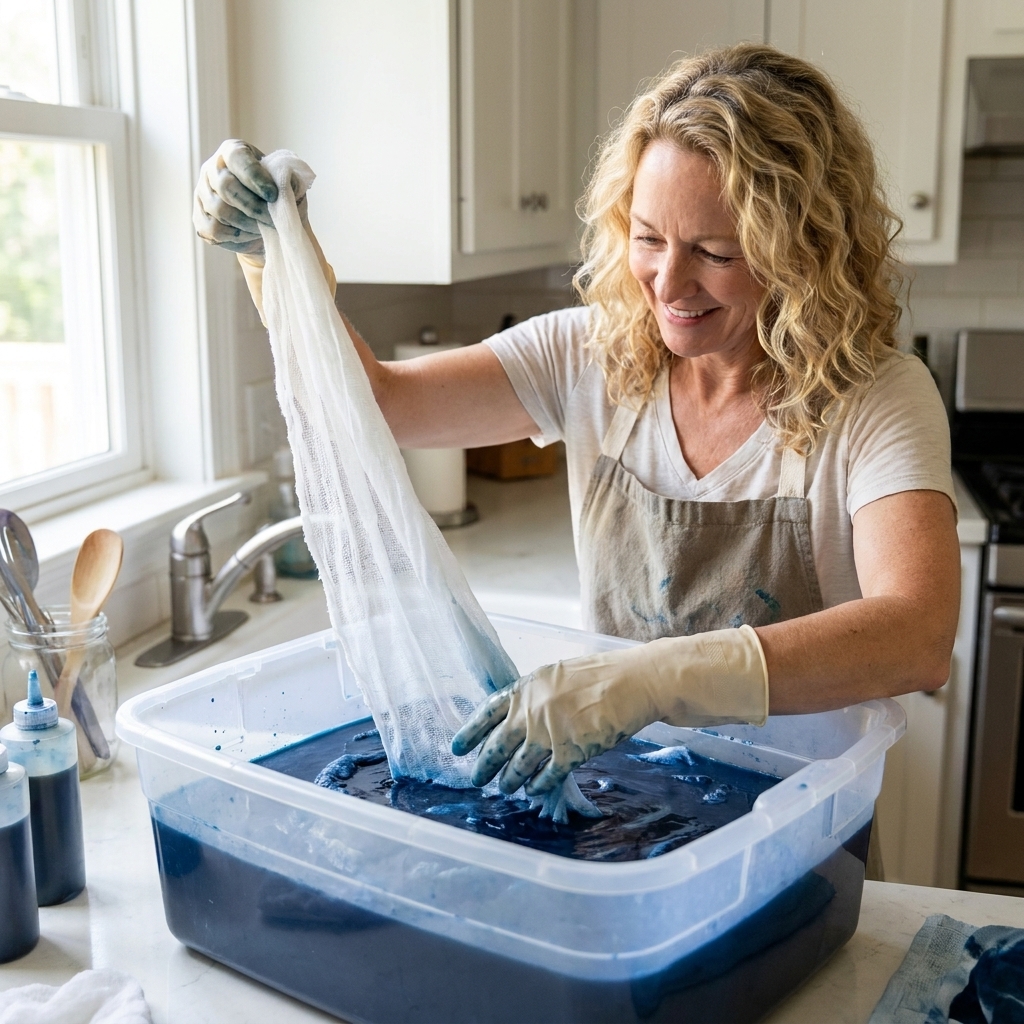
Lower the cheesecloth in slowly, then stir and lift it through the bath. Move it around for the first few minutes so you do not get harsh lines.
4) Control the look by how you handle the fabric
- More even, solid color: keep it spread and moving.
- More “cloudy” and organic: gently scrunch it and let it sit, then flip it once or twice.
5) Check color early and often
Pull a section up, squeeze lightly, and remember it will dry lighter. If you want a very airy, whispery color, you might only need a few minutes.
Setting the dye so it doesn’t bleed
This part matters if your runners will touch napkins, place cards, or light-colored clothing. Exact setting steps depend on the dye type, so always follow the manufacturer’s instructions first. That said, these are the practical moves that help no matter what:
Match your setting step to your dye
- Fiber-reactive dye (cotton): You typically need soda ash (or the dye system’s recommended auxiliary) plus enough time to react. Some methods use a soda ash pre-soak; others add it to the bath in a specific order. Either way, you usually get better washfastness if the fabric stays damp and warm for the full time listed on the dye instructions.
- All-purpose dye: Many all-purpose dyes want hotter water than you’d guess, and some use salt or vinegar as directed. Follow the label closely, and plan on extra rinsing.
- Natural dyes: Washfastness varies and usually involves a mordant step. Always test first if you’re making a full set of runners.
Rinse like you mean it
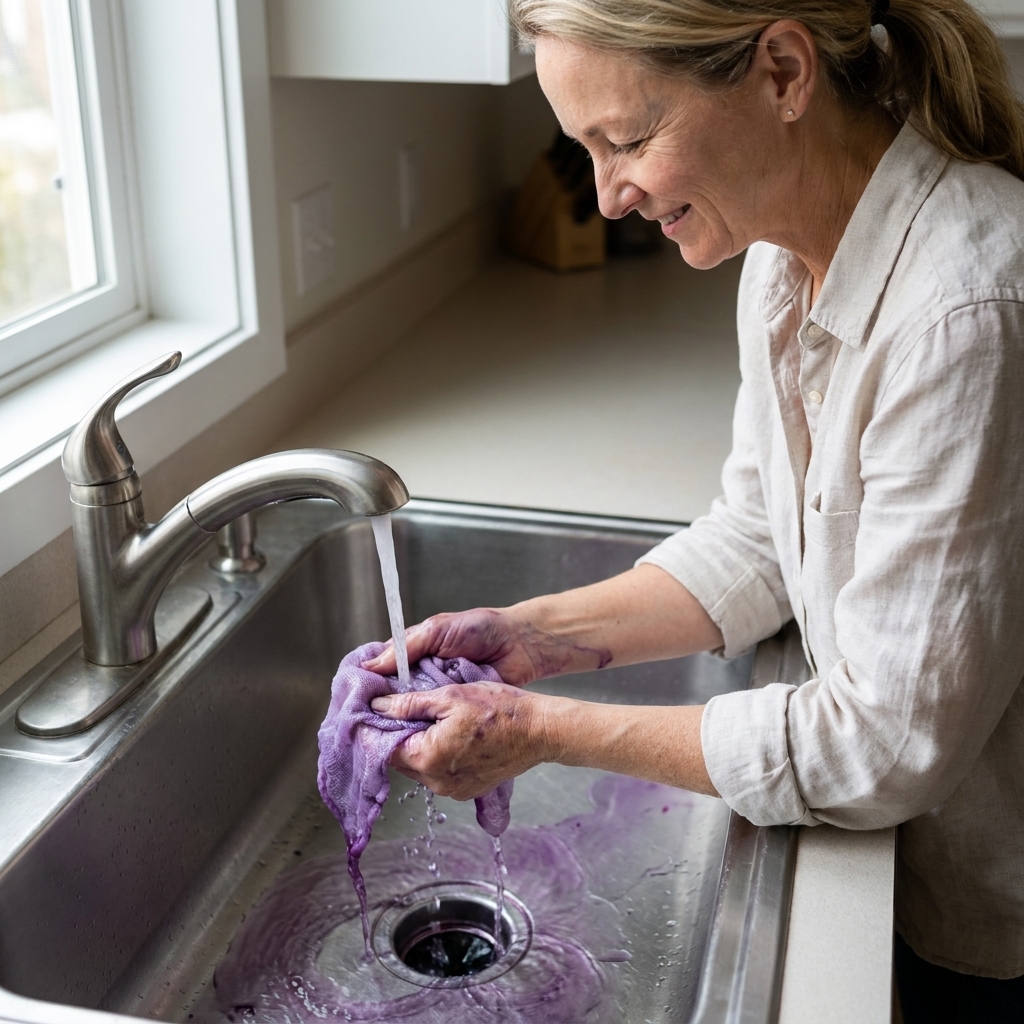
- Rinse in cool water first to remove excess surface dye.
- Then rinse in gradually warmer water until the water runs mostly clear (aim for warm, not hot, unless your dye directions say otherwise).
Wash once after dyeing (recommended)
After rinsing, run the cheesecloth through a gentle wash with a small amount of detergent. This helps lift loose dye that would otherwise transfer later.
Vinegar soak: when it helps (and when it doesn’t)
For some all-purpose dyes and natural-dye situations, a short vinegar soak can help reduce bleeding. For fiber-reactive dyes on cotton, vinegar is not the primary fixer step. If you are using fiber-reactive dye, the fixing step is typically a soda ash process or a dye system designed for cotton. The label is your best friend here.
Do a transfer test
When the runner is dry, rub it firmly with a damp white cloth. If you see color transfer, rinse and wash again before it goes anywhere near your good table linens.
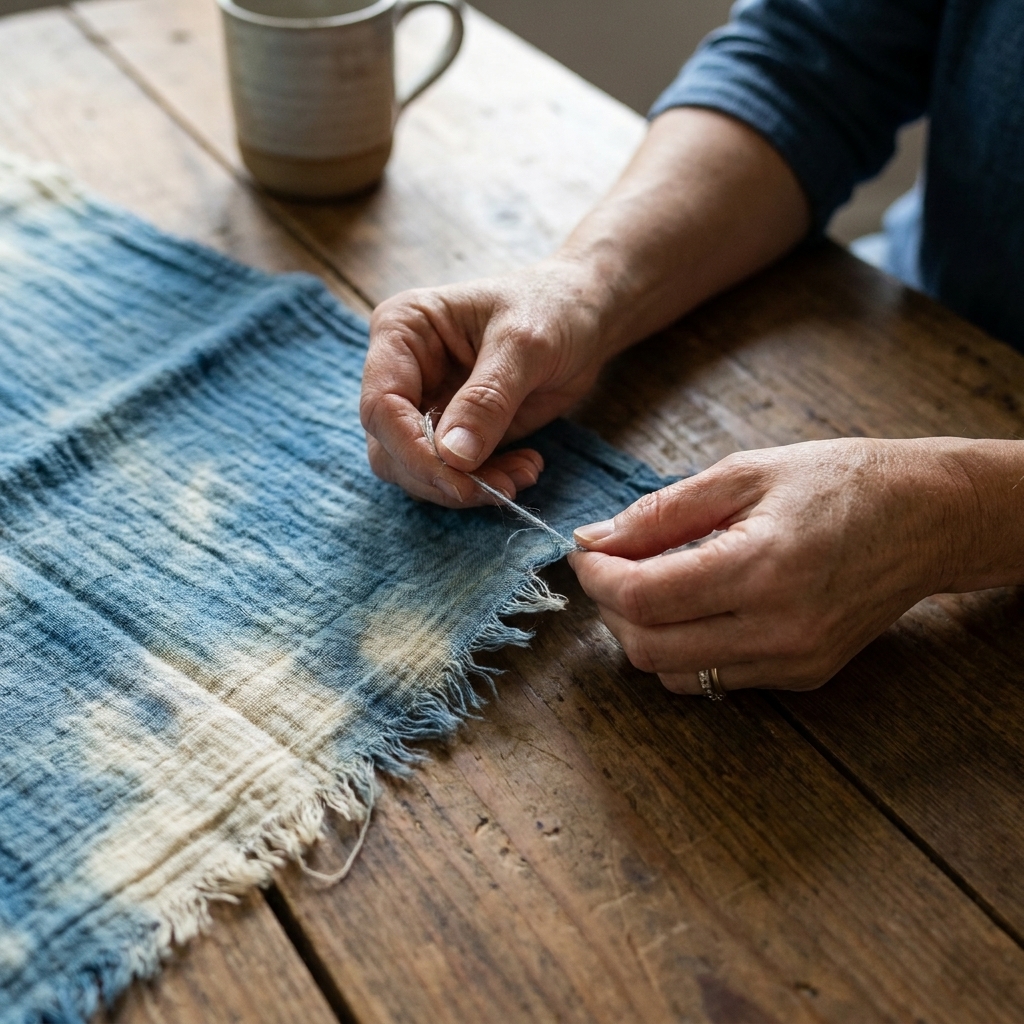
Fraying the edges for an airy finish
Frayed edges are what take cheesecloth from “craft project” to “styled wedding table.” Here’s how I do it so it looks intentional, not messy.
Option A: natural fray (my favorite)
- Cut your runner to length with fabric scissors.
- Pull threads from both long edges. Start with 5 to 10 threads and see how it looks.
- Gently stretch the runner lengthwise and widthwise to loosen the weave a bit.
Option B: controlled fray
- Cut your runner.
- Do a quick, straight stitch about 1/2 inch from each long edge (a sewing machine is fastest, but hand stitching works too).
- Fray up to the stitched line so it stops where you want.
Little realism tip: Cheesecloth will keep fraying. That’s part of the charm. If you want less shedding on the day of, give the runner a gentle shake outside once it’s dry.
Drying and storing
Drying
- Air dry on a rack or over a shower rod for the least stress on the weave.
- Keep the texture: If you love the crinkly, gathered look, scrunch it lightly as it dries.
- Want it smoother? Lay it flatter while drying, then gently tug it into shape.
Storing
- Store completely dry to avoid musty smells.
- Fold loosely or roll to prevent hard creases.
- Keep darker colors away from light linens in storage, just in case there is any residual dye.
How to style cheesecloth on the table
My favorite setup is “simple runner, elevated details.” A few quick styling moves:
- Center it, then pinch and ripple the fabric so it looks relaxed.
- Let the ends pool 6 to 12 inches for that editorial drape.
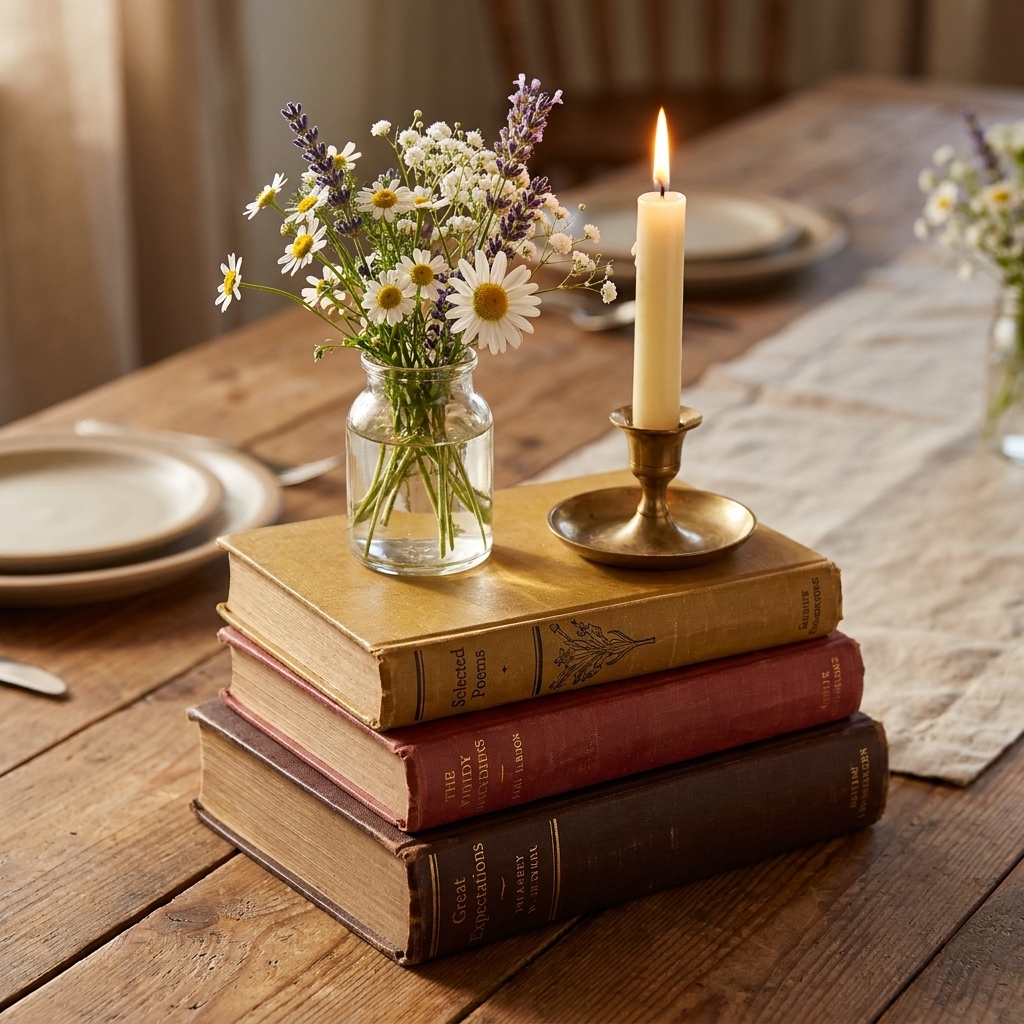
- Add height with a few books under a centerpiece (yes, really). If you like this trick, see Hardcover Books as Centerpiece Risers.
- Keep florals airy so the runner stays the star. Baby’s breath is a classic with cheesecloth, and I share my favorite ways to make it look luxe in How to Make Baby’s Breath Look Expensive.
Troubleshooting
My runner dried lighter than I wanted
Redye it in a slightly stronger bath. It is much easier to go darker than to go lighter.
I have blotchy dark patches
That is usually undissolved dye or fabric that sat folded in one spot too long. Re-wet the runner and put it back in a well-mixed bath, moving it constantly for the first few minutes.
Color is rubbing off when dry
Keep rinsing and then wash once with detergent. If it still transfers, review your dye type and setting step. Some dyes need a specific fixer process and enough time to truly lock in.
Edges are shedding everywhere
Do a controlled fray with a stitch line, or fray less. You can also shake the runner out outdoors before the event to drop loose threads.
Rustic color ideas
- Warm neutrals: oatmeal, sand, almond, greige
- Sunset tones: terracotta, clay, dusty peach, muted marigold
- Garden party: sage, eucalyptus, soft olive
- Romantic: dusty rose, mauve, soft plum
- Moody: charcoal, deep olive, wine
If you’re building a full budget-friendly look around your runner, browse DIY Decor Projects and Budget Party Hacks for more pieces you can make (and reuse) without blowing your decor budget.
Quick checklist for dye day
- Pre-wash cheesecloth
- Confirm fiber content (or test a scrap)
- Mix a test swatch and dry it
- Use enough water for the fabric to move
- Dissolve dye fully
- Follow the dye’s setting step (especially soda ash for fiber-reactive dyes)
- Rinse until mostly clear
- Wash once after dyeing when possible
- Dry fully before fraying and storing
- Do a rub test with a damp white cloth
Once you do one batch, you’ll start looking at every party color palette like, “Oh, I can match that.” And honestly, that’s when DIY gets really fun.