Turn budget baby’s breath into luxe-looking centerpieces with florist-style prep, cloud clustering, the right vase scale, and soft spray tinting for modern v...
Gathova
10 Dollar Tree Wedding Centerpiece Hacks That Look Expensive

Joanna Mercer
Joanna Mercer is an enthusiastic DIY event decorator and the creative spirit behind Gathova's party guides. With years of hands-on experience designing stunning tablescapes, balloon garlands, and custom photo backdrops for friends and family, she specializes in accessible, budget-friendly celebrations. Joanna loves sharing her practical tips and crafting tutorials to help anyone turn an ordinary space into a memorable party venue.
Published · Last updated
I learned to decorate weddings the same way I learned to throw backyard luaus as a kid: start with what you have, then use a few smart “glow-ups” to make it feel intentional. Dollar Tree is one of my favorite secret weapons for centerpieces because the shapes are there, you just need to upgrade the finish, the scale, and the styling.
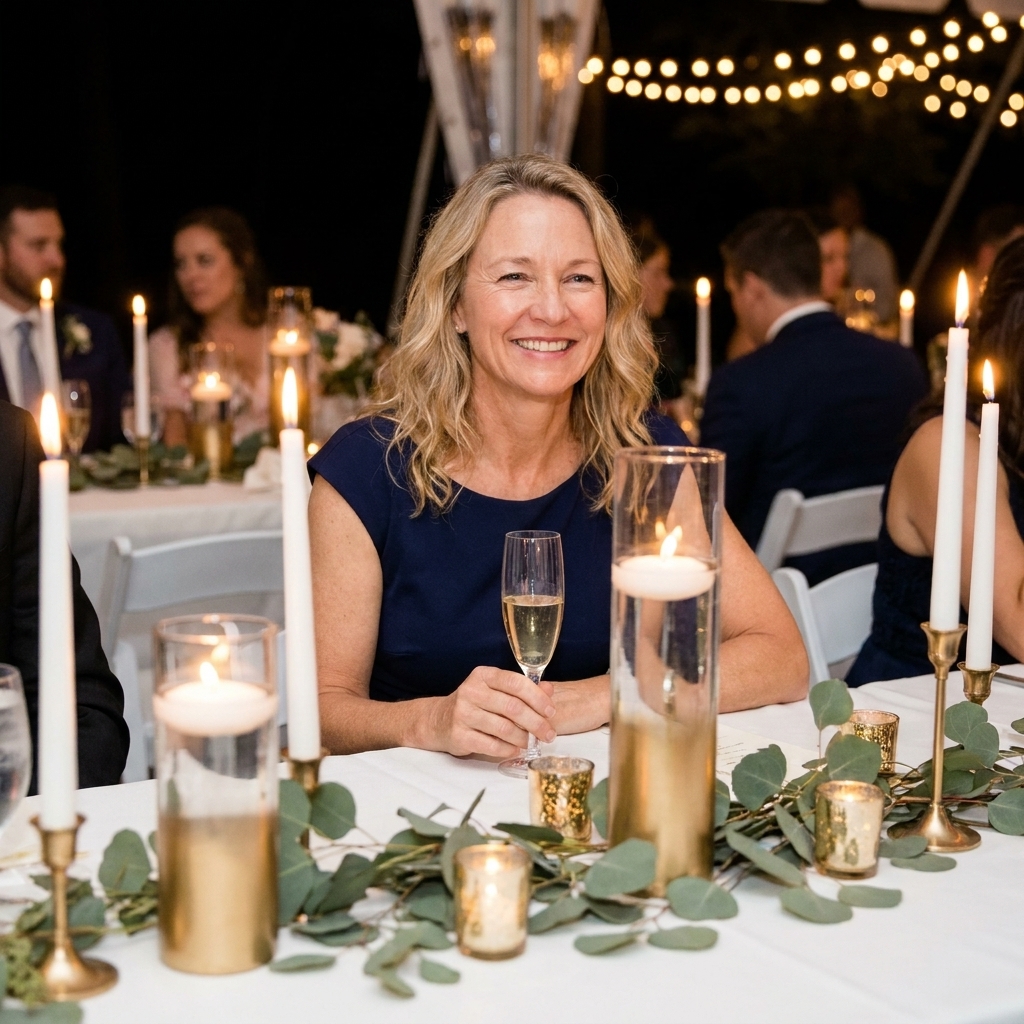
Below are 10 centerpiece hacks that look like you rented them from a fancy event company, but they are built from dollar store basics like vases, bowls, glassware, floral foam, and a little paint.
Quick reality check: “Dollar Tree” does not always mean $1 anymore. Most items are still budget-friendly, but pricing can vary by location and by aisle, so plan with a little wiggle room.
Before you start: my 5-minute checklist
- Repeat one finish across the room (all gold, all black, all clear, all white). Mixed finishes read cluttered fast.
- Go taller or lower on purpose. Medium height is the awkward zone. Choose low lush pieces or tall airy ones.
- Hide mechanics. If guests can see foam, tape, or stems in water, it looks DIY. Cover it with moss, candles, or filler.
- Add candlelight. Almost any centerpiece looks pricier once it has a warm glow.
- Work in odd numbers (3, 5). It is a styling cheat that always looks more natural.
One more before you shop: check your venue rules. Many venues require enclosed flames, ban open flame entirely, or have specific rules about foam and loose fillers. When in doubt, go LED and keep mechanics contained.
If you want more budget-friendly builds beyond centerpieces, my party saving ideas live over on Budget Party Hacks.
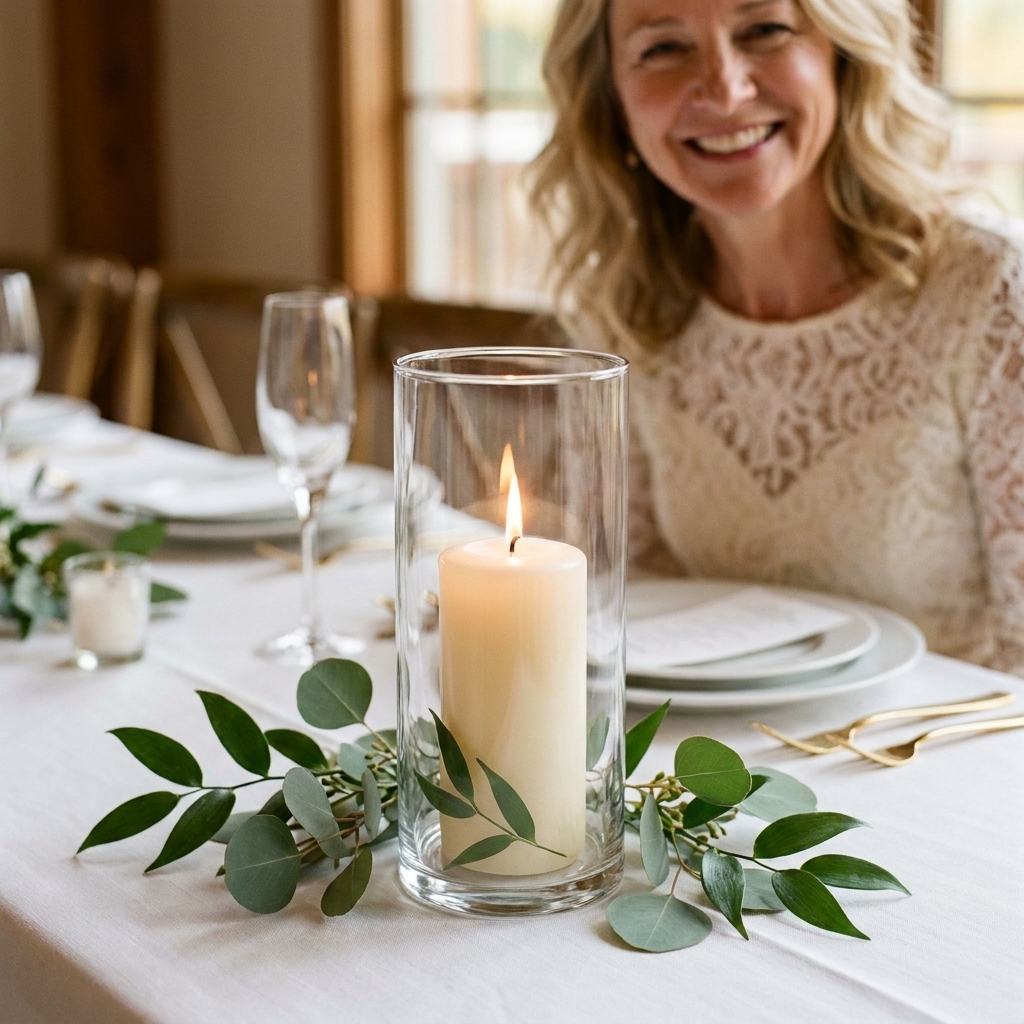
1) Hurricane dupe with glass
Why it looks expensive: Hurricanes look custom and substantial, but this one is just stacked glass.
Dollar Tree supply list
- 2 clear glass cylinders or candle holders (one slightly wider)
- 1 pillar candle or LED pillar
- E6000 or strong clear epoxy (optional, for a permanent stack)
- Optional: clear rubber bumpers or museum putty (for a removable, non-slip stack)
How to do it
- Flip the wider cylinder upside down as the base.
- Center the narrower cylinder on top to create a tall sleeve.
- If you are not gluing, add a few tiny clear bumpers or a small bit of museum putty so the top piece does not slide during setup.
- Place a pillar candle inside. For real flame, keep the candle well below the rim.
- If you want it sturdy for transport, glue the two glass pieces together and let cure fully.
Styling tip: Add a thin ring of greenery around the base and keep everything else simple so the glass reads elevated.
2) Faux stone compote with paint
Why it looks expensive: A matte stone finish makes plastic look like pottery from a boutique.
Dollar Tree supply list
- Plastic bowl or compote shape (or a bowl plus a candlestick to make a pedestal)
- Textured spray paint (stone or sand texture), then matte sealer
- Floral foam (dry for faux flowers, soaked for fresh)
How to do it
- Clean the plastic with rubbing alcohol and let dry.
- Spray in light coats, rotating between coats for even texture.
- Seal with matte sealer once fully dry.
- Let everything cure before you handle it a lot. I aim for 24 hours so it is less tacky and less fingerprint-prone.
- Set foam inside, then build your floral arrangement low and wide.
Jo tip: Keep florals tight and slightly asymmetrical. The stone look is modern, so the arrangement should feel intentional, not puffed.
Love a good paint transformation? You will also like my approach to upgrading plastic serving pieces in Faux Metal Finish for Plastic Platters.
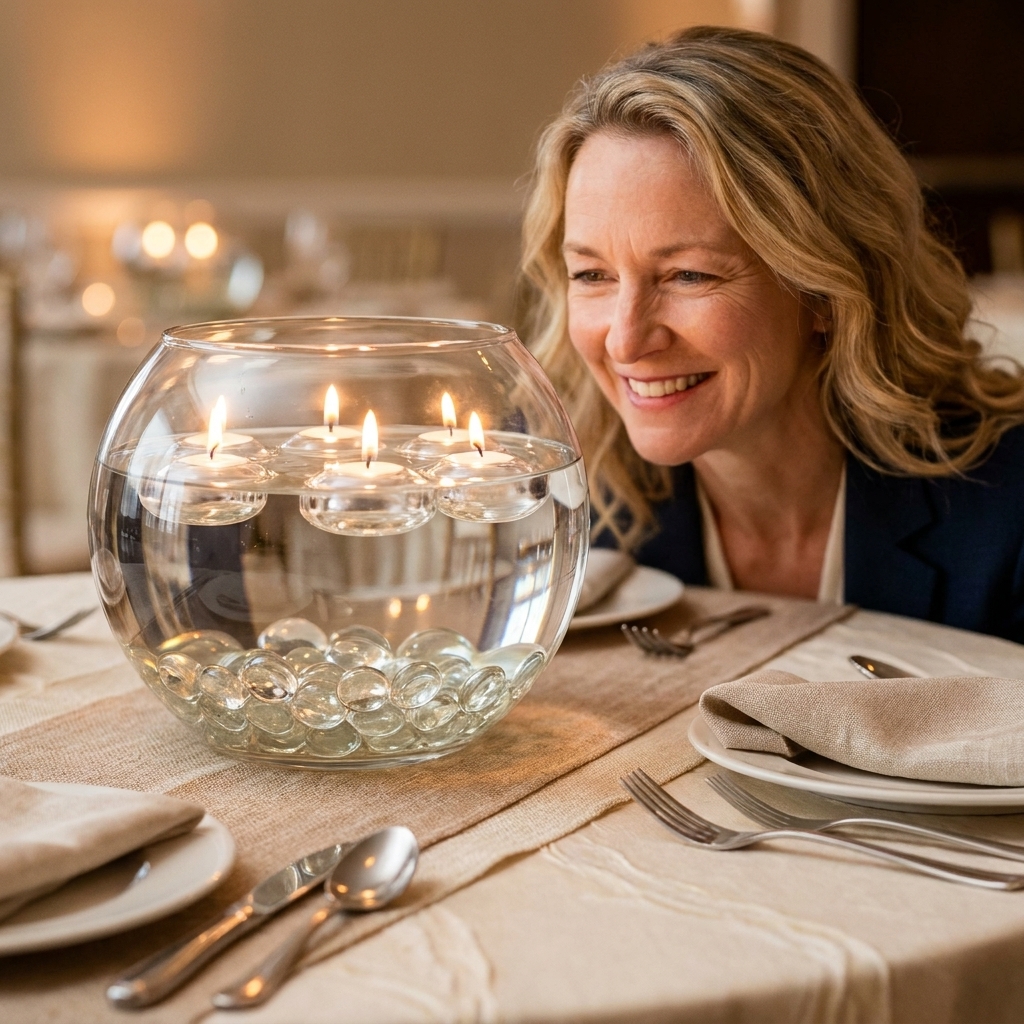
3) Floating candle bowl upgrade
Why it looks expensive: Floating candles photograph like a dream and feel very reception-ready.
Dollar Tree supply list
- Clear glass bowl
- Floating candles
- Clear glass gems or acrylic crystals
- Optional: baby’s breath, a single orchid bloom, or lemon slices
How to do it
- Cover the bottom of the bowl with a thin layer of clear gems.
- Add water slowly so you do not splash and leave streaks on the sides.
- Float 1 to 3 candles (odd numbers look best).
- Add one delicate accent under the water or around the rim.
Safety note: Keep flames away from overhanging greenery or tulle runners. If tables are tight or your venue is strict, use LED floating candles.
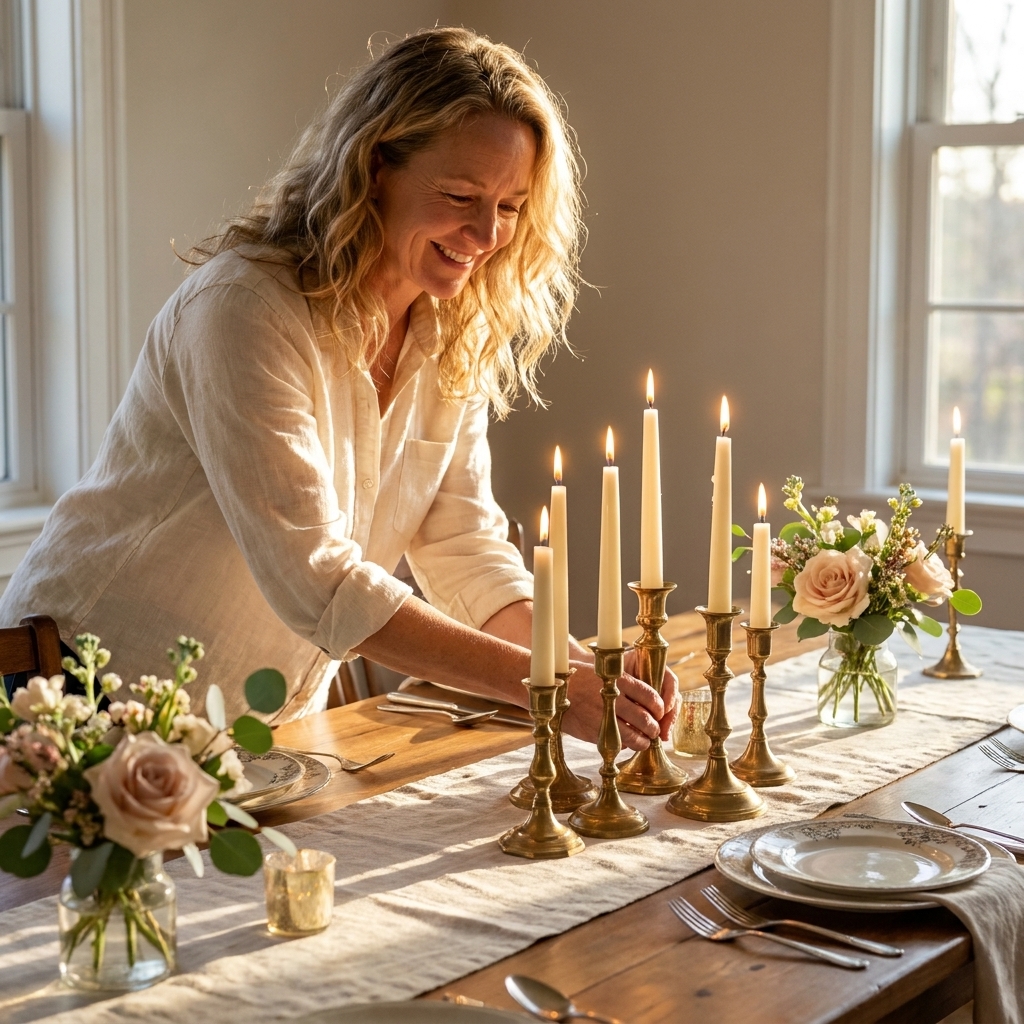
4) Taper cluster in bottles
Why it looks expensive: A cluster of mismatched heights reads curated, like you collected vintage glass over time.
Dollar Tree supply list
- 3 to 5 glass bottles or bud vases in different heights
- Taper candles
- Candle adhesive or a little melted wax to anchor tapers
- Optional: sand, pebbles, or glass gems (for ballast)
How to do it
- Choose one color of taper candle for all tables.
- Arrange bottles in a tight cluster (not spread out).
- Anchor each taper so it stands straight.
- If any bottle feels tippy, add a little sand or pebbles inside to give it weight.
- Add 1 to 3 tiny bud vases with a single stem each.
Budget power move: If the bottles are too clear and plain, frost them with a light dusting of frosted glass spray for a soft, romantic look.
For more thrifted but elevated ideas, my favorite flips are in Thrift Store Decor Flips: 9 High-End Event Props.
5) Invisible foam mechanics
Why it looks expensive: Pros hide their mechanics. This hack keeps your foam and stems completely out of sight.
Dollar Tree supply list
- Floral foam brick
- Low bowl or compote
- Moss, preserved greenery, or a thin ring of faux leaves
- Optional: clear tape grid (for fresh flowers in a bowl)
How to do it
- Cut foam so it sits slightly below the rim.
- If using fresh, let the foam sink on its own in a basin of water. Do not force-submerge it, or you can trap dry pockets.
- Build a collar first: greenery around the edge to hide foam.
- Then add focal blooms, then filler.
Jo tip: If you can see foam from a seated angle, add more collar greenery. Stand up and sit down while checking. Wedding guests see everything from chair level.
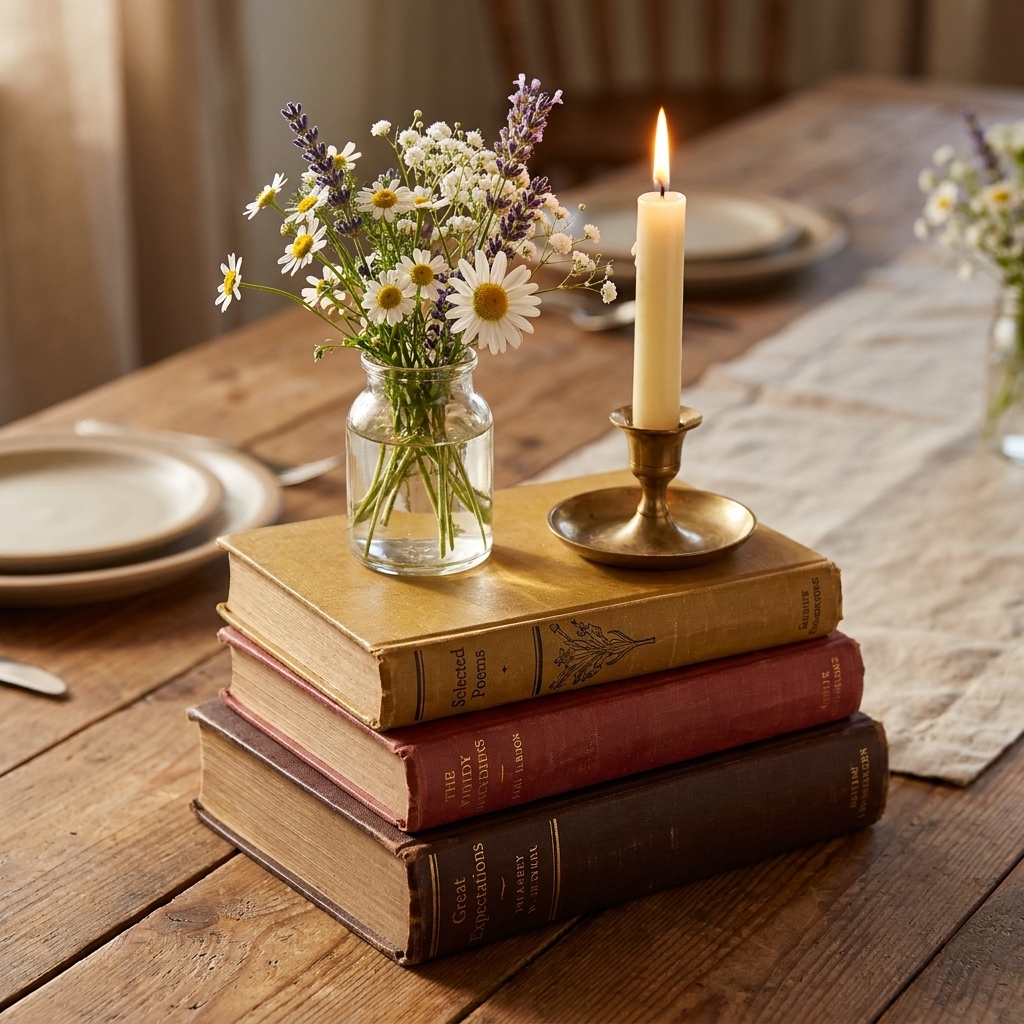
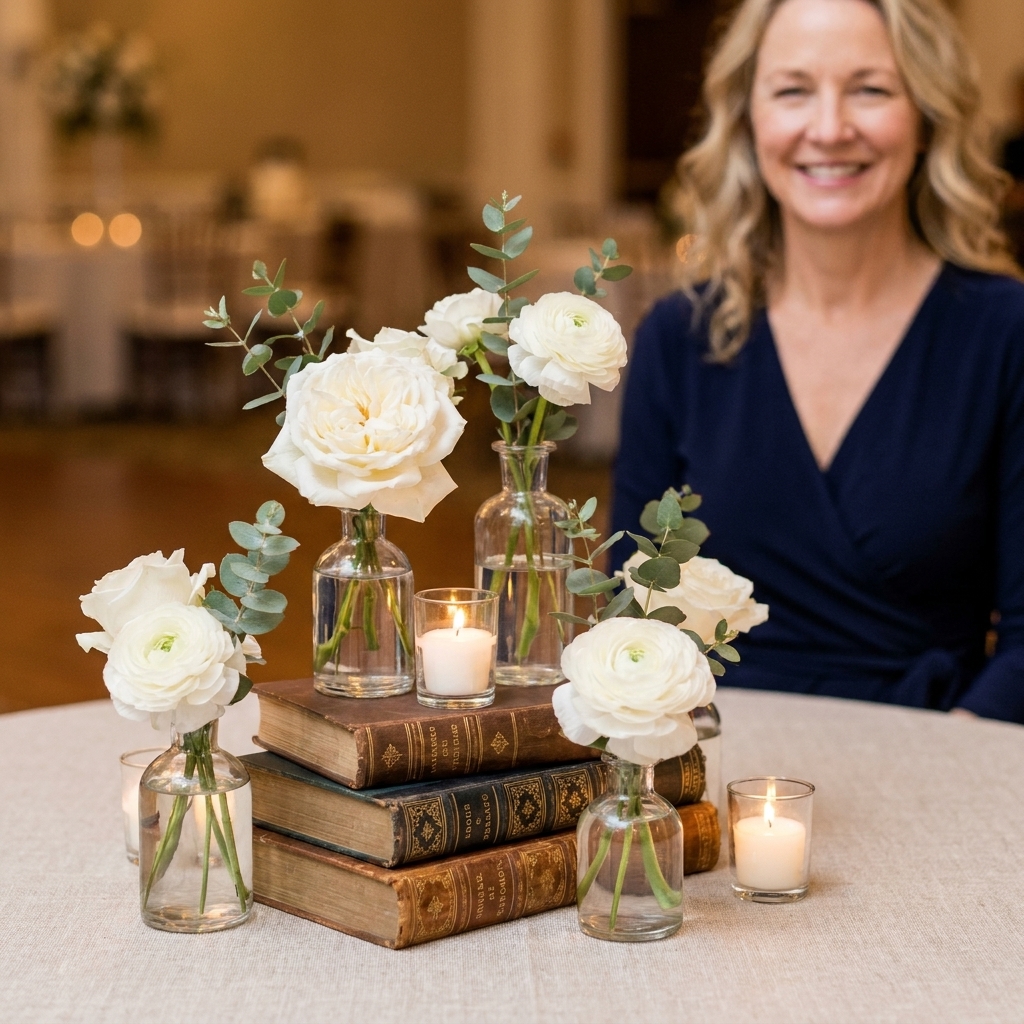
6) Book riser for height
Why it looks expensive: Height changes make a tablescape feel layered. Books look like curated decor, not wedding supply.
Dollar Tree supply list
- Hardcover books (thrifted is perfect)
- Neutral wrapping paper or fabric (optional)
- Bud vases, a small bowl, or a candle trio
How to do it
- Stack 2 to 4 hardcover books for a sturdy riser.
- Place a bud vase cluster or candle trio on top.
- Keep the stack tight to the centerpiece so it reads like one intentional vignette.
Full tutorial-style ideas for this look are in Hardcover Books as Centerpiece Risers.
7) Mercury glass with paint
Why it looks expensive: Mercury glass catches candlelight and feels formal, especially for evening receptions.
Dollar Tree supply list
- Clear glass votive holders or small vases
- Mirror effect spray paint
- Water in a spray bottle
- Paper towel or crumpled plastic wrap
How to do it
- Lightly mist the outside of the glass with water.
- Spray mirror paint in a light coat.
- While still tacky, dab with paper towel to create that mottled mercury look.
- Let dry fully, then add votive candles.
Important: Do not paint the inside where the flame will be. Also, some spray paints and sealers can smell or react when heated. If you have any doubt, or your venue requires it, use LED votives.
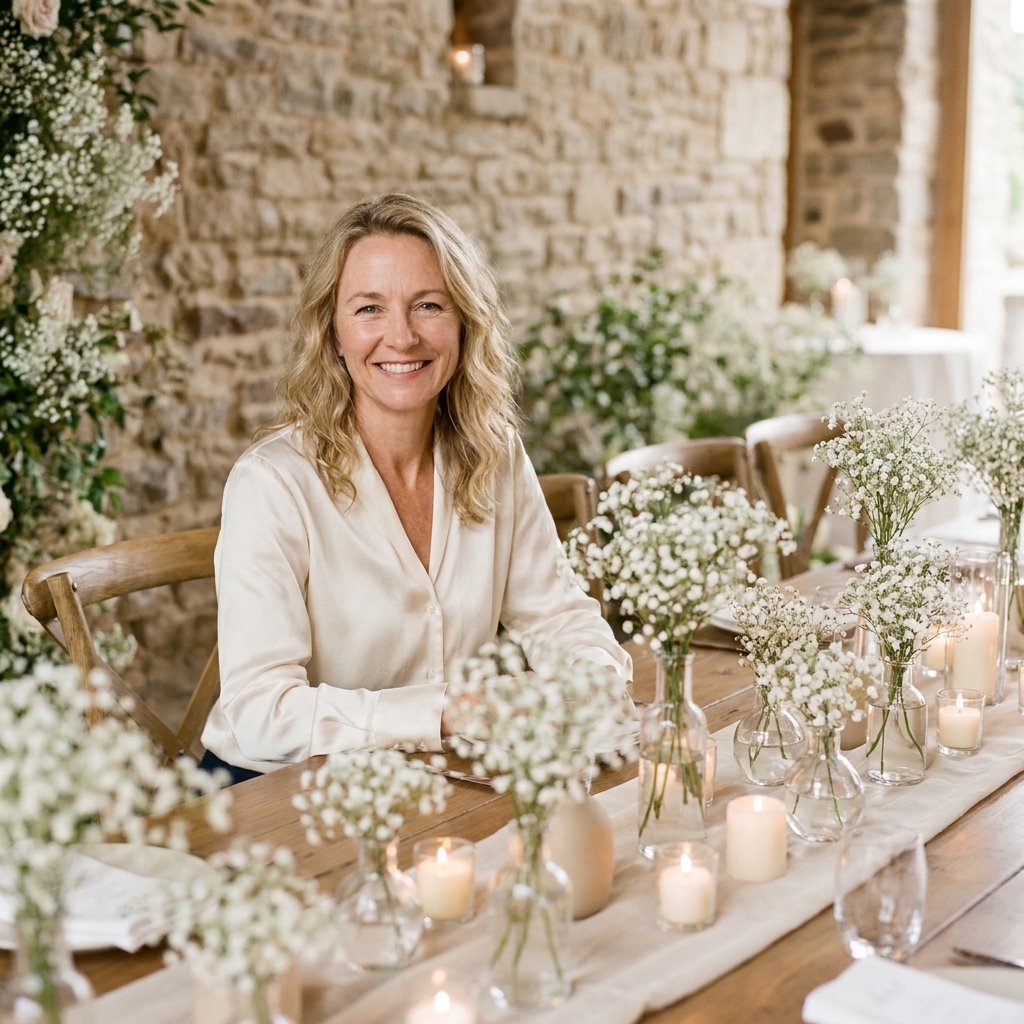
8) White bud vase meadow
Why it looks expensive: A bud vase meadow is minimal, airy, and looks like a florist designed it. It also keeps conversation lines open.
Dollar Tree supply list
- 8 to 15 bud vases per table (mix shapes)
- Single stems: baby’s breath, carnations, mums, or greenery
- Optional: a few votives tucked between
How to do it
- Group vases in a loose oval across the center of the table.
- Use mostly one flower type, then sprinkle in a second for texture.
- Keep stems short so the look stays modern and clean.
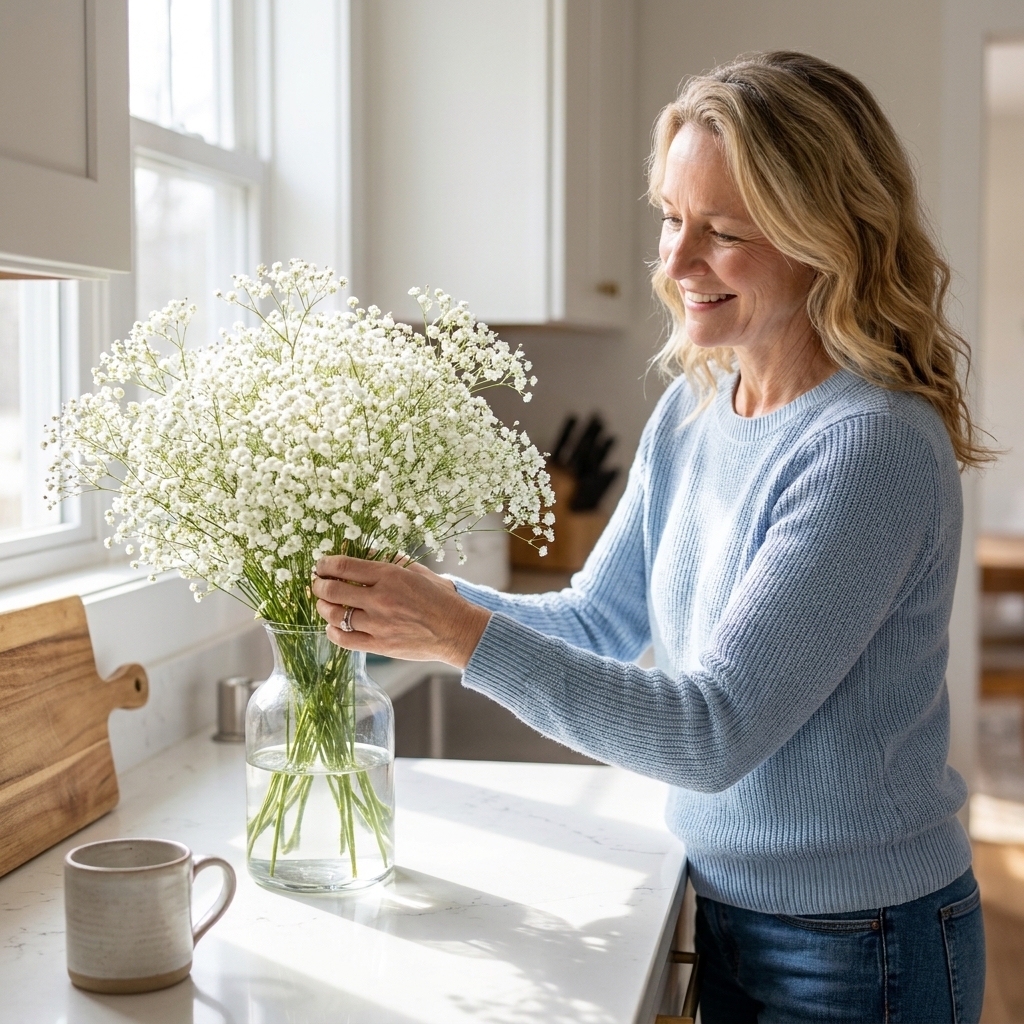
If baby’s breath is part of your plan, I have a whole guide on making it look designer in How to Make Baby’s Breath Look Expensive.
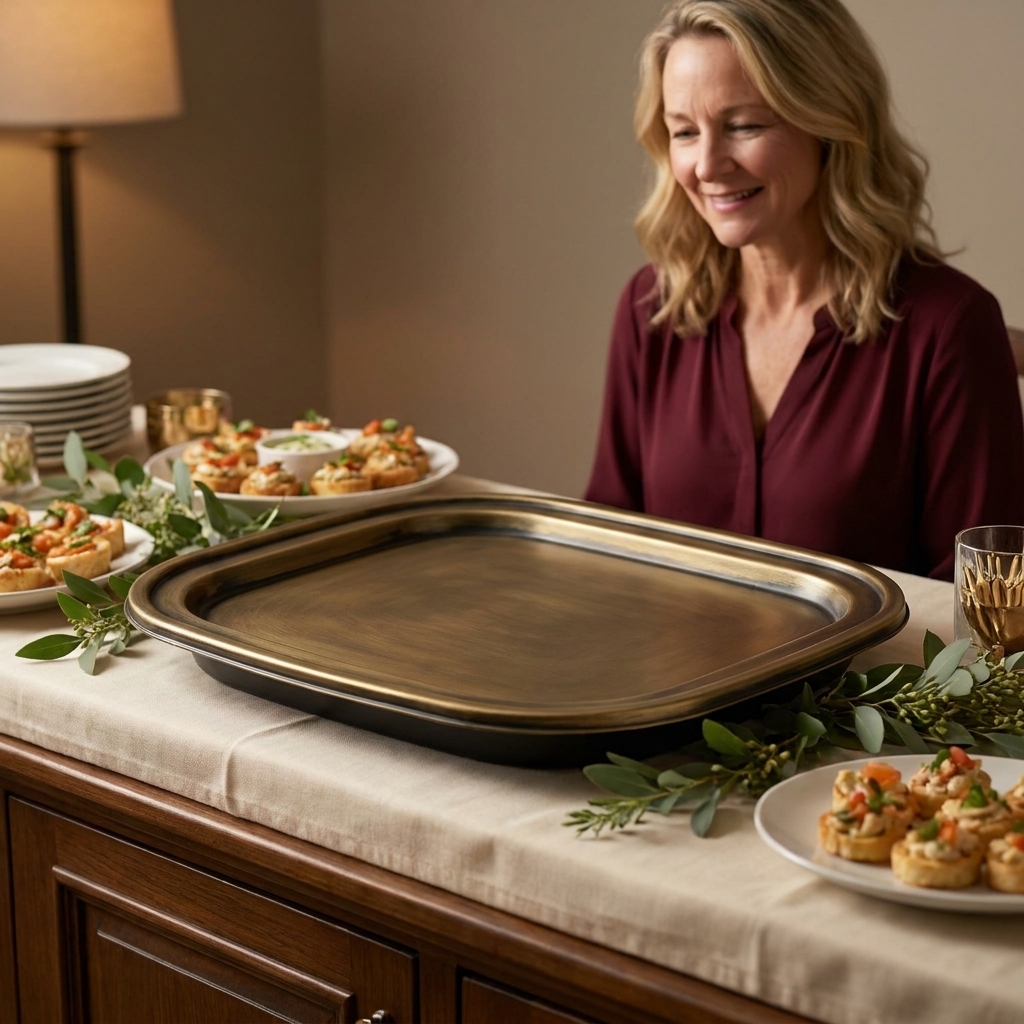
9) Charger plate centerpiece tray
Why it looks expensive: A tray makes the centerpiece feel like a designed moment, not a random pile of objects.
Dollar Tree supply list
- Plastic charger plate (gold, silver, or clear)
- Rub n buff or metallic spray paint (optional for a richer finish)
- 3 pillar candles or 1 large candle plus bud vases
- Greenery garland snippets
How to do it
- If the charger looks too shiny or plastic, lightly scuff it with fine sandpaper first, then repaint it in a warmer metallic and seal it.
- Place candles in a tight triangle on the charger.
- Tuck small greenery pieces around the bases to hide any labels or seams.
Jo tip: Keep the tray edge visible. When you cover the whole thing in greenery, it stops reading as a centerpiece base and starts reading as clutter.
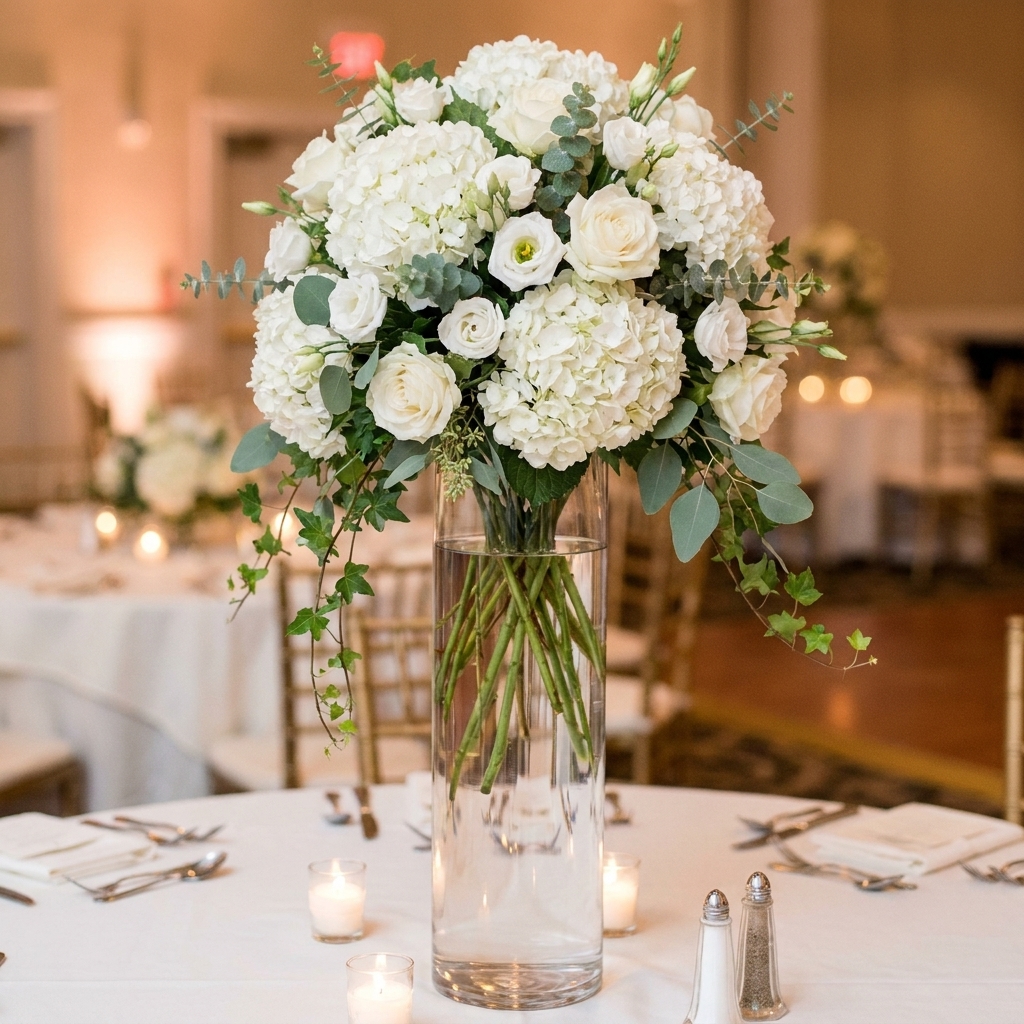
10) Tall centerpiece with foam topper
Why it looks expensive: Tall centerpieces feel like ballroom decor, but you can build them lightweight and budget-friendly.
Dollar Tree supply list
- Tall vase or cylinder
- Floral foam ball (or carve a brick into a rounded dome)
- Wooden dowel or sturdy skewer bundle
- Faux flowers and greenery
- Spanish moss or greenery to cover mechanics at the top of the vase
How to do it
- Attach the foam ball to the dowel so it becomes a lollipop shape.
- Insert the dowel into the vase. Stabilize with pebbles, extra foam, or crumpled kraft paper inside the vase.
- Build the arrangement on the foam ball, starting with greenery and working outward.
- Cover the top opening of the vase with moss or a greenery collar so the mechanics disappear.
Transport tip: Make the topper removable. Bring vases empty, then insert the topper on-site and do final fluffing.
Finish tips that look rented
- Matte beats glossy for high-end. If you must use metallic, choose warm gold tones and seal them.
- Do light coats and rotate the item. Heavy coats drip and scream DIY.
- Unify your glass by frosting everything lightly, or keep it all crystal clear. In-between looks inconsistent.
- Upgrade with weight when you can: pebbles in vases, glass gems in bowls, and thicker candles all add visual heft.
Scale it to your table
Scale is the difference between looks expensive and looks like you ran out of time.
- 60 inch round: choose one main moment (a bowl, a compote, or a candle tray) plus a small ring of votives.
- 8 foot banquet: repeat mini moments down the runner (bud vases plus votives), or do two larger pieces spaced out with candles between.
- Conversation-friendly rule: aim to keep low designs under about 10 to 12 inches, and keep tall designs narrow and airy so guests can see around them.
Centerpiece budget math
If you are building 10 to 15 tables, repeat one or two designs and vary only the height. That is how pros keep things cohesive without spending a fortune.
- Low candle bowl: bowl + floating candles + gems, then repeat across tables.
- Bud vase meadow: lots of small vases, fewer total flowers per table.
- Candle cluster on a tray: a charger base makes even inexpensive candles feel styled.
If you are also debating what to rent versus DIY for a big guest count, I break that decision down in Rent vs Buy Event Decor for Large Parties.
Common mistakes
- Too many different items on one table: choose one hero centerpiece idea, then add only one supporting element, like votives.
- Visible glue strings: use a high-temp glue gun when possible and snip strings after everything cools.
- Centerpieces blocking faces: keep tall designs narrow and airy. For low designs, aim for under about 10 to 12 inches.
- Cheap-looking florals: mix in real greenery or use one premium-looking faux stem repeated many times.
More DIY decor on Gathova
- DIY Decor Projects
- Tablescapes & Centerpieces
- Plastic Tablecloth Photo Backdrop That Looks Expensive
- DIY Walkway Decor With Canvas Drop Cloths
If you try one of these centerpiece hacks, my best advice is to make one complete test table at home first. Set it up, dim the lights, take a photo, and adjust. The camera will tell you the truth, and you will walk into your wedding day feeling so much calmer.