Create rustic, sun-faded cheesecloth table runners without the boutique price tag. Learn dye choices, custom color mixing, even results, proper setting, and ...
Gathova
Interactive Charcuterie Table Runner

Joanna Mercer
Joanna Mercer is an enthusiastic DIY event decorator and the creative spirit behind Gathova's party guides. With years of hands-on experience designing stunning tablescapes, balloon garlands, and custom photo backdrops for friends and family, she specializes in accessible, budget-friendly celebrations. Joanna loves sharing her practical tips and crafting tutorials to help anyone turn an ordinary space into a memorable party venue.
Published · Last updated
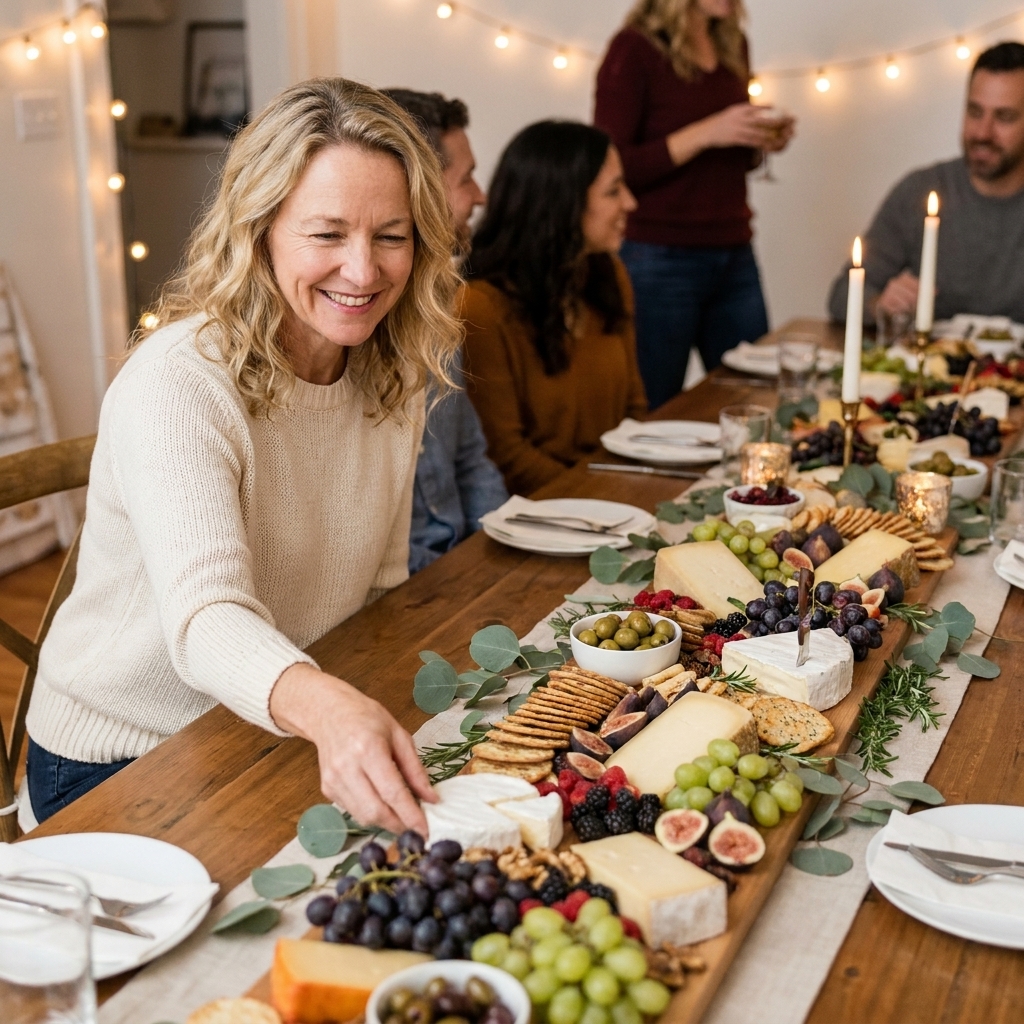
I love a centerpiece you can eat. It is part decor, part conversation starter, and it keeps people happily nibbling instead of hovering in the kitchen asking when dinner is happening. A charcuterie table runner is exactly that: a long, food-safe grazing “runner” down the center of your table that guests can snack from throughout the party.
This is the casual-party version of a showstopper tablescape. No fancy boards required, no perfect symmetry needed, and you can scale it from “game night” to “backyard birthday” without breaking a sweat.
What it is (and what it is not)
A charcuterie runner is food arranged down the center of the table, typically on a protective, food-safe layer, with plates and drinks placed at each seat. The goal is abundance and easy grazing.
- It is: a centerpiece, a snack station, and a social icebreaker.
- It is not: a great idea for hot outdoor sun, a formal plated dinner, or anything involving melty seafood and mayo-based salads sitting out for hours.
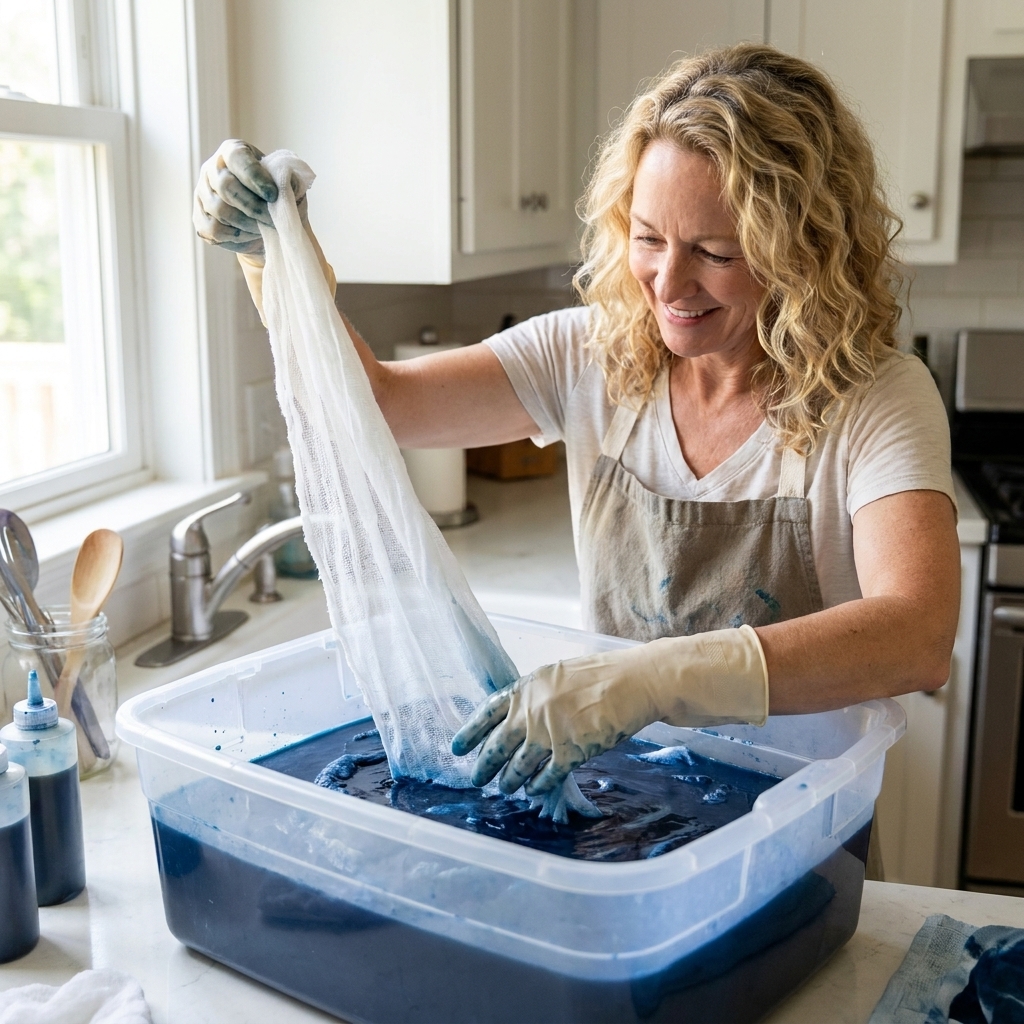
If you want a more traditional decorated runner with florals and fabric, I love using gauzy layers. My dye-it-yourself approach is over on hand-dyed cheesecloth table runners, and you can absolutely combine that look with a food runner by keeping fabric well away from anything edible.
Food safety first (my non-negotiables)
I am a DIY girl through and through, but when it comes to food, I keep it simple and cautious.
Use a food-safe barrier
- Best: parchment paper laid down the length of the table, then topped with decor that never touches food.
- Also works: a continuous line of small boards, trays, and plates overlapping like shingles.
- Avoid: putting food directly on bare wood or directly on a table you cannot sanitize thoroughly.
If you want greenery for the look, keep it fully outside the parchment zone so it never contacts food.
Follow the 2-hour rule
Per USDA guidance, most perishable foods should not sit at room temperature for more than 2 hours total (1 hour if it is above 90°F). This especially applies to soft cheeses, sliced meats, cut produce, and dairy-based dips. If your party is longer, plan a “refresh swap” where you replace the perishable items with fresh chilled ones.
If you want to read the official guidance, the USDA has a clear overview here: https://www.fsis.usda.gov/food-safety/safe-food-handling-and-preparation/food-safety-basics/leftovers-and-food-safety.
Build in clean serving habits
- Put tongs or mini forks in multiple spots so guests are not reaching.
- Set out small plates at every seat and an extra stack at both ends.
- Add cocktail napkins in at least two locations.
- Label or verbally point out common allergens (nuts, dairy, gluten) if allergies are in the mix.
Shopping list (and what to skip)
Tools and setup
- Parchment paper (wide roll if possible)
- Painter’s tape (to lightly tack parchment ends underneath the table edge if needed)
- Small bowls and ramekins (for olives, pickles, dips, nuts)
- 2 to 4 sets of tongs or small serving forks
- Cheese knife (or butter knives if you are keeping it super casual)
- Trash bowl or small bin tucked at each end (for toothpicks, olive pits, wrappers, used napkins)
Food categories (my runner formula)
- Crunch: crackers, sliced baguette, pretzel thins
- Cheese: 2 to 4 varieties (mix textures)
- Protein: cured meats, smoked sausage, or plant-based options
- Sweet: grapes, berries, dried fruit, chocolate-covered almonds
- Briny: olives, cornichons, pickled onions
- Spread: jam, honey, mustard, hummus, or a simple dip
- Fresh crunch: cucumber slices, snap peas, baby carrots
Skip anything that is messy and drippy unless it is contained in a bowl. A runner should feel effortless, not like a table-sized stress test.
Portion planning
Portion math is not an exact science, so I treat this as a practical rule of thumb and adjust for how long the party runs and who is coming.
For a casual party where the runner is the main snack, I plan about 3 to 5 ounces of food per person total, with a little extra if you have big grazers or teenagers. If it is replacing a meal, bump that up to 8 to 12 ounces per person and add something hearty like a big salad, sliders, or pizza on the side.
Quick cheat sheet
- Cheese: 1.5 to 2 oz per person (more if it is cheese lovers’ night)
- Cured meat: 1 to 2 oz per person
- Produce and extras: let this fill the rest (it is usually the most budget-friendly volume)
Budget tip: choose one “hero” cheese (something fun like smoked gouda or herbed goat cheese) and keep the rest familiar and affordable.
How to build it step by step
I build charcuterie runners the same way I build a good tablescape: anchor pieces first, then fill, then add the finishing details. Give yourself 30 to 45 minutes for a medium table.
Step 1: Clear the center and set the edges
Put plates, glasses, and flatware at each seat first. This prevents you from building a gorgeous runner and then realizing you left no elbow room.
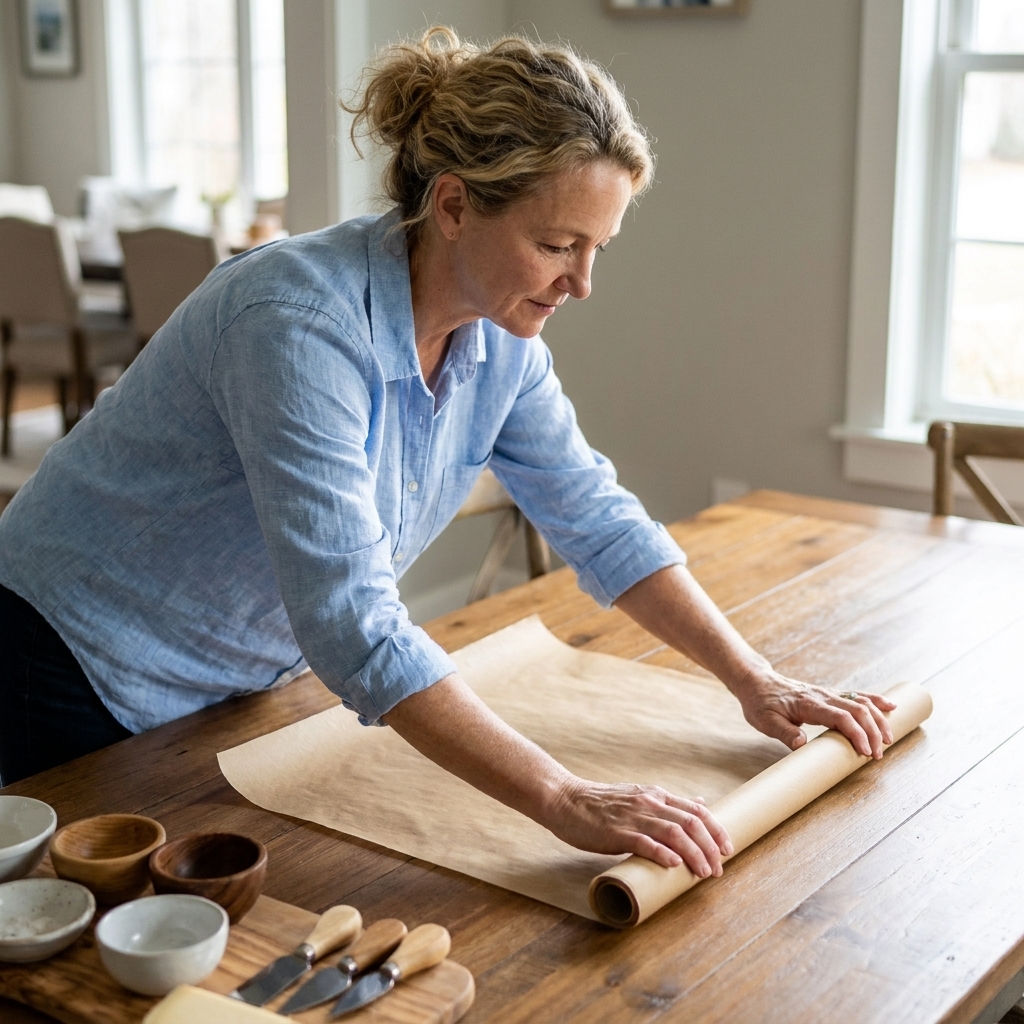
Step 2: Lay down your food-safe base
Run parchment paper down the center. If your table is extra slick, use a tiny piece of painter’s tape underneath the ends to keep it from shifting.
Step 3: Place bowls and anchor items
Set ramekins of olives, nuts, dips, and pickles down the line first, spaced evenly. Then add your largest cheese wedges or blocks and any big clusters of grapes.
Step 4: Add meats in loose folds
Instead of flat stacks, fold salami into little ribbons or rosettes and tuck them near cheeses. You get height and texture fast, which is what makes the runner feel expensive.
Step 5: Fill with crunchy lines
Add crackers in small piles, not one continuous cracker road. I leave mini gaps so guests can reach in without knocking everything.
Step 6: Tuck in produce like confetti
Drop berries, sliced cucumbers, dried apricots, or cherry tomatoes into the spaces. This is where the runner goes from snack tray to centerpiece.
Step 7: Finish with small details
- Fresh herbs (rosemary sprigs look dramatic and smell amazing)
- Edible flowers if you know they are food-safe and pesticide-free
- Honey in a small bowl with a dipper (contained, always)
Keep candles tall and away from anything flammable, and make sure nothing can tip into the food. If you are using taper candles, my method for keeping them upright is on how to secure taper candles on event tables.
Make it interactive
The difference between a pretty runner and an interactive runner is that guests get to customize something. Here are my favorite low-effort, high-fun options.
Build-your-own crostini lane
- Base: baguette slices or crackers
- Spreads: whipped cream cheese, hummus, fig jam
- Toppings: sliced cucumber, herbs, pepper jelly
Place a small stack of appetizer plates at each end so people can build, then step away.
Flavor zones down the table
Divide the runner into three sections so guests can roam and sample.
- Classic: cheddar, salami, grapes, pretzels
- Mediterranean: feta, olives, hummus, cucumbers, pita chips
- Sweet and salty: brie, berries, dark chocolate, candied nuts
Dip-and-dunk station built in
Use small bowls for dips and surround each one with its dunkers. Think ranch with veggies, honey mustard with pretzels, or whipped feta with pita chips. Putting the correct pairings right next to each other makes the runner feel intuitive to eat from.
Mini “mystery bite” picks
This is goofy in the best way. Put out toothpicks and encourage people to make a “perfect bite” combo for a friend. It gets people talking fast, especially at mixed-group parties.
Diet and allergy notes
If I know I have a mixed crowd, I build in options on purpose so nobody feels stuck eating crackers and air.
- Vegetarian: add a hearty dip (hummus, whipped feta, bean dip) and extra veggies, nuts, and fruit.
- Halal or kosher guests: keep pork separate, or skip it and use turkey, beef, or vegetarian proteins instead. When in doubt, label and let people choose.
- Gluten-free: include clearly gluten-free crackers and keep them in their own bowl with their own tongs.
- Allergen cross-contact: if nuts are on the table, give them a dedicated bowl and a dedicated utensil so they do not “wander.”
Styling tips
Odd numbers and varied heights
Three cheese groupings, five bowls, little hills of grapes. Add height with stacked crackers, folded meats, and chunky cheese wedges.
Repeat colors on purpose
I pick two main colors and one accent. Example: green grapes and herbs, red berries, and an accent of gold mustard or honey. That repetition is what makes the runner photograph beautifully.
Lift the ends (for long tables)
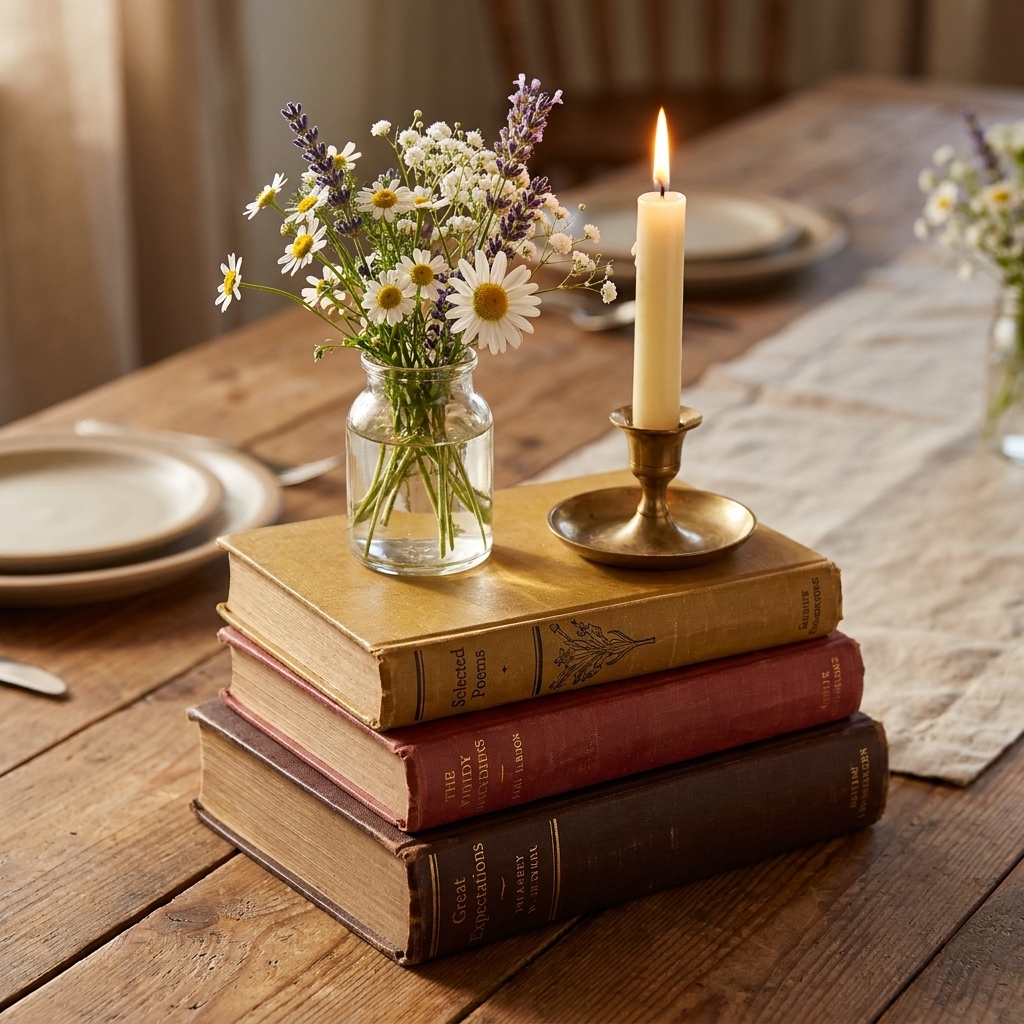
For a long table, I like adding a little lift at both ends using sturdy items that are not food-contact surfaces, like a tray or a stack of plates beneath a board. If you are in your thrifting era, you will love hardcover books as centerpiece risers for decor areas away from the food.
Keep it narrow
A runner that is too wide turns into a reach-fest. I aim for 12 to 18 inches wide on most dining tables.
Two easy layouts
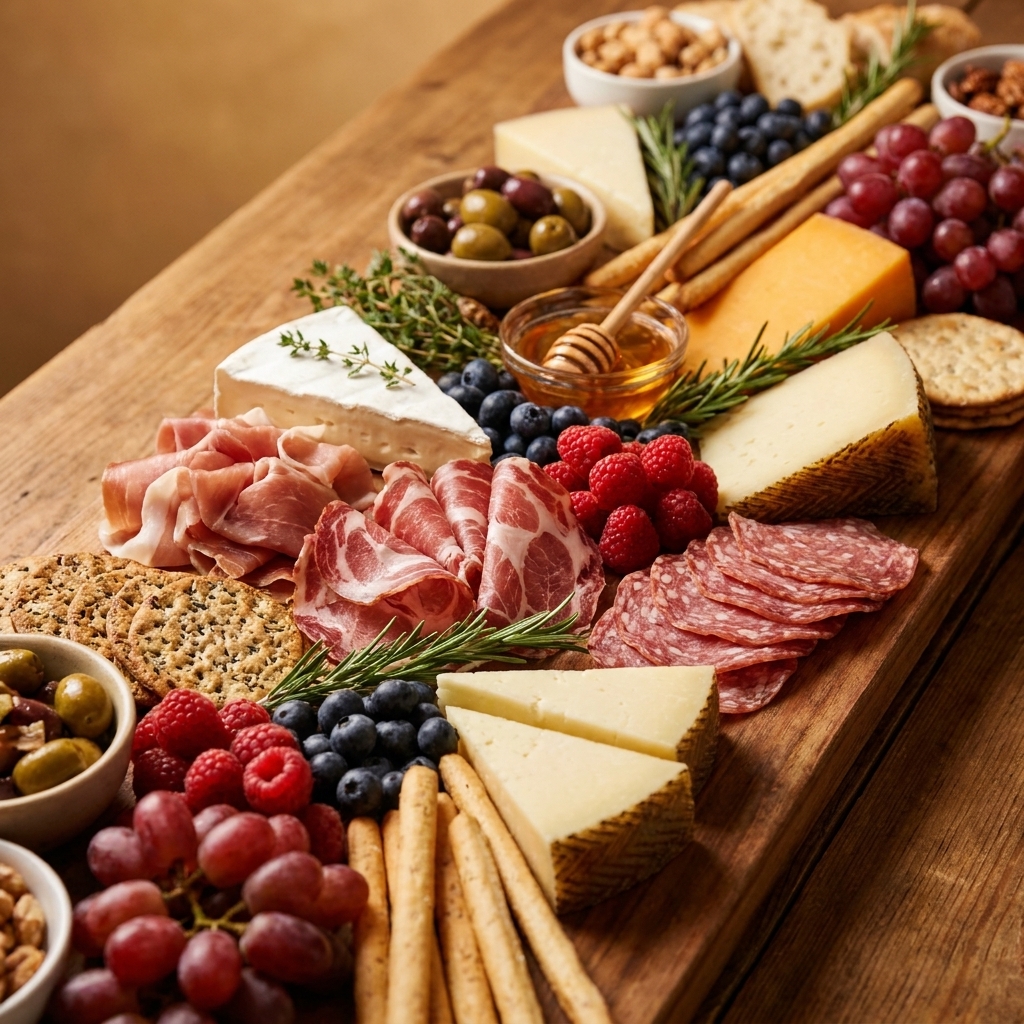
Layout A: Boardless parchment runner
- Parchment base the full length
- Bowls spaced every 12 to 18 inches
- Cheese and meat clustered between bowls
- Crackers and fruit fill the gaps
This is fastest and most casual. It is also my go-to for family parties where people are constantly snacking.
Layout B: Stepping-stone tray runner
- Alternate small boards and plates down the center
- Put messier foods on the boards (soft cheese, spreads)
- Fill between pieces with wrapped items (sealed chocolates) or produce in bowls
This version feels a little more structured and is great if you want easier cleanup.
Table logistics
This setup is easiest when guests can access the runner from both sides. For a standard dining table, it is ideal for about 6 to 12 people. If you are hosting a bigger group, I would rather do two shorter runners (or a parallel setup on two tables) than one extra-long line where everyone crowds the same spot.
If your table is against a wall, keep the runner tighter and use more bowls so people can grab without reaching across each other.
Outdoor and warm-weather tweaks
If you are outside or your home runs warm, build a runner that can handle it.
- Use harder cheeses (cheddar, manchego, parmesan) more heavily than soft ones.
- Bring out meats and soft cheeses in smaller batches and refresh them as you go, instead of letting everything sit out.
- Swap in more heat-friendly snacks (nuts, pretzels, dried fruit) to carry the bulk of the runner.
- Keep dips and soft cheeses in a bowl nested in a larger bowl of ice (yes, it can still look cute if you use matching bowls).
- Set the table in shade and avoid direct sun.
Easy cleanup plan
This is my favorite part because it means you get to enjoy your own party.
Before guests arrive
- Line a sheet pan with parchment in the fridge for refill items.
- Set one empty tray in the kitchen labeled in your brain as the sweep tray.
During the party
- Every hour or so, do a quick reset by refilling bowls and replacing anything that looks tired.
- Pull perishable items at the 2-hour mark if they have been sitting out.
After the party
- Lift the parchment from both ends and roll it inward to contain crumbs.
- Move leftover food into containers quickly.
- Wipe and sanitize the table surface.
Common mistakes
- Starting with crackers. They spread too fast and you lose your center line. Anchor with bowls and cheeses first.
- Forgetting utensils. Put tongs in multiple places so people do not use their hands.
- Going too wide. Keep it narrow enough that guests can still talk and pass drinks.
- Putting wet fruit directly on crackers. Separate juicy items so things stay crisp.
- Overcommitting to expensive items. Grapes and pretzels do a lot of heavy lifting. Let them.
Quick FAQ
Can I make a runner ahead of time?
You can prep ingredients ahead, yes. Slice cheeses, wash fruit, fill bowls, and store everything covered in the fridge. Assemble the runner close to serving time, especially anything perishable.
What should I put under the food?
Parchment paper is my simplest answer for casual parties. If you prefer more structure, use a chain of trays and boards so food is never directly on the table surface.
How do I do this on a tight budget?
Choose one wow cheese, one meat, and then fill with affordable volume: crackers, pretzels, grapes, apples, carrots, and a dip. For more budget-friendly decorating ideas that still look elevated, browse Tablescapes & Centerpieces.
My favorite finishing touch
Right before guests arrive, I do one last walk-by with a small bowl of grapes or berries and sprinkle them into any empty spots. It is the same trick I use when styling a table with decor: fill the gaps, repeat the colors, and make it feel abundant on purpose.
If you try a runner for your next get-together, take a photo before everyone dives in. It lasts about three minutes once people realize the centerpiece is edible.