Create rustic, sun-faded cheesecloth table runners without the boutique price tag. Learn dye choices, custom color mixing, even results, proper setting, and ...
Gathova
Tablescape Layouts for Mixed Table Shapes

Joanna Mercer
Joanna Mercer is an enthusiastic DIY event decorator and the creative spirit behind Gathova's party guides. With years of hands-on experience designing stunning tablescapes, balloon garlands, and custom photo backdrops for friends and family, she specializes in accessible, budget-friendly celebrations. Joanna loves sharing her practical tips and crafting tutorials to help anyone turn an ordinary space into a memorable party venue.
Published
The first time I had to style a room with rounds, rectangles, and a couple of random squares, I did what any confident DIY decorator does: I told everyone it was “eclectic on purpose” and then panic-googled centerpiece proportions in my driveway.
Now I actually love mixed table shapes. They can make a floor plan feel dynamic, help fit more guests comfortably, and create natural moments for variety. The trick is simple: you need one unifying design system so the tables look like they belong together, even when the silhouettes do not.
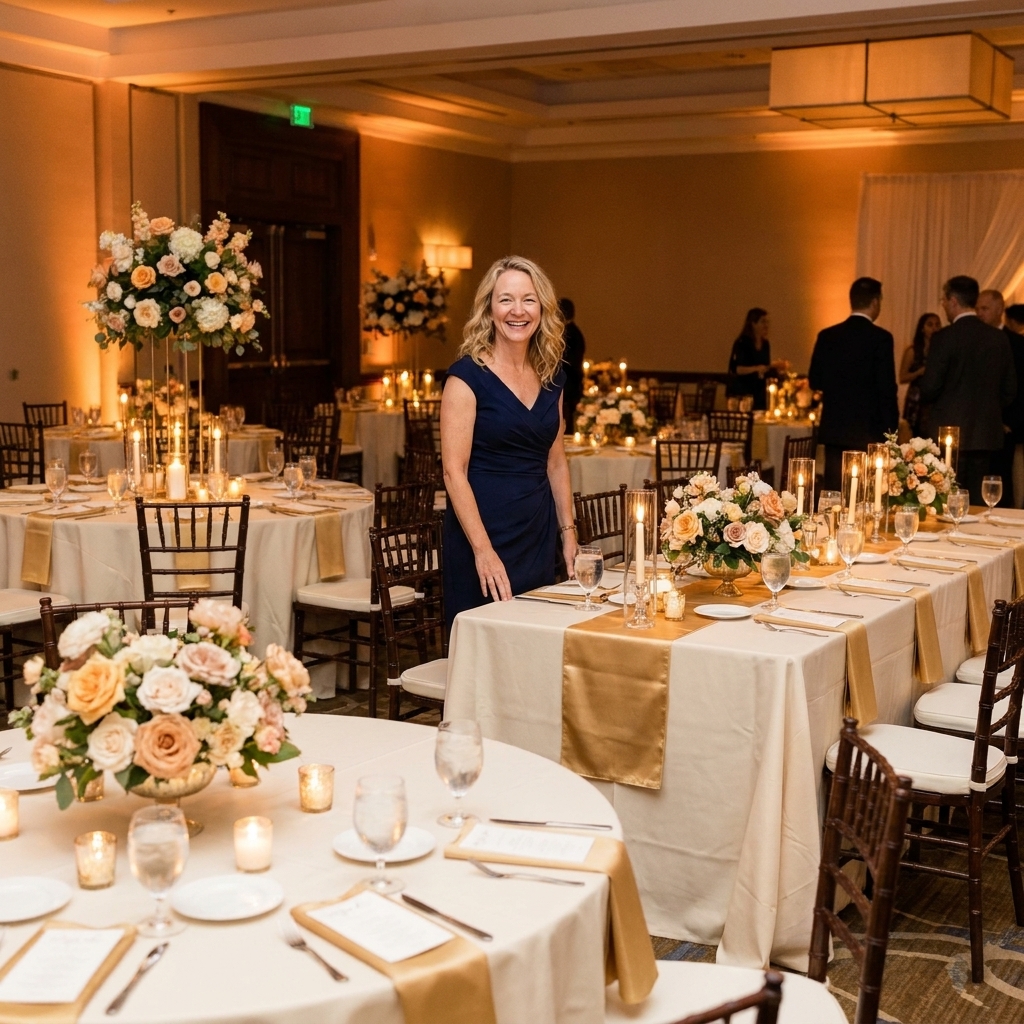
Start with a tablescape rulebook
Before you pick centerpieces, decide what stays consistent across the whole room. I like to lock in three anchors:
- Palette: 2 to 3 main colors, plus 1 metal or neutral (gold, silver, black, white, natural wood).
- Signature element repeat: one “you” detail that shows up everywhere (gauzy cheesecloth, matching bud vases, taper candles, rattan chargers).
- Shape motif: pick a simple shape that plays nicely with every table type (cylinders, rounds, slim tapers), then repeat it with items like cylinder hurricanes, round glass votives, or straight taper candles.
When those anchors are consistent, you can scale the centerpiece up or down depending on the table and still feel cohesive.
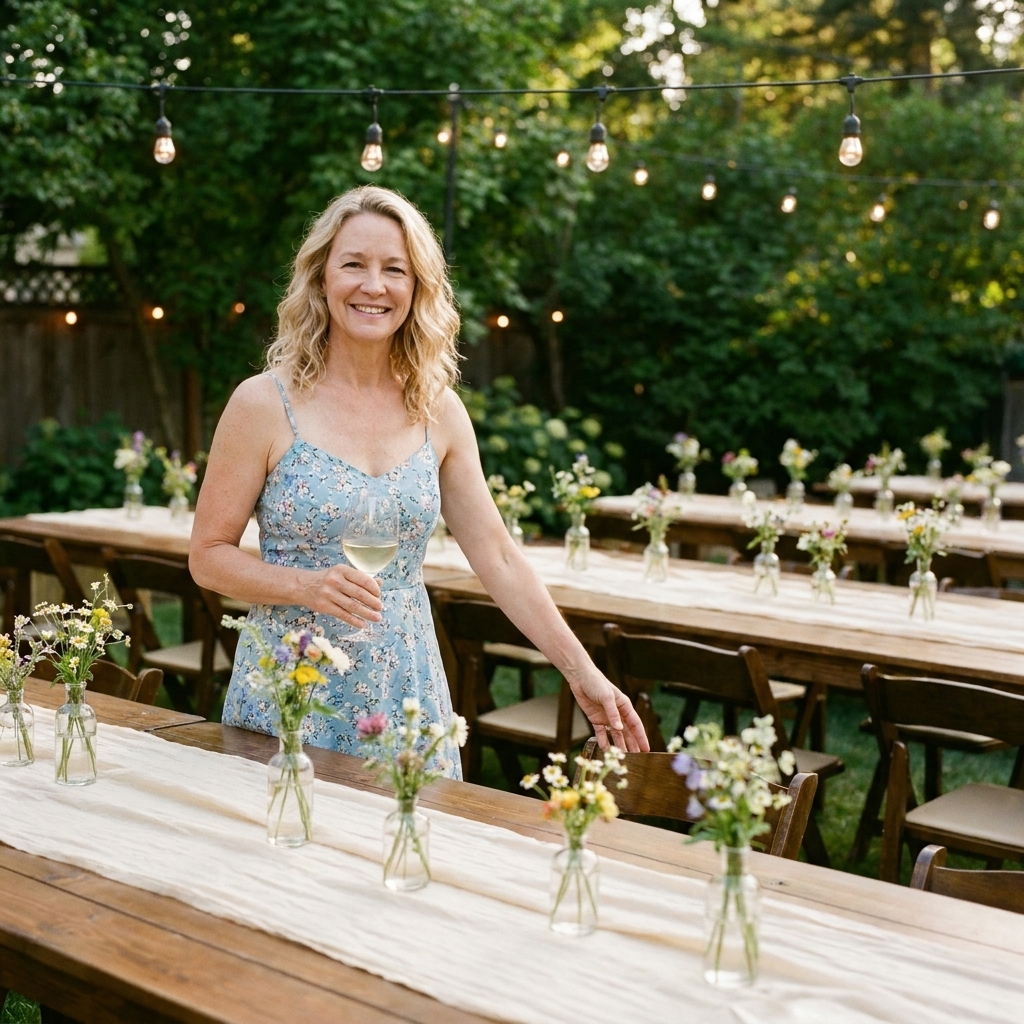
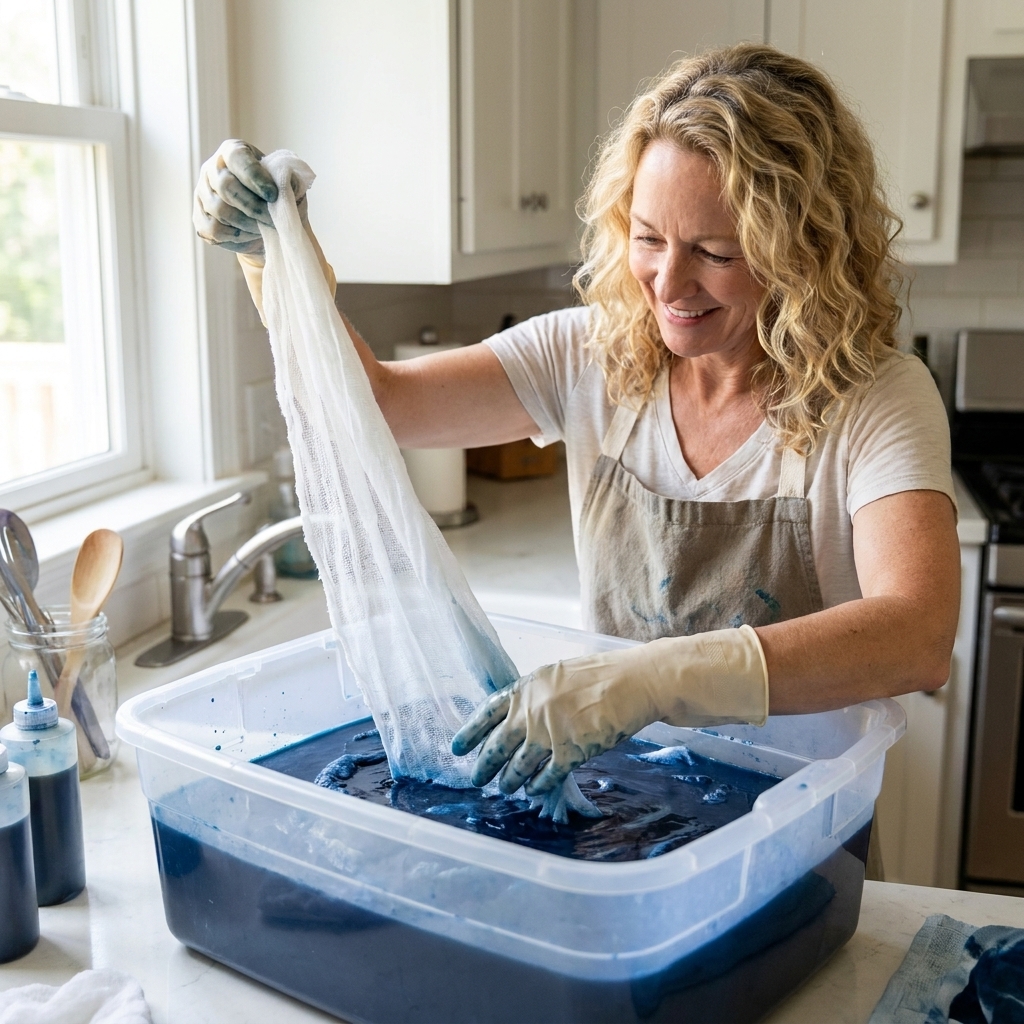
If you love the soft, romantic runner look, my go-to is hand-dyed cheesecloth because it instantly unifies mismatched tables. I walk through how I prep and style it here: Hand-Dyed Cheesecloth Table Runners.
Use one centerpiece recipe in 3 sizes
Mixed tables look coordinated when the centerpieces are variations of the same idea, not totally different designs.
The recipe method
Pick a centerpiece formula made of 3 to 5 elements, then build it in small, medium, and large:
- Base: runner, small tray, mirrored tile, or a cluster boundary (like a garland line)
- Height element: 1 to 2 taper candles, a small compote, or a short vase
- Low element: bud vases or votives
- Connector: greenery, scattered stems, or grouped objects (like pears, ornaments, shells)
- Optional sparkle: metallic accents, ribbon, or a few glass pieces
How the 3 sizes map to table shapes
- Round tables: medium to large, designed as a central cluster.
- Square tables: medium, designed as a tight cluster with clean edges.
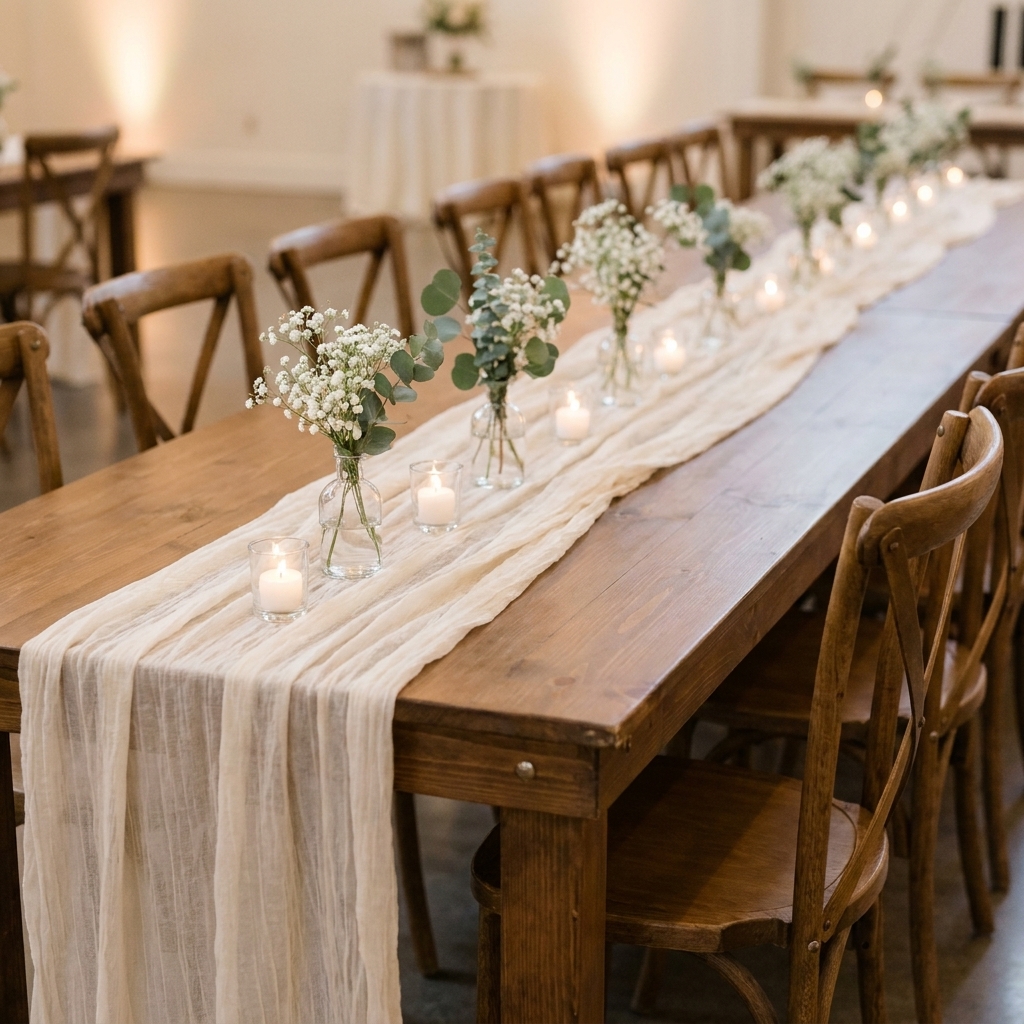
- Rectangular tables: small repeated units in a line (or a long low runner-style arrangement).
This gives you variety without visual chaos. Guests also experience a consistent signature look as they scan the room.
Quick table size reality check
If you are thinking, “Cool, but what size tables do I actually have,” you are not alone. These are the ones I see most:
- Rounds: often 60 inch or 72 inch.
- Rectangles: often 6 foot (72 inch) or 8 foot (96 inch).
Use the guidelines below as starting ranges, then adjust based on how “full” the table will be with plates, water goblets, wine glasses, bread plates, and family-style platters. More stuff on the table usually means your centerpiece footprint needs to shrink (or go vertical in a conversation-friendly way).
Proportions that look right
Here are the sizing rules I actually use when I am building pieces on my garage floor. They are not laws of physics, just reliable starting points.
Round tables
- Anchor the middle. Round tables want a centerpiece that reads from every angle.
- Diameter starting range: for a 60-inch round, a centerpiece cluster around 14 to 20 inches wide is usually a good place to start. If you have a 72-inch round (or very wide chargers), bump up slightly.
- Height: I usually keep the tallest element under 12 to 14 inches for easy conversation, unless you are doing true tall arrangements (then go tall enough that people can see under).
Square tables
- Echo the geometry. Squares love symmetry and tidy boundaries.
- Use a defined footprint. A square tray, a neat ring of votives, or a tight cluster keeps it intentional.
- Avoid sprawling garlands. They can look like they are trying to become a rectangle.
Rectangular tables
- Think in thirds. One centerpiece in the center often looks lost on a long table.
- Repeat small clusters. Do 2 to 5 groupings depending on length (more on spacing below).
- Keep it low and linear. Rectangles look best with movement along the length: bud vase rows, candle lines, greenery runs.
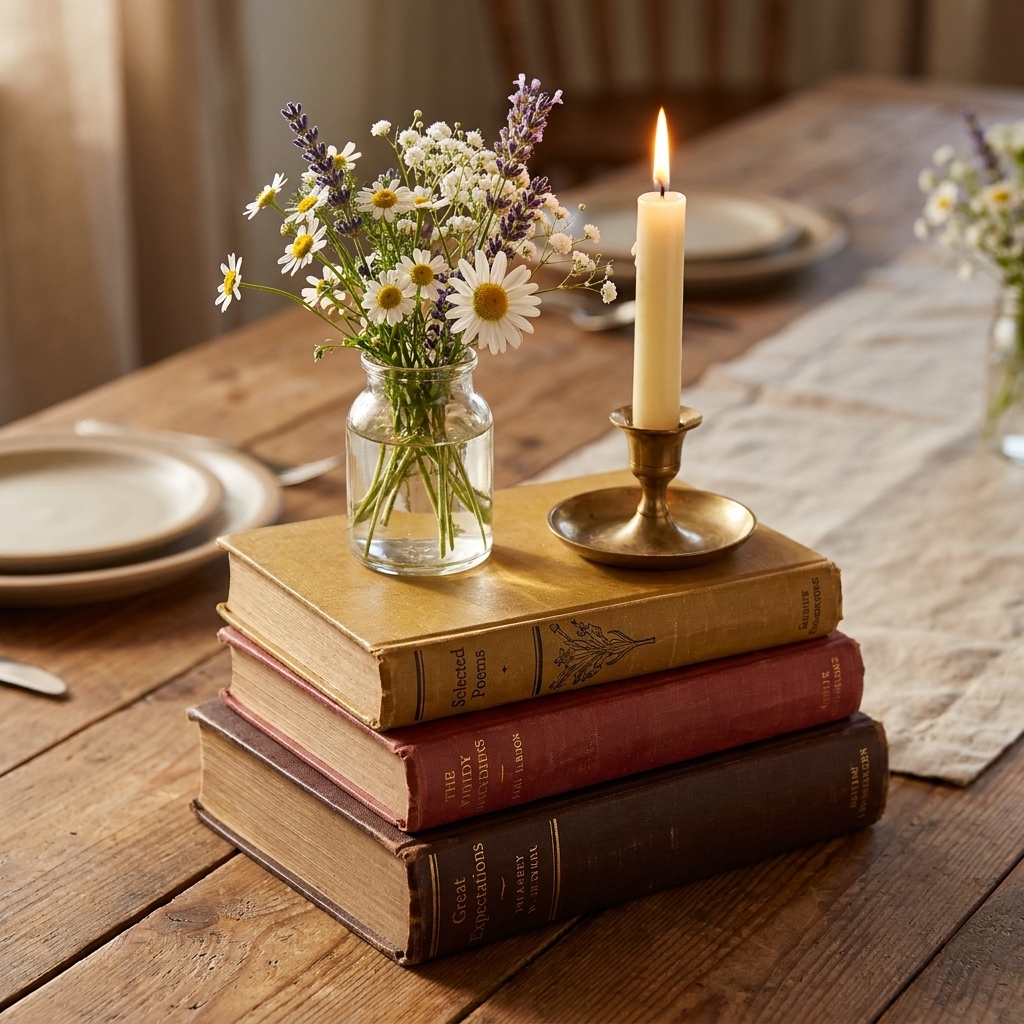
If you are elevating elements to improve proportions, hardcover books are one of my favorite “looks expensive” tricks, especially if you can thrift them. I share exactly how I stack and style them here: Hardcover Books as Centerpiece Risers.
Layouts that work with mixed tables
These are my most reliable formulas for real rooms where you do not get to choose all the furniture.
Formula 1: Cluster plus runner line
- Round and square: one central cluster (vase plus candles plus buds).
- Rectangles: a runner down the center with 2 to 4 mini clusters placed along it.
This reads cohesive because the runner becomes a shared element, but it still respects the different table shapes.
Formula 2: Repeating trios
Make one trio you can repeat everywhere:
- 1 medium vase or compote
- 1 taper candle holder
- 2 to 3 votives or bud vases
Round: one trio plus extra buds to fill the circle. Square: one trio centered. Rectangle: two to four trios evenly spaced.
Formula 3: Single hero element
If you have one statement piece, use it across the room:
- Hero element examples: lanterns, hurricane cylinders, a big floral bowl, a trio of tall tapers.
- Support elements: consistent votives, matching napkin tie, identical place cards.
Round: one hero in the center. Square: one hero plus symmetrical votives. Rectangle: two heroes, then fill gaps with votives and buds.
Spacing cheats for long tables
I use this “no measuring tape” approach:
- 6 foot rectangle: 2 clusters (or 1 long garland-style line) plus votives between.
- 8 foot rectangle: 3 clusters, evenly spaced.
- 10 to 12 foot rectangle: 4 to 5 clusters.
Whatever you choose, keep a consistent rhythm. If the rectangle tables have clusters every 18 to 24 inches, your eye reads it as planned.
My easiest spacing tool: lay down your runner, then dot the line with votives first. After that, tuck the bigger items into the gaps. It is faster than placing big pieces first and constantly re-centering.
A quick count example
Say you have 6 eight-foot rectangles and you do 3 clusters per table. That is 18 clusters. If each cluster uses 1 bud vase and 2 votives, you are prepping about 18 bud vases and 36 votives, plus any tapers or greenery you want as the “repeat.” It keeps shopping and crafting from spiraling at midnight.
Linens and runners
Mixed tables can look messy when the linens fight each other. Here is what works:
Pick one linen strategy
- All full-length tablecloths in the same color (cleanest, most formal).
- All floor-length on guest tables, then slightly different linen on specialty tables (gift, dessert, favor tables).
- Same base cloth, different runner treatments for shape (runner on rectangles, round overlay on rounds).
My favorite cheap but polished runner trick
Use the same runner material on every table, but style it differently:
- Rectangles: straight down the center.
- Rounds: soft crisscross (two runners) or a loose serpentine.
- Squares: one runner corner-to-corner.
It looks intentional because the fabric repeats, even though the layout adapts.
Place settings unify everything
If you do nothing else, unify what surrounds the plate. Guests notice place settings more than they notice that Table 12 is a rectangle and Table 14 is a round.
- Same charger or plate color throughout the room.
- Same napkin style (fold, knot, or wrap) throughout.
- Same flatware finish (all gold, all black, all silver).
- Same candle color temperature (all warm white, not mixed cool and warm).
That repeated rhythm creates “one event” even when furniture is a mix.
Centerpiece height rules
I am a big fan of drama, but I am an even bigger fan of guests not leaning sideways to see each other.
Use the low or high rule
- Low: under 12 inches (conversation-friendly, great for mixed tables).
- High: tall enough that faces are visible underneath (think tall stands or elevated pieces with open stems).
The awkward zone is often 12 to 18 inches, where it blocks sightlines without being tall enough to feel grand.
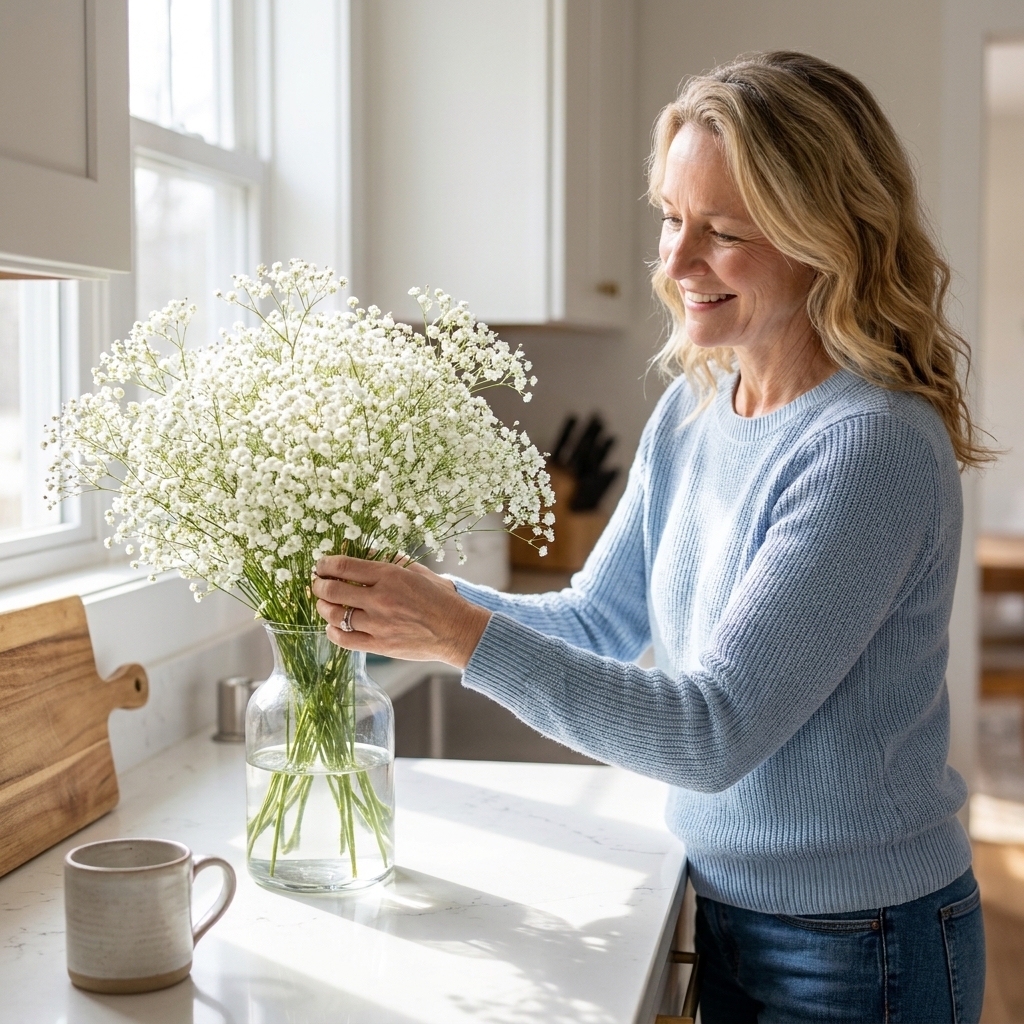
If you want that lush look without huge arrangements, baby’s breath is a budget lifesaver when styled well. I share my favorite fluffing tricks here: How to Make Baby’s Breath Look Expensive.
A quick candle reality check
If you are using real candles, do yourself a favor and check venue rules early. Many spaces require glass hurricanes or votives, drip protection for tapers, or LED candles only. Matching the candle look (even if you go LED) keeps your tables consistent and your stress level lower.
Make odd tables look intentional
Mixed shapes usually happen because you have a few functional tables that do not match. That is normal. Here is how I keep them from screaming “rental leftovers.”
- Give specialty tables a signature element that repeats from guest tables (same runner, same candle holders, same bud vases).
- Scale up slightly. One larger floral piece or a taller candle moment helps these tables feel designed.
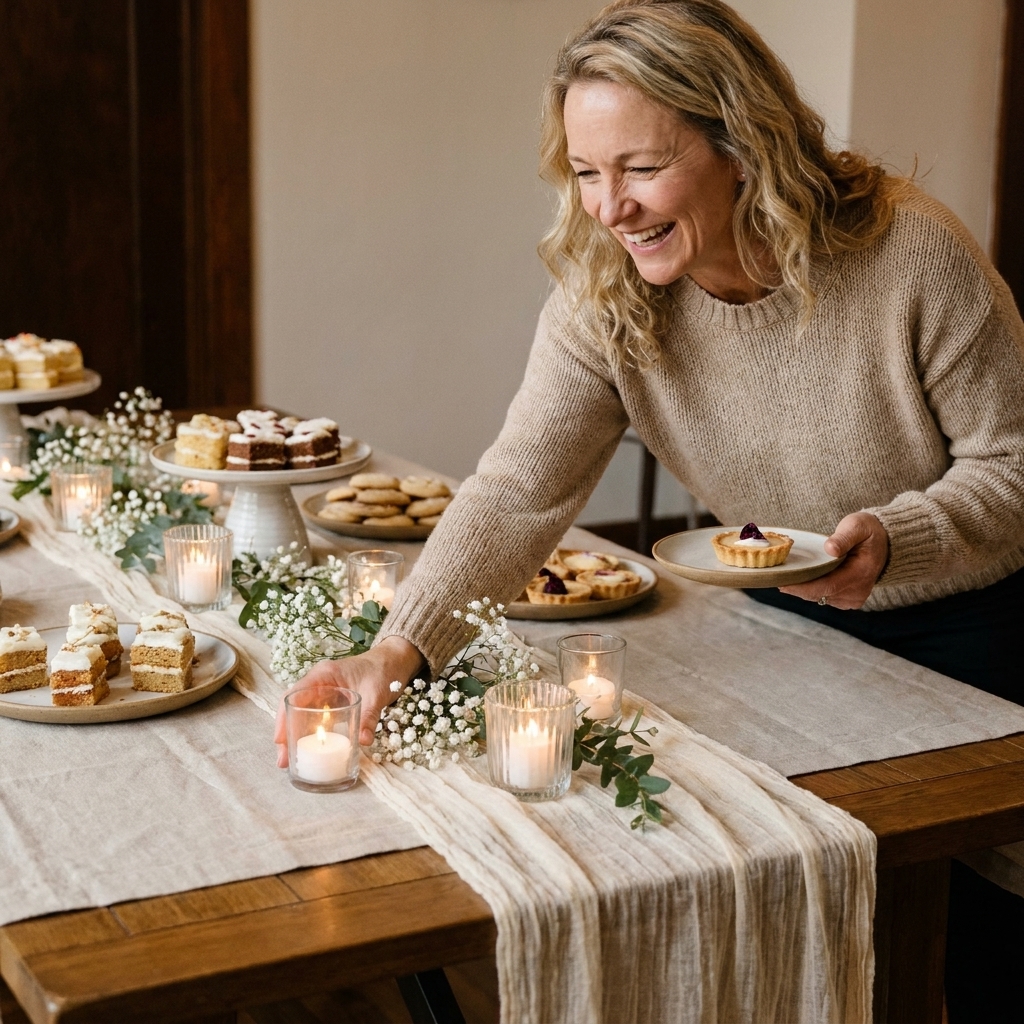
- Use height on buffets. Cake stands, risers, and stacked props keep food tables from looking flat.
If you are deciding what to invest in and what to rent for those specialty moments, this breakdown can help: Rent vs Buy Event Decor for Large Parties.
My pre-guest checklist
This is the lap I do right before doors open:
- Step 1: Stand at the entrance and check if your palette reads consistent across the room.
- Step 2: Scan rectangle tables for empty gaps or overly tight clusters. Adjust spacing for rhythm.
- Step 3: Check round tables for one problem: centerpieces that are too small. Add two extra votives if needed.
- Step 4: Make sure every table has the same sparkle level (if one has 12 candles and another has 2, it looks unbalanced).
- Step 5: Confirm there is no centerpiece blocking place settings or hanging into guest space.
Common mistakes and fixes
Mistake: Every table has a different vibe
Fix: Repeat one item everywhere. Even just matching candle holders can pull a room together.
Mistake: Rectangles feel bare
Fix: Add repetition. One centerpiece on an 8-foot table almost always looks lonely.
Mistake: Squares look cluttered
Fix: Tighten the footprint. Put everything on a tray, or reduce to one vase plus candles.
Mistake: Mixed linens look accidental
Fix: Standardize one layer (same base cloth or same runner material) and vary only the styling.
Simple centerpiece kits
If you want a shopping and crafting plan that does not spiral, build 2 to 3 kit types and repeat them.
Kit A: Candle glow
- 3 to 5 glass votives (or LED votives)
- 1 taper holder (with drip protection if needed)
- 2 bud vases with the same stem
Kit B: Bud vase meadow
- 5 to 9 bud vases in the same style
- 1 small pinch bowl for petals or mints
Kit C: Elevated focal point
- 1 compote bowl or short pedestal
- 2 medium candles
- 3 votives
Build kits on your worktable, then deploy them like building blocks. This is the easiest way to stay consistent when the furniture is not.
Final pep talk from my garage
Mixed table shapes do not have to mean mixed messages. If you repeat your palette, repeat one signature element, and scale your centerpiece recipe to match each table, the whole room will feel cohesive, intentional, and honestly kind of designer.
And if you ever catch yourself whispering “eclectic on purpose” while you fluff a runner, just know you are in very good company.