Styling rounds, rectangles, and odd square tables? Use one palette, one signature repeat, and a centerpiece “recipe” in 3 sizes—plus spacing and linen tips f...
Gathova
Layer Chargers, Plates, and Napkins Like a Pro

Joanna Mercer
Joanna Mercer is an enthusiastic DIY event decorator and the creative spirit behind Gathova's party guides. With years of hands-on experience designing stunning tablescapes, balloon garlands, and custom photo backdrops for friends and family, she specializes in accessible, budget-friendly celebrations. Joanna loves sharing her practical tips and crafting tutorials to help anyone turn an ordinary space into a memorable party venue.
Published · Last updated
I learned table layering the way I learned most party skills, by setting a table at the last minute, stepping back, and thinking, “Why does this look like a banquet hall and not the Pinterest table in my head?” The good news is that a pro-looking place setting is mostly order, spacing, and one strong focal point. Once you know the stack and a few napkin tricks, you can build a formal tablescape that feels intentional instead of fussy.
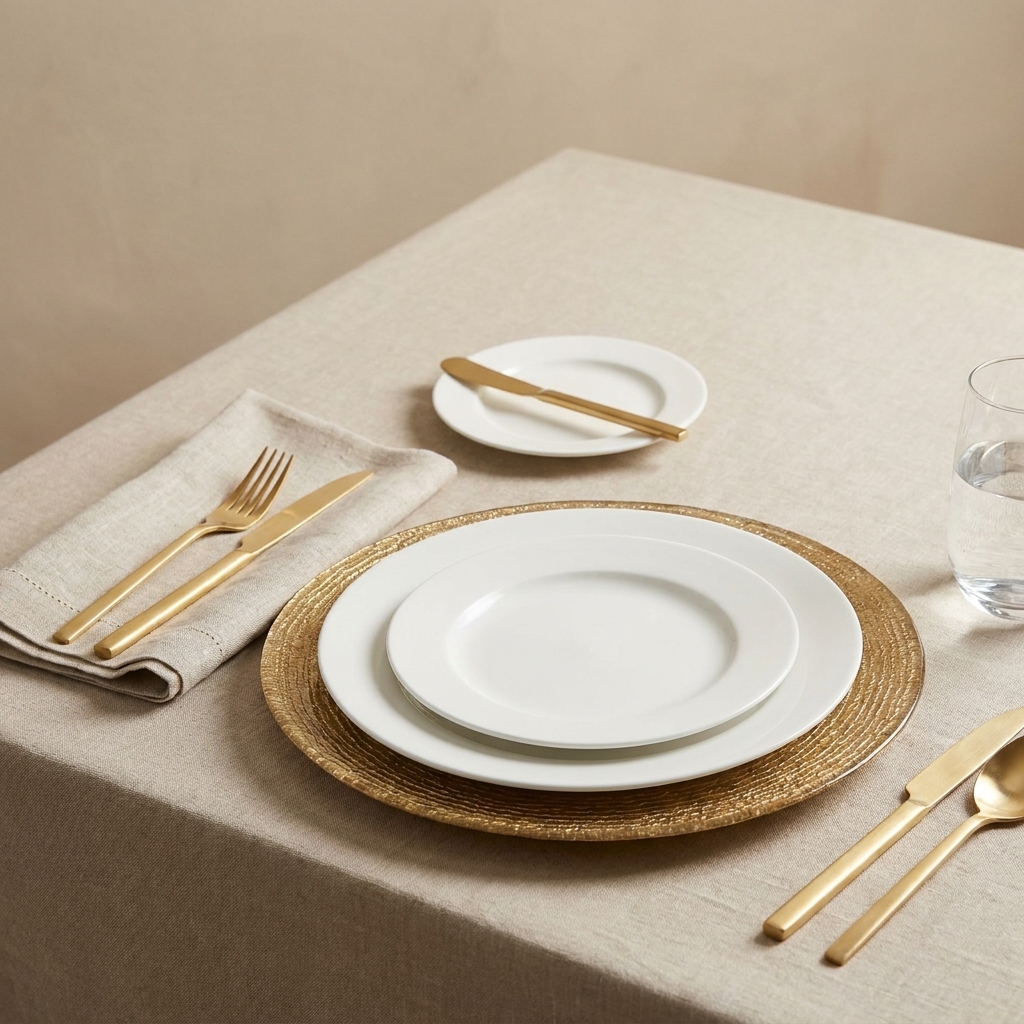
This guide walks you through the classic layering order, when to break the rules, and exactly how to style napkins so they look expensive even if they were on sale.
The classic layering order
If you only remember one thing, remember this: biggest base first, then working smaller, then napkin and finishing touches. Here is the most common formal order for a seated meal.
- Charger (decorative base)
- Dinner plate (main course)
- Salad plate or soup bowl (first course)
- Napkin (on top, under the top plate, or to the left depending on the vibe)
- Flatware (outside in)
- Glassware (upper right)
- Place card or menu (above or on the napkin)
In traditional service, the charger is removed before the entrée (main course) plate is served, often after the first course is cleared. For home parties, I often leave chargers in place if they are purely decorative and out of the way. It keeps the table looking full and styled all night.
Quick sizing and spacing
A layered setting looks professional when the proportions are balanced. Use these benchmarks as your cheat codes:
- Charger size: usually 12 to 14 inches.
- Dinner plate size: usually 10 to 11 inches.
- Salad plate size: usually 7 to 9 inches.
- Napkin size: 18x18 inches is the sweet spot for most folds.
- Edge of table to charger: about 1 to 2 inches in from the table edge.
- Spacing between place settings: if you can, aim for about 24 inches per person (center-to-center). If your table is tight, treat 2 to 4 inches between chargers as a minimum and do the quick elbow check before you commit.
If your plates are oversized modern styles, reduce layers. An 11.5 inch dinner plate on a 12 inch charger can look cramped. In that case, skip the charger or choose a larger one.
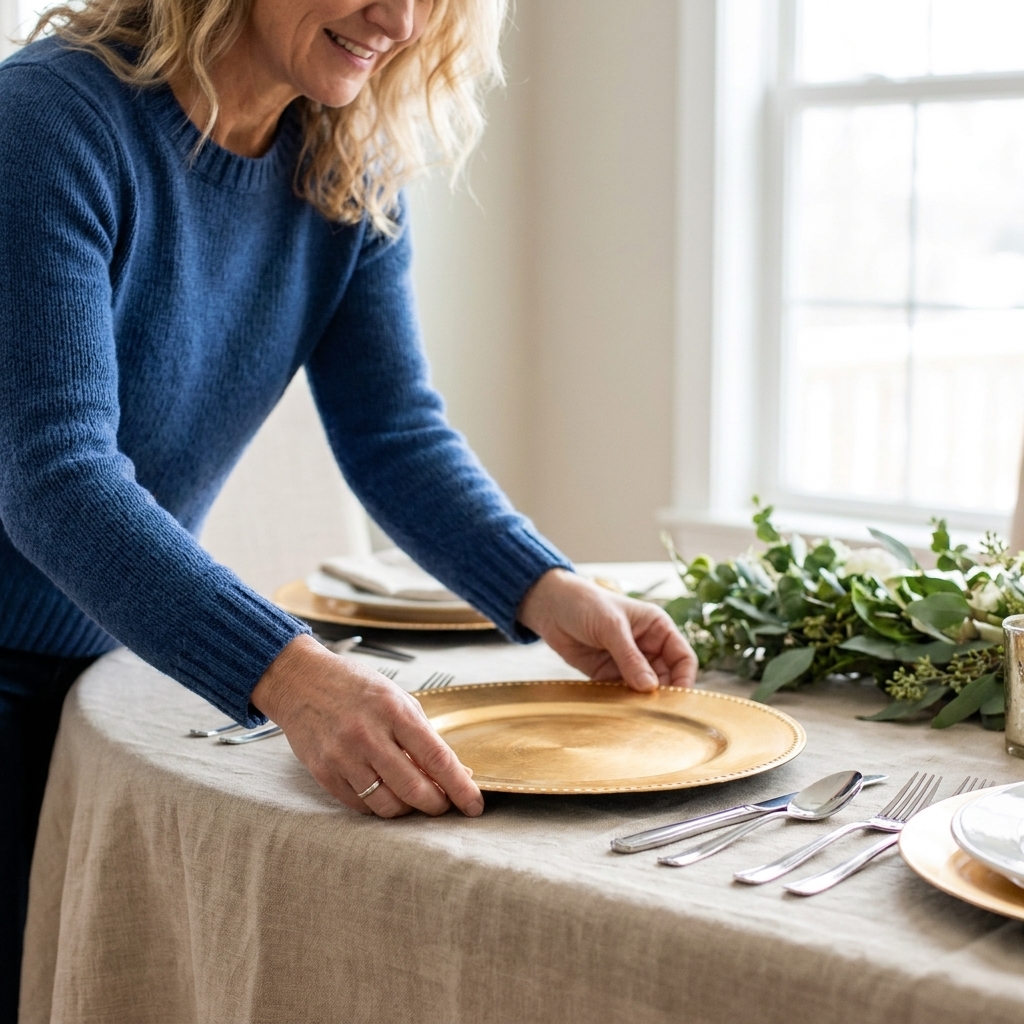
Build a formal place setting
Step 1: Start with the base
Before you touch plates, decide what your foundation is:
- Tablecloth: instantly formal and hides mismatched tables.
- Runner: more casual, great for showcasing wood tables.
- Placemats: modern and practical, but keep them flat so chargers do not wobble.
Press or steam linens if you can. Wrinkles read “rushed,” even when everything else is gorgeous.
Step 2: Center the charger
Place the charger centered with the chair. If you are doing place cards, chargers help you “lock in” each seat so the whole row looks aligned.
Pro tip: If your chargers slide on a slick tablecloth, add a tiny dot of museum putty underneath. Keep it away from food contact, and test first on delicate linens or finishes to make sure it does not leave residue.
Step 3: Add the dinner plate
Set the dinner plate directly on the charger. This is your workhorse plate, so keep it clean and simple if your charger is bold. If your charger is plain, this is where you can bring in pattern.
Step 4: Add the top course piece
Choose one:
- Salad plate centered on the dinner plate
- Soup bowl centered (with an underliner, also called a soup plate, if you have one)
- Bread plate to the upper left (optional and more traditional)
If you do a bread plate: place a small butter knife across the bread plate (or angled slightly) so it is easy to spot and not rolling around the main setting.
If you are serving salad first but plating in the kitchen, you can still stack the salad plate on top for the look and remove it when you serve. It gives each guest a clear “this is my seat” moment.
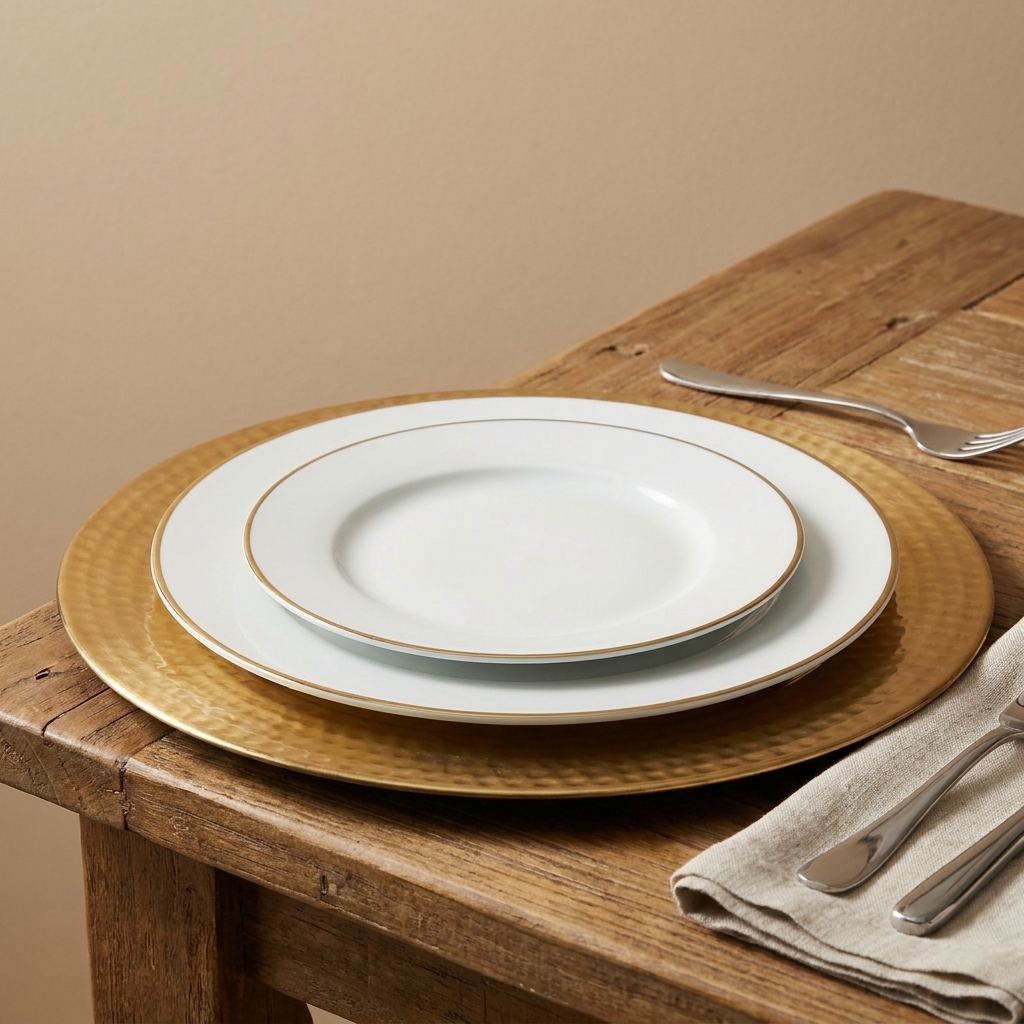
Step 5: Place and style the napkin
Napkins are where the table goes from “set” to “styled.” Decide placement first, then choose a fold that matches the formality.
- On top of the top plate: most common and very photogenic.
- Between dinner plate and salad plate: sleek and slightly modern.
- To the left of the plates: classic, especially if you want a low profile centerpiece view.
- In a glass: pretty for brunch, less ideal for very formal dinners.
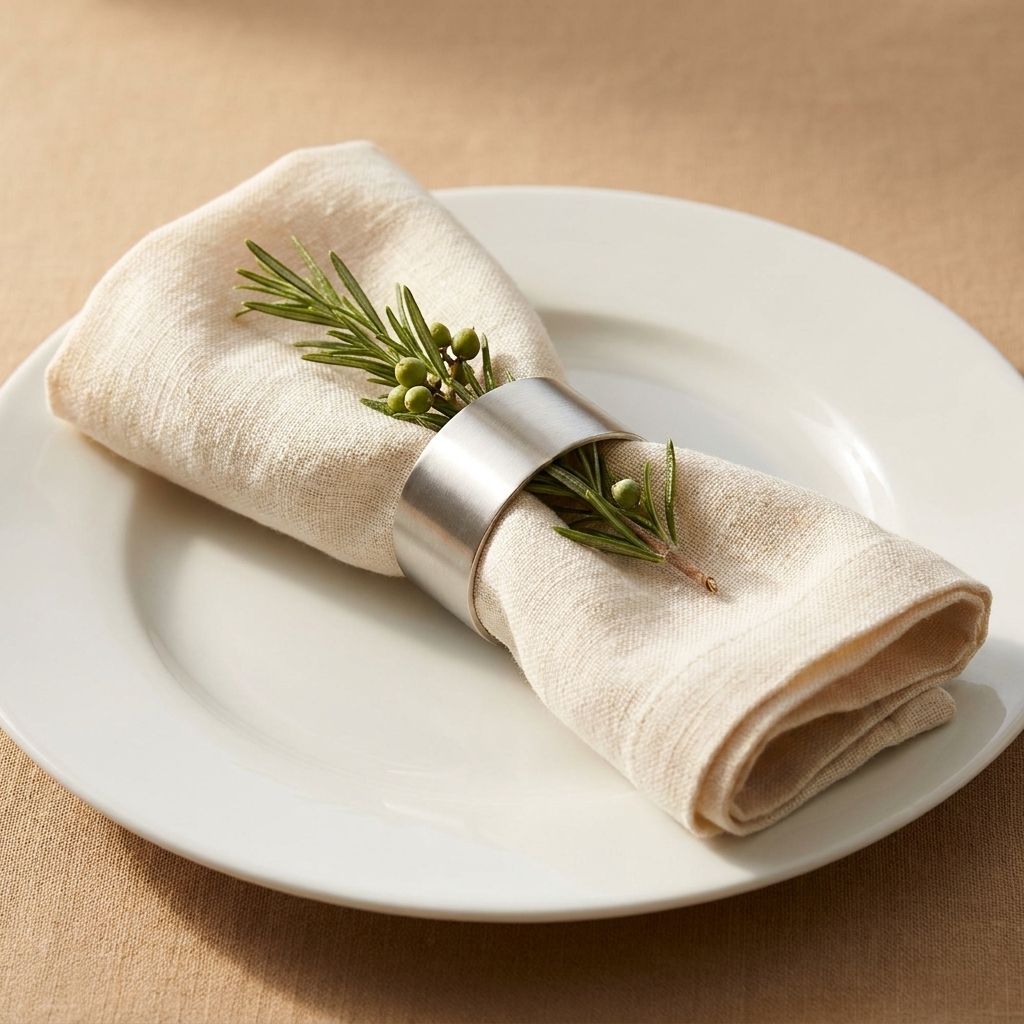
Rings or no rings? Rings help softer napkins look structured, and they are great when you want a consistent “shape” across the table. If you already have a patterned plate or a bold charger, skipping the ring can look cleaner.
Step 6: Flatware, outside in
Place forks on the left, knives and spoons on the right. Knife blade faces the plate.
- Salad fork: outer left
- Dinner fork: inner left
- Dinner knife: inner right
- Spoon: outer right (if needed)
Host shortcut: If you are not serving soup, skip the soup spoon. If you are serving steak, you can pre-set the steak knife to the right of the dinner knife, or bring it out with the entrée if you want the table to feel less busy. Same with dessert forks: either place them above the plate or bring them out with dessert.
Step 7: Glassware at the upper right
At minimum: a water glass. For a more formal setting:
- Water glass: above the knife
- Wine glass: to the right of the water glass, sometimes slightly lower depending on what fits comfortably
- Champagne flute: to the right or slightly above, if you are serving it
Step 8: Add the finishing touches
- Place card: on the napkin, above the plate, or leaning on the top plate
- Menu card: above the charger or tucked under the napkin ring
- One small accent: a sprig of rosemary, a single bloom, or a ribbon tie
One accent is plenty. Too many small items can make the table feel cluttered and hard to eat at.
Napkin folds that look polished
If you have ever stood there with a napkin ring thinking, “Why does this look limp?” you are not alone. Fabric type matters. Crisp cotton and linen hold shape best. Softer blends look romantic but need help, like a tighter roll or a ring.
1) The simple rectangle
- Lay the napkin flat and smooth it with your hands.
- Fold in half into a rectangle.
- Fold in half again for a narrower band, or leave it wider for a soft look.
- Place centered on the top plate, or to the left of the forks.
Why it works: clean lines, no fuss, and it makes even inexpensive napkins look tailored.
2) The napkin knot
- Hold the napkin by two opposite corners.
- Bring the corners together and loosely tie a single knot in the center.
- Adjust the ends so they drape evenly.
- Place on the top plate, optionally with a name tag tucked under the knot.
Why it works: it adds height and softness, and it hides minor wrinkles.
3) The pocket fold
- Start with the napkin as a square.
- Fold in half to make a rectangle, then fold in half again to make a square.
- Rotate it so the open corners face you and the fully folded corner points away.
- Take the top layer corner and fold it down toward the center, creating a diagonal edge.
- Flip the napkin over and fold the sides in to create a pocket shape.
- Flip back and slide a fork and knife into the pocket.
Why it works: it keeps the table tidy and makes a statement without extra decor.
Mix and match on purpose
Mixing pieces is where you can save serious money and still look high-end. Here are my guardrails:
- Pick one “hero”: bold charger, patterned plate, or statement napkin. Only one gets to be loud.
- Repeat one metal: if flatware is gold, echo it in the charger rim, candlesticks, or napkin rings.
- Use a neutral bridge: a white dinner plate or ivory napkin can connect everything.
- Keep finishes consistent: matte plates with matte chargers look intentional; glossy with glossy also works.
If you love thrifting tableware, you will probably enjoy my approach to making older pieces feel elevated. Pair it with a few styling tricks from Thrift Store Decor Flips: 9 High-End Event Props.
Common mistakes and fixes
- Everything is centered but still looks off: check chair alignment. Scoot chairs so each charger lines up with a chair back.
- Plates look crowded on the charger: remove the top plate or swap to a larger charger. Negative space is the secret sauce.
- Napkins look floppy: switch to a rectangle fold, add a ring, or lightly press them.
- Table feels too tall and busy: keep napkins low-profile and choose flatter centerpieces so guests can see each other.
- Clanking and shifting: add non-slip shelf liner cut into small circles under chargers for outdoor or kid-heavy parties. Test first on delicate finishes and remove promptly after the event.
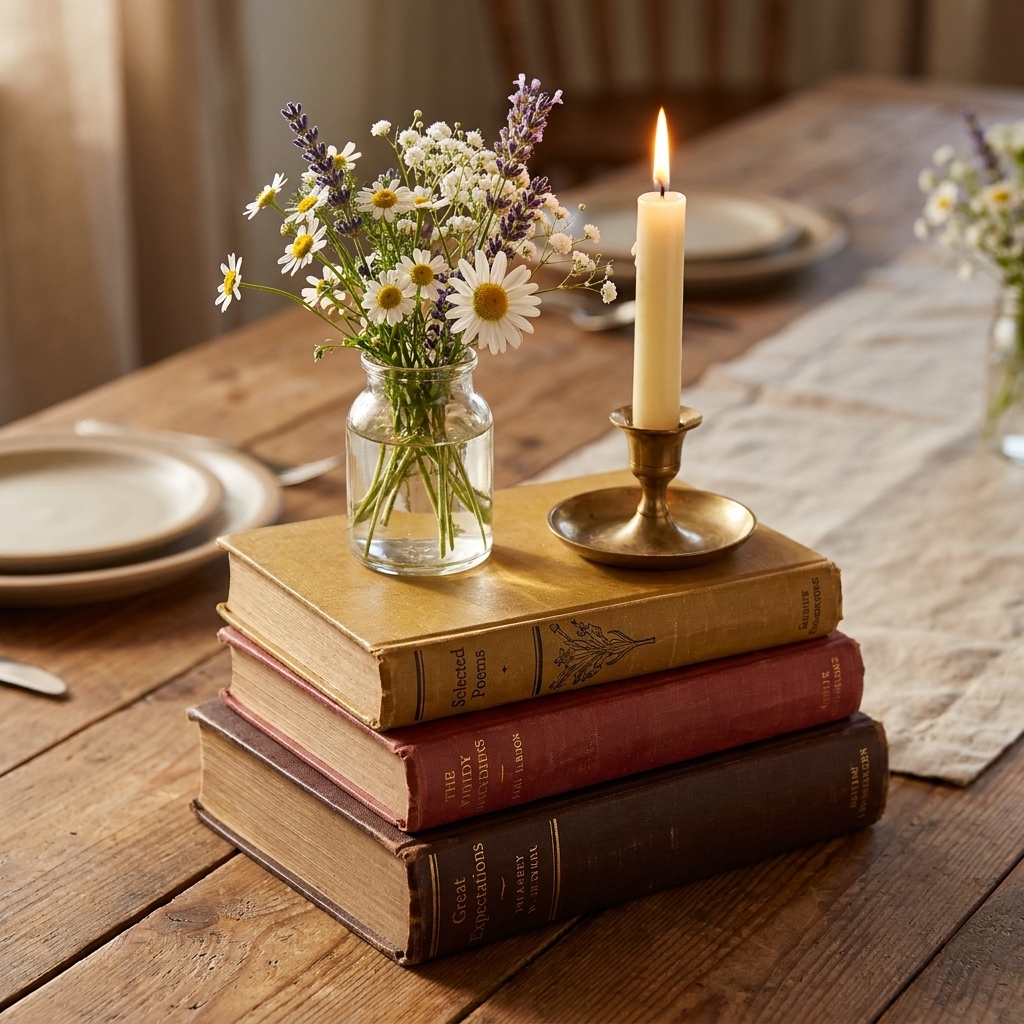
And if your overall table still needs that “styled” finishing touch, layering height helps. I love using books or hidden risers for dimension. This pairs beautifully with Hardcover Books as Centerpiece Risers.
Variations by event
Wedding or formal dinner
- Charger + dinner plate + salad plate
- Napkin on top with a low-profile fold or ring
- Two glasses if serving wine
- Place card at each setting
Baby shower or brunch
- Charger optional, placemats are totally acceptable
- Salad plate can be the main plate if you are serving lighter fare
- Napkin knot or ring on top of the plate
- One glass plus a coffee cup if you have them
Buffet party
- Charger + napkin + flatware at each seat
- Plates can be stacked at the buffet
- Focus on making the seat feel assigned and welcoming
For big gatherings, deciding what to purchase vs rent can make or break your budget. I walk through the real-life pros and cons in Rent vs Buy Event Decor for Large Parties.
FAQ
Do you put the napkin under or on top of the plates?
Both are correct. For a formal look, I like the napkin on top of the top plate or between the dinner and salad plates. For a more traditional place setting, place it to the left of the forks.
Are chargers supposed to be used with placemats?
You can, but it is a lot of layers. If you do both, keep one very neutral so the stack does not feel bulky. Personally, I pick one: charger for formal, placemat for casual.
What if I only have dinner plates and no salad plates?
No problem. Use the charger and dinner plate, then make your napkin styling the “top layer” moment. A crisp folded napkin with a sprig of greenery reads just as elevated as a third plate.
How do I make mismatched plates look cohesive?
Standardize one element across the table: the chargers, the napkins, or the flatware. When one thing repeats, the eye reads the rest as curated instead of random.