A real-life comparison of silk vs. fresh flowers for DIY wedding centerpieces—cost, durability, prep timeline, photography, and venue stress—plus hybrid idea...
Gathova
Chicken Wire and Floral Frogs for Foam-Free Centerpieces

Joanna Mercer
Joanna Mercer is an enthusiastic DIY event decorator and the creative spirit behind Gathova's party guides. With years of hands-on experience designing stunning tablescapes, balloon garlands, and custom photo backdrops for friends and family, she specializes in accessible, budget-friendly celebrations. Joanna loves sharing her practical tips and crafting tutorials to help anyone turn an ordinary space into a memorable party venue.
Published · Last updated
I grew up watching my parents turn our backyard into a full-on luau with whatever we had on hand, and that mindset still runs my party life. These days, one of my favorite upgrades is swapping floral foam for mechanics, meaning the hidden structure inside an arrangement, that are reusable, sturdier than you think, and friendlier to your budget long-term.
If you have ever fought a centerpiece that slumps halfway through dinner, this is for you. Chicken wire and floral frogs create a strong internal structure that holds stems where you put them, keeps water accessible in the vessel, and can be reused for years.
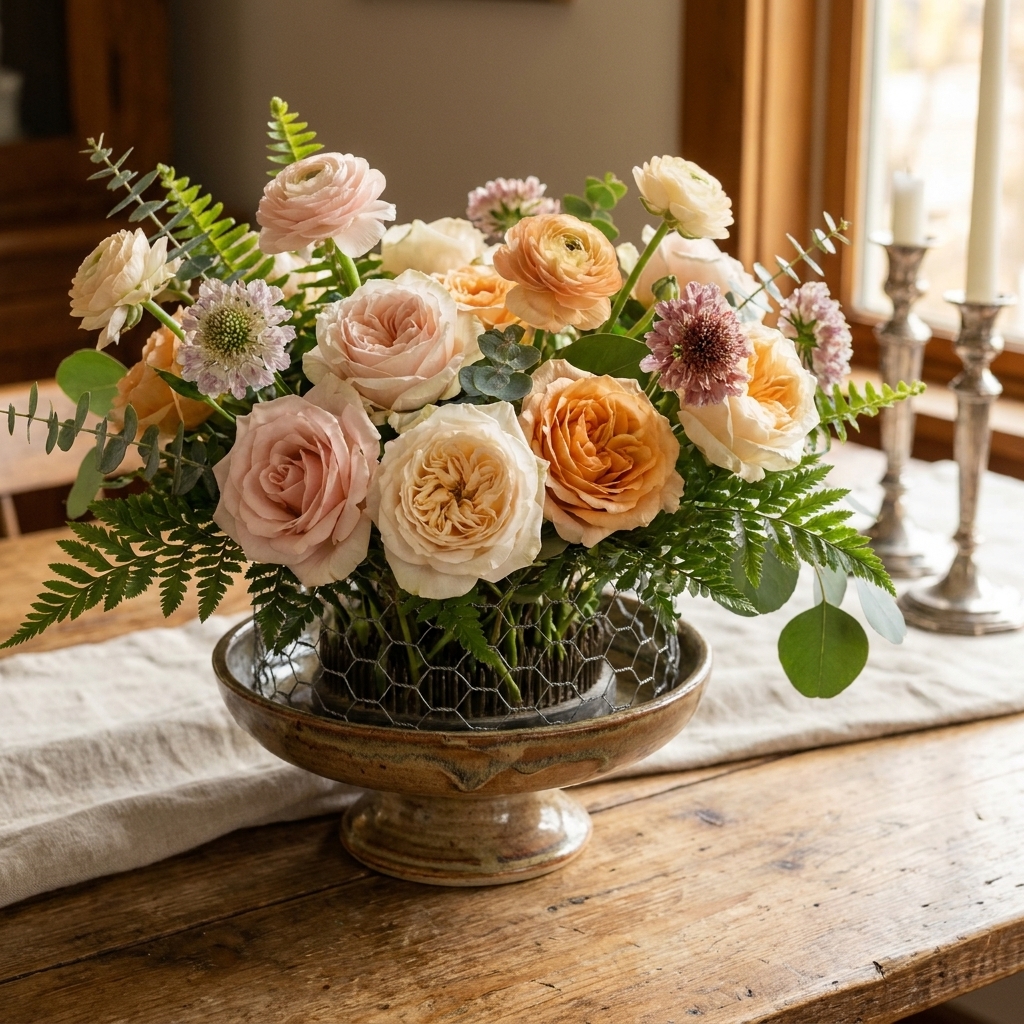
Why chicken wire and floral frogs work so well
Floral foam is convenient, and when it is properly soaked and kept wet, it can hydrate flowers. The tradeoff is that it is usually single-use, can crumble, and it is easy to lose track of the water level as the day goes on. Chicken wire and floral frogs are the opposite: durable mechanics that you can rinse, store, and use again for your next baby shower, birthday bash, or backyard dinner.
- Better stem control: You can pin stems exactly where you want them.
- Easy water access: Flowers drink directly from the water in the vessel, and you can top up anytime without trying to re-wet foam.
- Reusable and low-waste: A good frog can last for years, even decades, with basic care. Chicken wire can be reused many times if you handle it gently.
- More natural look: You are building a loose grid rather than a stiff block, so arrangements can look airy and garden-like.
Budget reality check: A frog and a roll of wire can feel like an “extra” purchase up front. But if you do more than a couple events, reuse usually wins. I would rather buy one solid set of mechanics once than rebuy foam every time I host.
If you are also deciding between fresh and faux for an event, I break down pros and cons here: Silk vs fresh flowers for DIY wedding centerpieces.
Supplies you need
Core mechanics
- Vessel: compote, footed bowl, low ceramic bowl, or even a wide-mouth jar for casual tables
- Floral frog: pin frog (kenzan) or needlepoint frog sized to your vessel
- Chicken wire: galvanized poultry netting works well (smaller openings tend to snag stems less)
- Waterproof floral tape: for a tape grid if you need extra hold or are skipping wire
Tools
- Wire cutters
- Optional: needle-nose pliers
- Floral snips or sharp scissors
- Gloves (highly recommended, chicken wire is pokey)
Flowers and greens
- Greens: eucalyptus, ruscus, salal, or anything sturdy for your base
- Focal flowers: roses, dahlias, mums, tulips, ranunculus, zinnias (in season)
- Support flowers: carnations, alstroemeria, spray roses
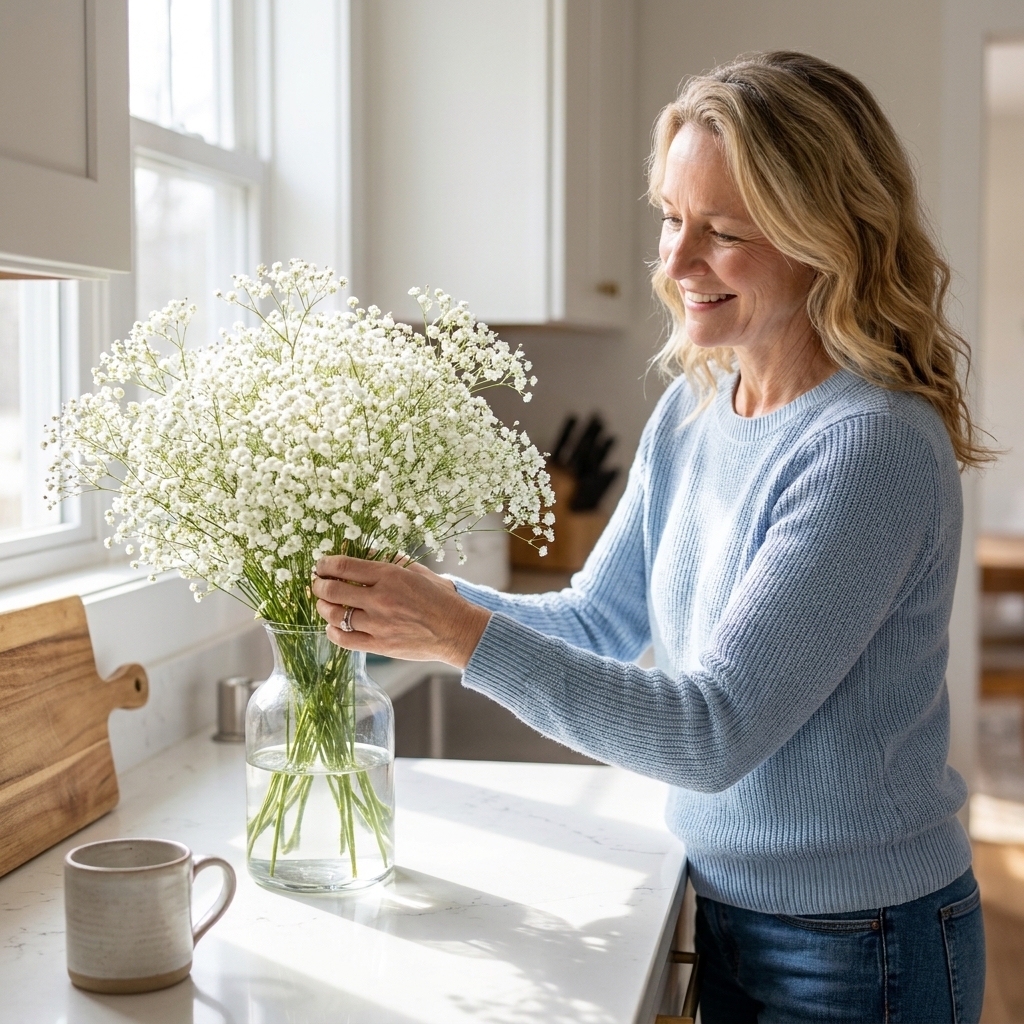
- Airy filler: waxflower, limonium, or baby’s breath
Foam-free friendly picks: woody stems and sturdier blooms (roses, mums, carnations, spray roses, ruscus) are the easiest in wire and frogs. More delicate stems can still work, you just may need shorter cuts and more “support stems” around them.
Budget tip: for that soft, cloud-like filler look without spending a fortune, my go-to tricks are here: How to make baby’s breath look expensive.
Pick your method
Use a floral frog only when
- Your vessel has a flat bottom and is not too large
- You want clean, precise placement (great for ikebana-inspired looks)
- You are using thicker stems that can be impaled and anchored
Use chicken wire only when
- You are working in a wide bowl where a single frog feels too small
- You want a loose, garden-style centerpiece
- You are using lots of thinner stems that need a grid to grab onto
Use both together when
- You want maximum stability for a busy reception table
- You need to transport centerpieces and do not want shifting
- You are using heavy blooms (big roses, hydrangea, large dahlias)
Quick compatibility note: A frog needs full contact with a stable, fairly flat surface. If the bottom of your vessel is rounded or textured, plan to secure the frog with floral putty or museum gel, or use chicken wire instead.
Chicken wire centerpiece steps
This is my most-used recipe for reception tables because it holds up under the chaos of setup, speeches, and the inevitable table bump.
1) Prep the vessel
Start with a clean vessel. Add water now, not after, because the wire will make it harder to pour neatly later. Fill about two-thirds full for a low centerpiece so you have plenty of water without risking overflow once you start adding stems.
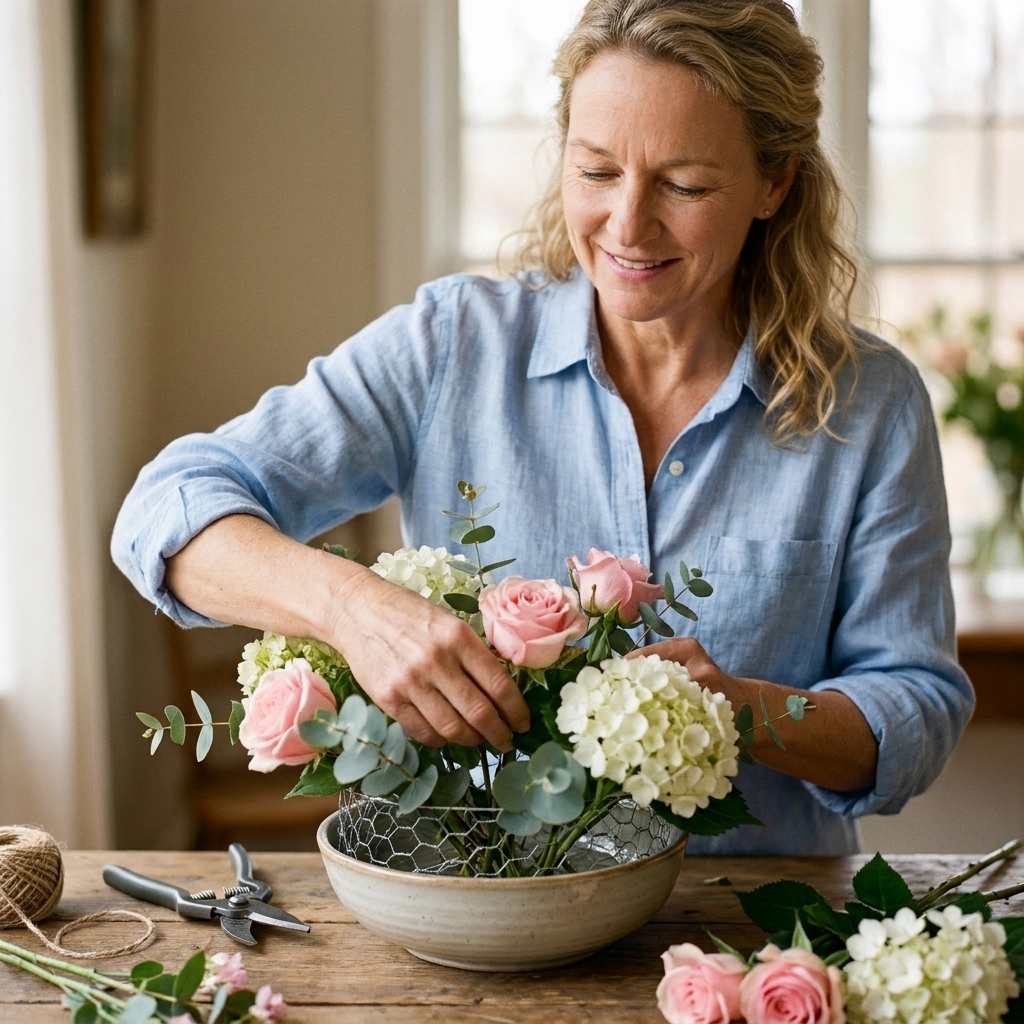
2) Build a chicken wire pillow
Cut a rectangle of chicken wire. You want enough to crumple into a springy pillow that fills the mouth of your vessel without bulging above the rim too much.
- Loosely crumple the wire into a rounded mound.
- Tuck sharp cut ends inward as you go.
- Test-fit it in the vessel. It should feel snug, not jammed.
3) Secure it
If the wire wants to pop up, run waterproof floral tape across the opening in a simple crisscross. Press the tape firmly to the vessel rim. This is especially helpful for slick ceramic or glass.
Safety and vessel protection
Wear gloves, and take an extra minute to tuck every cut end inward. If you are working with a delicate or vintage vessel, lining the inside rim with a strip of waterproof floral tape can help prevent scratches. Another option is dropping a simple glass or plastic liner cup inside a compote so the mechanics never touch the bowl itself.
4) Add greens first
Greens are your scaffolding. Create a low, wide shape first, like a little dome that stays below guest eye level. Angle stems outward so the arrangement looks intentional from every side.
5) Place focal flowers
Insert your statement blooms next. Work in odd numbers and distribute them evenly. Keep checking your height. For most dining tables, centerpieces work best either low (below the eye line) or tall (well above it). Low designs are often the easiest for conversation.
6) Fill, soften, and cover mechanics
Add your support flowers and airy filler last. Your goal is to hide the wire and create a natural blend, not a tight meatball of petals. Leave a little negative space so the shapes read as intentional, not packed-in.
7) Finish with a hydration check
Look into the vessel and confirm stems are reaching water. If the arrangement is very full, use a small watering can or a measuring cup with a spout to top up carefully.
Floral frog centerpiece steps
A floral frog is the secret weapon for arrangements that need to survive transport. Once a stem is on the pins, it stays put.
1) Anchor the frog
Place the frog in the bottom of the vessel. For extra security, use floral putty or museum gel so it does not slide when you move the arrangement. This matters even more if the vessel bottom is slightly curved.
2) Add water
Fill the vessel so the base of stems will sit in water. Submerging the pins is fine and helps keep things hydrated, but stability comes from anchoring the frog well and using a sturdy vessel.
3) Start with a simple framework
Insert a few sturdy greens or branches first, angling them to define your shape. Then place focal blooms on the pins. Finish with smaller flowers to fill gaps.
4) Use short stems intentionally
Floral frogs are perfect for using shorter flower cuts. I love this for budget builds because you can trim down stems confidently without worrying you ruined a flower for later.
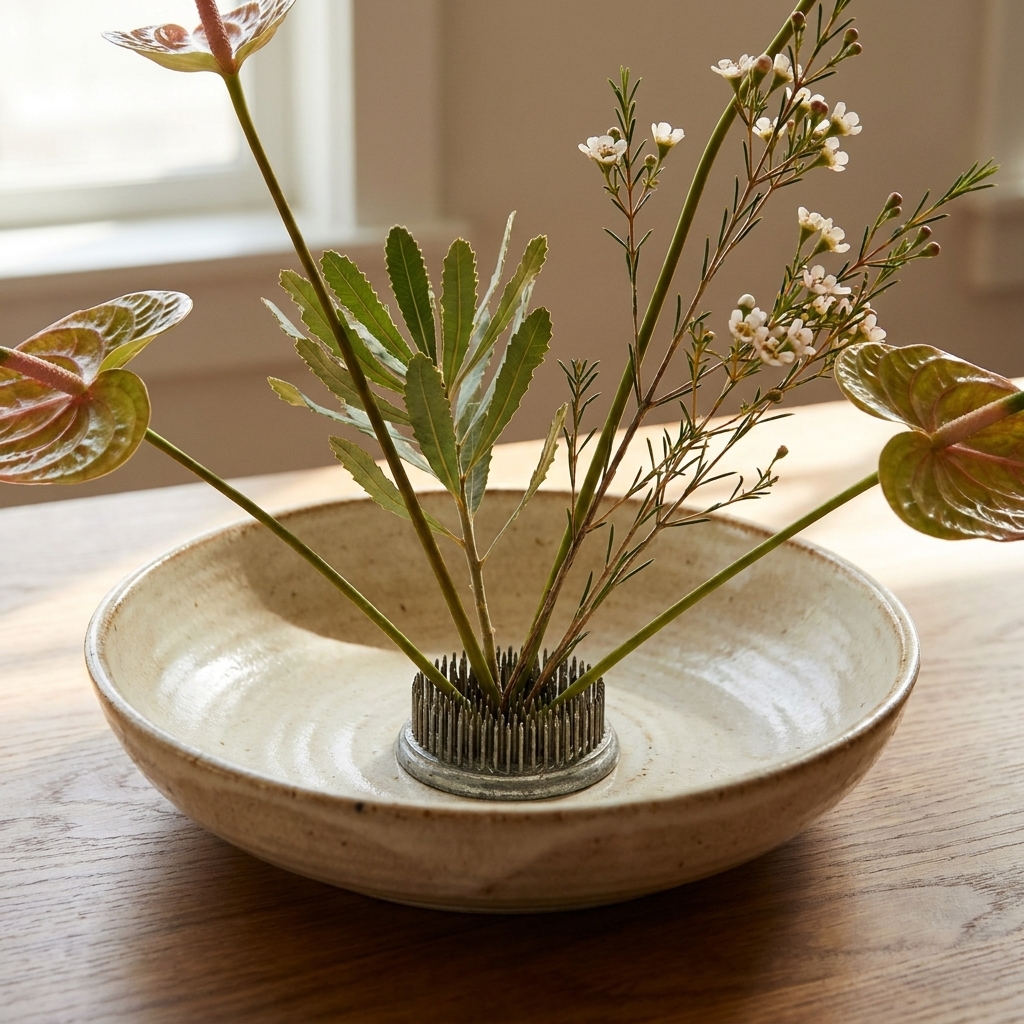
5) Disguise the base
Once your main flowers are in, tuck in small greens to cover the frog. If you can still see metal from normal viewing angles, add a little more greenery near the base.
Frog plus chicken wire
When I want a centerpiece to be both lush and unbothered by table bumps, I use a frog in the center and a chicken wire pillow around it. The frog anchors key focal blooms, and the wire gives you lots of grab points for filler and greens.
- Anchor the frog first.
- Add water.
- Tuck chicken wire around it like a donut.
- Tape the rim if needed.
- Build greens, then focal blooms, then filler.
Keep centerpieces hydrated
Condition your flowers first
- Trim stems at an angle.
- Strip leaves below the waterline so water stays cleaner.
- Let flowers drink in a bucket for a few hours (overnight is even better) before arranging.
Design for water access
A common mistake is packing everything so tight that it is hard to see into the vessel. Leave a couple small pockets so you can check water level and add more without wrestling the arrangement.
Top up before guests arrive
Right before doors open, do one last check. I keep a little pitcher under my setup table and do a quick pass. Pour slowly and aim for the inside edge of the vessel so you do not splash petals.
Transport and setup tips
- Transport in a shallow bin: Use a plastic tote or box so arrangements cannot tip.
- Wedge with towels: Roll kitchen towels to keep vessels from sliding.
- Carry level: Hold arrangements from the base with two hands.
- Bring a repair kit: snips, a few extra stems of greens, and a small water pitcher.
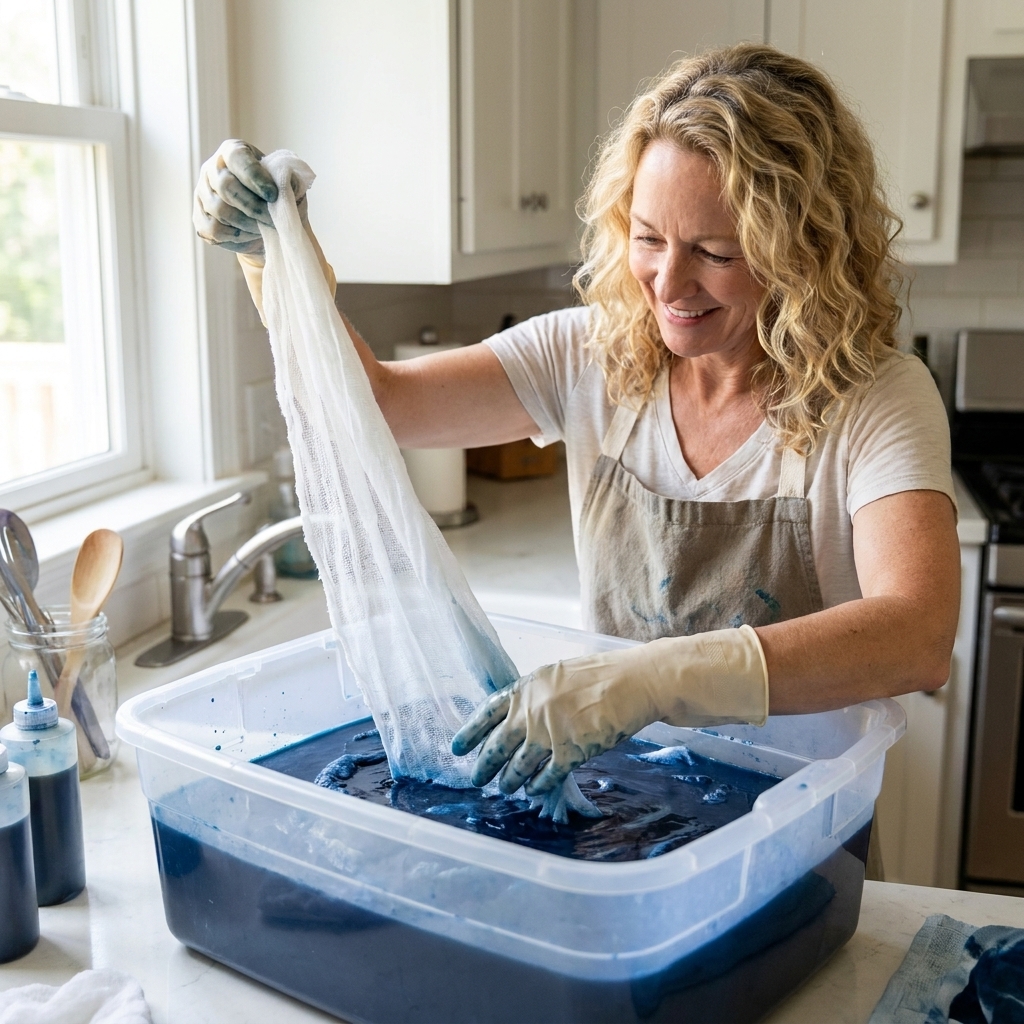
If you are building other DIY pieces the same day, keep your setup flow simple. I like to batch projects that can be done ahead, like table linens. These runners are a gorgeous, low-waste way to add color: Hand-dyed cheesecloth table runners.
Budget flower recipes
Recipe 1: Garden and airy
- Greens: ruscus or salal
- Focals: 3 to 5 roses or mums
- Support: 5 to 7 carnations or alstroemeria
- Airy: waxflower or baby’s breath
Recipe 2: Modern low compote
- Greens: minimal, just a few pieces
- Focals: 5 to 7 statement blooms (like dahlias or large roses)
- Accent: 5 to 9 smaller blooms
Recipe 3: Meadow mix
- Greens: whatever is in season
- Focals: zinnias, spray roses, or mixed market bunches
- Filler: one airy bunch to soften
Love an upcycled moment? Same. If your vessels are coming from the thrift store, you will probably enjoy: Thrift store decor flips for high-end event props.
Troubleshooting
My chicken wire is scratching the vessel rim
Wrap the rim with a strip of waterproof floral tape first, then add the wire. Also make sure cut ends are tucked inward. For extra insurance on delicate bowls, use a liner cup.
Flowers are falling out or leaning
Your wire pillow may be too loose. Pull it out, compress it more, and reinsert. For frogs, check that stems are actually seated on the pins, not balancing beside them.
Water looks cloudy mid-event
This usually happens when leaves are in the water. Remove any submerged foliage and top up with fresh water. For long events in warm venues, keep arrangements out of direct sun and away from heat vents.
Mechanics are showing
Add a collar of greens low at the base. If the centerpiece is intentionally airy, you only need to hide mechanics from typical seated sightlines, not from a standing overhead view.
Clean and reuse
- Chicken wire: shake out plant bits, rinse, dry fully, and store in a labeled bin so it does not snag everything in your craft stash.
- Floral frog: soak in warm water, scrub gently with a brush, and dry completely. If you used putty, peel it off and wipe clean. Store frogs dry so the base is less likely to rust over time.
- Vessels: wash with hot soapy water and dry before storing.
These mechanics are the kind of purchase that quietly pays you back. You will build faster, waste less, and end up with centerpieces that still look perky when dessert hits.