Create dreamy ceiling draping without the wedding-tent mess. Learn safe, venue-friendly ways to hang tulle with fishing line, prevent sagging, and get clean,...
Gathova
How to Safely Hang Fairy Lights Outdoors

Joanna Mercer
Joanna Mercer is an enthusiastic DIY event decorator and the creative spirit behind Gathova's party guides. With years of hands-on experience designing stunning tablescapes, balloon garlands, and custom photo backdrops for friends and family, she specializes in accessible, budget-friendly celebrations. Joanna loves sharing her practical tips and crafting tutorials to help anyone turn an ordinary space into a memorable party venue.
Published · Last updated
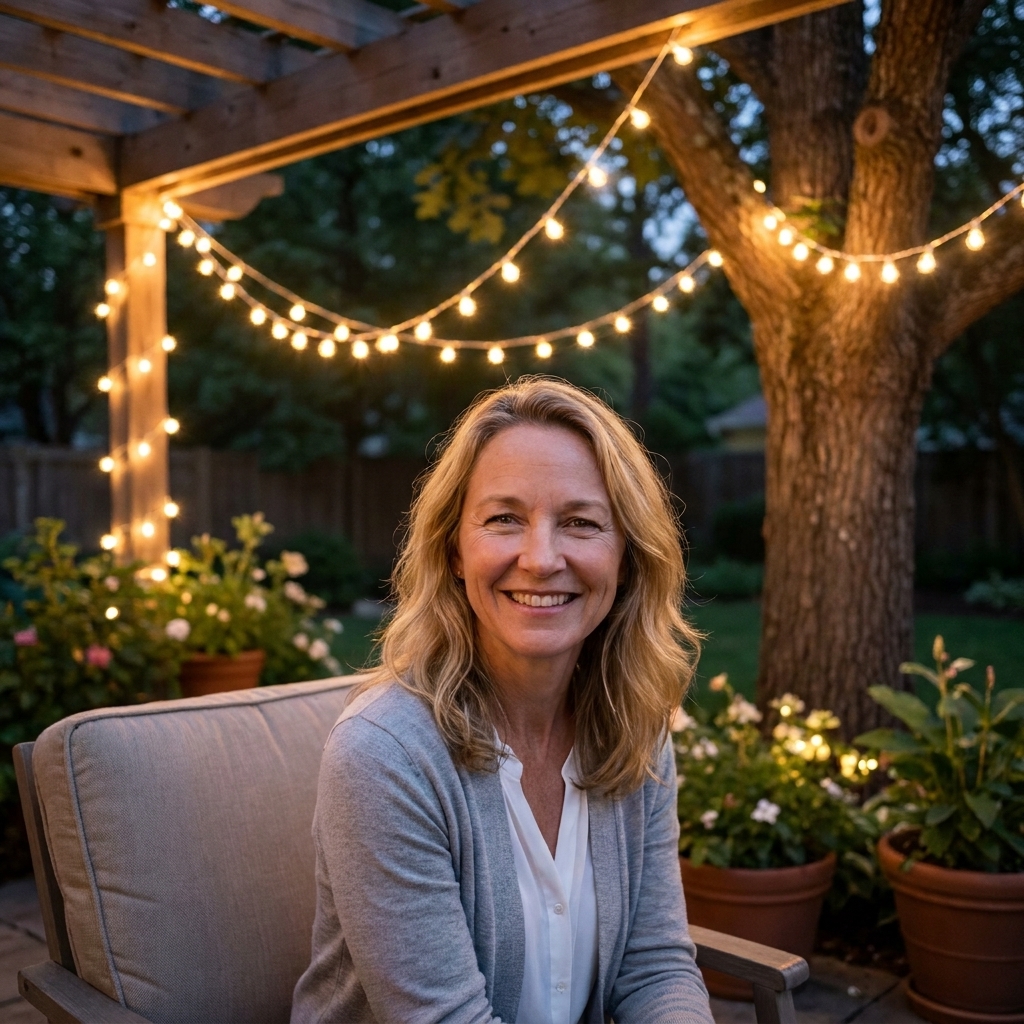
The fastest way to make an outdoor party feel intentional is to get soft light up in the air. Fairy lights do that dreamy, golden glow thing better than almost anything. They also come with two realities I have learned the hard way while setting up backyard birthdays and “just a few friends” dinners that somehow turn into 28 people: outdoor string lights need a plan, and they need to be hung like you expect wind, dew, and one overexcited guest to test them.
Here is my practical, party-night safe approach for patios, trees, and temporary poles, plus the checks I do before anyone arrives.
Start with the right lights and power
Before you even think about ladders, decide what you are hanging. Most safety problems come from using indoor-only lights outdoors or running more power than a cord or outlet should handle.
Pick lights rated for outdoor use
- Look for an outdoor rating on the packaging. Outdoor-rated strands have better insulation and weather resistance. If the label is missing or unclear, I treat them as indoor-only.
- LED is your friend. LEDs generally run cooler and use less electricity than incandescent strands, which matters when you are running multiple sets. They can still warm up at the plug or driver, so I do not bury those parts under rugs or décor.
- Choose the right wire color. Green disappears in trees, white blends with eaves and pergolas, and black tends to vanish at night on darker fences.
Know your power options
- Plug-in lights are brightest and most reliable for a long party night. They require the most attention to cords and outlets.
- Solar is great for accent lighting, but performance depends on sun exposure that day. I use solar when I can tolerate “pretty, but not super bright.”
- Battery packs are handy for small focal points, like wrapping one tree trunk or a photo moment, but plan for fresh batteries or a fully charged pack.
Do a quick load check
If you are plugging in multiple strands, read the manufacturer instructions for how many can be connected end to end. If it does not explicitly say they are connectable, do not daisy chain them. When in doubt, run separate strands back to power rather than making one extra-long chain.
My pre-hang safety checklist
This is the “I want the vibe, not a hazard” list. It takes 10 minutes and saves you from last-minute scrambling.
- Inspect every strand: no cracked bulbs, exposed wire, bent prongs, or loose sockets.
- Test the lights in a dry, protected outlet first: I usually use the garage or indoors so I find dead sections before I am on a ladder.
- Plan your route: identify where the plug will land and how cords will stay out of walkways.
- Look up: avoid overhead power lines, low branches that will whip in wind, and anything sharp that could nick wire.
- Check your hanging points: gutters, thin branches, and flimsy lattice can fail when you add tension. Also, if you are in a rental or you just do not want holes, skip drilling and stick with removable clips and straps.
If your setup involves tall reaches, recruit a helper. One person holds the ladder and hands up clips. One person climbs. This is not the moment to be a hero.
Hanging methods that hold up
Fairy lights look best with intentional drape. They behave best with real support. The sweet spot is a strand that has a little swoop, but is not carrying its own weight across a long span.
Method 1: Patio, pergola, or eaves
This is the easiest place to get a clean, safe install because you have solid structure.
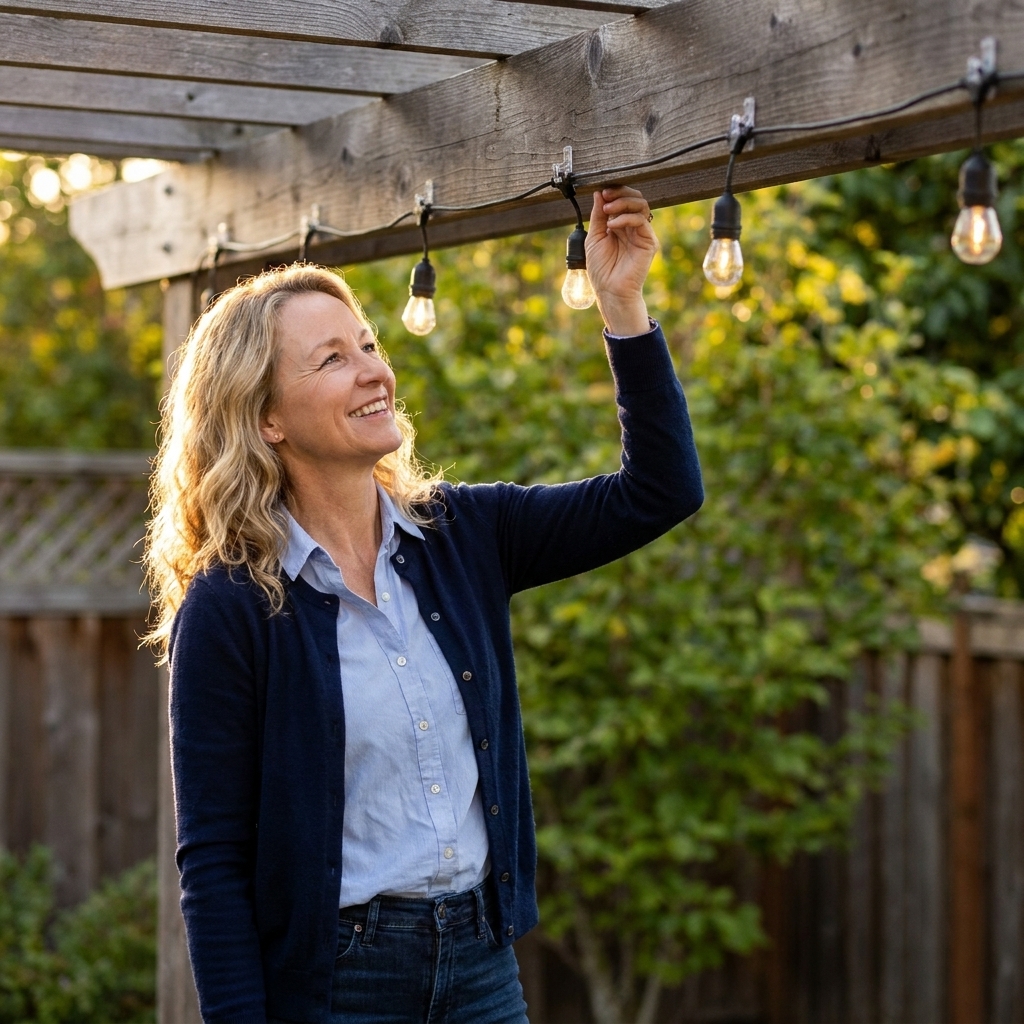
- Use outdoor-rated light clips or gutter clips designed for string lights.
- Support the line often. A good starting point is a clip every 12 to 24 inches, then adjust. Heavier commercial strands or windy spots usually need closer support.
- Avoid nails or staples through the wire. If you must staple near lights, use insulated staples and never pierce the cord.
- Keep the plug connection protected from direct rain or sprinkler spray.
Pro party tip: Hang the line first, then step back and adjust the drape before clipping everything down. A tiny change in clip placement can turn “messy zigzag” into “bistro magic.”
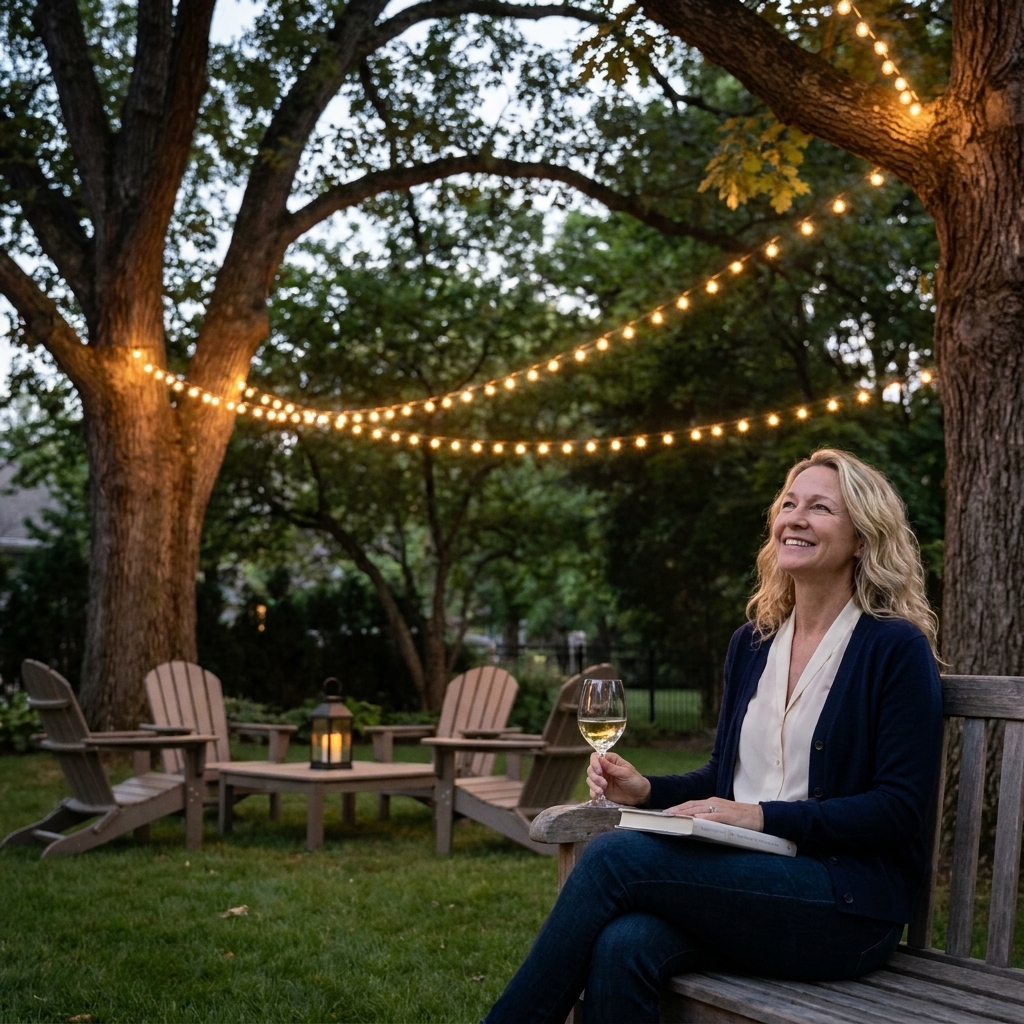
Method 2: Between trees
Trees are gorgeous anchors, but branches move. Your goal is to allow a little give while keeping the lights from sawing into bark.
- Wrap a wide, soft strap around the trunk (like a tree strap or a length of canvas) and attach your support line to that, not directly to bark with wire.
- Use zip ties sparingly and loosely if you are attaching lights to a strap or to a dedicated support line, not cinched tight on living branches.
- Leave slack for movement. If the span is guitar-string tight, wind will do the rest.
If you want that classic canopy look, I like a hub-and-spoke approach: pick one central tree as the hub and run several shorter spans to surrounding anchor points. Shorter runs sag less and are easier to secure.
Method 3: Open space with temporary poles
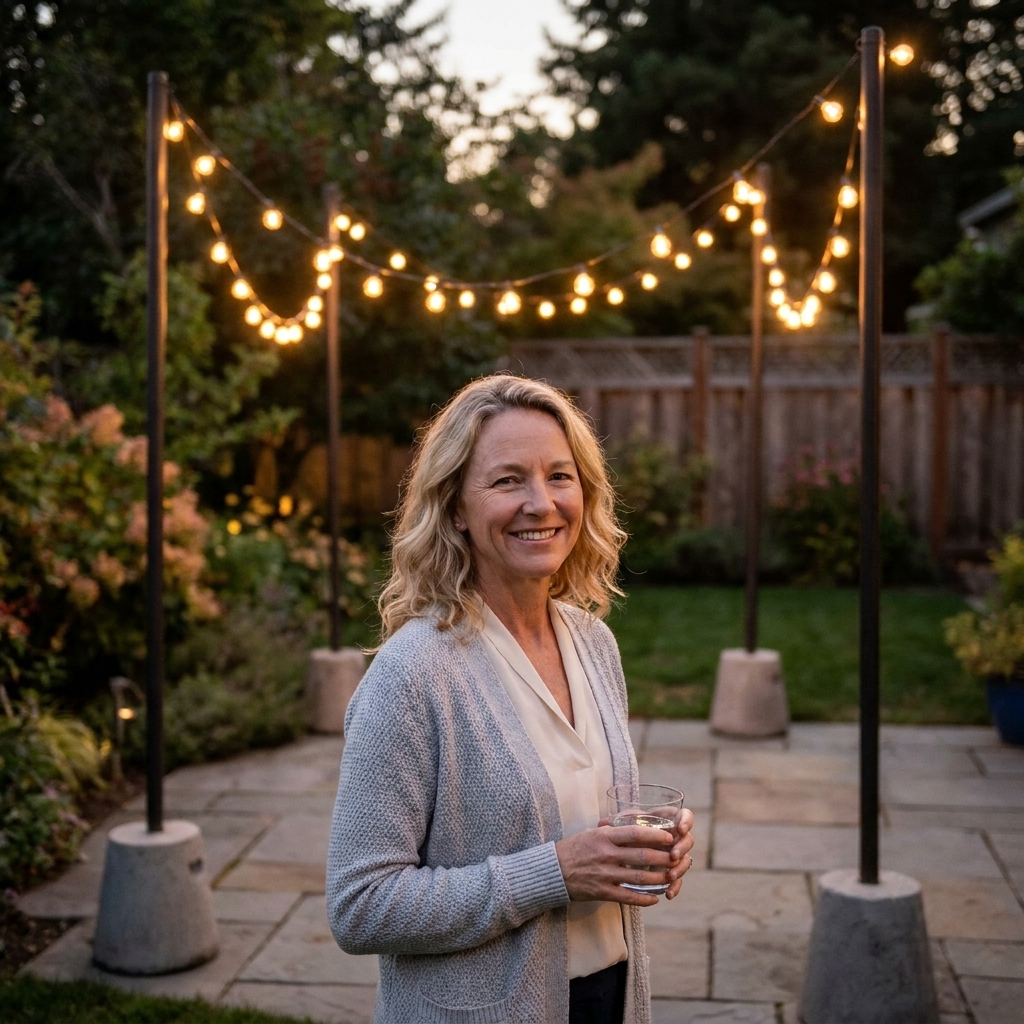
No trees? No pergola? You can still do overhead lights with temporary poles, as long as you build it like a small, stable structure.
What works well
- Metal poles or sturdy wood posts set into heavy bases. Think planters filled with gravel or concrete, or dedicated weighted bases.
- Guy lines for stability if the poles are tall or the span is long.
- A separate support line that carries the weight, with fairy lights attached to it. My go-to options are stainless steel wire rope, paracord, or another UV and weather-rated line so it does not get brittle in the sun. The light strand should not be the thing under tension.
How I set it up
- Place bases first and test wobble. If a base shifts with a firm push, add weight.
- Add poles and confirm height so lights stay comfortably above head level.
- Run a support line between poles, keeping it snug but not over-tensioned.
- Attach fairy lights to the support line with small ties or clips. A good starting point is every 12 to 18 inches, then go closer if the strand is heavier.
- Do a gentle shake test before guests arrive.
For a matching DIY project vibe, you might also like my ceiling draping method indoors. The same mindset applies: support first, pretty second. See Budget Ceiling Draping With Tulle and Fishing Line.
Cords and plug safety
This is the part that makes me feel like everyone needs a clipboard, but it matters. Most outdoor lighting issues come from cords and connections sitting where water collects or where people walk.
Extension cord rules I follow
- Use cords rated for outdoor use. Indoor cords outdoors are a no.
- Run cords along edges. Fence lines, under railings, or along the house, not across open walking paths.
- Keep plugs elevated. If a connection has to be outdoors, I keep it off the ground using a hook, a nail on a post, or a sheltered ledge.
- Protect connections. A weatherproof connection cover is ideal. At minimum, keep connections under an overhang and away from sprinklers.
- Avoid overloading a single outlet. Spread loads across circuits when possible.
About GFCI protection
Outdoor outlets should be GFCI protected, but I never assume they are, especially in older homes. If you are not sure, look for a TEST and RESET button on the outlet, and test it before party day. If your setup is outdoors and you cannot confirm GFCI protection, a portable GFCI adapter is worth considering. When in doubt, an electrician can tell you what you are working with.
For general electrical safety guidance, the Electrical Safety Foundation International has an overview of outdoor electrical precautions: https://www.esfi.org/.
Weather and wind
Even if the forecast is perfect, outdoor nighttime brings moisture. Wind shows up uninvited. Plan for both.
Moisture tips
- Protect adapters and power bricks. If the transformer or power supply is not rated for outdoor use, keep it indoors or in a dry, covered location. If it is outdoor-rated, follow the manufacturer directions and still keep it out of puddles and direct sprinkler spray.
- Avoid laying cords in low spots where dew and irrigation collect.
- Turn everything on before dark so you can spot flickers or weak sections while you can still see what you are doing.
Wind tips
- Shorter spans are safer. Add an extra anchor point rather than stretching one long run.
- Secure loose tails. Tie off the end of a strand so it cannot whip around.
- Give trees room to move. That little bit of slack prevents snapping and bark damage.
Make it guest-friendly
Fairy lights should feel like atmosphere, not an obstacle course.
- Hang high over walkways. If I can, I aim for about 8 feet or higher anywhere people will walk under them, and higher if I have tall friends or raised areas like decks.
- Keep food and drink zones brighter. Ambient light is lovely, but people need to see what they are eating. Add a nearby lantern or concentrate strands above the table.
- Light the path to the bathroom. A few strands or small ground-safe lights prevent trips. If you want a DIY walkway moment, I love using fabric paths and low lighting together. See DIY Walkway Decor With Canvas Drop Cloths.
- Put a photo spot under the glow. A corner of lights in trees or above a backdrop makes everyone look better. If you are building your own photo area, this pairs beautifully with Plastic Tablecloth Photo Backdrop That Looks Expensive.
One small upgrade
If your lights are compatible, an outdoor-rated timer can be a sanity saver. I love knowing the lights will shut off overnight so I am not doing the “did I unplug everything?” lap at 1 a.m.
Troubleshooting on party day
If lights flicker
- Check each connection is fully seated.
- Swap the extension cord for a known good outdoor-rated one.
- Reduce the number of connected strands and test again.
If a section goes out
- Look for one loose bulb (some strands are sensitive to a single bad contact).
- Check for a tripped GFCI outlet and reset if needed.
- Replace the strand if you see any cord damage.
If a span sags
- Add an anchor point in the middle with a clip to a branch or beam.
- Use a support line and reattach the lights to it.
- Shorten the run and start a new strand from a closer power point.
My quick setup plan
If you want the simplest approach that still looks like you hired someone, this is my go-to:
- Sketch your layout and decide on 2 to 4 strong anchor points.
- Test every strand the day before in a dry, protected outlet.
- Add a support line for any span longer than a few feet.
- Clip lights often so the strand is supported. Start with every 12 to 24 inches and adjust for weight and wind.
- Route cords along edges and keep connections off the ground.
- Turn on at dusk and do one last walk-through for tripping hazards.
Once the lights are up, everything else feels easier. The food looks better, the tablescape looks more done, and your guests naturally gather under the glow like moths in the nicest way.