Not sure if you should go tall or low? This practical guide breaks down visual impact, guest conversation, table shapes, venue rules, and cost—plus when to m...
Gathova
Elegant Easter Egg Tree Centerpiece with Painted Branches

Joanna Mercer
Joanna Mercer is an enthusiastic DIY event decorator and the creative spirit behind Gathova's party guides. With years of hands-on experience designing stunning tablescapes, balloon garlands, and custom photo backdrops for friends and family, she specializes in accessible, budget-friendly celebrations. Joanna loves sharing her practical tips and crafting tutorials to help anyone turn an ordinary space into a memorable party venue.
Published · Last updated
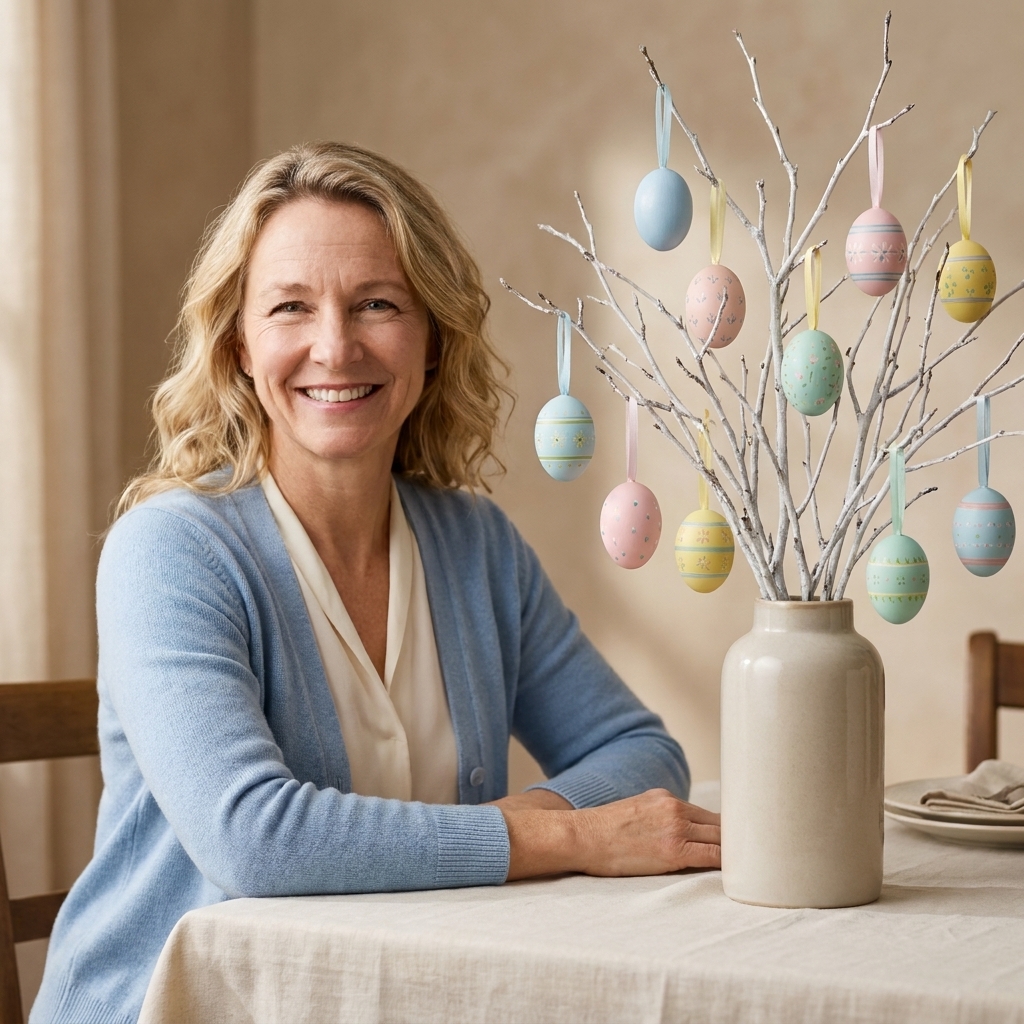
I grew up helping my parents turn our backyard into a party zone for big spring get-togethers, and I still get the same little thrill when a table has one “wow” moment that makes everyone slow down and look. An Easter egg tree centerpiece is that moment, especially when the branches are painted in a soft, modern tone and the ornaments hang evenly instead of clumping and spinning.
This is my practical, no drama way to forage branches, paint them cleanly, and anchor them so they can hold delicate eggs without tipping halfway through dinner.
What makes an egg tree look elegant
Before we get into the steps, here are the three things that separate “cute craft” from “centerpiece that looks styled”:
- Controlled color: one branch color (matte is best) and a tight ornament palette.
- Intentional spacing: eggs hang at varied heights, with breathing room between them.
- A stable base: the vase does the heavy lifting so the eggs can be lightweight and delicate.
If you also care about guest sightlines, keep the tree narrow and lift height upward. For more on choosing heights that work on a dining table, see tall vs low centerpieces.
Supplies (with easy swaps)
- Branches: 6 to 14 branches, 18 to 36 inches long (number depends on vase size and how full you want it).
- Vase: heavy bottom vase, crocks, ginger jar style vessel, or a tall cylinder.
- Anchor material: gravel, pebbles, sand, or rice (more on choosing below).
- Optional stabilizer: florist chicken wire or a pin frog (my favorite foam-free method).
- Paint: matte spray paint or craft acrylic plus primer.
- Drop cloth + gloves: painting gets everywhere.
- Hanging: thin ribbon, waxed cord, or clear ornament hooks.
- Ornaments: lightweight eggs (plastic, papier-mâché, or blown eggs if you are brave).
- Tools: pruning shears, small drill or awl for making holes in eggs (if needed), and a hot glue gun (optional).
- Surface protection (recommended): felt pad, coaster, or small tray under a heavy vase.
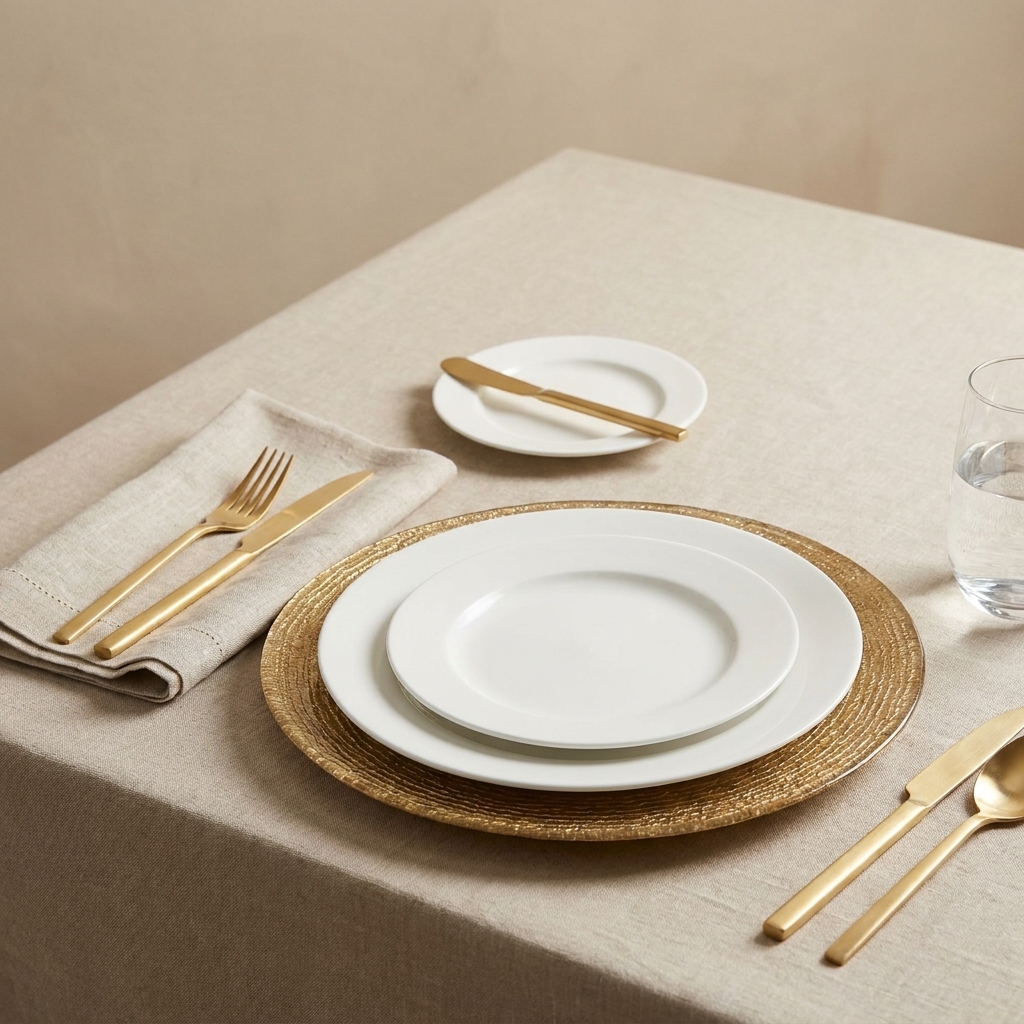
If you are trying to keep the whole table cohesive, this pairs nicely with layered place settings. I like to start with layering chargers, plates, and napkins so the centerpiece is not doing all the work.
Step 1: Forage branches that behave
Where to look
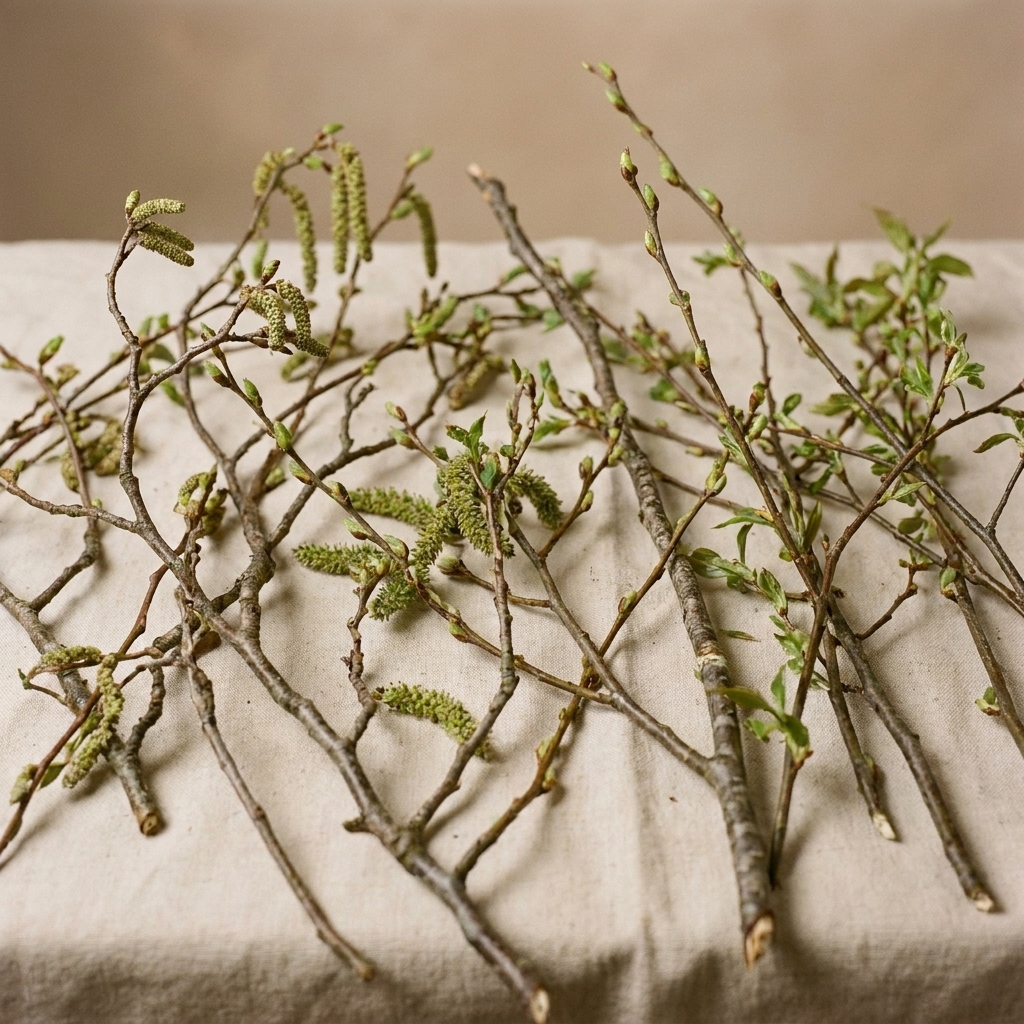
I look after a windy day for fallen branches first. If you are cutting, do it responsibly and only from your own yard or with permission.
What to choose
- Hardwood branches with smaller offshoots are ideal. They hold shape and give you lots of hanging points.
- Diameter: aim for pencil to marker thickness at the tips, and no thicker than your thumb at the base unless your vase is very large.
- Interesting shape: gentle curves look more elevated than straight sticks.
What to avoid
- Branches that are green, sappy, or oozing. Paint can fisheye, and curing can take forever.
- Flaky bark that sheds when you rub it. Your tablecloth will hate you.
- Weak, brittle twigs that snap when you lightly bend them.
Quick clean and dry
Shake off debris outdoors, then wipe with a slightly damp cloth. Let branches dry fully. If they are damp, paint can bubble or peel later.
Step 2: Trim and test the shape
This is the part most people skip, and it is why their tree looks chaotic.
- Set your empty vase on the table where it will live.
- Dry fit the branches without anchor material. Hold a few in place and step back.
- Decide on a shape: I like a narrow base with branches fanning slightly outward near the top.
- Trim the bottoms so the branches sit at different heights but feel like one “tree.”
- Remove any awkward tiny twigs that will snag ribbon or poke faces across the table.
Tip: If your centerpiece will sit on a round table, aim for a more symmetrical silhouette. For a rectangular table, a slightly directional shape looks great, just keep it slim enough for conversation.
Step 3: Prep and paint branches cleanly
Prep that makes paint behave
If your bark is glossy, dusty, or a little waxy, do this first. It takes five minutes and saves you from sticky regrets.
- Remove loose bark so it does not lift your paint later.
- Lightly scuff slick spots with fine sandpaper (just enough to give paint something to grab).
- Wipe down with rubbing alcohol and let it fully evaporate before painting.
- Use a bonding primer if the surface feels stubborn or you have had chipping issues before.
Pick an elegant branch color
My go-to branch colors for spring tables:
- Matte ivory for a clean, airy look
- Soft taupe for a modern neutral
- Dusty sage if your table has greenery
- Matte black for a high contrast, minimalist look (surprisingly chic with pastel eggs)
Best paint option: matte spray paint
- Lay branches on a drop cloth outside or in a well ventilated space.
- Do a light first coat from about 8 to 12 inches away.
- Recoat based on the can’s recoat window (temperature and humidity change everything).
- Rotate and mist again until covered. Two to three light coats beats one heavy coat every time.
- Let cure fully per the product directions. I still aim for overnight when I can, especially if it is humid.
Brush on option: acrylic paint
If you are painting indoors, you can brush on acrylic. Use a grippy primer first if the bark is slick, then paint in thin coats. Expect a more “hand finished” texture, which can still look beautiful if you keep it matte.
My no stick rule: If paint feels dry but slightly tacky, it is not ready for ribbon. Give it more time.

Step 4: Anchor the branches so they do not tip
A pretty egg tree that tips is not pretty. Stability comes from three things: a heavy vessel, a tight internal “grid,” and enough weight at the bottom.
Choose your anchor method
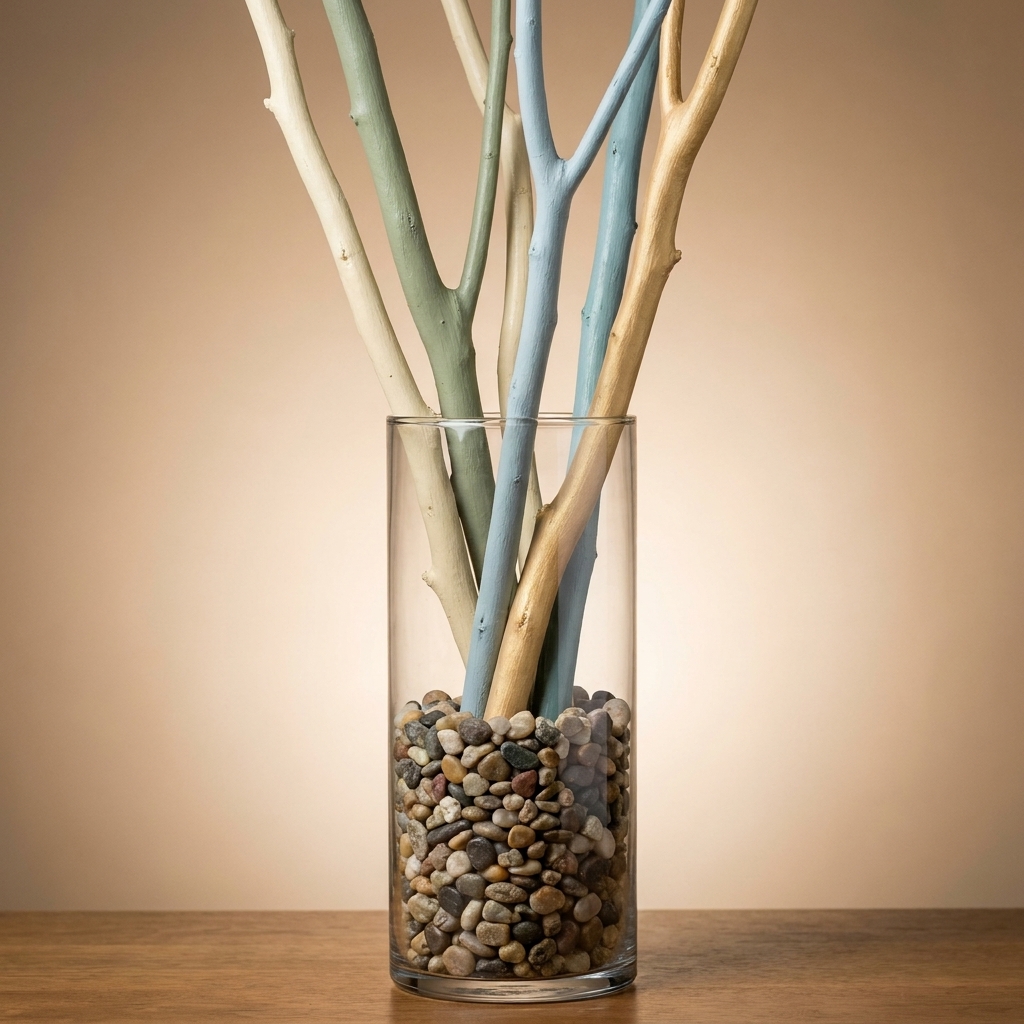
Option A: Gravel or pebbles (my favorite for stability)
- Pros: heavy, locks branches in place well
- Cons: can scratch glass vases if you pour aggressively
Option B: Sand (best for very thin branches)
- Pros: molds around branches, very secure
- Cons: messy to adjust once filled
Option C: Rice (best for quick builds and opaque vases)
- Pros: easy and cheap
- Cons: lighter, so use a heavier vase and fewer ornaments
Two little tricks that prevent scratches and sliding
- For glass vases with gravel: pour slowly and consider starting with a thin layer of sand at the bottom as a buffer.
- For tabletops: set the vase on a felt pad, coaster, or small tray so nothing grinds or scoots as guests reach for food.
Add an internal stabilizer for “no wobble”
If you want the branches to feel truly locked in, add one of these before you pour in your fill:
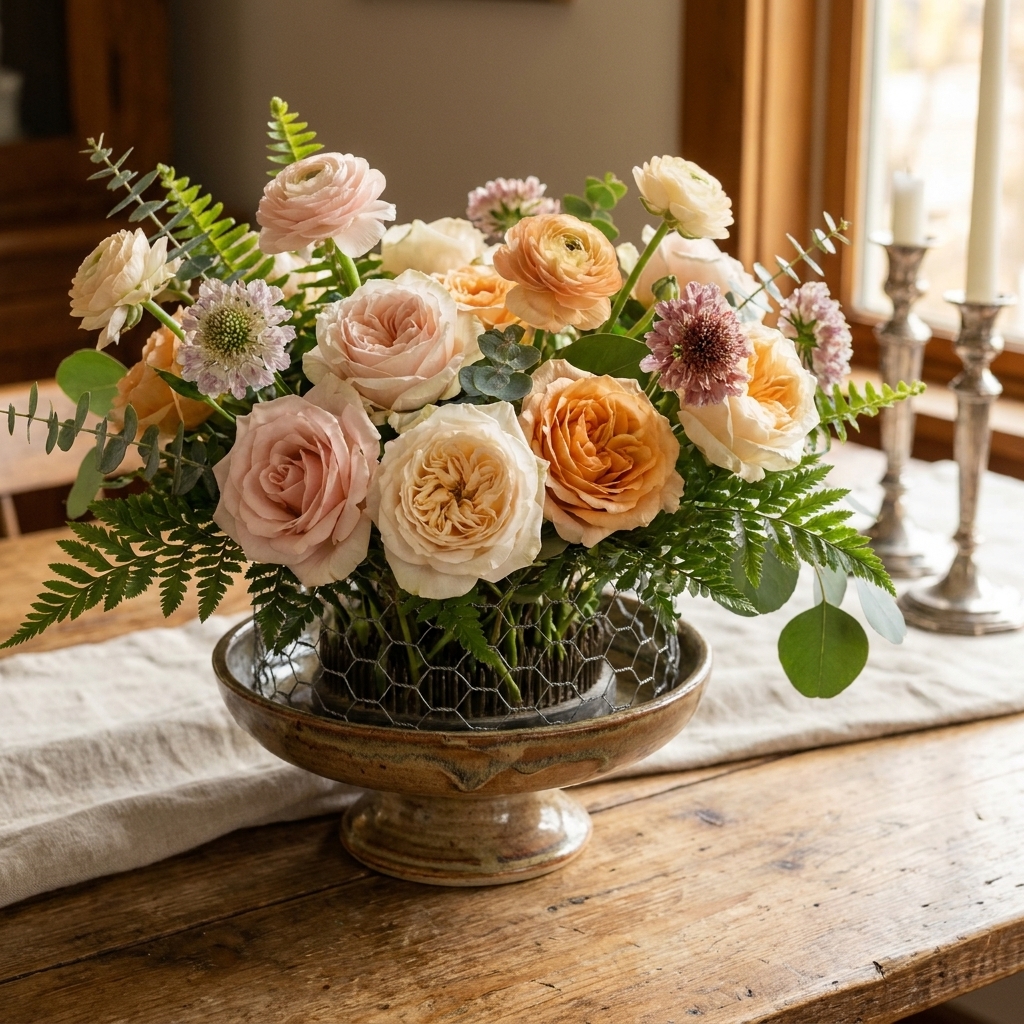
- Chicken wire: crumple into a loose ball, fit it into the vase, then poke branch bases through it. (If you want to go foam-free for more centerpieces, I walk through this method in chicken wire and floral frogs for foam-free centerpieces.)
- Pin frog: place at the bottom of a low, heavy bowl for a shorter egg “forest.”
My step-by-step anchoring process
- Add stabilizer (optional chicken wire or pin frog).
- Place your thickest branches first and press them toward the center.
- Add medium branches around them, keeping the overall shape narrow.
- Pour in your fill slowly in stages, tapping the vase to settle it.
- Check balance by gently nudging the arrangement. If it shifts, add more fill and tighten branch positions.
Safety note: If kids will be at the table, choose plastic eggs and a heavier, harder to tip vessel. I also avoid glass cylinders for kid-heavy gatherings. And if any branch ends feel sharp, give them a quick sand so nobody gets poked as they pass plates.
Step 5: Prep eggs so they hang straight
Keep ornament weight light
The branches should be the star. Lightweight eggs keep the look delicate and help prevent sagging.
Hanging loop basics
- Ribbon: looks romantic, but keep it narrow so it does not overwhelm the branches.
- Waxed cord: my favorite for a refined look, and knots stay put.
- Clear hooks: easiest for fast setup, especially if you want the “floating” effect.
Make the eggs face forward
If your eggs are turning sideways:
- Use two point hanging by tying ribbon to two sides near the top, like a tiny sling.
- Or add a micro dot of hot glue where the loop meets the egg so the knot cannot spin.
Finishing touch: If your eggs are plastic and too shiny, a quick coat of matte clear spray can make them look more like heirloom ornaments. Test first on one egg because some clear coats can react with certain plastics.
Step 6: Hang ornaments with good spacing
This is where you get the “styled” look.
- Start with your focal eggs first, usually 3 to 5 of the prettiest ones.
- Hang from the inside out: place a few deeper in the branches, then fill the edges.
- Vary the heights by 1 to 4 inches so the bottom edges do not line up.
- Leave negative space around clusters. Elegance is often just restraint.
- Spin test: lightly tap the table. If an egg swings into another, adjust the branch or shorten the loop.
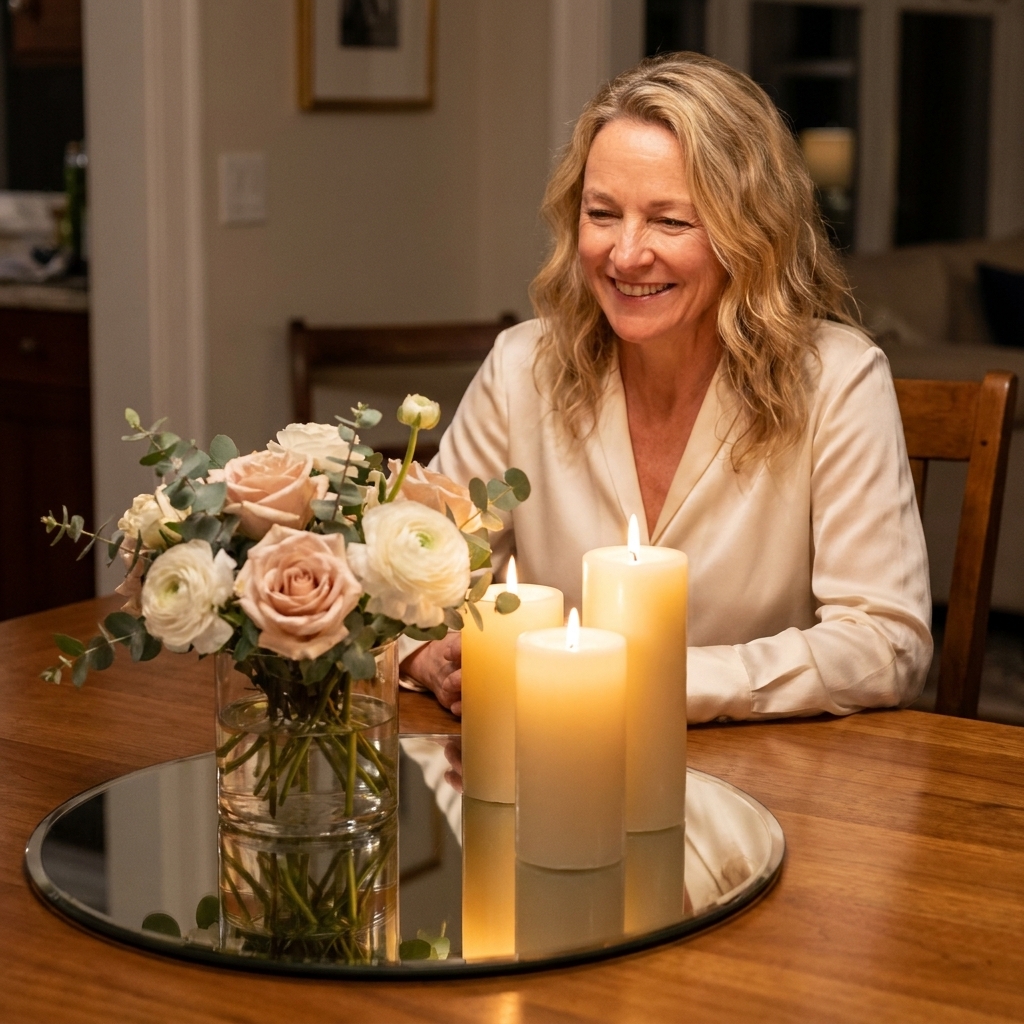
If you are styling a full table, I love adding a small reflective base under the vase to bounce light back up into the branches. The technique is the same as in mirror bases for brighter centerpieces.
Easy style recipes
Modern neutral
- Branch color: matte ivory or taupe
- Eggs: warm white, speckled beige, a tiny bit of gold
- Table add-ons: linen napkins, simple taper candles
Garden spring
- Branch color: soft sage
- Eggs: pale blush, butter yellow, soft lavender
- Table add-ons: tucked greenery runner (real or faux)
High contrast chic
- Branch color: matte black
- Eggs: mostly white with one color accent (like robin’s egg blue)
- Table add-ons: crisp plates, minimal florals
Make it table friendly
Keep the footprint tight
A centerpiece should not steal elbow room. For most dining tables, I aim for a base footprint under 8 to 10 inches wide.
Watch the height over food
If the tree is tall, place it between dishes or at the center of a buffet style table so guests are not reaching through hanging eggs to pass food.
Add soft light carefully
Battery fairy lights can be beautiful inside the vase, but keep any wiring tucked and skip anything that heats up. If you are planning outdoor entertaining, my safety checklist for lighting is here: how to safely hang fairy lights outdoors.
Troubleshooting
My branches wobble in the vase
- Switch to a heavier vessel or add more gravel.
- Add chicken wire inside the vase to create a tighter structure.
- Reduce the number of eggs, especially on the outermost tips.
Paint is chipping when I adjust branches
- Let paint cure longer, especially if humidity is high. Follow the product cure time.
- Use thinner coats and consider a bonding primer on slick bark.
- Touch up with a small brush after final placement.
Eggs keep clustering together
- Shorten a few loops so ornaments sit at staggered heights.
- Spread hanging points across more branch tips.
- Remove 2 to 4 eggs. A slightly sparse tree reads more elevated.
The whole thing feels too busy
- Limit egg colors to two or three tones.
- Choose either ribbon bows or fancy eggs, not both.
- Keep the vase simple and let the branches do the detailing.
Care, transport, and storage
Transport
If you are taking this to a brunch, transport the vase with branches anchored but add the eggs on site. I tuck the eggs in a shallow box with tissue so they do not tangle.
Day-of care
Keep the tree away from vents. Lightweight eggs love to sway in a breeze, which looks cute for about 30 seconds and then gets chaotic.
Storage
After Easter, pull off the ornaments first, then store painted branches in a tall box or bundle them with paper around the tips to prevent chipping.
A finishing touch I always add
Right before guests arrive, I do one last pass with a “photo eye”:
- Turn the arrangement so the prettiest branch angles toward the room.
- Hide any obvious knots on the back side.
- Make sure one or two eggs hang slightly lower than the rest for a natural, tree-like feel.
That tiny bit of fussing is what makes it feel like you bought it from a boutique, even if you made it with branches from your yard and paint from the garage.