Turn basic crepe paper streamers into high-impact decor with 7 easy ideas: twisted ceiling draping, fringe backdrops, ruffled table skirts, chandeliers, brai...
Gathova
How to Build a Custom Cardboard Piñata from Scratch

Joanna Mercer
Joanna Mercer is an enthusiastic DIY event decorator and the creative spirit behind Gathova's party guides. With years of hands-on experience designing stunning tablescapes, balloon garlands, and custom photo backdrops for friends and family, she specializes in accessible, budget-friendly celebrations. Joanna loves sharing her practical tips and crafting tutorials to help anyone turn an ordinary space into a memorable party venue.
Published
I grew up helping my parents turn our backyard into a full-blown summer luau, and there was always one rule: if it can be made from what we already have, we try that first. A cardboard piñata is exactly that kind of project. It is creative, slightly chaotic in the best way, and wildly satisfying when your kid or your best friend takes that first swing.
This tutorial walks you through building a custom piñata from recycled shipping boxes, then reinforcing it so it survives the pre-party excitement and still breaks on cue.
Before you start: pick a style
You have two main construction options, and they affect everything from how sturdy it is to how easy it is to fill.
- Pull-string piñata: best for toddlers or indoor parties. You build a small trap door and attach ribbons. One ribbon opens it.
- Traditional break piñata: best for older kids and outdoors. You reinforce the shell so it takes a few hits, then breaks dramatically.
My honest recommendation: if you are making your first cardboard piñata, go traditional. It is simpler to engineer and easier to troubleshoot.
Supplies (mostly recycled)
Cardboard and structure
- 2 to 3 clean shipping boxes (double-wall cardboard is a dream if you have it)
- Packing tape (clear or brown)
- Hot glue gun + glue sticks
- Scissors and a utility knife (adult use)
- Ruler or measuring tape
- Pencil or marker
- Hole punch, awl, or the tip of your scissors for making hanging holes
Hanging and reinforcement
- Strong cord: nylon string, paracord, or thin rope
- Optional: duct tape or gummed paper tape for extra strength
- Optional: kraft paper, scrap paper bags, or newspaper for papier-mâché style layering
Decoration
- Tissue paper (fringe)
- Glue stick or white glue (tissue paper friendly)
- Optional: crepe paper streamers for fast coverage
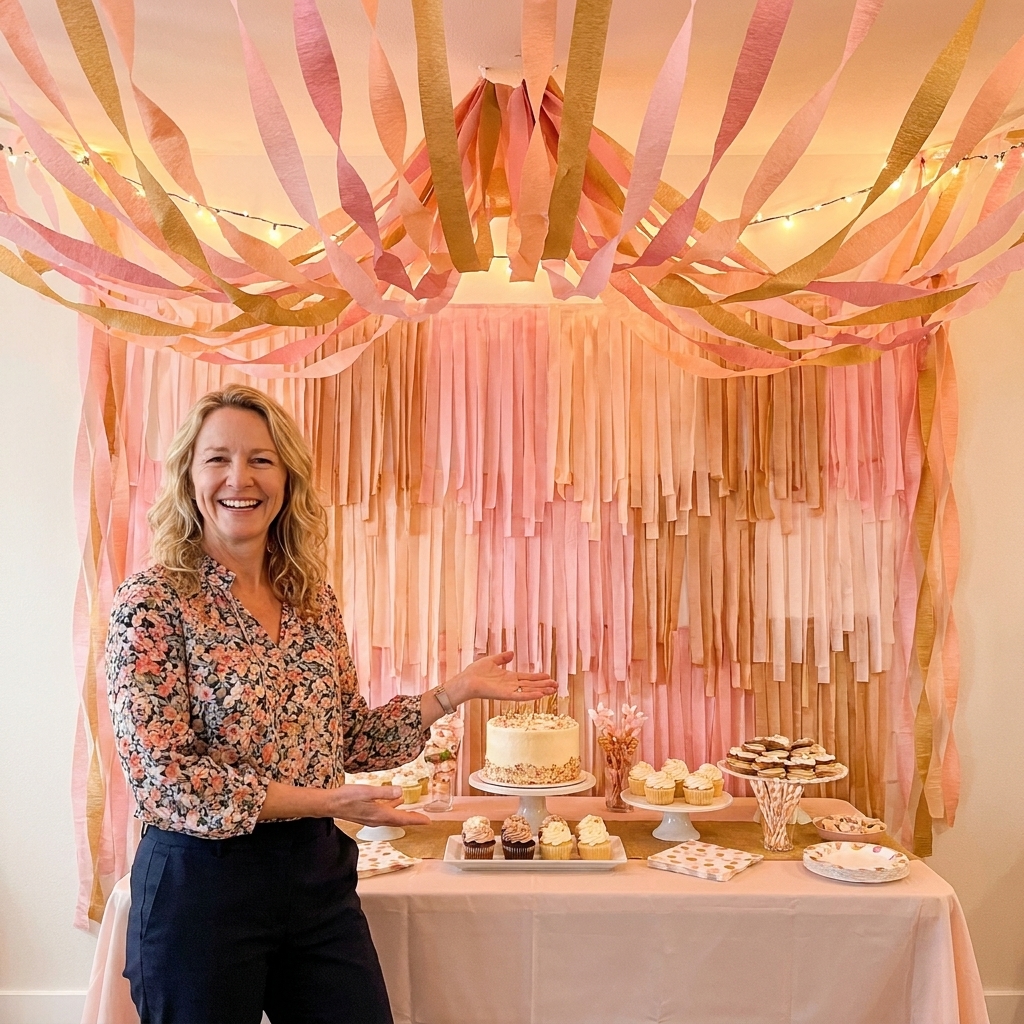
If you love crepe paper for party decor, you can pull ideas from my streamer decorating post and apply the same color and layering tricks to a piñata surface: 7 Creative Ways to Decorate with Crepe Paper Streamers.

Step 1: Pick a size and draw a template
Decide how many people will take turns. Bigger is not always better. A medium piñata breaks more predictably and is easier to hang.
- Small: 10 to 12 inches wide (1 to 4 kids)
- Medium: 14 to 18 inches wide (5 to 10 kids)
- Large: 20 to 24 inches wide (big groups, outdoor space)
Easiest shapes for a first build: star, heart, number, circle, dinosaur silhouette with chunky legs, or a simple pull tab taco, donut, or rainbow.
On a flattened box, draw your shape twice. These will be the front and back.
Step 2: Cut the front and back
Use scissors for thin cardboard and a utility knife for thicker shipping boxes. Take your time. Smooth edges make every later step easier, especially fringing.
Quick tip: If your shape has points (stars, crowns), slightly round the tips. Sharp points are the first thing to crush in storage.
Step 3: Add the side walls
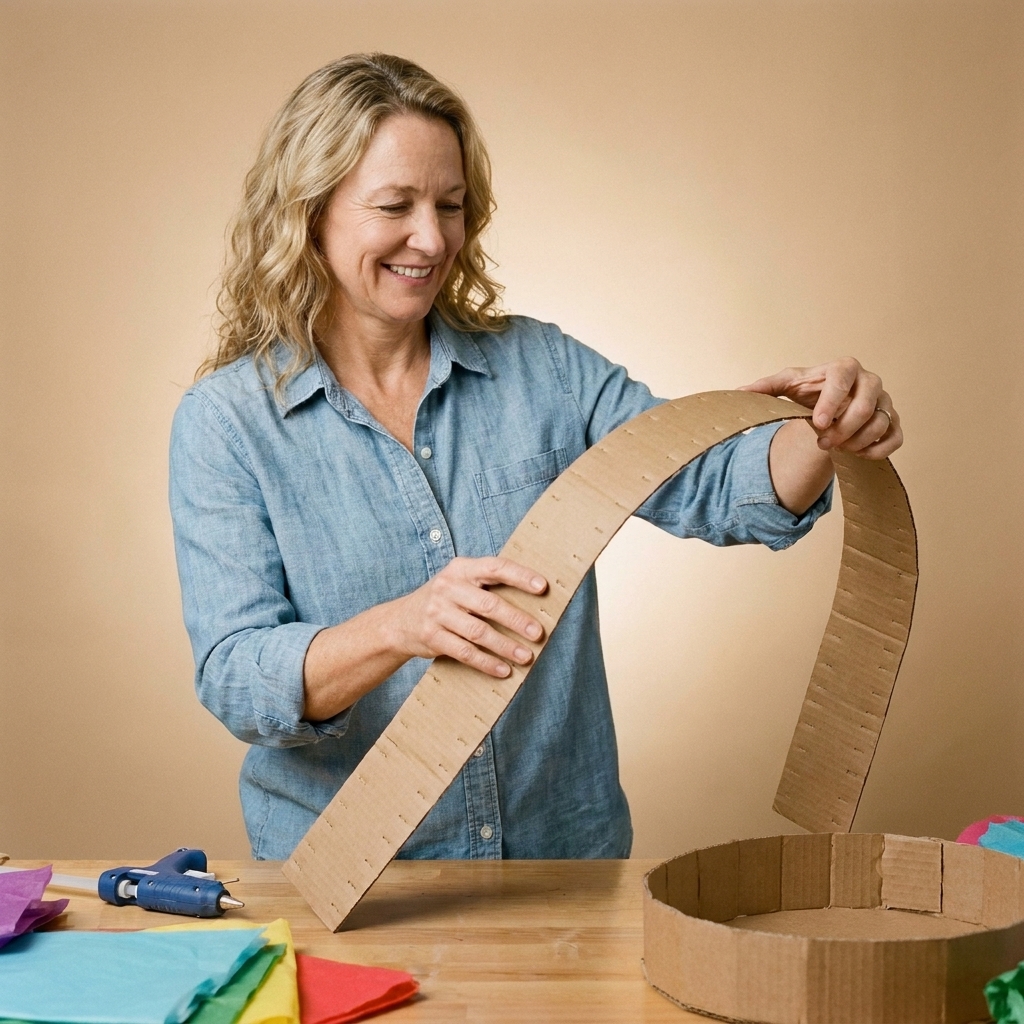
The side wall is a long strip of cardboard that connects the front and back pieces like a box frame. This is what gives the piñata its 3D body.
- Choose depth: 3 to 5 inches is the sweet spot for candy capacity without getting too heavy.
- Cut strips: Cut several long strips at your chosen depth. You can overlap them to make one continuous strip.
- Score for curves: For rounded shapes, lightly score the strip every 1 inch (do not cut through). This lets it bend smoothly.
- Attach to the back: Hot glue plus packing tape is my go-to combo. Glue for positioning, tape for strength.
- Attach the front later: Leave a section open for filling or plan an access flap (next step).
Step 4: Make a fill door
You need a way to add candy and small prizes without destroying your decoration. You have two good options.
Option A: Top hatch (my favorite)
- Pick a spot near the top edge of the back piece.
- Cut a 3 by 4 inch flap on three sides, leaving one side as a hinge.
- Reinforce the hinge with tape.
- After filling, close it and tape it shut. Tissue fringe will hide the seam.
Option B: Leave a side gap
When you attach the front piece, leave a 4 to 6 inch opening along one side wall. Fill, then patch the gap with a cardboard strip and tape.
Fill door rule: keep it away from the hanging point so the weight does not rip it open.
Step 5: Reinforce it for hanging
Cardboard piñatas fail in two predictable places: the hanging holes and the corners. Reinforcement is not about making it indestructible. It is about making it reliably hangable.
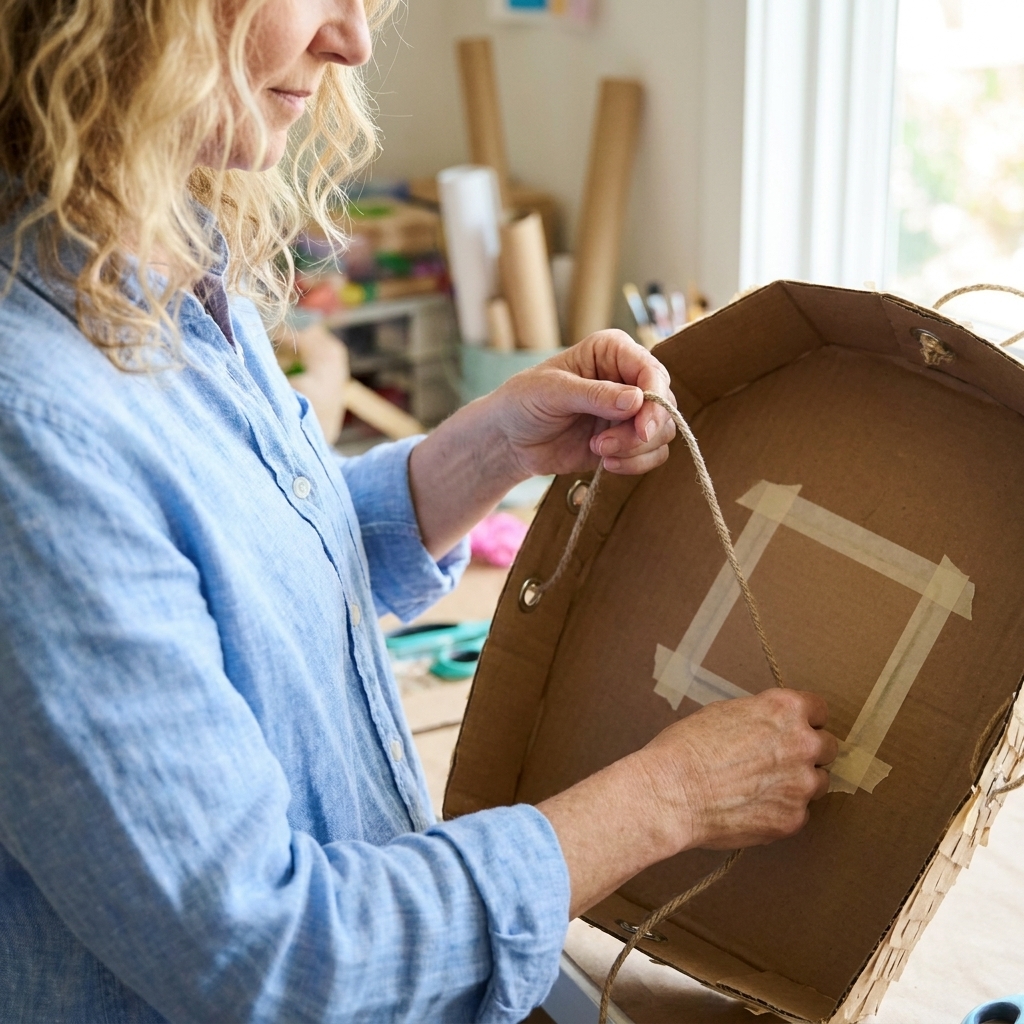
Reinforce the hanging area
- Cut a small cardboard patch, about 3 by 3 inches.
- Glue and tape it inside the piñata where the hanging holes will go.
- Punch two holes about 1 inch apart through the reinforced area.
- Thread cord through both holes and knot inside. Two holes spreads the stress.
Reinforce the shell (choose your break level)
- Easy break (little kids, lightweight bat): one layer of cardboard plus tape seams.
- Medium break (most parties): tape seams plus one extra layer of cardboard strips across the widest faces.
- Harder break (older kids, outdoor swings): add 1 to 2 layers of paper and glue over the entire surface like papier-mâché, focusing on edges and points.
My go-to: medium break. I want a few solid hits, not 40 minutes of chaos.
Step 6: Fill it (weight matters)
It is tempting to pack it like a candy vault. The problem is weight. A heavy piñata is harder to hang, harder to break, and not as safe if it swings.
What to put inside
- Individually wrapped candy
- Confetti poppers (small)
- Mini bouncy balls, stickers, or temporary tattoos
- Small favor toys (avoid sharp edges)
How full should it be?
Aim for about one-third to one-half full. You want movement inside so it breaks and releases easily.
Safety note: Skip anything breakable or food that can melt if your party is outdoors.
Step 7: Skin the cardboard
This is optional, but it makes your finished piñata look more polished.
- Fast method: cover the cardboard with overlapping strips of kraft paper or scrap paper bags using a glue stick or white glue. Let dry.
- Extra clean method: use crepe paper streamers as a base wrap, then fringe on top.
If your cardboard has bold logos, a quick paper skin prevents them from ghosting through light tissue.
Step 8: Make tissue fringe
Fringe looks fancy, but it is basically just repetitive cutting with a little strategy.
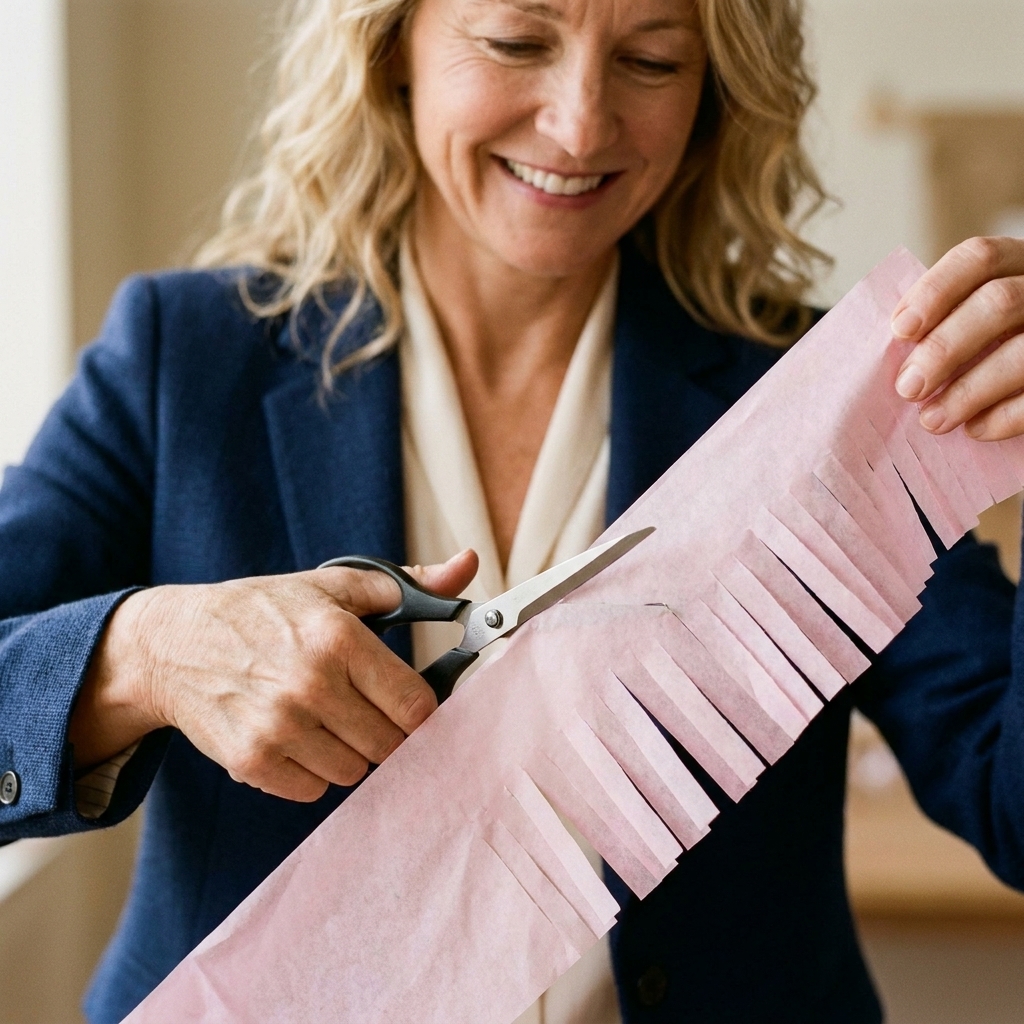
Cut fringe strips
- Cut tissue paper into strips about 4 inches tall and 10 to 20 inches long.
- Fold each strip in half lengthwise once, matching long edges.
- With the open edges facing you and the fold at the top, cut slits from the open edge up toward the fold, stopping about 1/2 inch before the fold so the strip stays attached.
- Keep it folded for a fuller, double-layer fringe. If you want a lighter look, you can unfold it, but folded fringe is faster to apply and hides seams better.
How many strips do you need?
For a 16 inch medium piñata, I usually use 25 to 40 fringe strips depending on how dense I want it.
Step 9: Add fringe
This part is soothing if you lean into it. Put on music and give yourself more time than you think you need.
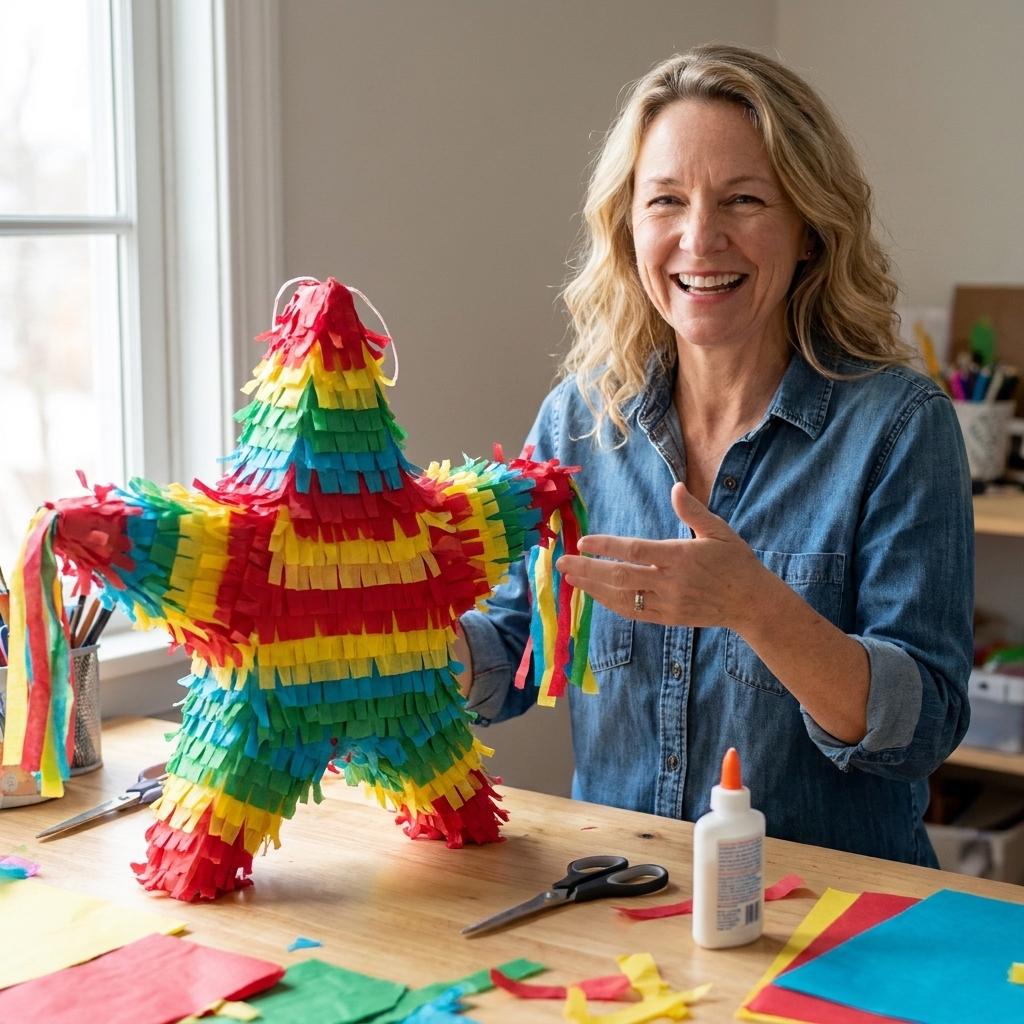
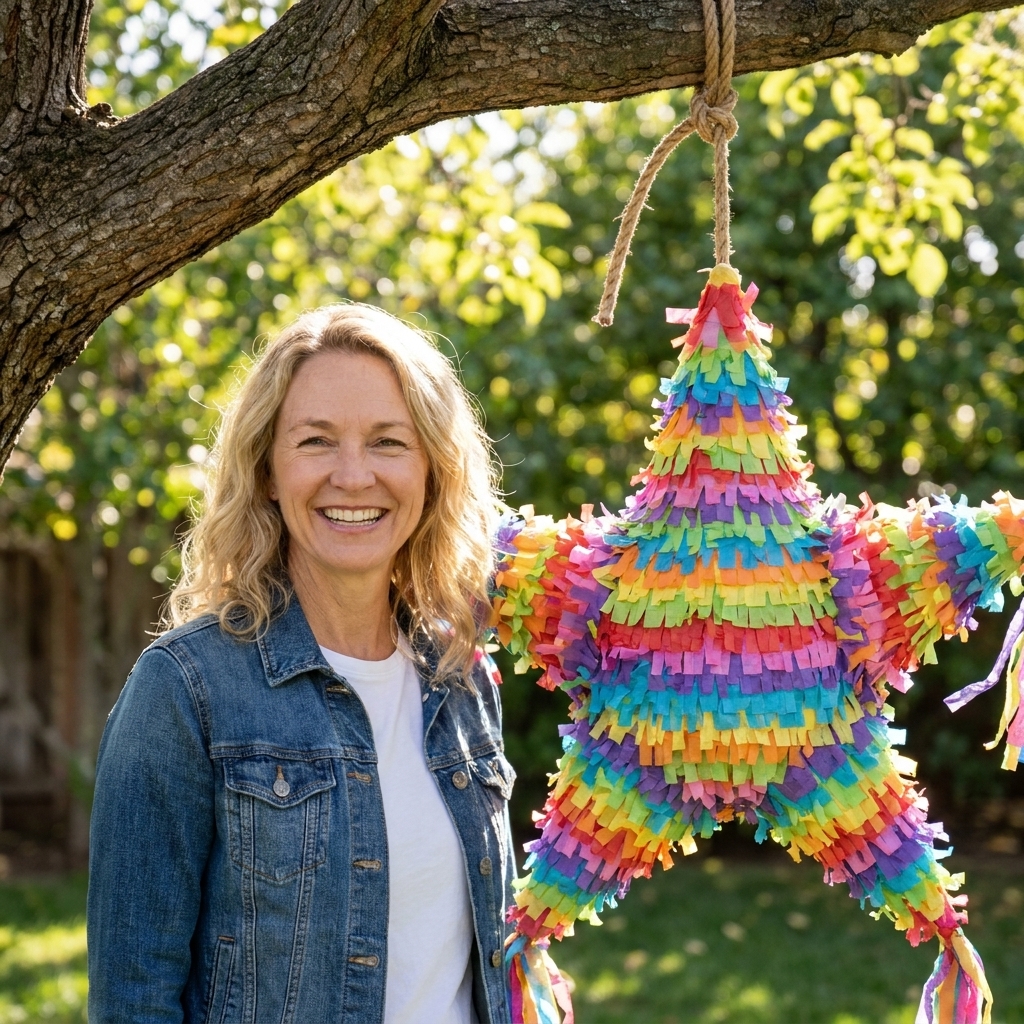
- Start at the bottom edge and work upward in rows like shingles.
- Glue only the top band (the uncut portion). Glue stick is clean and fast.
- Overlap rows by about 1 inch so you do not see cardboard when fringe shifts.
- Hide seams: place the strip seams on the back or along a natural edge.
- Work around details last: horns, points, ears, or fins get their own smaller strips.
Design trick: For ombré, do 3 rows per color, moving light to dark from bottom to top. For a character piñata, keep fringe in one base color, then add felt or cardstock facial features on top.
Step 10: Add details and a loop
Once fringing is done, add any flat details: eyes, numbers, shapes, sprinkles, lightning bolts, whatever matches your theme. I like cardstock attached with hot glue in tiny dots so it does not melt tissue.
Finally, add a longer hanging loop to your cord if needed. Test it by lifting the piñata a few inches off the floor and gently bouncing it. If anything creaks, add tape reinforcement inside at the cord patch.
Break timing tips
This is the part everyone asks about, because a piñata that will not break is a party mood-killer, and a piñata that explodes instantly is kind of a bummer.
To make it easier to break
- Use single-wall cardboard, not double-wall
- Use fewer tape layers on the front face
- Add a break line by lightly scoring a line across one face before decorating (do not cut through)
- Do not overfill
To make it tougher
- Add interior cardboard ribs (strips glued across the inside like braces)
- Add one full paper-and-glue layer over the outside before fringing
- Reinforce points and edges with tape under the paper skin
Hanging and safety
- Space: clear a wide circle. Bigger than you think.
- Height: chest height for kids, higher for teens and adults.
- Blindfolds: optional and fun, but only if you have a dedicated spotter controlling the swing zone.
- Bat choice: for little kids, use a lightweight plastic bat or pool noodle. It is safer and still satisfying.
If your party setup includes outdoor lighting, plan your hang point early so you are not tangled in cords and string later. My outdoor hanging tips for lights translate well to piñatas because the safety principles are the same: How to Safely Hang Fairy Lights Outdoors.
Storage tips
- Store it in a large trash bag to keep fringe from snagging
- Keep it upright on a shelf, not under heavier decor bins
- If you made points (star, crown), stuff the bag lightly with tissue to support the shape
I have absolutely leaned a piñata against a garage wall and come back to a sad, flattened creature the next day. Bag it. Protect it. Future you will be grateful.
Quick troubleshooting
The cord is tearing through
- Add a bigger interior patch and re-punch the holes
- Switch to two holes, not one
- Use thicker cord
The fringe looks patchy
- Overlapping rows fixes almost everything
- Add a filler mini strip in thin spots, then fluff with your fingers
The piñata is too heavy
- Remove some candy and replace with lightweight items like confetti and stickers
- Shorten the depth next time (3 inches is plenty for many shapes)
It will not break
- You likely used too much tape or double-wall cardboard
- Next time, use less reinforcement on the front face and more reinforcement only at the hanging area
More DIY party builds
If you are on a roll and want one more big-impact DIY, a backdrop is my favorite wow item because it changes a whole room instantly. This one is sturdy, reusable, and budget-friendly: DIY PVC Pipe Photo Booth Backdrop Stand.
And if you want to browse more projects like this, head to DIY Decor Projects.