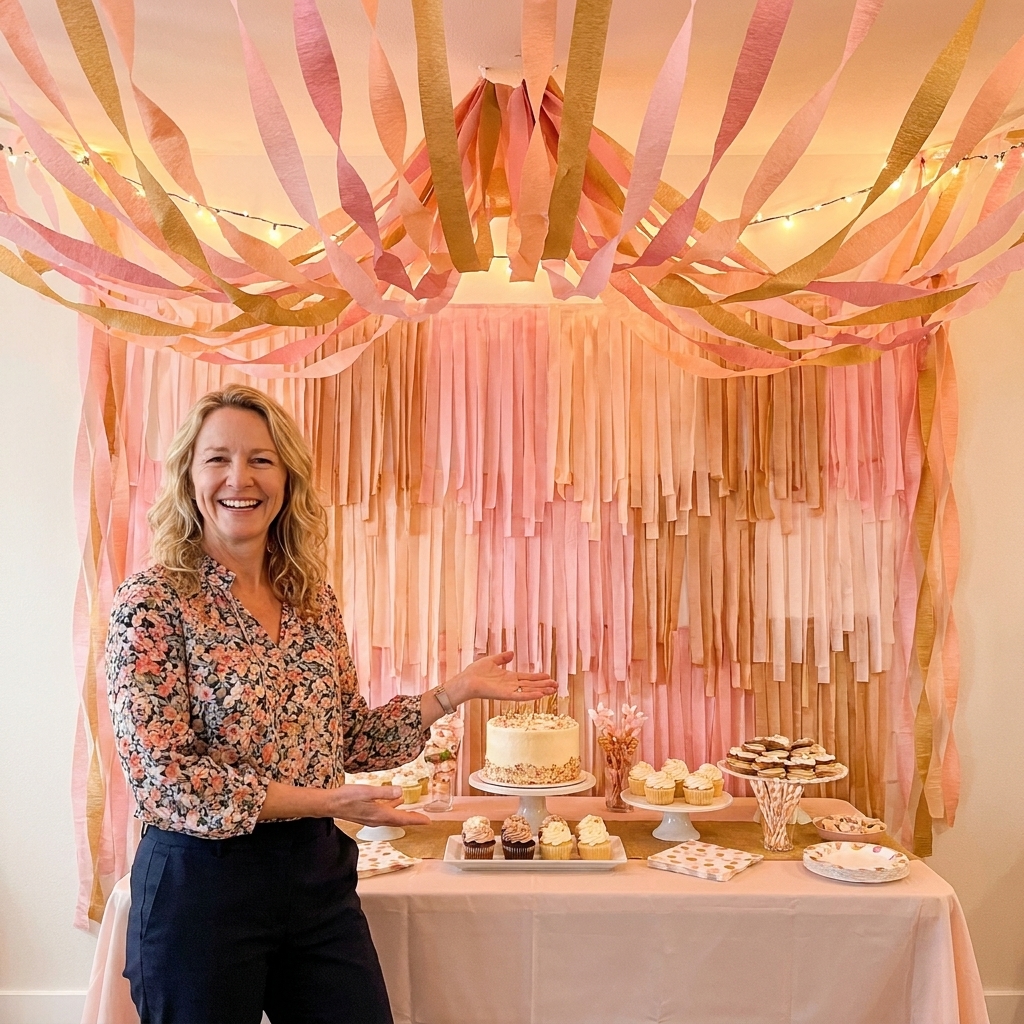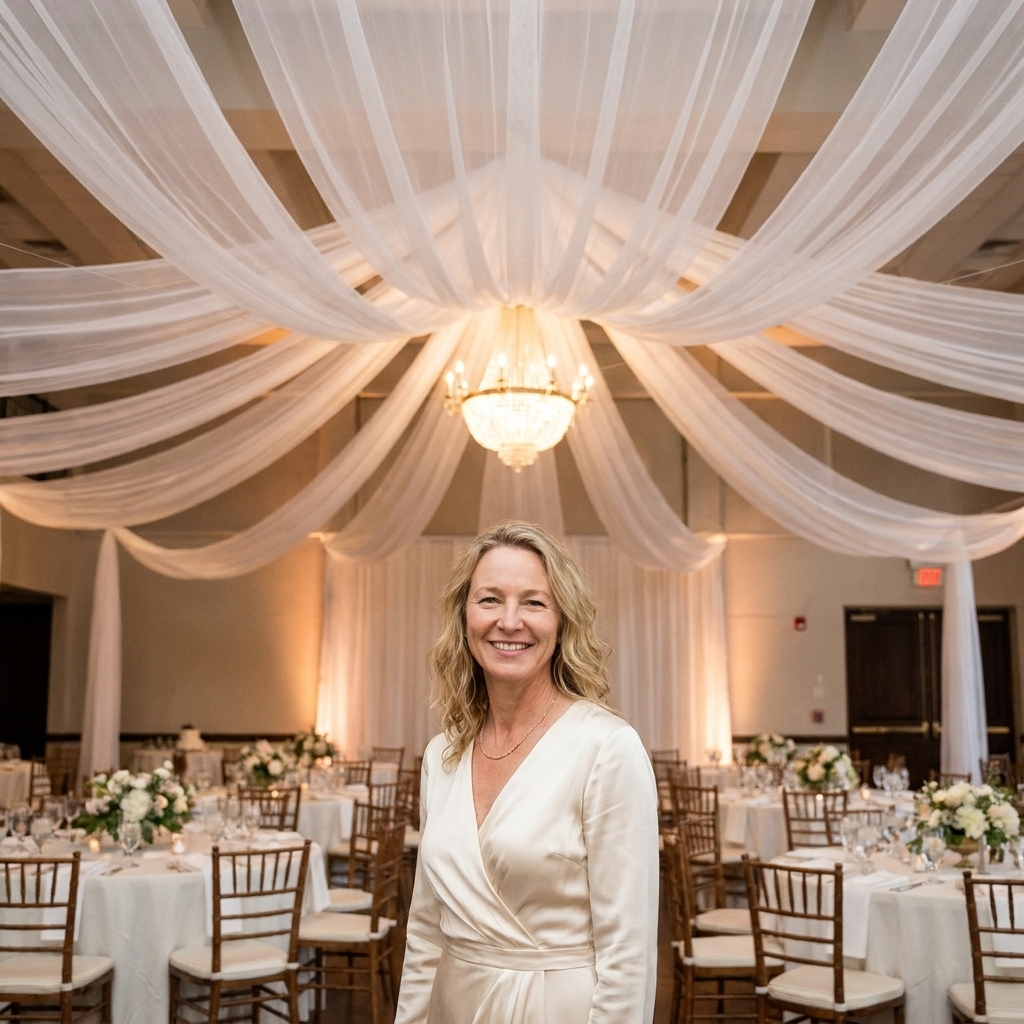
Create dreamy ceiling draping without the wedding-tent mess. Learn safe, venue-friendly ways to hang tulle with fishing line, prevent sagging, and get clean,...
Gathova
DIY Tissue Paper Pom Poms for Ceiling Decor

Joanna Mercer
Joanna Mercer is an enthusiastic DIY event decorator and the creative spirit behind Gathova's party guides. With years of hands-on experience designing stunning tablescapes, balloon garlands, and custom photo backdrops for friends and family, she specializes in accessible, budget-friendly celebrations. Joanna loves sharing her practical tips and crafting tutorials to help anyone turn an ordinary space into a memorable party venue.
Published
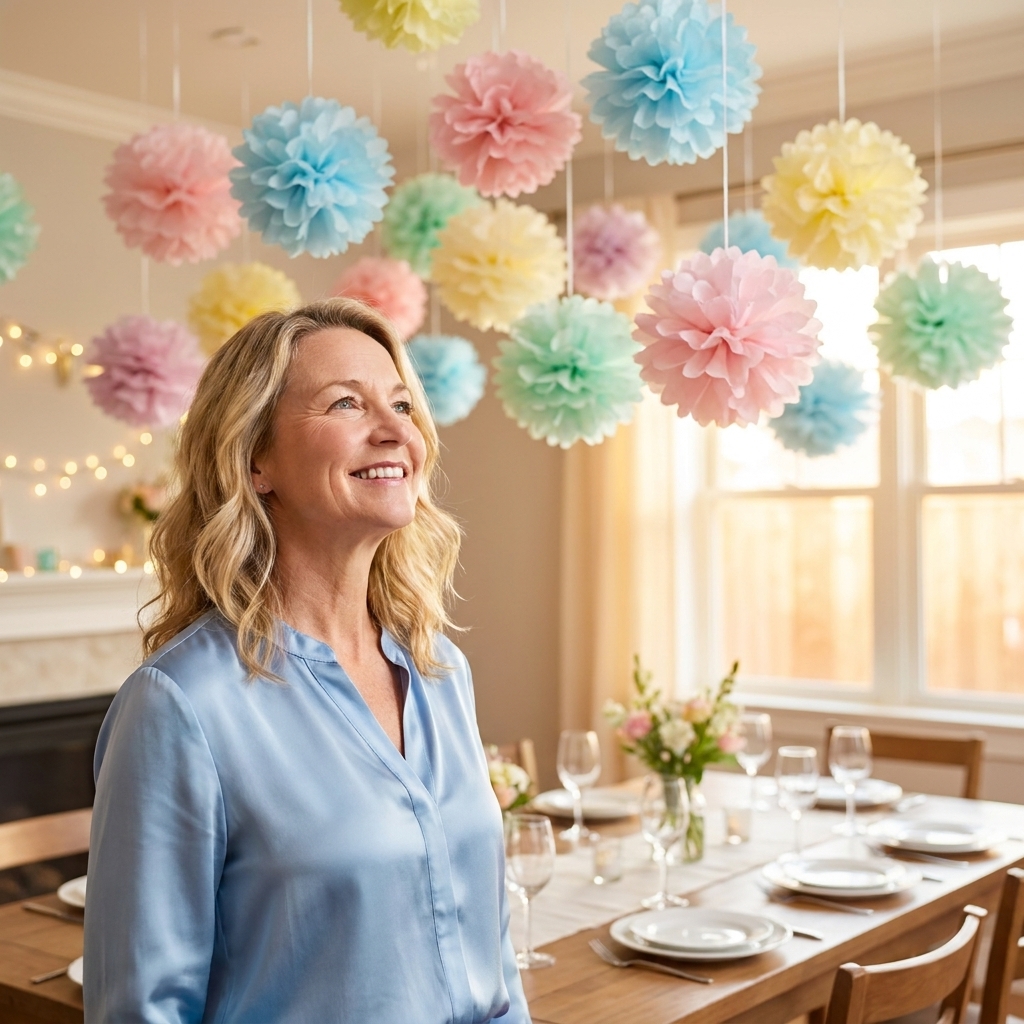
I learned tissue paper pom poms the same way I learned most party tricks: on a chaotic setup day, with someone texting “people will be here in an hour” while I’m standing under a bare ceiling thinking, this room needs something up top. Pom poms are my favorite ceiling save because they are lightweight, affordable, and they instantly make a space feel styled instead of temporary.
This is my full, no-mystery guide to making tissue paper pom poms that look fluffy and full (not sad and flat), plus the hanging plan I use to create dramatic ceiling installs that photograph so well.
What you need
Materials
- Tissue paper sheets (standard large sheets work great)
- Floral wire or thin craft wire (or a sturdy twist tie for small poms)
- Fishing line or clear thread for hanging
- Scissors
- Wire cutters (if using floral wire)
- Ceiling-safe hanging supplies (more on this below)
Tools I keep nearby
- Measuring tape (for consistent sizes and spacing)
- Binder clips (to temporarily hold stacks together while you work)
- Step stool (because ceiling styling is always one inch higher than you think)
If your party plan also includes lights, read my safety-first guide: How to Safely Hang Fairy Lights Outdoors. The same mindset applies indoors: know your surface, follow the hook manufacturer’s surface guidance, and never trust a random piece of tape for anything you want to stay up all night.
Pick a size
Before you fold a single sheet, decide on size. Ceiling decor is all about scale. Tiny pom poms get lost fast in normal-height rooms.
Sheet size to finished size
Rule of thumb: the finished pom is usually about half the long side of your tissue sheet once it’s fluffed.
- Standard large tissue (often around 20 x 26 inches): typically yields about a 12 to 14 inch pom.
- Oversized tissue: typically yields about a 16 to 20 inch pom.
- Giant poms: require truly large sheets or overlapped sheets (more on that in the FAQ).
My go-to sizes
- 12 to 14 inch poms: great for filling gaps, hanging over food tables, mixing into clusters
- 16 to 20 inch poms: the wow size for ceilings, entryways, above a gift table
- 24 inch poms: dramatic in big rooms, but use fewer and hang higher so they do not bonk heads
How many for a ceiling setup?
Here is the quickest way I estimate:
- Small area (over a 6 foot table): 5 to 9 pom poms (mix 2 sizes)
- Average living room: 12 to 20 pom poms (cluster in zones, not evenly scattered)
- Party room or community hall section: 20 to 40 pom poms (repeat a pattern so it looks intentional)
Pro tip: it almost always looks better to create two or three dense clouds than to sprinkle pom poms across the entire ceiling.
Best tissue paper
You can make pom poms from almost any tissue, but not all tissue behaves the same.
- Standard tissue paper gives the fullest puff for the cost.
- Premium, thicker tissue is sturdier and tears less while fluffing, but it can look slightly less airy.
- Very thin bargain tissue can work, but plan to use extra sheets and fluff gently to avoid rips.
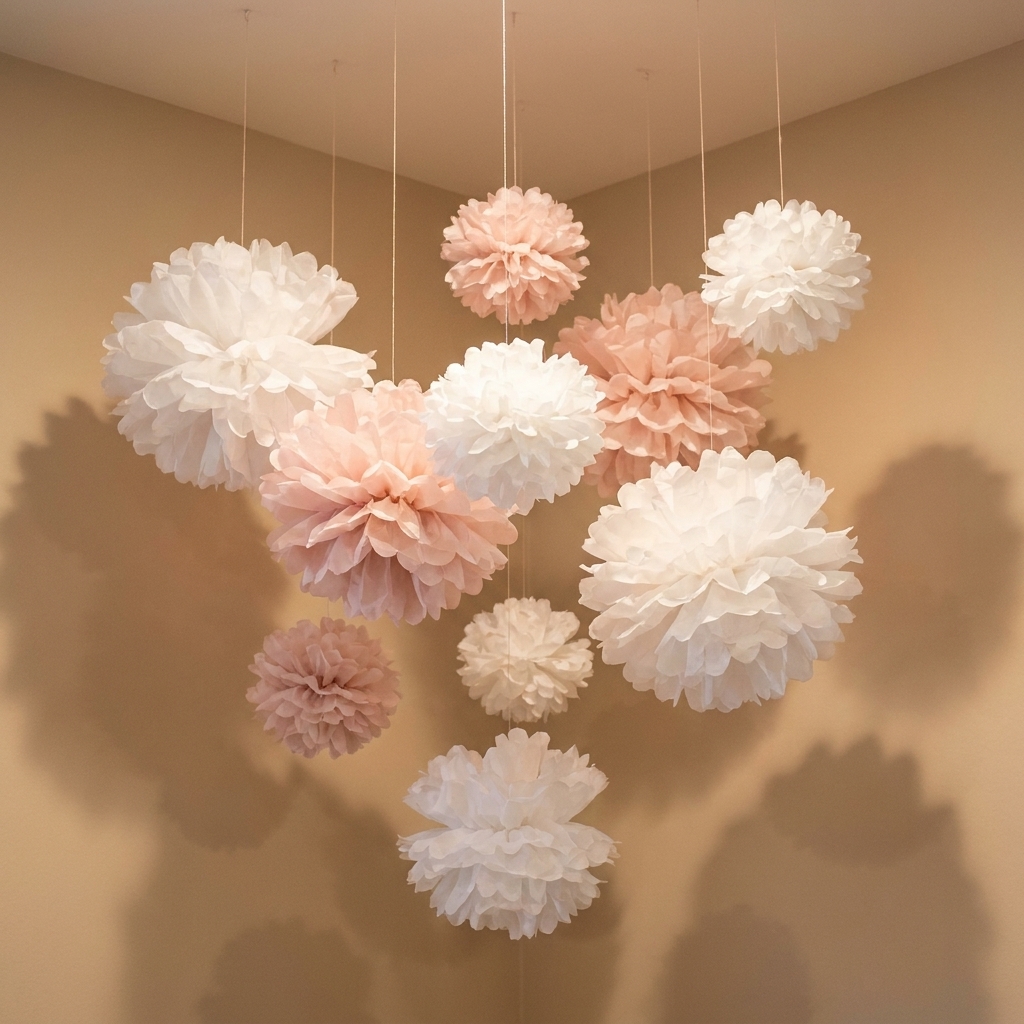
Color tip from my garage craft stash: mix tones. Even if your theme is all pink, combine blush with a warmer rose or a soft peach. The ceiling reads more dimensional in photos.
How to make a pom pom
This is the method I use every time. Once you make two, your hands basically memorize it.
Step 1: Stack tissue
For a full pom pom, I like 8 to 12 sheets. More sheets equals denser and heavier. If your tissue is thin, go closer to 12.
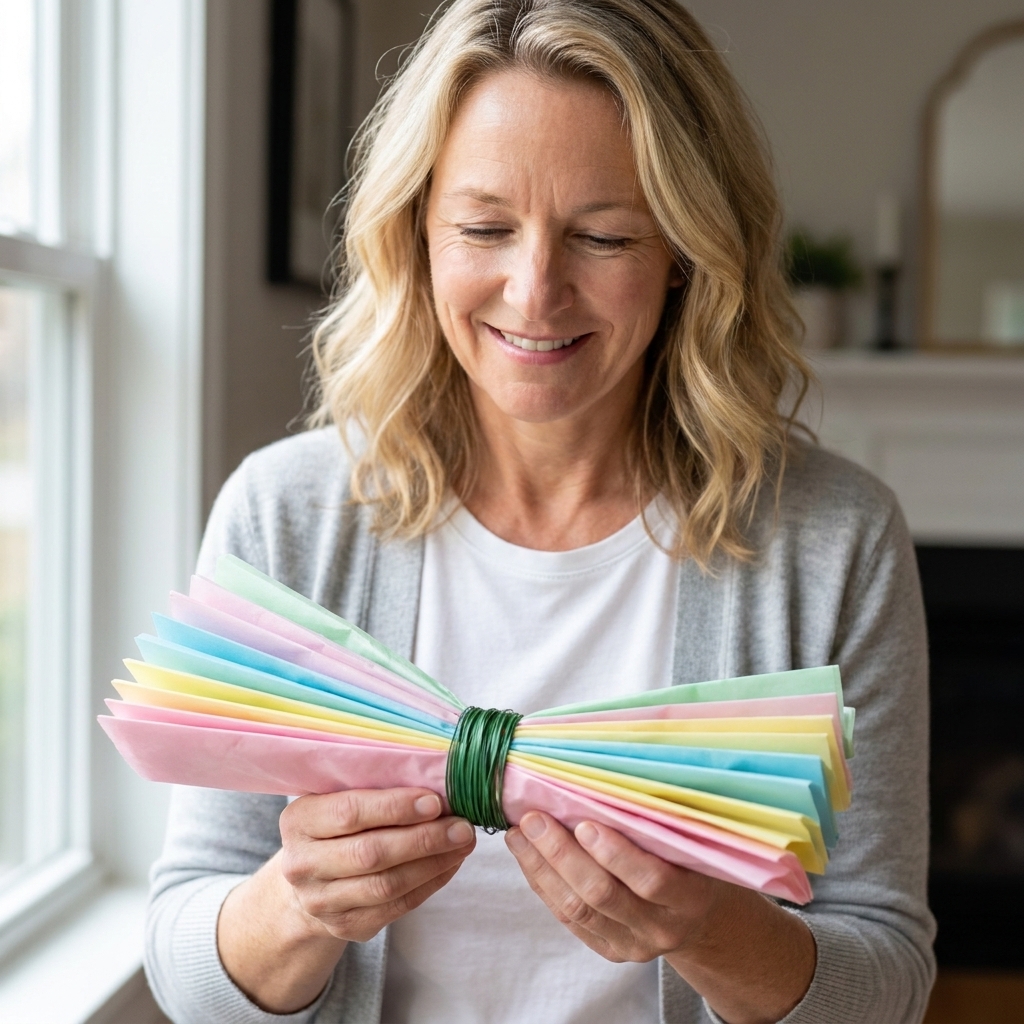
Step 2: Accordion fold
Fold the stack back and forth like a fan. Aim for 1 to 1.5 inch pleats. They do not have to be perfect, but they should be consistent.
Step 3: Tie the center
Wrap floral wire around the middle and twist until it is snug. Leave a little wire tail or loop if you want an easy attachment point for fishing line.
Step 4: Shape the ends
Trim both ends at once so they match:
- Rounded ends = softer, flower-like pom
- Pointed ends = starburst look
- Fringed ends = extra fluffy texture, but it takes longer
Step 5: Fan out, then fluff
Gently pull the tissue layers apart, one sheet at a time, alternating sides. This keeps the pom centered and prevents it from going lopsided.
My fluffing rule: pull from the base near the wire, not from the very edge. You get fewer tears.
Make them look pricey
Use two colors in one pom
Stack 4 to 6 sheets of one color and 4 to 6 sheets of another before folding. When you fluff, you get a blended, custom look that reads more boutique than big-box.
Add a hidden inner color
Put 2 sheets of a darker shade in the middle of the stack. When fluffed, the pom has depth without looking striped.
Mix sizes on purpose
A ceiling install looks designed when you repeat a ratio, like:
- 1 large (20 inch)
- 2 medium (14 to 16 inch)
- 2 small (10 to 12 inch)
Repeat that combo in a few spots and your ceiling instantly feels cohesive.
How to hang them
This is where most pom poms fail: the making is easy, but the hanging needs a plan. Your approach depends on your ceiling surface and whether the venue allows adhesive.
Quick safety check
Before you start sticking or tying anything up there, do a fast scan and keep pom poms away from ceiling fans, sprinkler heads, heat vents, and hot light fixtures. Tissue paper and moving air do not play nice.
My default method
- Tie fishing line to the center wire.
- Decide height before you attach anything. I like a staggered look with 6 to 18 inches of variation.
- Attach to a ceiling-safe support rated for more than your pom weighs, and approved for your ceiling surface.
Ceiling-safe hanging options
- Removable adhesive hooks: these can work well on clean, fully cured painted drywall, but they are picky about dust, texture, and paint sheen. Follow the package surface guidance and test one hook in a low-stakes corner first.
- Drop ceiling grid tie-on: if you have a suspended ceiling, you can usually tie clear line directly to the metal grid (neat knots, minimal weight, and keep everything tight to the grid so it does not look messy).
- Temporary stabilizer only: a tiny piece of painter’s tape can help tame a swinging line, but I do not use it as the primary support.
Prevent tangles during install
Pom poms love to twist into a fishing-line braid the second you look away. I pre-cut my hanging lines in 3 to 4 lengths, give each length a quick knot at the end (so it does not slip through), and hang the largest poms first. Once the big ones are placed, the smaller ones fill in without turning into a ceiling hairball.
Surface tips
- Painted drywall: removable adhesive hooks can work well if the surface is clean and the paint is fully cured. If the ceiling feels dusty or slightly greasy, wipe it with a lightly damp cloth, then let it fully dry before applying anything. Avoid harsh cleaners that can soften paint.
- Textured ceilings: be cautious. Adhesives can fail on heavy texture. Test in an inconspicuous spot.
- Drop ceilings: tying to the metal grid is usually the cleanest option. Keep it lightweight.
If you are doing a full ceiling look, pairing pom poms with soft draping is gorgeous. I walk through a budget-friendly drape setup here: Budget Ceiling Draping With Tulle and Fishing Line.

Layout ideas
1) Cloud over a table
Hang 7 to 13 pom poms over the center of your main table, denser in the middle and lighter at the edges. Keep the lowest pom high enough that tall guests can stand without brushing it.
2) Entry zone
Create a mini moment right where guests arrive. This is especially good for baby showers and birthdays when the rest of the room is simple.
If you love a styled walkway, you might also like: DIY Walkway Decor With Canvas Drop Cloths.
3) Backdrop topper
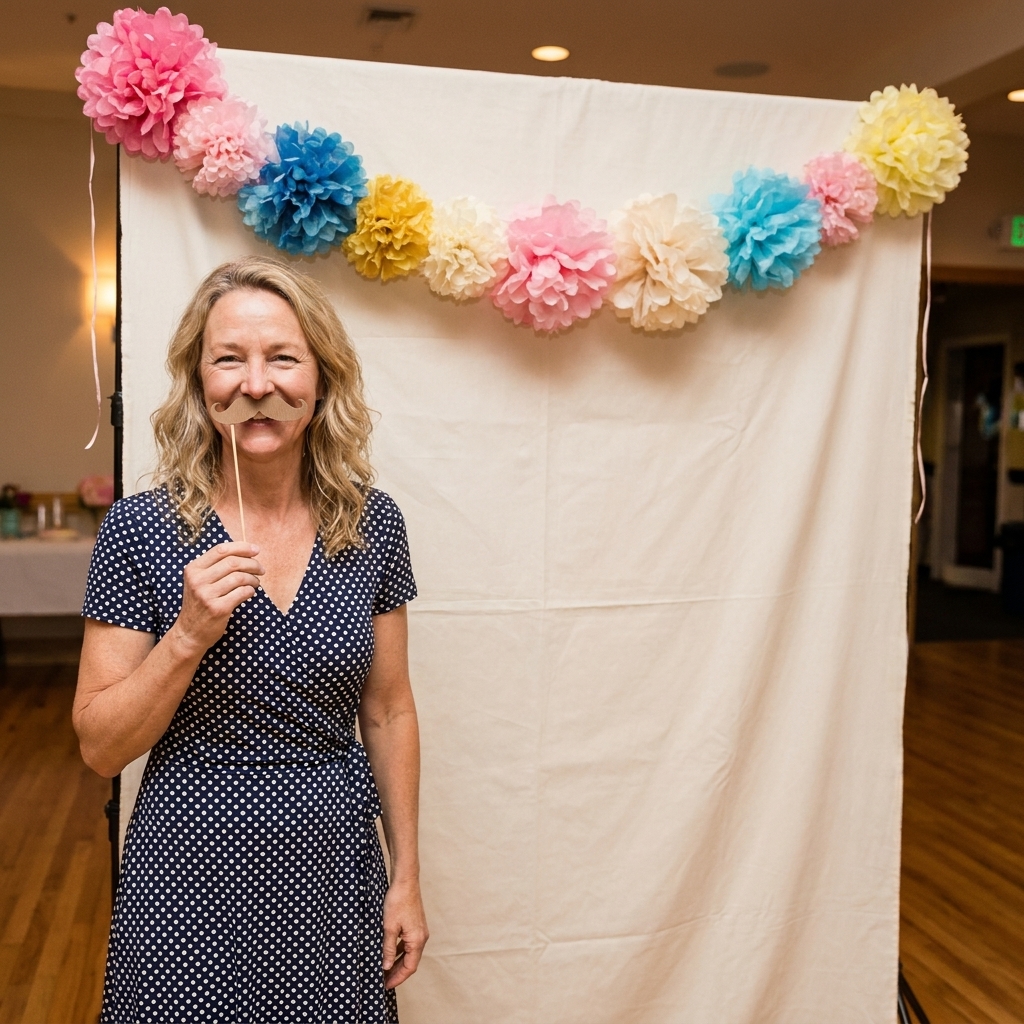
Hang pom poms above and slightly in front of your photo backdrop so they appear in pictures without casting weird shadows on faces. If you are building your own frame, my favorite budget stand is here: DIY PVC Pipe Photo Booth Backdrop Stand.
Troubleshooting
My pom pom looks flat
- Add more sheets next time (try 10 to 12).
- Round the ends for a fuller silhouette.
- Fluff more patiently. The last 20 percent of layers makes the biggest difference.
Tissue keeps tearing while I fluff
- Pull from the base near the wire, not the tips.
- Slow down and separate one layer at a time.
- If the tissue is very thin, use more sheets so each pull has less tension.
My pom pom is lopsided
- Alternate sides while fluffing.
- If one side is denser, gently re-fluff the sparse side by separating a few layers again.
- Check that your center tie is actually centered.
They are falling down
- Use lighter poms or fewer sheets.
- Switch to a stronger ceiling-safe hook rated for more weight than you think you need, and approved for your surface.
- Clean the ceiling first. Dust is the enemy of adhesives. A lightly damp wipe, then fully dry, helps more than a quick swipe.
Store and reuse
Pom poms are surprisingly reusable if you treat them like the delicate divas they are.
- Transport: place each pom in a large bag or box with breathing room so it does not crush.
- Store: keep them dry, away from humidity, and out of direct sunlight.
- Refresh: if they look a little tired next time, a quick re-fluff brings them back.
I also love mixing pom poms with other lightweight ceiling decor. Paper lanterns add shape and variety. If that is your vibe, here are some easy upgrades: DIY Paper Lantern Upgrades: 7 Easy Hacks for Any Theme.
Quick FAQ
How long does it take to make one pom pom?
Once you get the hang of it, expect about 8 to 15 minutes per pom. The fluffing is the time eater.
How do I make giant pom poms?
Use larger tissue sheets, or overlap sheets end-to-end before folding (a small overlap is enough). Then use stronger wire and hang from a support you truly trust. Giant poms look incredible, but keep them higher and out of traffic paths.
Can I hang pom poms outside?
You can, but tissue paper and the outdoors are not best friends. Humidity makes them droop, and wind can shred them or whip them into whatever you are serving for dinner. If you need outdoor decor, consider options that handle weather better, like a balloon install. I share my method here: DIY Organic Balloon Arch That Lasts All Weekend.
My ceiling cheat code
If you only remember one thing, make it this: go bigger than you think, cluster with intention, and hang safely. Tissue paper pom poms are one of the fastest ways to turn a plain room into a party space that feels styled from the ceiling down.
If you want more budget-friendly decorating ideas, you can browse my favorite shortcuts here: Budget Party Hacks.