Turn dollar-store plastic tablecloths into a thick, photo-ready backdrop. Follow step-by-step braided and ruffled builds, sizing and color tips, and easy han...
Gathova
7 Creative Ways to Decorate with Crepe Paper Streamers

Joanna Mercer
Joanna Mercer is an enthusiastic DIY event decorator and the creative spirit behind Gathova's party guides. With years of hands-on experience designing stunning tablescapes, balloon garlands, and custom photo backdrops for friends and family, she specializes in accessible, budget-friendly celebrations. Joanna loves sharing her practical tips and crafting tutorials to help anyone turn an ordinary space into a memorable party venue.
Published · Last updated
I will never forget the first time I “leveled up” basic crepe paper streamers. I was helping set up a backyard party and we had that classic last-minute moment: the food was handled, the playlist was ready, and the space still looked a little… plain. I grabbed a few rolls of streamers, started twisting them into thick ropes, and suddenly the whole setup looked intentional. Streamers are one of my favorite budget staples because they are lightweight, forgiving, and surprisingly elegant when you style them with a plan.
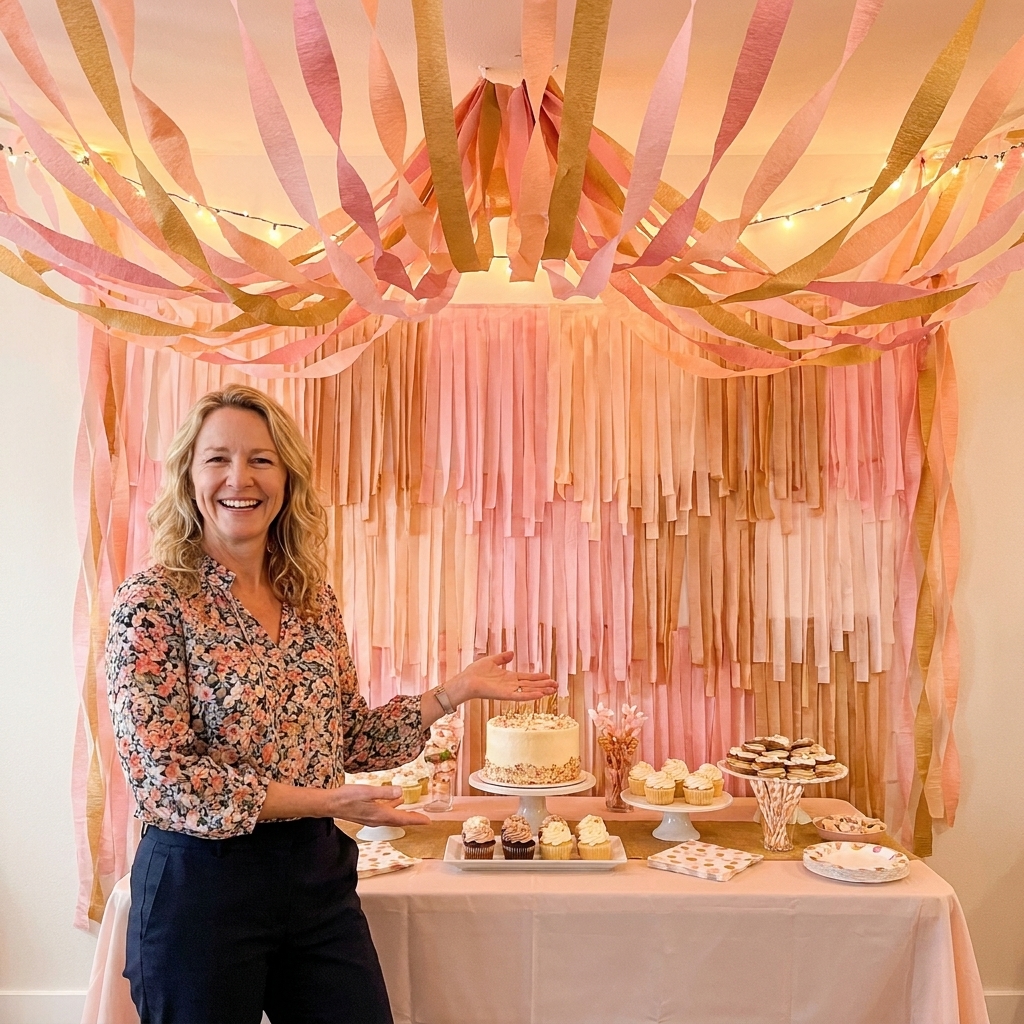
Below are seven creative ways to decorate with crepe paper streamers, including my go-to methods for twisted tent draping, fringe walls, and ruffled table skirts. These are all doable with basic supplies and a little patience.
Before you start: supplies
You can do most of these with what you already have, but a few items make a big difference in how clean and secure everything feels.
- Painter’s tape for quick testing and gentle removal
- Clear tape for final holds (especially on streamer-to-streamer connections)
- Removable wall hooks for indoor walls (choose ones rated for the weight of what you are hanging)
- Scissors and a ruler or measuring tape
- Stapler for foam board or wood backings (not for rental walls, obviously)
- Clear fishing line for ceiling swags and “floating” effects
Joanna tip: Crepe paper streamers tear if you yank them. I always build in “stress relief” by taping a streamer to a small folded tab of painter’s tape first, then sticking that tab to the wall. It spreads out the pull and helps prevent ripping.
If your project includes any overhead hanging, my safety rules are the same as when I hang lights outdoors: protect surfaces, avoid heat sources, and use secure anchor points. This guide on how to safely hang fairy lights outdoors has the exact mindset I use for streamers too.
How many rolls to buy
Streamers are cheap, but running out halfway is how a project starts looking “budget” in the wrong way. I plan for density and then add a little buffer.
- Fringe wall: For an 8-foot-wide backdrop, I usually grab 6 to 10 rolls depending on how thick I want it and how many colors I am layering.
- 6-foot table skirt: Plan on 4 to 8 rolls for a ruffled skirt that actually hides legs and bins.
- Ceiling draping: Count your “panels” first. Each twisted panel often uses 2 rolls (because you are twisting two together), plus 1 to 2 extra rolls for surprises.
My rule: If you are deciding between “just enough” and “one extra pack,” get the extra. Dense reads like design. Sparse reads like you ran out.
1) Twisted tent draping
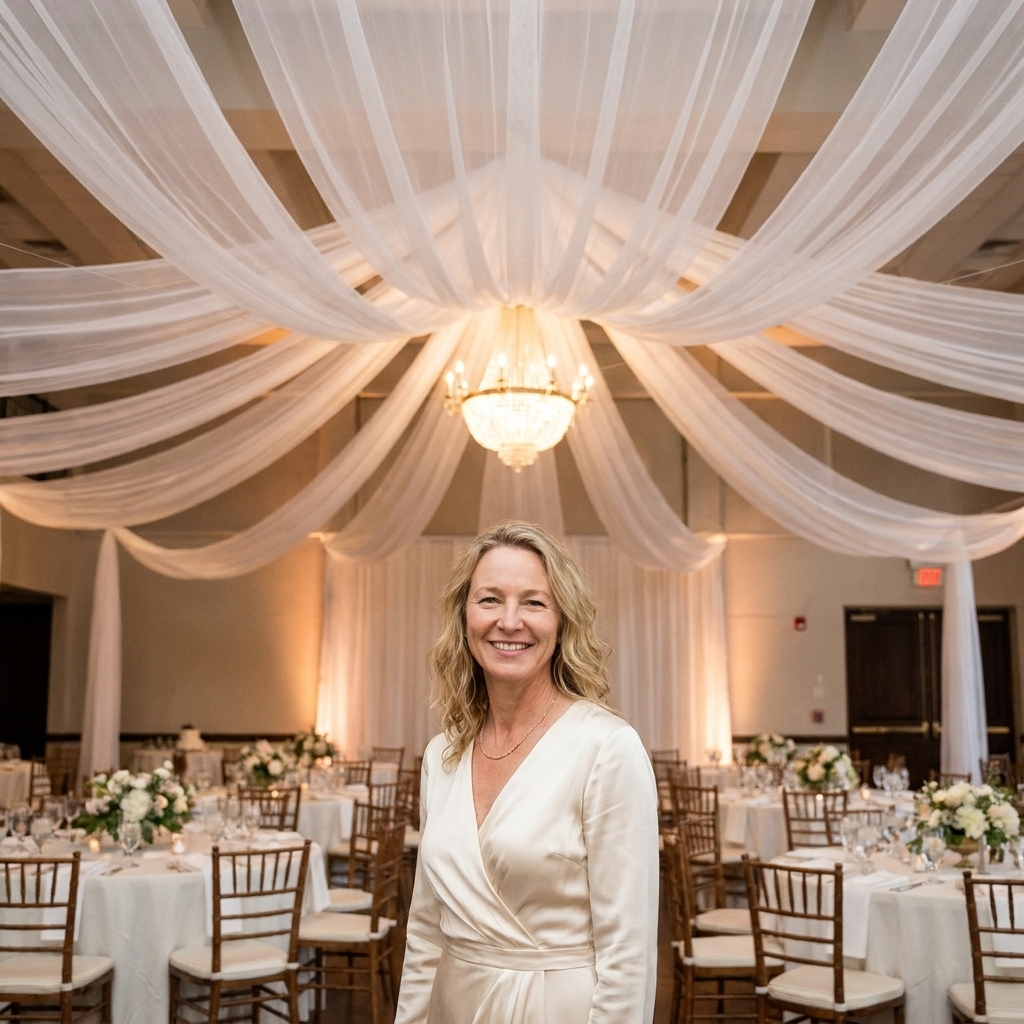
This is the streamer trick that makes people ask, “Wait, that’s paper?” It gives you that soft tented ceiling vibe without the cost of fabric rentals.
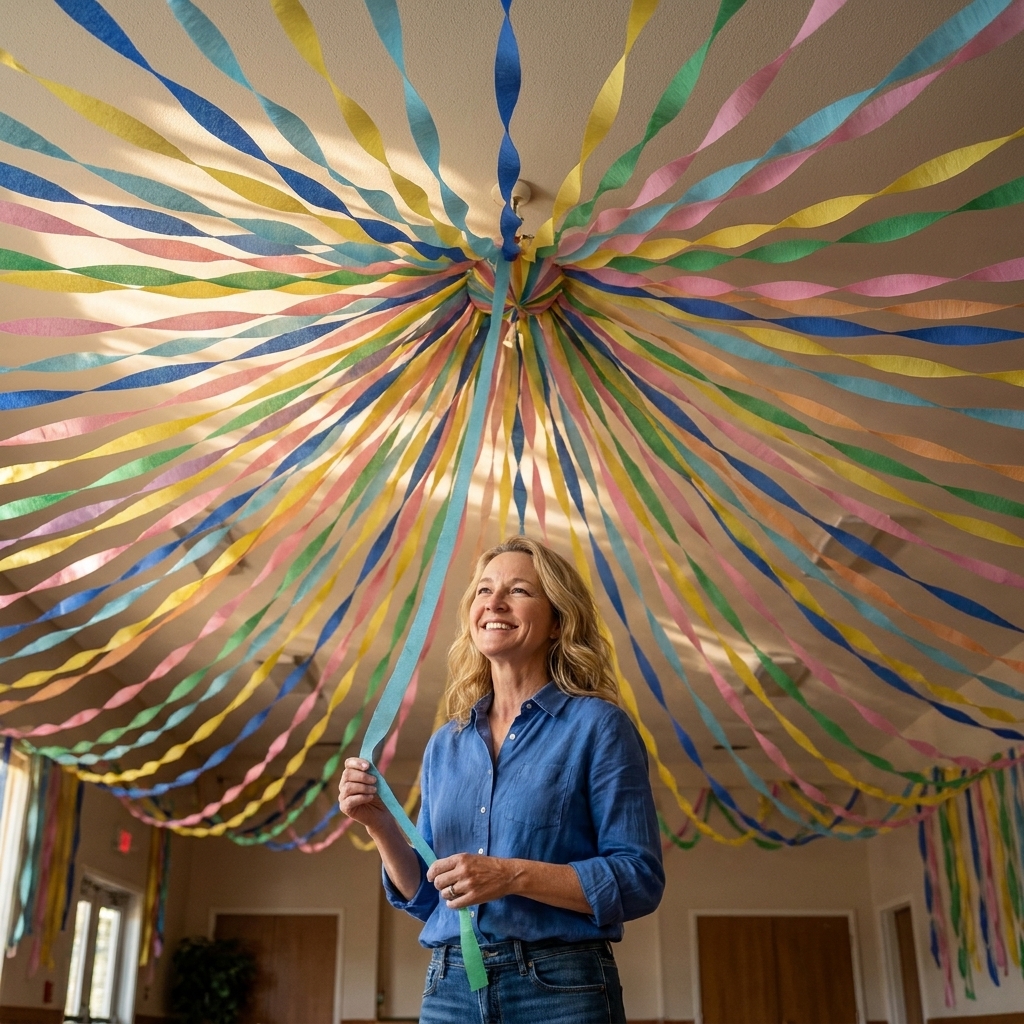
How to do it
- Pick a safe center point like a dedicated ceiling hook, a beam, or a spot where you can run fishing line between secure anchors. If there is a chandelier, work around it, not on it. Do not attach anything to a light fixture or its wiring.
- Twist two streamers together into one thick rope. Keep even tension, but do not over-twist or it will snap.
- Measure and cut each “panel” so it reaches from the center to the wall edge with a little extra for attaching.
- Attach at the center first, then gently pull to the perimeter and secure at the wall.
- Repeat around the room, alternating colors for a subtle stripe effect.
Make it look elevated: Use two close shades (like blush and dusty rose) instead of rainbow brights. It reads like intentional draping from a distance.
If you want a fuller, more “fabric-like” ceiling treatment, you will love the same principle with tulle and fishing line. I break it down step-by-step in budget ceiling draping with tulle and fishing line.
2) Fringe wall
A fringe wall is my reliable fix for blank space behind a dessert table, gift table, or DIY photo moment. Streamers are perfect fringe because they already have that soft movement.
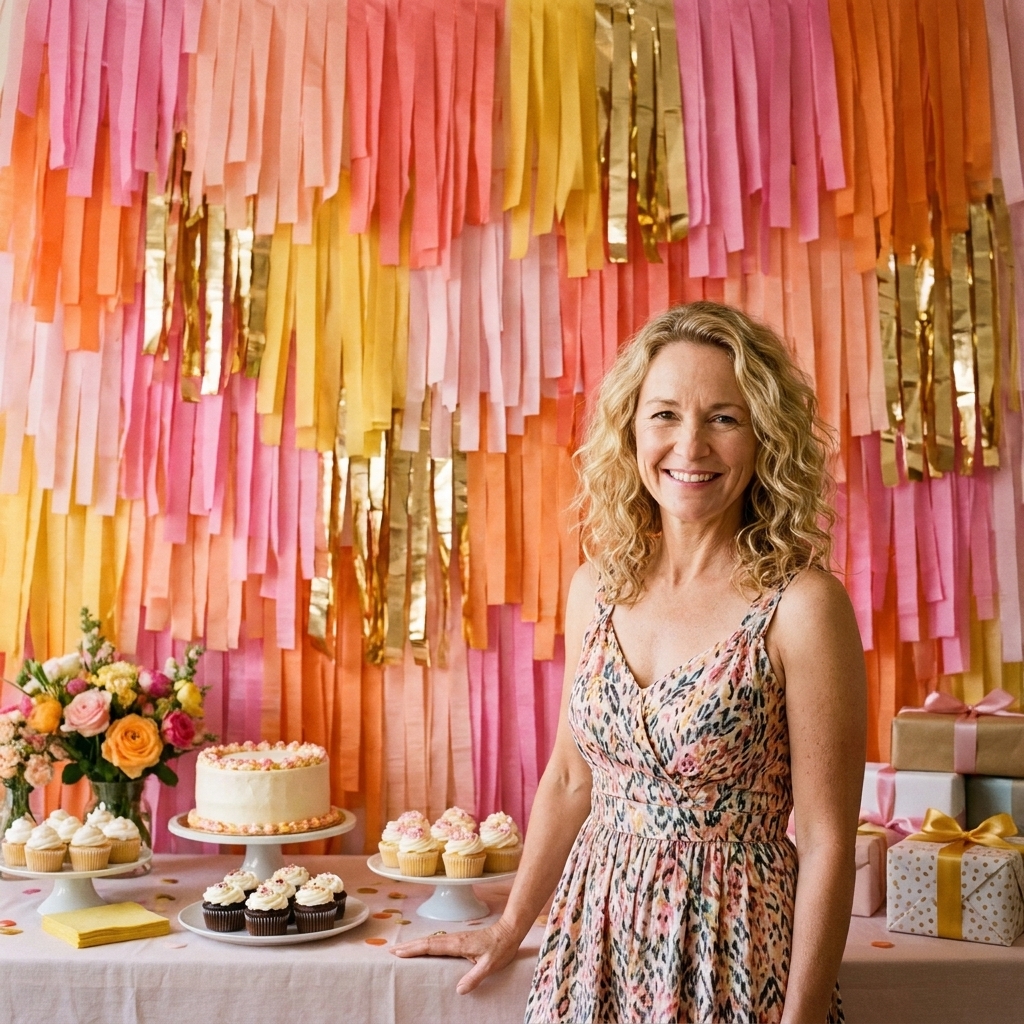
How to do it
- Create a top bar using a curtain rod, PVC pipe, or a sturdy dowel. If you are not mounting into anything, rest it across two tall supports (like two chairs, two step stools, or two stands) or hang it from removable hooks. Avoid relying on tape alone to hold up a dowel.
- Cut streamer strips to your desired length. I like 3 to 5 feet for backdrops.
- Fold each strip over the bar and tape or tie it so it hangs as two tails.
- Layer colors in an ombre or repeating pattern. Start dense, then step back and fill gaps.
Make it look elevated: Use three tones max and repeat them in a predictable order. Random color placement can read messy fast.
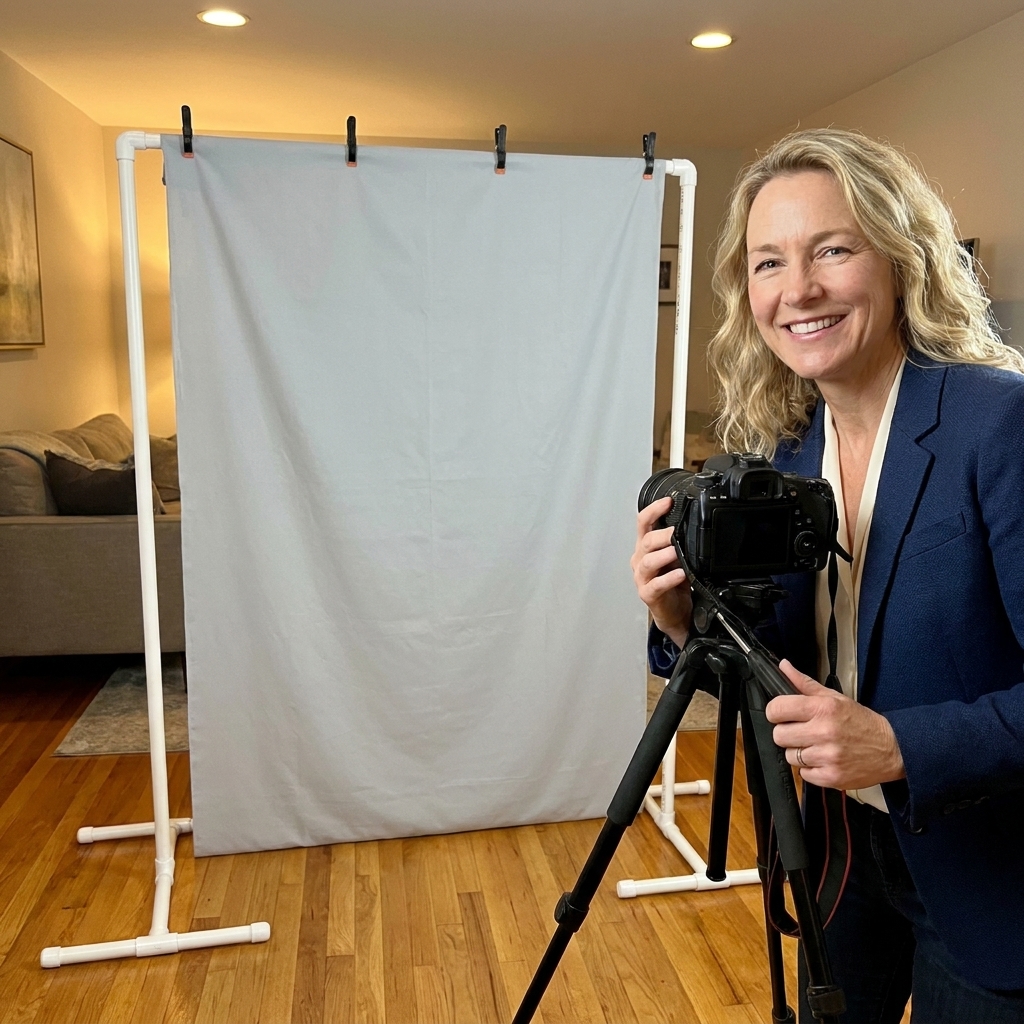
Want a sturdier “stand anywhere” setup? Pair this with a frame like my DIY PVC pipe photo booth backdrop stand.
3) Ruffled table skirt
If you have folding tables, mismatched legs, or storage bins underneath, a streamer skirt hides everything and looks surprisingly polished in photos.
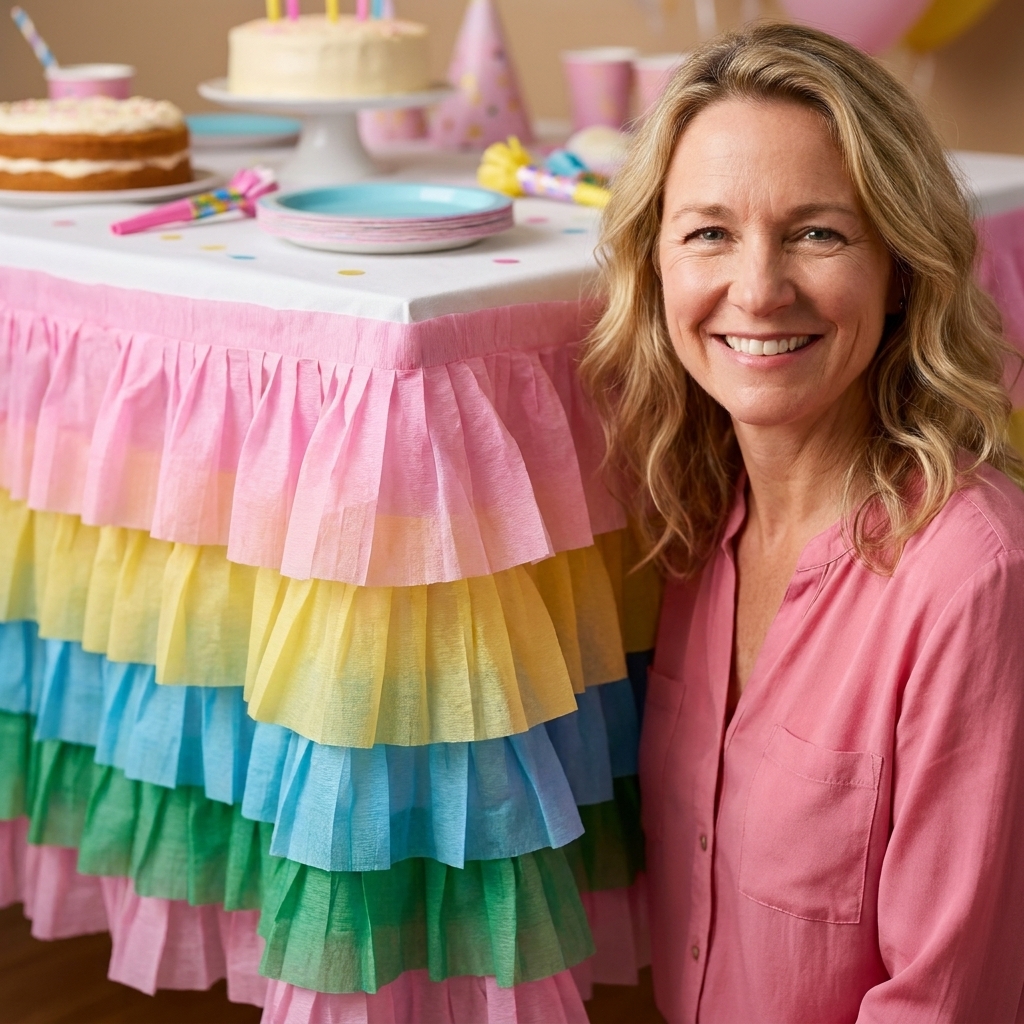
How to do it
- Lay down a protective base by running a strip of painter’s tape along the table edge (this protects the table and makes removal easier).
- Create ruffles by gathering a streamer length with your fingers as you tape it down. For hold that lasts, I use clear tape over the painter’s tape.
- Work in rows from bottom to top so each row overlaps the one below it.
- Finish the top edge with one clean straight streamer band to hide tape lines.
Make it look elevated: Use wider rows (more overlap) so you cannot see the table through it. Density is what turns paper into “texture.”
If your table setup includes centerpieces, this is a fun moment to add height and layers. I like using books under decor pieces, and I explain how in hardcover books as centerpiece risers.
4) Streamer chandeliers
This is one of my favorite ways to decorate over a dance floor, gift table, or kid table. It feels like an installation, but it is basically just a hoop and streamers.
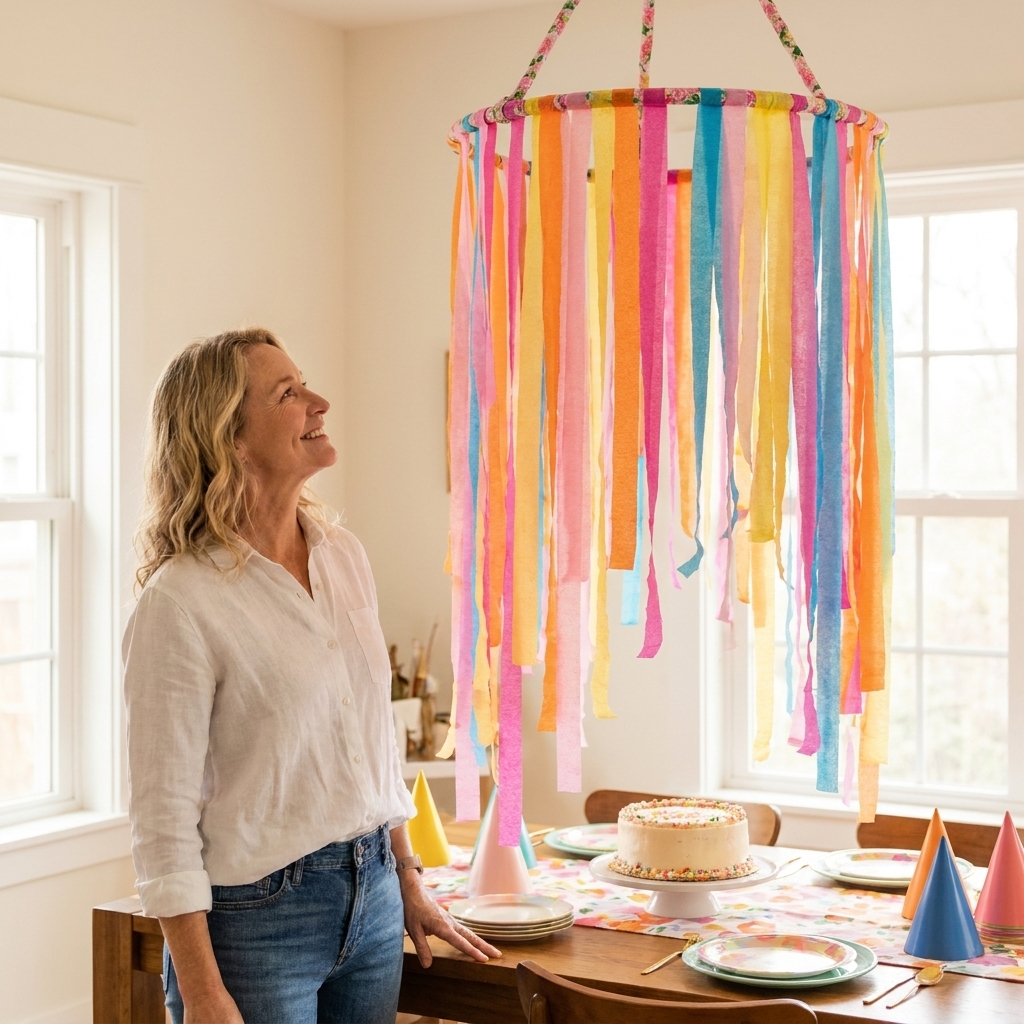
How to do it
- Use a hoop (a hula hoop works great) as the base.
- Wrap the hoop in streamers for a clean finish (spiral wrap and tape the end).
- Attach hanging streamers by tying or taping folded lengths around the hoop.
- Hang with three points (like a tripod) using fishing line so it stays level. Use a real anchor point like a ceiling hook or beam, not a light fixture.
Make it look elevated: Do your trimming on the floor first. Stack a few streamer strands together, cut a soft curve, then use that trimmed strand as your “pattern” for the rest.
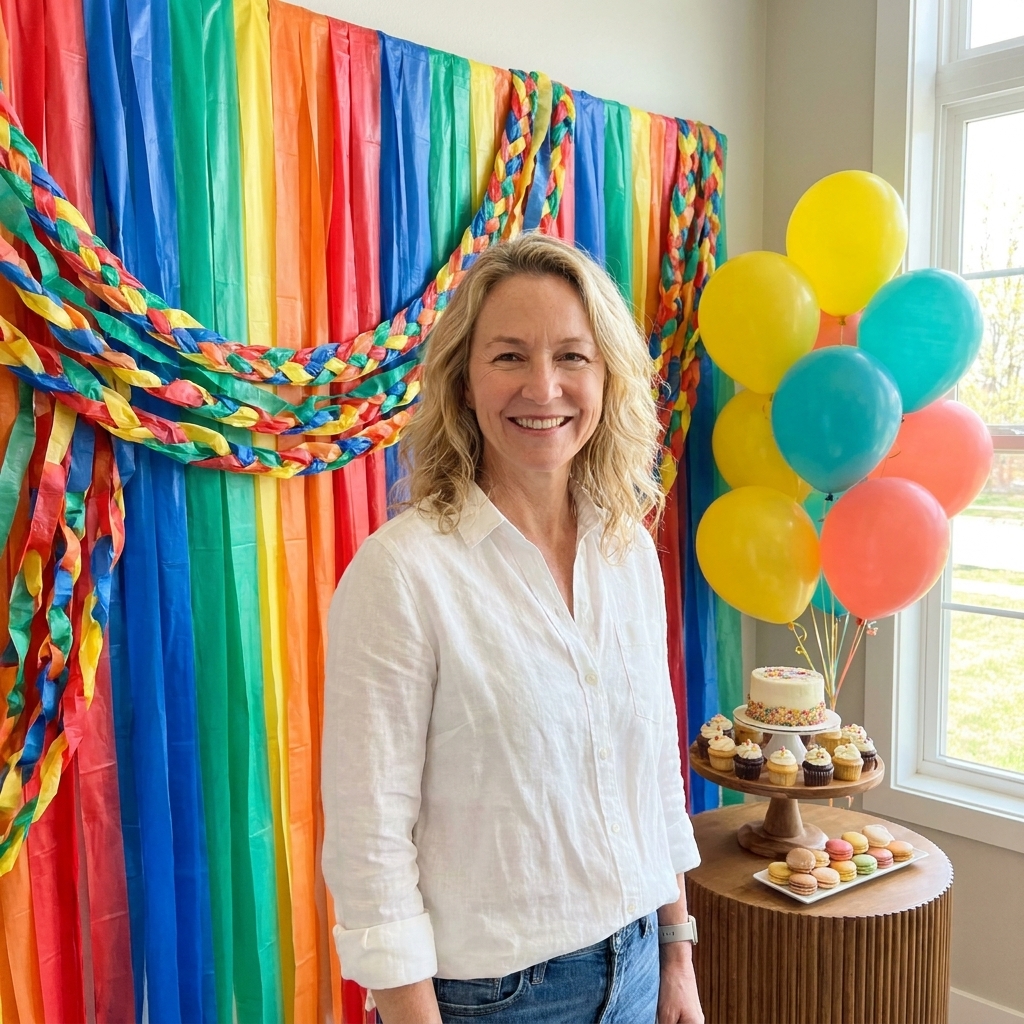
5) Braided streamer garlands
Twisting is great, but braiding takes streamers into “I bought that somewhere” territory. This works along stair rails, dessert tables, mantel ledges, and balloon garlands as a filler.
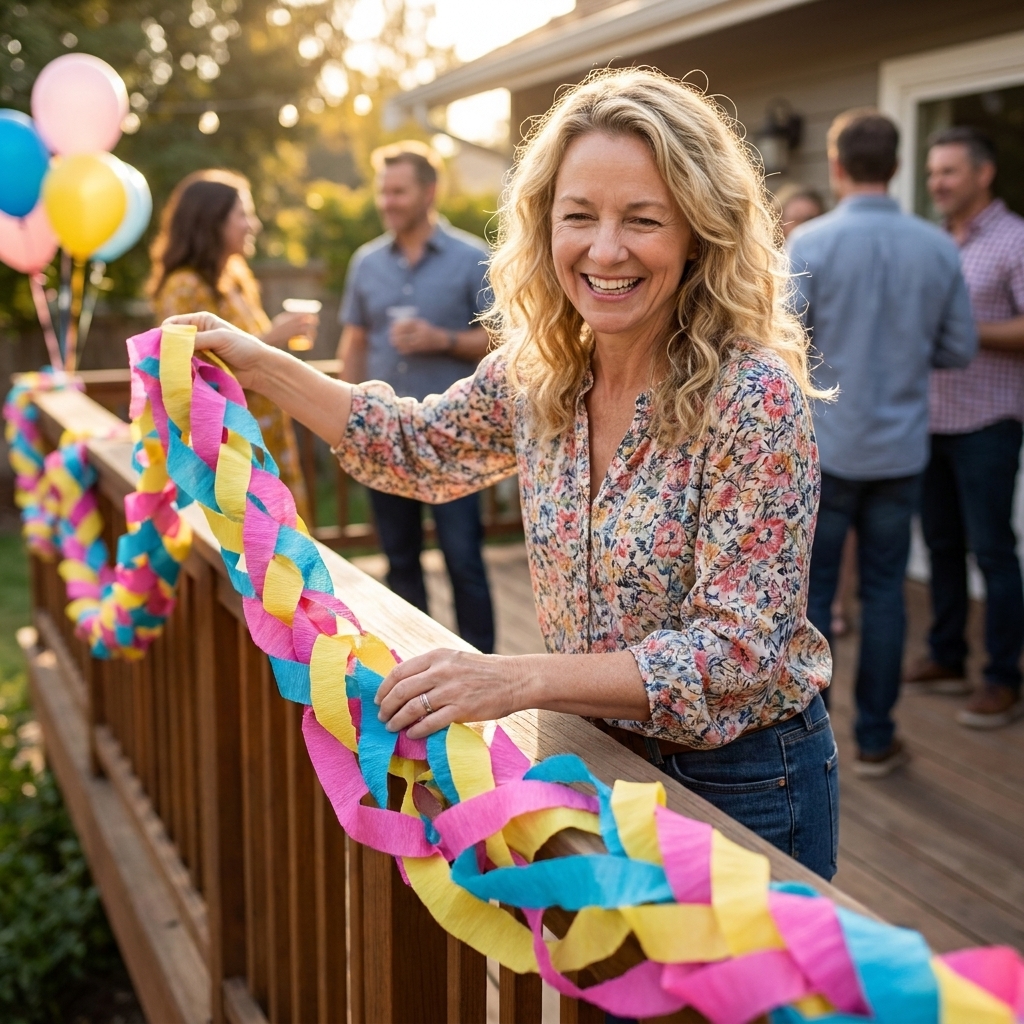
How to do it
- Choose three colors or three shades of one color.
- Tape the ends together to a heavy object or a countertop edge.
- Braid loosely so the crepe can puff and show texture.
- Tape the other end and fluff the braid by gently pulling the sides.
Make it look elevated: Mix matte crepe streamers with one metallic-look accent streamer if you can find it. Use that shine sparingly so it reads as “detail,” not “dollar aisle.”
And if you are already building balloons into the plan, streamers pair beautifully with organic shapes. This tutorial on a DIY organic balloon arch that lasts all weekend is my go-to for keeping balloons looking good past hour one.
6) Ceiling swags with fishing line
This is the airy look I love for outdoor parties, especially under a covered patio or pergola. The streamers move in the breeze and photograph like crazy.
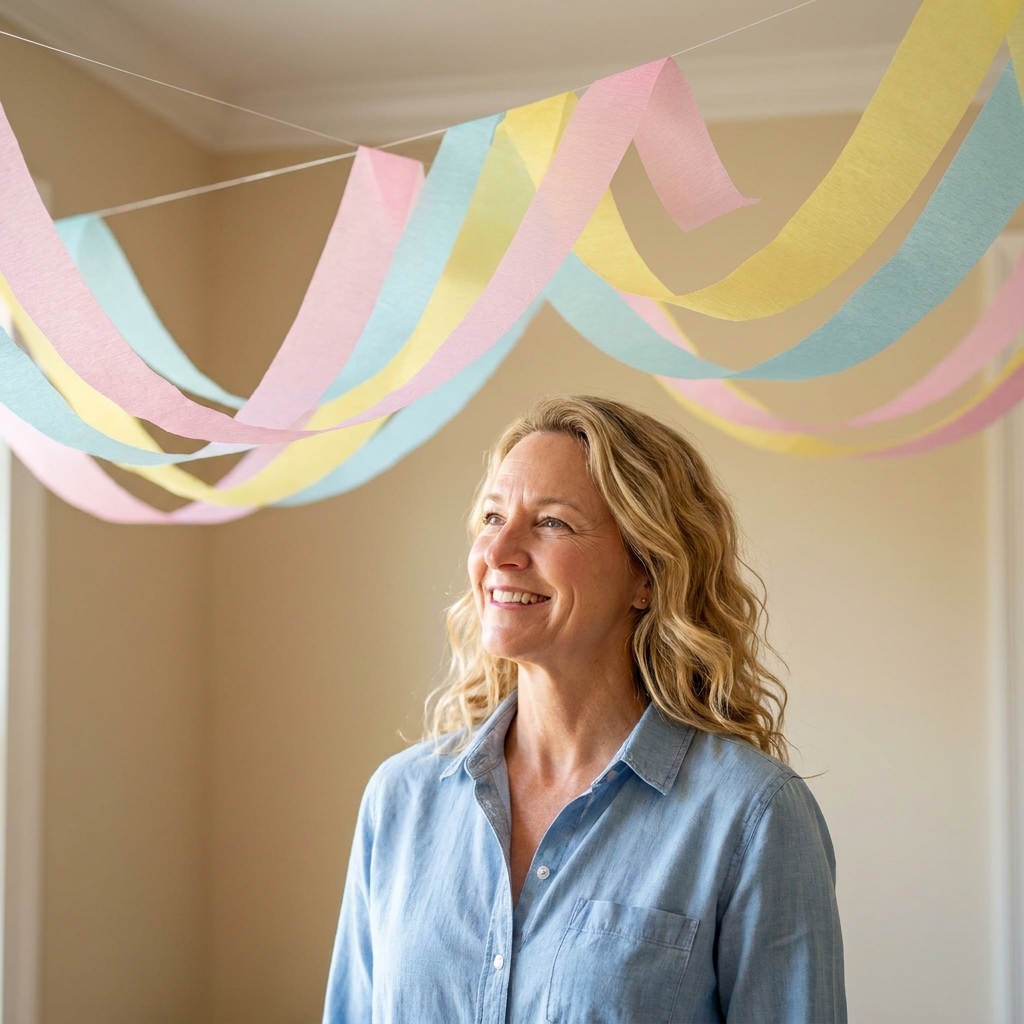
How to do it
- Map your anchor points first (hooks, beams, pergola slats, or removable hooks on smooth indoor ceilings).
- Cut long streamer lengths and keep them rolled until you are ready to hang.
- Support the streamer with line by securing fishing line to the streamer every 12 to 18 inches using small tape loops. For outdoors, humidity, or textured ceilings, assume tape will fail sooner. Add more anchor points, keep swags shorter, or run the line through a lightweight cord or along a bar where you can tie instead of tape.
- Hang the line so the streamer forms a gentle U-shape swag.
Make it look elevated: Vary the lengths. A mix of shallow swags and deeper swags creates that layered, styled feel.
Wind note: If it is breezy, I either shorten the lengths or lightly weight the ends. A tiny knot at the bottom can help, or you can discreetly clip the tail to fishing line so it does not whip around.
7) Streamer rosettes
When you need to fill an empty wall quickly, rosettes are a lifesaver. They are also great for covering awkward spots where tape seams show on backdrops.

How to do it
- Cut streamer lengths (about 3 to 5 feet each).
- Accordion fold the streamer back and forth into a stack.
- Tie the center tightly with string or a thin strip of streamer.
- Fan open both sides, then tape the back to the wall.
- Cluster in odd numbers (3 or 5) for a styled look.
Make it look elevated: Add one oversized rosette and surround it with smaller ones, instead of making everything the same size.
Color and layout tips
- Pick a tight palette. Two to three colors is usually the sweet spot.
- Repeat shapes. If you do twists on the ceiling, echo twists somewhere else (like garlands) for cohesion.
- Hide your tape. Finish edges with a clean band of streamer or cover attachment points with rosettes.
- Go denser than you think. Sparse streamer decor reads like “ran out of supplies.” Dense reads like “design choice.”
For more ways to make budget materials look high-end, I keep a running list of my favorite flips in thrift store decor flips. Streamers and thrifted frames are one of my favorite combinations.
Surface and weather notes
- Painted drywall: Painter’s tape for testing, then clear tape over it for strength. If you are leaving it up longer, removable hooks are usually more reliable than tape alone.
- Brick, stucco, rough surfaces: Skip tape. Use a stand, a top bar, or tie to something structural.
- Outdoor humidity: Tape can loosen faster. Use more anchor points and shorter lengths, and avoid placing streamers where sprinklers or condensation will hit.
If you need a no-tape photo moment, you might also like my plastic tablecloth photo backdrop. It is another “big impact, low effort” favorite.
Quick troubleshooting
My streamers keep tearing
They are probably too tight. Loosen the tension, reinforce ends with tape tabs, and avoid pulling directly on the edge of the paper.
They are sagging off the wall
Clean the surface (even a quick wipe helps), switch to removable hooks where possible, and reduce the “load” by using shorter lengths or more anchor points.
The colors look loud in photos
Swap one bright for a softer tone, or add a neutral (white, cream, or black) as a buffer. Also try grouping colors instead of alternating every strand.
I need a backdrop but cannot tape to the wall
Use a stand. This is exactly why I love a simple frame like the PVC backdrop stand. Build once, reuse it many times.
One last habit
I always test streamer ideas in a 2-foot section first. It tells you everything: whether the colors play nicely, whether the tape holds, and whether your spacing feels intentional. Once your “sample” looks good, you just repeat it across the space like you meant to do it that way all along.
If you want more budget-friendly decor ideas, you can browse all my projects in DIY Decor Projects.