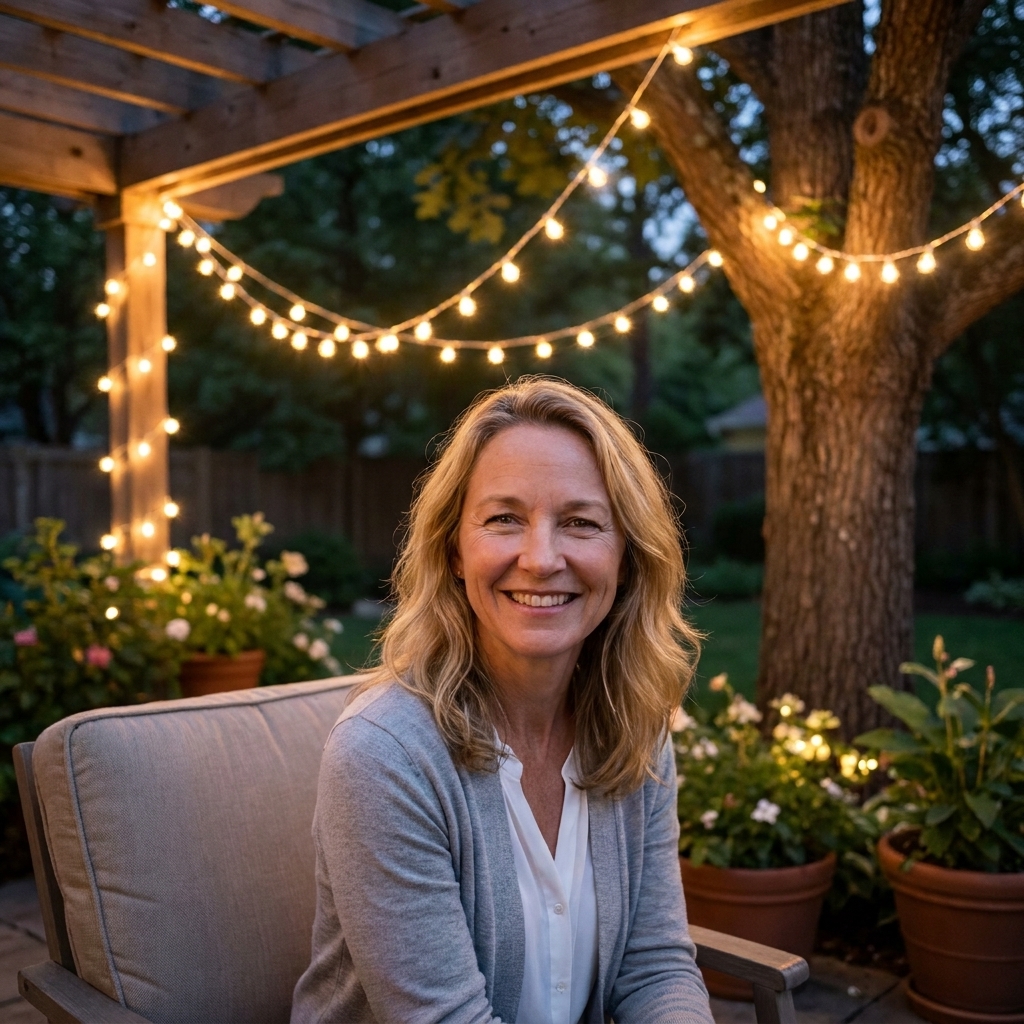
A practical, party-night-safe guide to hanging outdoor fairy lights on patios, trees, or poles—plus load checks, cord routing, GFCI tips, and wind/moisture f...
Gathova
Patriotic Porch Decor: How to Drape Pleated Bunting

Joanna Mercer
Joanna Mercer is an enthusiastic DIY event decorator and the creative spirit behind Gathova's party guides. With years of hands-on experience designing stunning tablescapes, balloon garlands, and custom photo backdrops for friends and family, she specializes in accessible, budget-friendly celebrations. Joanna loves sharing her practical tips and crafting tutorials to help anyone turn an ordinary space into a memorable party venue.
Published · Last updated
I have a soft spot for classic porch bunting. It is the decorating equivalent of putting on a crisp white shirt. Instant holiday, instantly pulled together. The trick is not just clipping it up and hoping for the best. Pleated fan bunting looks expensive when the swags are evenly spaced, the pleats sit flat, and everything is anchored so it does not sag by sunset.
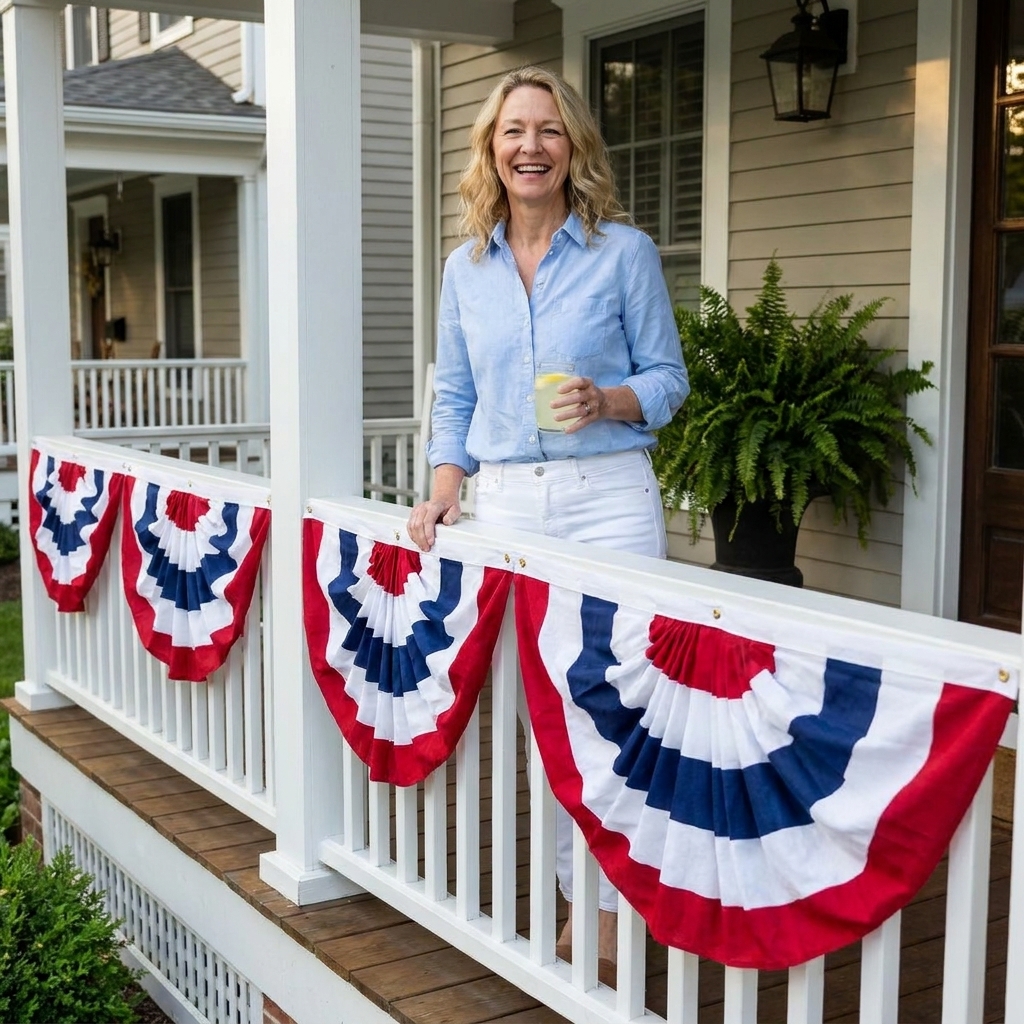
This is my porch-friendly method for measuring, planning your spacing, and hanging bunting securely on railings and between columns.
What you need
- Pleated fan bunting (the semicircle fans with ties or grommets, or long bunting with pleats)
- Measuring tape
- Pencil and painter’s tape for temporary marks
- Outdoor-safe hanging method (choose based on your porch):
- Zip ties (my go-to for railings and balusters)
- Removable outdoor hooks rated for the bunting’s weight (great for smooth columns)
- Screw-in cup hooks (most secure, best if you decorate every year and do not mind tiny holes)
- Jute twine or clear monofilament for extra support on long runs
- Scissors (to trim zip tie tails cleanly)
- Optional: a step stool, level, and a handheld steamer
A quick reality check: suction cups often quit in heat. Standard indoor Command strips can fail outdoors. If you want removable, use hooks specifically labeled for outdoor use and keep the surface very clean and dry before sticking.
Material notes (so you do not create a “why is my paint missing?” situation):
- Painted wood: zip ties are generally low-damage, but they can scuff paint if cinched hard. Tighten just until secure.
- Vinyl or metal railings: zip ties are usually the easiest and most forgiving.
- Painted columns and trim: adhesives can pull paint when removed. Test in a hidden spot and remove slowly.
- Brick, stone, stucco: avoid drilling unless you are using the right anchors for masonry. When in doubt, use a tie-around method or a freestanding support line that does not rely on a hole.
Plan your layout
Pretty bunting is basically a math problem disguised as charm. Take two minutes to decide where the high points and low points will go.
Common porch placements
- Across the front railing: swags between posts, with a center dip.
- Between columns: one big swag per bay, or two smaller swags if the span is long.
- On the stair rail: smaller swags that follow the slope, or individual fans centered on each section.
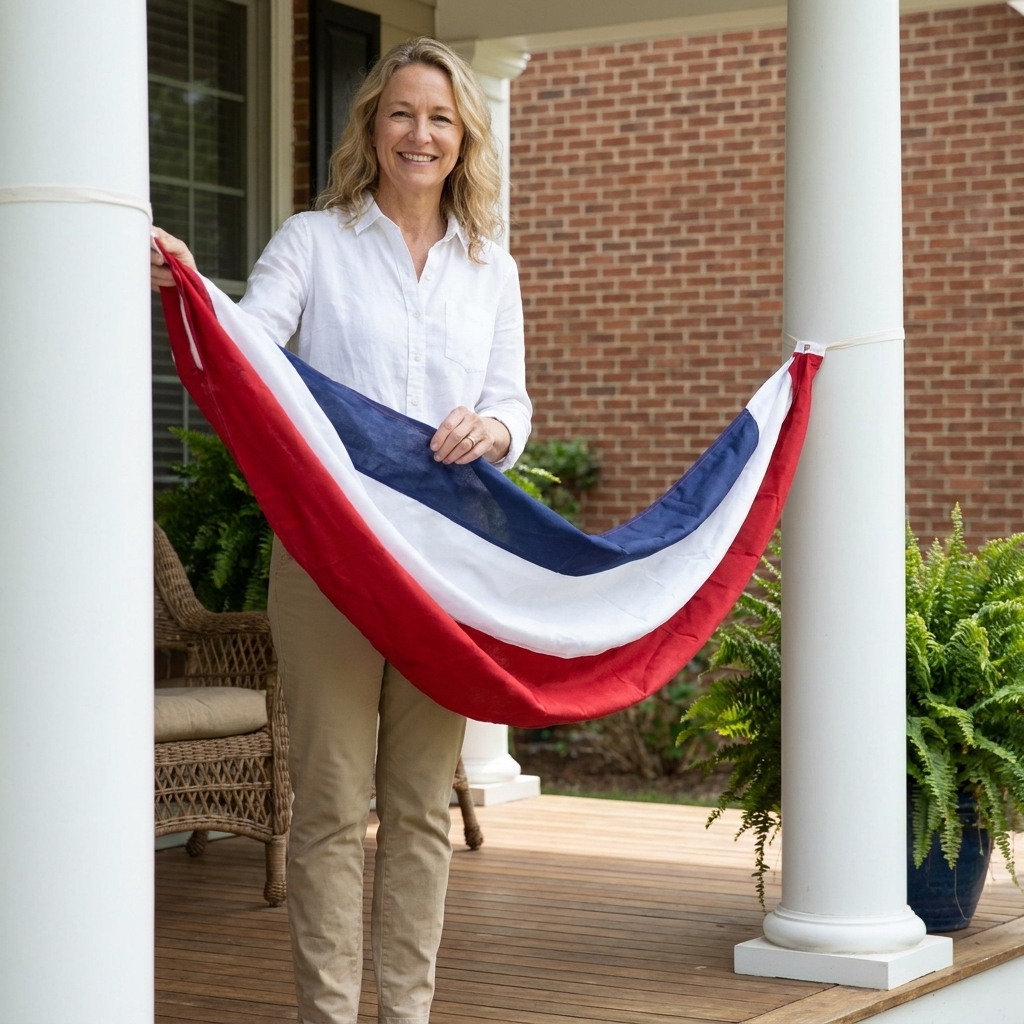
Pick your swag depth
Swag depth is how low the center dips. This one choice controls whether your porch reads crisp and traditional or parade float.
- Shallow dip: 6 to 10 inches as a starting point. Best for narrow railings and a tailored look.
- Medium dip: 10 to 16 inches as a starting point. My favorite for most porches.
- Deep dip: 16 to 24 inches as a starting point. Works for tall, open railings and big spans, but needs more support so it does not droop.
Joanna rule: If your bunting has a printed stripe pattern, keep the dip medium or shallow so the stripes still read clean, not warped.
Measure and mark spacing
There are two ways bunting usually goes wrong: uneven swags or a center sag that is lower than the rest. Marking your attachment points prevents both.
Step 1: Measure each span
Measure the distance between hard anchor points, like porch posts, newel posts, or columns. Write each span down. If your porch has multiple sections, measure each one separately because close enough becomes very obvious once bunting is up.
Step 2: Find the center
Divide the span measurement by 2 and mark that center point with a small piece of painter’s tape on the porch itself, usually on the underside of the top rail, or as a little tape flag you can see from the front.
Step 3: Mark your high points
Your high points are typically at posts or columns. If you are hanging across a long uninterrupted railing, create fake posts by choosing evenly spaced high points every 4 to 6 feet for a more custom look.
Step 4: Mark your low point
From the center mark, measure down your chosen dip depth and place a second piece of painter’s tape on the porch as your visual target. Think of it as your bullseye for where the center of the bunting should land.
Porch shortcut: If you have three porch posts along a front rail, the cleanest look is usually one swag per bay, each with the same dip depth.
Hang bunting on a railing
Railings are the easiest surface because you have lots of places to anchor. My favorite method is zip ties because they are fast, inexpensive, and wind-resistant.
Method A: Zip ties
- Start at a post: Hold the bunting’s top corner at your first high point. Thread a zip tie through the bunting tie, grommet, or stitched loop, then around the top rail or a baluster. Do not fully tighten yet.
- Attach the other end: Move to the next post (or your next high point) and loosely attach the opposite top corner to the top rail or baluster.
- Set the center dip: Find the center of the bunting and bring it down to your dip mark. Add a zip tie at that center point to the rail or to a baluster behind the bunting. This is what keeps the middle from stretching over time.
- Add side supports: For most spans, add one zip tie halfway between the center and each end, again to the rail or a baluster. This keeps the pleats from flopping forward.
- Step back, then tighten: Before you cinch anything down, step back to the sidewalk or driveway and eyeball the symmetry. Then tighten zip ties gradually, alternating sides so the bunting stays centered.
- Tighten gently and tidy: Snug is enough. Over-tightening can scuff painted wood or stress older pieces. Trim tails close so they do not stick out.
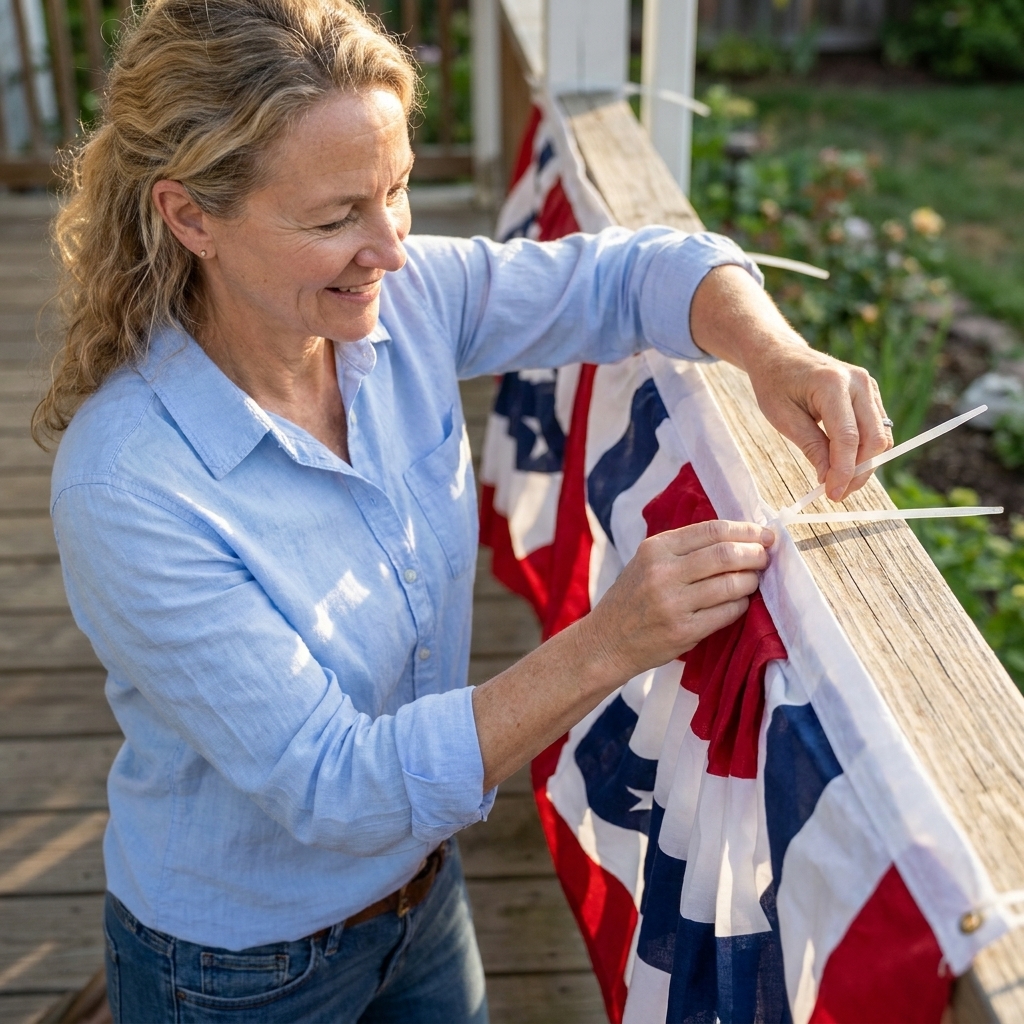
Pro tip: If your bunting has built-in ties, you can still use a zip tie over the knot as insurance against wind.
Method B: Hooks or cup hooks
If you want the bunting to look like it is floating with no visible ties, hooks are your friend.
- Removable outdoor hooks: Place one at each high point and one at the center dip point. Let adhesive cure as directed before hanging.
- Cup hooks: Screw into the underside of the top rail or into a porch post. Hang bunting loops or tie ends directly on the hooks.
Joanna rule: Even if you use hooks, still add a discreet backup tie on very windy porches. I have watched a perfect swag turn into a flag of distress in one gust.
Hang bunting between columns
Columns look so classic with bunting, but they also create longer spans where fabric wants to droop. The fix is a hidden support line.
Support-line method
- Install two anchor points: Use outdoor hooks, cup hooks, or sturdy ties around each column at the height you want the bunting to sit.
- Run a support line: Tie jute twine or clear monofilament between the two anchors. Pull it snug, like a clothesline, and double-knot.
- Attach bunting to the line: Use small zip ties or the bunting’s ties to fasten the top edge to the support line at both ends.
- Create the dip: Add one attachment at the center, pulling the bunting down to your planned dip. Then add one point on each side so the pleats stay crisp.
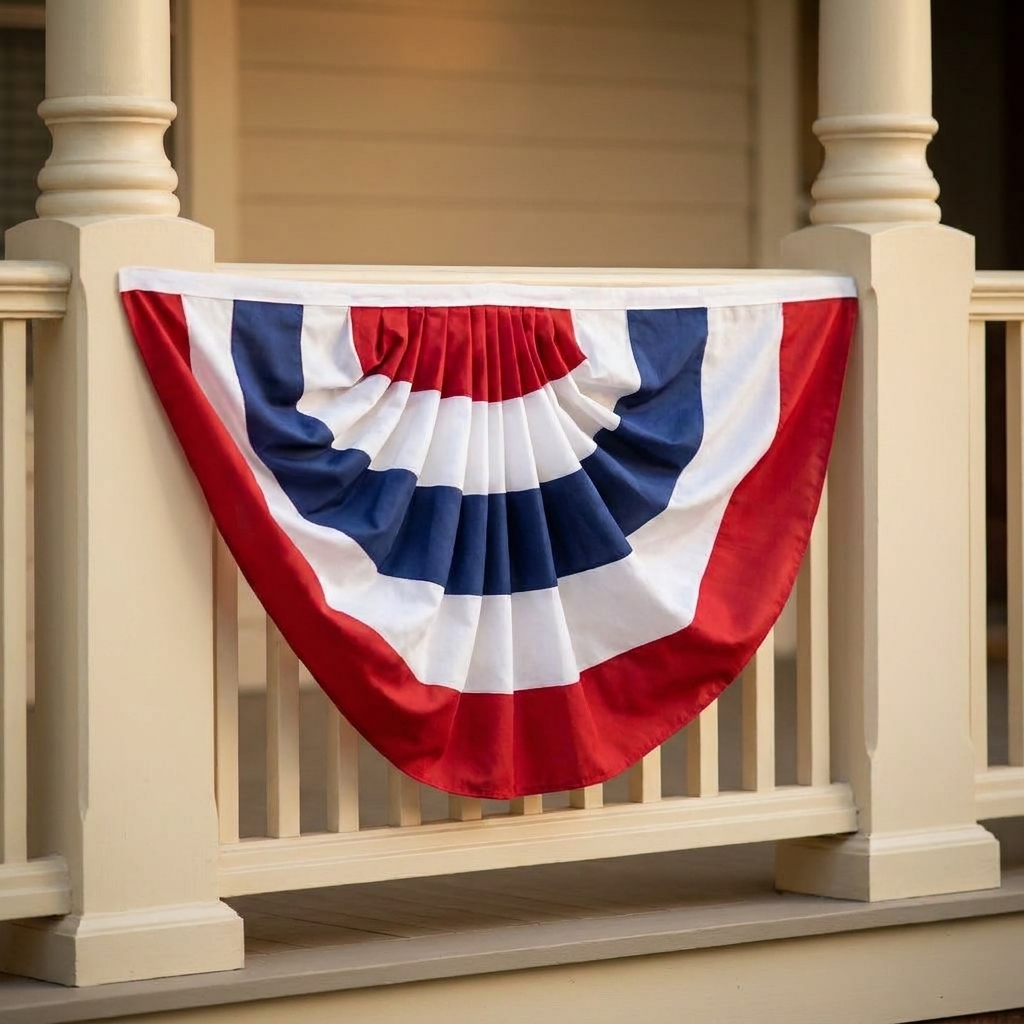
Safety note: Keep support lines taut and positioned where people will not walk into them, especially near steps, doorways, or paths. If the line crosses a high-traffic spot, choose another mounting plan.
Why this works: the line takes the weight, so the bunting keeps its shape longer and does not stretch into a deeper and deeper U-shape throughout the day.
Make pleats look crisp
Pleated bunting is supposed to look tailored. These are the little things that make it read intentional instead of thrown up.
- Face all fans the same direction: If your bunting has a front side, make sure every piece is oriented consistently.
- Keep the top edge straight: Even if the swags dip, the top attachment points should line up across the porch.
- Steam lightly if needed: A quick pass with a steamer relaxes shipping creases. Keep the steamer moving and give synthetic bunting a little extra space so you do not risk heat warping.
- Repeat spacing: Match dip depth across all bays. Your eye notices inconsistency faster than it notices imperfect measurements.
- Hide hardware: Use clear zip ties or tuck knots behind pleats.
Wet-weather note: If you have fabric bunting, red dyes can sometimes bleed when soaked. If rain is coming, I either bring it in or at least keep it from resting against white columns or trim.
If you are decorating the whole porch for guests, I love pairing bunting with soft lighting. My outdoor safety checklist for string lights is in How to Safely Hang Fairy Lights Outdoors.
Dos and don’ts
Do
- Anchor at the ends and the center on every span.
- Use more attachment points for longer spans (every 18 to 24 inches is a good starting point).
- Test wind by giving the bunting a gentle shake before trimming zip ties and packing up your tools.
- Keep bunting away from doors so it does not catch every time someone walks out holding a plate of hot dogs.
- Take it down for storms or high wind. It is not worth a ripped bunting, damaged hardware, or a scratched railing.
Don’t
- Rely on one center attachment only. That is how you get the dreaded stretched-out smile shape.
- Staple into finished trim unless you truly do not care about holes and paint touch-ups.
- Block handrails on stairs. Safety wins over symmetry every time.
Quick fixes
My bunting is sagging in the middle
- Add a center support (hook or zip tie) attached to the rail, a baluster, or the support line behind it.
- For long spans, add a support line behind it and reattach along the top edge.
- Reduce swag depth by re-anchoring the center slightly higher.
The pleats are flipping forward in the wind
- Add one more attachment point on each side of the center.
- Zip tie through a pleat fold so the fold is held in place, not just the edge.
My swags look uneven
- Re-measure each span and re-mark centers.
- Adjust one side at a time, tightening gradually.
- Step back to the sidewalk to check. Porch-level views can trick you.
The bunting looks too short or too tight
- Use smaller swags per section (one per bay instead of one across the whole railing).
- Decrease dip depth so the fabric reaches.
- If you have extra pieces, overlap them at a post so the join looks intentional.
Go-to layouts
Layout 1: One swag per bay
Attach at each post, dip in the middle of each section. This is the cleanest, most traditional look for most porches.
Layout 2: Fans on posts
If you have pleated fan bunting pieces, center one on each post and skip the swags. It is quick, tidy, and looks great with planters.
Layout 3: Swags plus fans
Use swags on the main rail, then add a fan centered on each outer column or by the door for a framed entry moment.
If you are decorating for a bigger backyard hang, you might also like my approach to outdoor party setups in Backyard Graduation Party Decor. The porch principles are the same: measure, repeat spacing, and secure for wind.
FAQ
How high should bunting be on a porch railing?
Visually, bunting looks best when the top edge sits just under the top rail line or attached to the top rail itself. Practically, keep it high enough that it will not snag on hands as people lean or walk up stairs.
How far apart should I attach bunting?
At minimum, attach at both ends and the center. For spans longer than about 4 feet, add one extra attachment on each side of center (so 5 points total). In windy areas, use an attachment about every 18 to 24 inches.
What is the best way to hang bunting without damaging anything?
On many railings, zip ties are generally low-damage and very secure, but avoid over-tightening on painted wood to prevent scuffs. On smooth columns, removable outdoor hooks can work well if you prep the surface and let the adhesive set properly. If you decorate every year, small cup hooks under the rail are the most reliable long-term solution.
Can I leave bunting outside for several days?
Usually yes, but it depends on weather and fabric quality. Check it daily, especially after wind or rain, and re-tighten any ties. If it gets wet, let it dry fully before storing to help prevent mildew and dye transfer.
Finishing touch
Once the bunting is up, I like to add one small, grounding element at the door: a simple wreath, a pair of planters, or lanterns. It keeps the porch from feeling like the decor is only happening at railing height. If you love quick, high-impact upgrades like that, browse my favorite easy projects in DIY Decor Projects.