Make a full, pro-looking organic balloon arch that holds its shape from Friday setup through Sunday. Includes balloon counts, supplies, structure tips, stora...
Gathova
Backyard Graduation Party Decor

Joanna Mercer
Joanna Mercer is an enthusiastic DIY event decorator and the creative spirit behind Gathova's party guides. With years of hands-on experience designing stunning tablescapes, balloon garlands, and custom photo backdrops for friends and family, she specializes in accessible, budget-friendly celebrations. Joanna loves sharing her practical tips and crafting tutorials to help anyone turn an ordinary space into a memorable party venue.
Published · Last updated
Every May, I swear my backyard becomes a stage. Not the fancy kind with rigging and curtains, but the real-life version where a lawn has to magically handle hugs, photos, food lines, and a whole lot of proud-family energy. The good news is you do not need a perfect landscape or a massive budget. You need zones.
When you “zone” your yard, you’re quietly solving the biggest graduation party problems before they happen: guests wandering around looking lost, bottlenecks at the food table, nowhere to take a good photo, and the classic “where do we put the cards and gifts” moment. Here’s how I set up a backyard graduation party so it feels like a celebration space, not just a random hangout on grass. You’ll end up with clear traffic flow, a real photo moment, and a place for gifts, without buying a ton.
Start with a simple yard map
Before you buy anything, take five minutes and sketch your yard like a little overhead map. It can be messy. Mine usually looks like a lopsided rectangle with a sad attempt at a patio.
Mark these “fixed” items first:
- Patio, deck, or concrete pad
- Doors guests will use to enter the house
- Power outlets
- Any tricky spots (sprinkler heads, muddy patches, steep slope, ant hills)
- Sun and shade areas during party time
Now assign zones. The goal is to keep the highest-traffic zones close to the house and keep the photo and memory zones where people can linger without getting bumped.
Quick example that works in most yards: If your patio sits right by the back door, that becomes your food and drink zone. Then put the photo zone against a fence line or the least-busy side of the yard. Keep the hangout zone in the open middle where chairs can shift around as people arrive.
The 5 zones that make a party flow
- Welcome zone: quick hello, guest book if you want one, party info
- Photo zone: backdrop and props
- Memory lane zone: timelines, photos, awards, notes
- Food and drink zone: buffet, desserts, drink station
- Hangout zone: seating, lawn games, chatting space
If you want a sixth, add a gift zone that is visible but not in the main traffic lane.
Zone 1: Welcome
This is where you set the tone. It does not need to be a full entry arch. It just needs to look intentional so guests instantly know where to go.
Easy welcome setups for grass
- Two planter pots plus a sign: tuck balloons or greenery picks into the pots, then place a sign between them.
- Mini flag line: hang a short run of pennants between a fence and a shepherd’s hook.
- Lantern path: line the walkway with a few lanterns or jars (battery candles only).
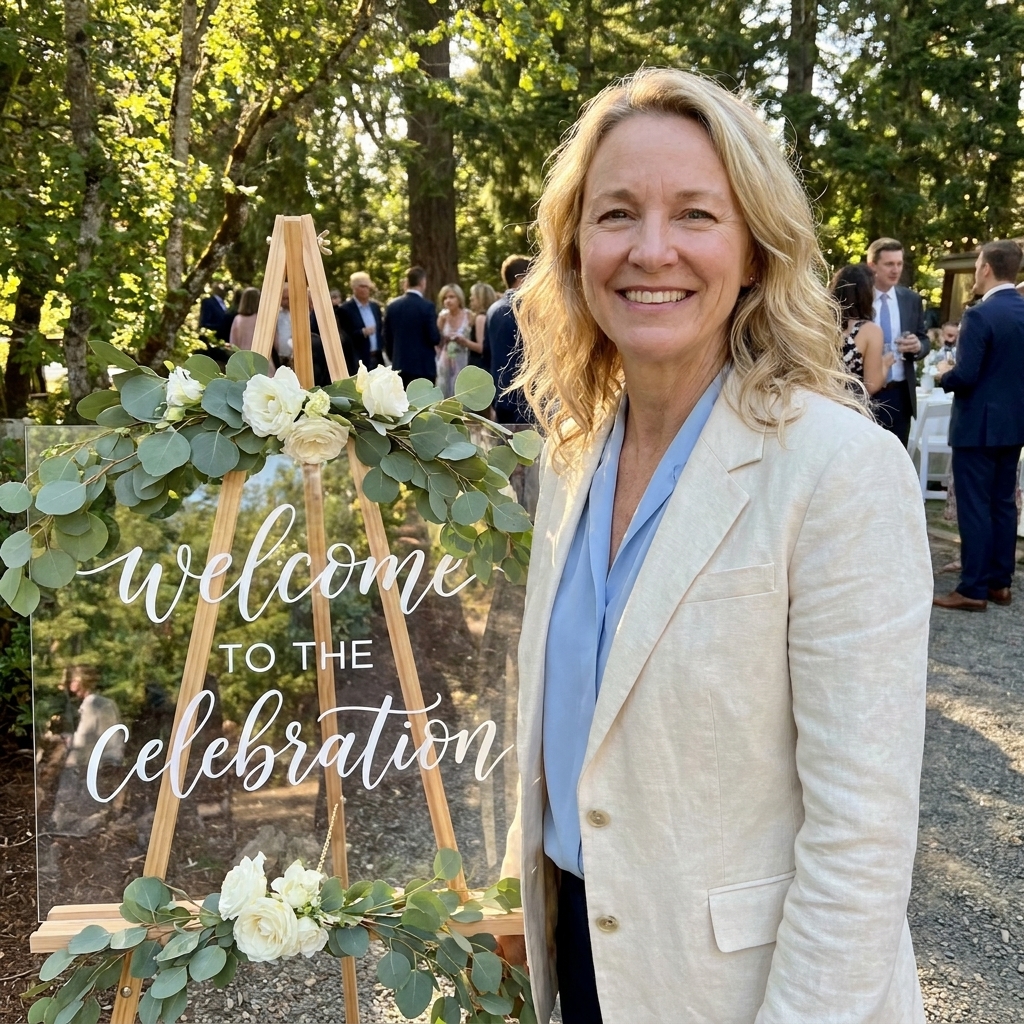
If you are making a sign, acrylic is a backyard hero because it photographs well and wipes clean. Just know it can scratch and it can glare in direct midday sun, so I keep a microfiber cloth nearby and angle it slightly away from the brightest light. I walk through my approach here: DIY acrylic welcome signs for events.
My practical tip: Put a small basket with sunscreen packets, bug wipes, and a lint roller near the welcome zone. Someone always needs one of the three.
Zone 2: Photo spot
A graduation party without a photo spot turns into everyone trying to take pictures against the garage door. I say this with love because I have lived it.
Pick the photo location first
- Choose shade if possible: Faces look better and people are more willing to linger.
- Avoid busy backgrounds: park cars elsewhere, hide trash bins, close the shed door.
- Give it space: leave about 6 to 8 feet in front so groups can step back for full-body photos.
Backyard-proof backdrop options
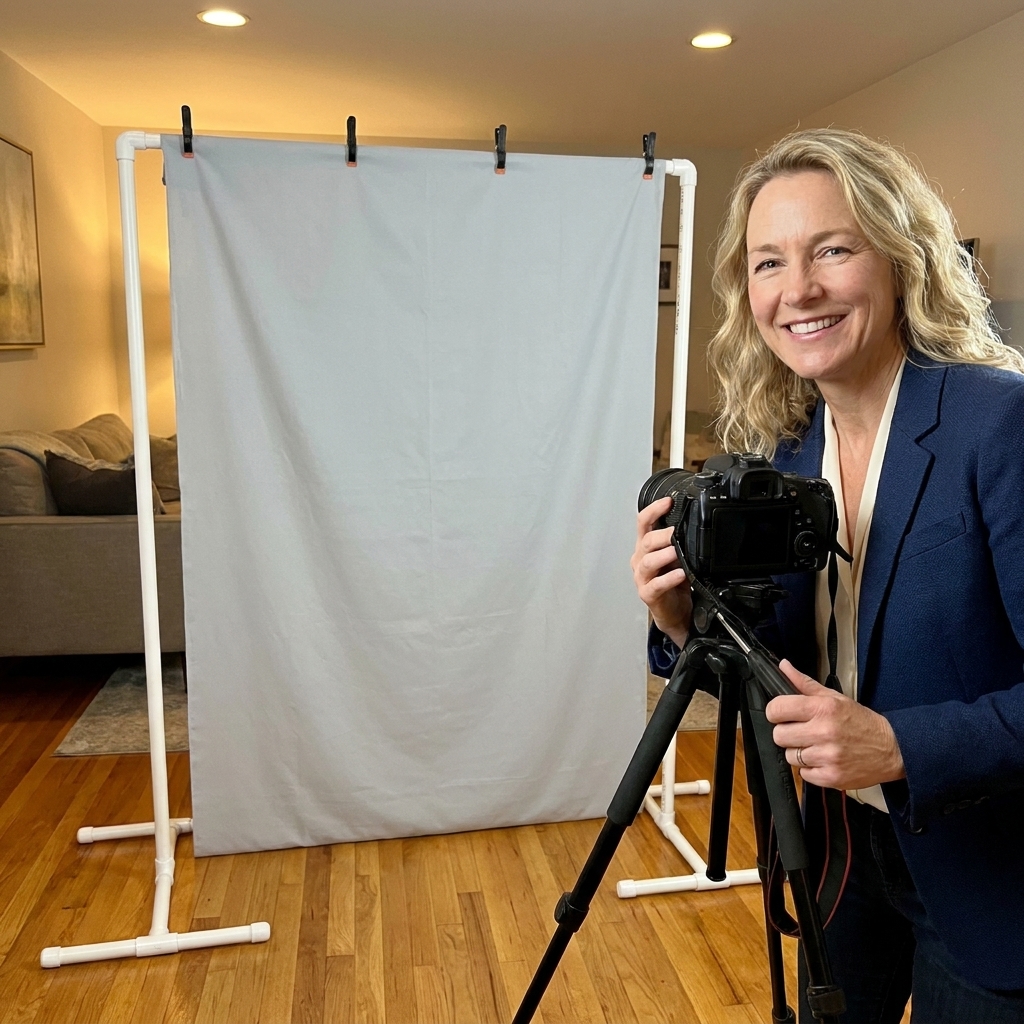
- PVC stand with curtains or streamers: stable, reusable, and adjustable. If you want a sturdy build, use my setup: DIY PVC pipe photo booth backdrop stand.
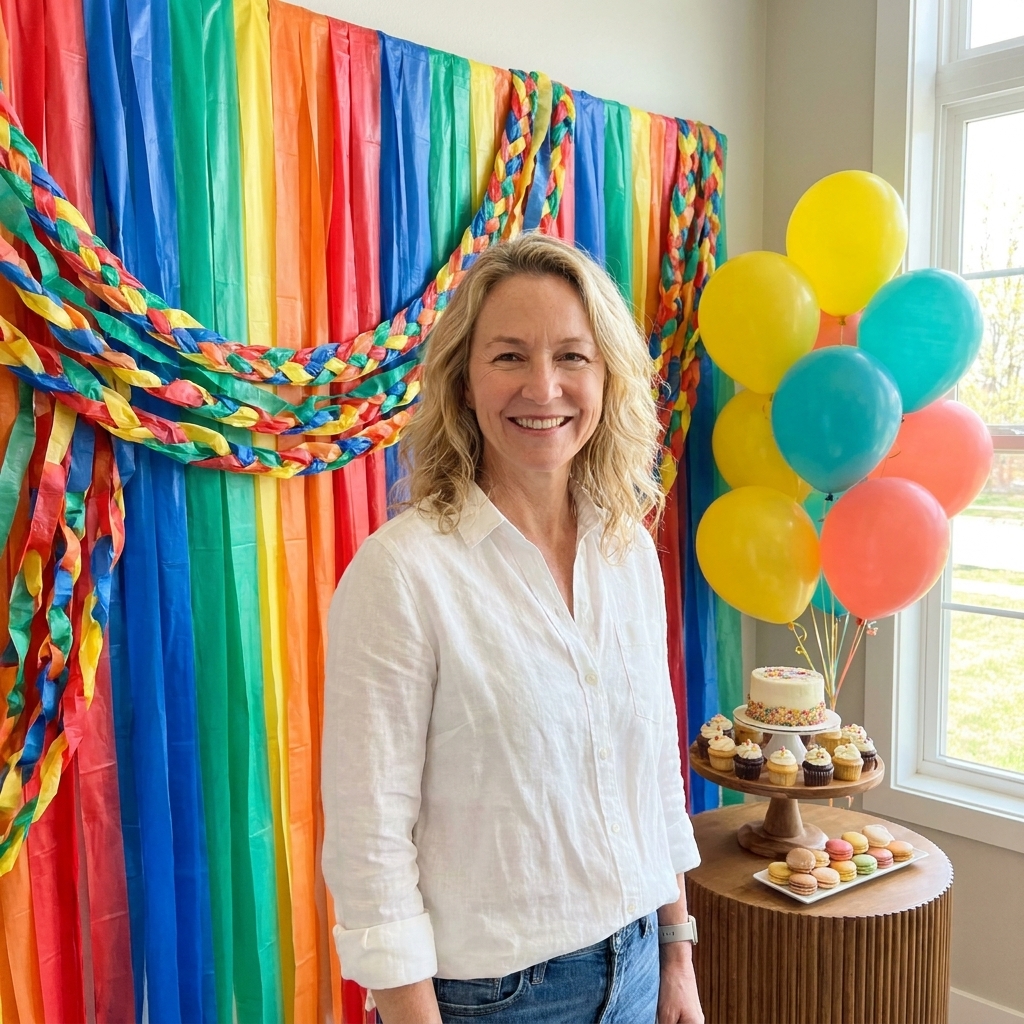
- Plastic tablecloth wall: surprisingly pretty when you gather it like fabric and add balloons. This tutorial is great when you need a fast win: Plastic tablecloth photo backdrop that looks expensive.
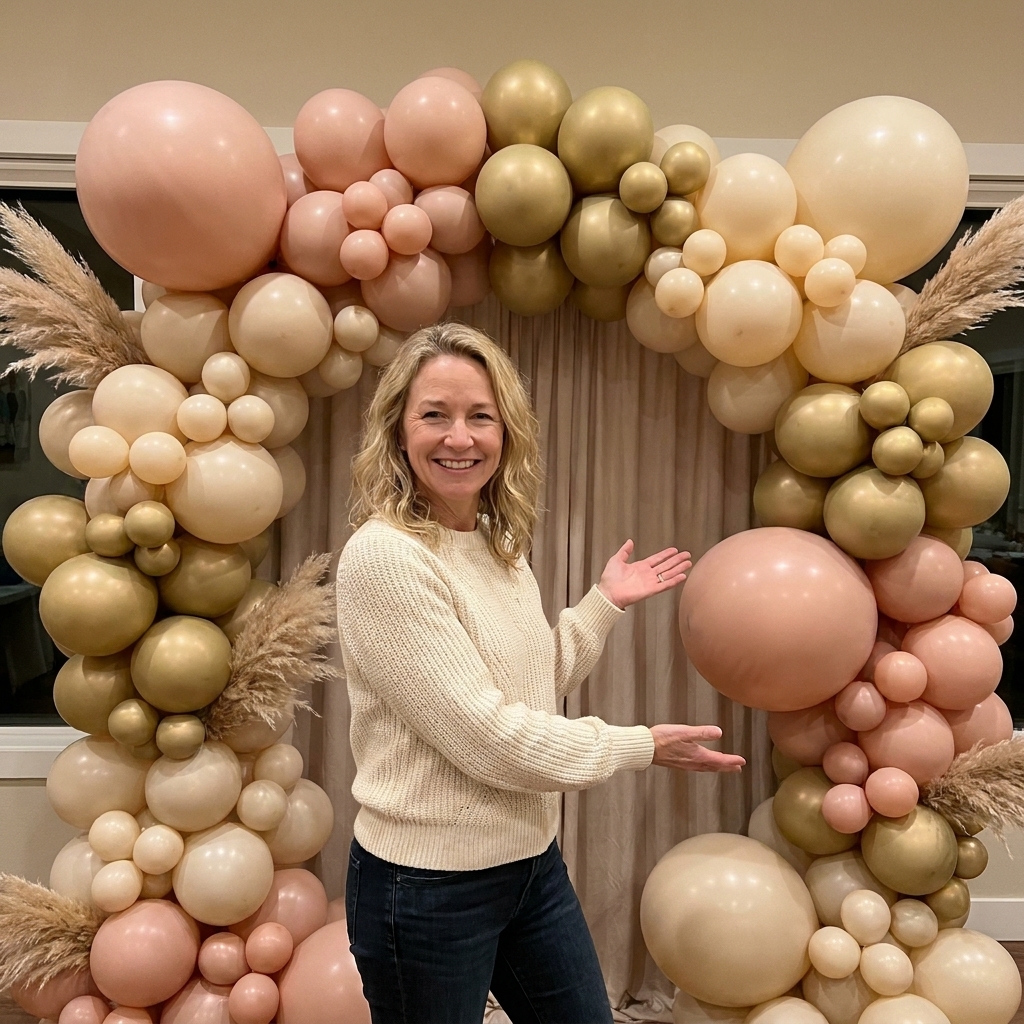
- Organic balloon garland: keep it slightly asymmetrical so it looks custom and modern. Mine can last all weekend in shade and mild temps, but in full sun or high heat it will oxidize faster and may need a quick refresh. My method is here: DIY organic balloon arch that lasts all weekend.

Zone 3: Memory lane
Memory lane is the part that gets people teary and chatty in the best way. It also keeps guests entertained while you are finishing up food or greeting arrivals.
3 memory lane formats I love
- Timeline line: hang a twine line and clip photos from kindergarten to senior year. Use clothespins for an easy, charming look.
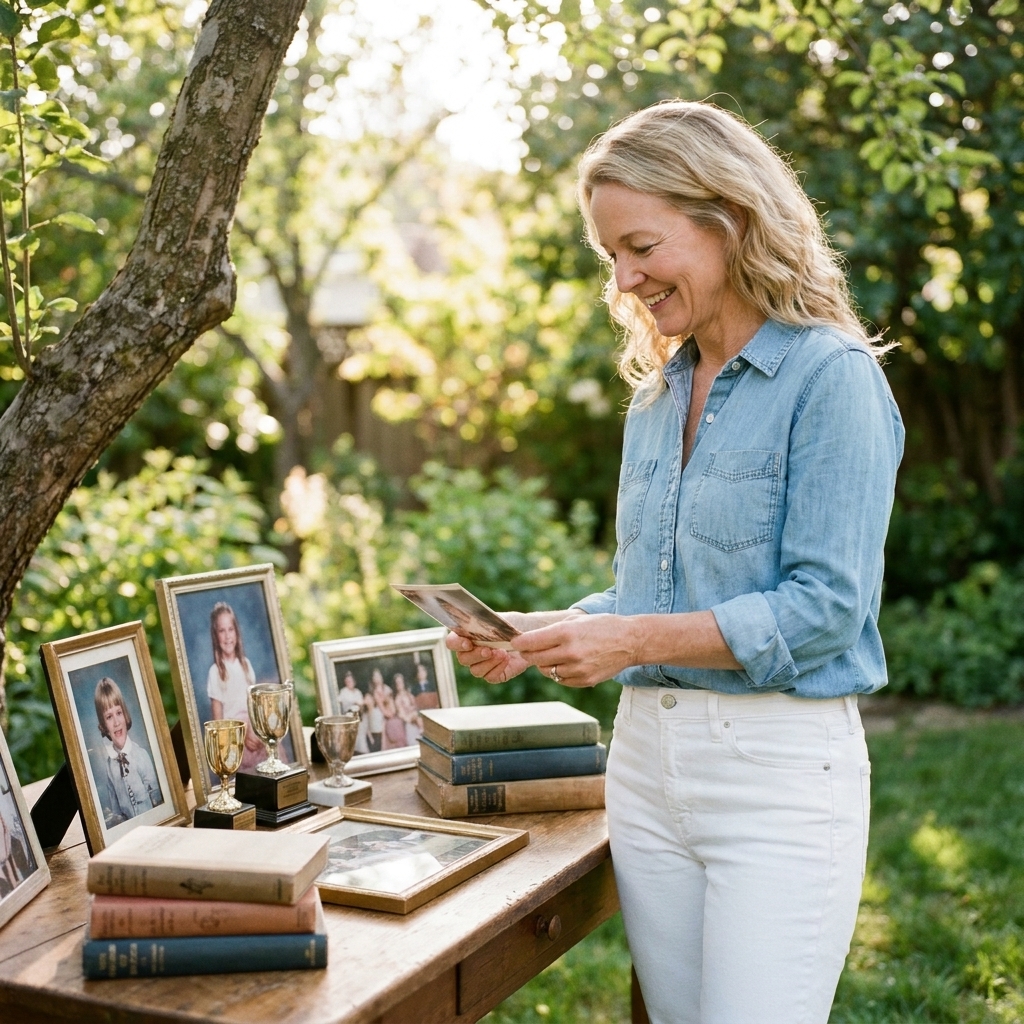
- “Then and now” table: one tabletop with framed baby photo, school portrait, and current cap-and-gown photo.
- Milestone walk: place a few poster boards on easels along a path, each with a grade level and a few photos.
How to make it look cohesive
- Repeat one frame style: thrift store frames spray painted one color read as “designed,” even if they are mismatched shapes.
- Limit your paper colors: pick white plus one accent so it does not look like a scrapbook exploded.
- Add one texture: a roll of kraft paper, a cheesecloth runner, or a strip of fabric under frames makes it feel styled.
My garage-shelf secret: Hardcover books make fantastic risers for framed photos and awards. Stack two or three, wrap with ribbon in school colors, and suddenly your table has height. I use this trick constantly: Hardcover books as centerpiece risers.
Zone 4: Food and drinks
Outdoors is wonderful until the wind shows up. The trick is to set up food in a way that minimizes flying napkins, melting ice, and guest traffic jams.
Layout that prevents bottlenecks
- One-direction buffet: plates first, then mains, then sides, then napkins and utensils at the end.
- Separate drinks: put beverages on a different table so everyone is not clustering at the same spot.
- Trash and recycling visible: one can near food, one near seating.
Outdoor-friendly styling
- Tablecloths clipped down: use binder clips under the edge or tablecloth clips.
- Use trays and baskets: they corral small items like condiment packets and dessert forks.
- Weighted napkin holder: even a cute rock in a bowl can keep stacks from blowing away.
Food safety basics I actually use
- Keep coolers in the shade, not in direct sun “because it’s outside.”
- If you have mayo-based items, dairy, or cut fruit, set out smaller trays and swap them from the fridge or cooler as needed.
- When in doubt, serve it in two rounds instead of letting one big platter sit out for hours.
If you are building a centerpiece for the food table, go low and sturdy. Candle rules still matter outside, but if you do use tapers in lanterns or hurricane glass, secure them properly so they do not wobble: How to secure taper candles on event tables.
Zone 5: Hangout seating
This zone is what makes your party feel comfortable. It is also where people will spend the most time, so it deserves a tiny bit of attention even if it is just folding chairs and a few tables.
Make basic seating look intentional
- Create small pods: two to four chairs around a small table is more inviting than one long line of seating.
- Add one soft layer: a few throw blankets over chair backs for an evening party, or simple table runners for daytime.
- Hide ugly chairs: you can do covers, but I often prefer ribbon weaving because it looks festive and costs less. Here’s the breakdown: Decorating ugly folding chairs: covers vs ribbon weaving.
Lawn game corner (optional but loved)
- Ring toss, cornhole, giant Jenga, or even a simple bubble station for mixed-age crowds
- Keep games away from the buffet and photo area so you do not get surprise action shots in every picture
Gift and card zone
If your crowd does cards and gifts, give them a home. It is one of those things that feels awkward only if you ignore it.
- Keep it in sight: visible from the hangout zone is ideal, but not right in the main walkway.
- Use a card box that closes: even a simple lidded container helps. If you have a lockable box, even better.
- Do a quick sweep: designate a trusted person to move cards and gifts inside periodically, especially once the party is in full swing.
Make it cohesive
Once your zones are set, two upgrades make everything feel pulled together: color and lighting.
School colors without the party store look
School colors can go from spirited to screaming fast. My rule is two neutrals plus the school colors. It keeps everything clean and photo-friendly.
My go-to color formula
- Base neutral: white, cream, or kraft paper
- Second neutral: gold, silver, black, or greenery
- School colors: use as accents in balloons, ribbon, napkins, and signage borders
Where to use color for maximum impact
- Photo zone: balloon garland, backdrop fabric, or streamers
- Tabletop: napkins, a runner, and small accents like favor tags
- Memory lane: one repeated color (mat board, ribbon, or frame paint)
If you want your streamers to look polished instead of droopy, I have a bunch of practical ways to style them: 7 creative ways to decorate with crepe paper streamers.
Lighting
If your party runs into the evening, lighting is the upgrade that makes everyone say, “Wow, this looks amazing.” You do not need to light the whole yard. Light the zones.
What I light first
- Food zone: so people can actually see what they are picking up
- Walkways: for safety
- Photo zone: so late arrivals still get great pictures
Simple lighting options
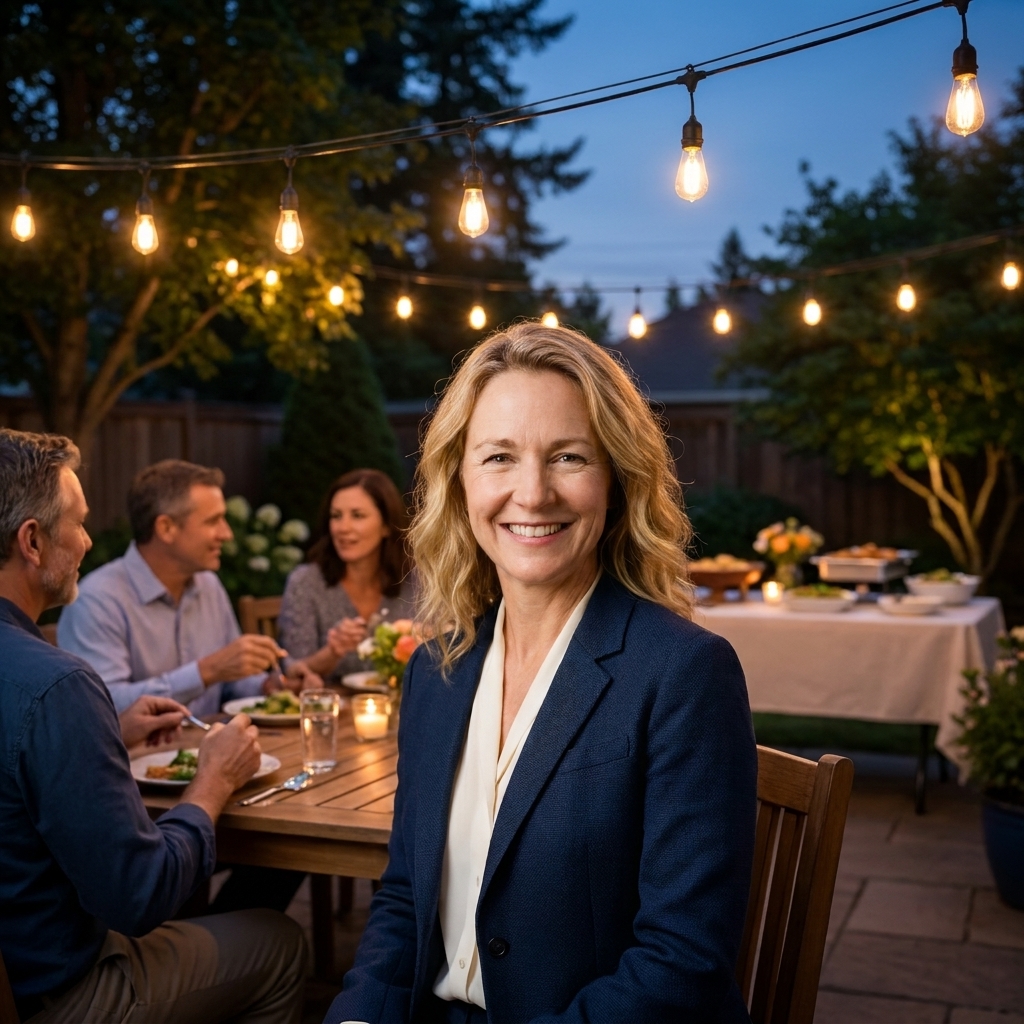
- String lights: zig-zag overhead between fence posts, trees, or poles
- Battery lanterns: cluster on tables or line paths
- Uplighting: a few warm lights aimed at a tree or fence can be dramatic and inexpensive
For outdoor hanging, safety comes first. Here are my go-to precautions for hanging fairy lights outside: How to safely hang fairy lights outdoors.
Weather and ground fixes
Backyards are charming until the wind knocks over your centerpiece or the grass is soggy from yesterday’s sprinkler schedule. A few prep steps make a huge difference.
Wind-proofing checklist
- Use weights on backdrop stands and balloon columns (sandbags, patio pavers, or water weights)
- Choose shorter centerpieces and sturdy containers
- Skip lightweight confetti on tables, or keep it contained inside clear jars
Grass-friendly comfort
- Rugs: one outdoor rug under the seating pod makes it feel like a “room”
- Heel savers: if you know guests will wear stilettos, look for little heel caps that keep them from sinking into grass. Also, if you can, place the dressier seating on the patio.
- Bug control: I treat citronella as “nice ambiance” more than a guarantee. For the spots where people actually sit, I have better luck with a couple of fans plus basic repellent wipes or spray.
My sprinkler reminder: Turn off scheduled watering the night before and the morning of. This one step has saved more parties than any decor trick I know.
Power and cord safety
Outdoor parties always turn into an extension-cord situation. I plan for it so nobody trips and nothing sits in wet grass.
- Use outdoor-rated extension cords when you can.
- Tape down cords along walkways with gaffer tape or route them along fence lines.
- Keep plug connections off the ground and away from sprinklers or damp grass.
Setup timeline
This is how I avoid taping streamers while guests are walking in.
1 to 2 days before
- Clean up the yard, mow, and edge
- Confirm seating and tables
- Assemble any backdrop frames or PVC builds
- Prep memory lane: frames filled, photos clipped, boards labeled
Morning of
- Place tables and chairs by zone
- Put down rugs, extension cords, and lighting
- Set up the photo zone first (it takes longer than you think)
- Then style memory lane
- Set food zone last so it stays fresh and tidy
30 minutes before guests
- Turn on music and lighting
- Do a “trash can check” and add bags
- Walk the path guests will take and remove obstacles
- Take your own photos before the party begins
Quick FAQ
How do I decorate for graduation without spending a ton?
Put your budget into one statement area, usually the photo zone. Then repeat small accents everywhere else, like matching napkins, ribbon, and a consistent color palette. Upcycled frames, thrifted baskets, and book stacks go a long way.
What if my backyard is small?
Combine zones. I often merge the memory lane with the gift table, then keep the photo zone against a fence line. The biggest space-saver is separating drinks from food so people spread out.
How do I make it feel less like a picnic and more like a party?
Define “rooms” with rugs, string lights, and grouped seating pods. Even two small tables with runners and a few balloons creates that hosted, intentional feel.