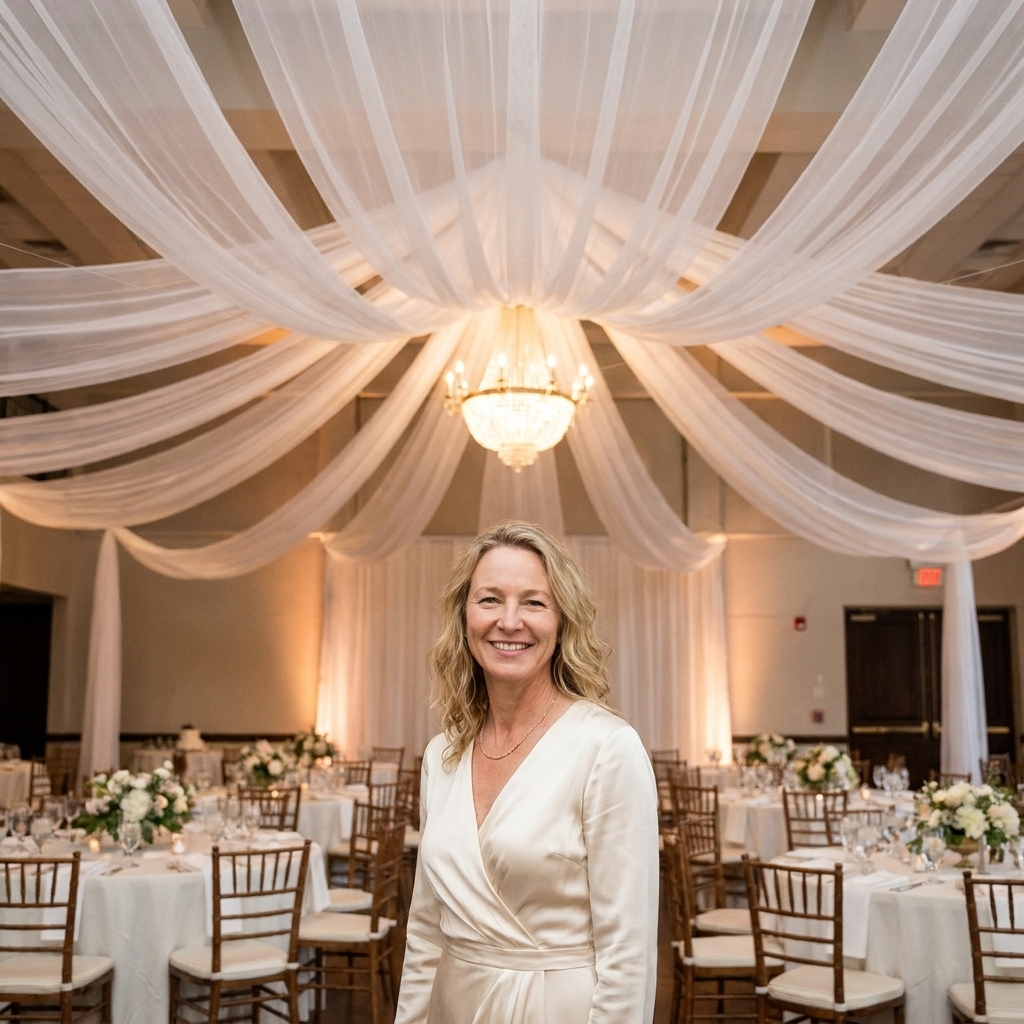
Make a full, pro-looking organic balloon arch that holds its shape from Friday setup through Sunday. Includes balloon counts, supplies, structure tips, stora...
Gathova
DIY New Year’s Eve Balloon Drop for Home Ceilings

Joanna Mercer
Joanna Mercer is an enthusiastic DIY event decorator and the creative spirit behind Gathova's party guides. With years of hands-on experience designing stunning tablescapes, balloon garlands, and custom photo backdrops for friends and family, she specializes in accessible, budget-friendly celebrations. Joanna loves sharing her practical tips and crafting tutorials to help anyone turn an ordinary space into a memorable party venue.
Published · Last updated
I grew up helping my parents turn our backyard into a full-blown summer luau, so I have a soft spot for party moments that feel a little magical on purpose. A balloon drop at midnight is one of those moments. It looks like you hired a production crew, but it is really just a few basic supplies, a calm setup plan, and a release you can trust when the countdown hits “one.”

This guide walks you through three ceiling-friendly ways to rig a balloon drop in a residential space, plus build steps, timing tricks, and safety notes I use so nobody is hunting for a dangling string while everyone is cheering.
Before you start: pick your drop style
You have three solid options for a home ceiling. The best choice depends on your ceiling type, your tolerance for setup time, and how dramatic you want the drop to be.
- Balloon net drop (best overall): Balloons sit in a net or mesh “hammock” overhead, then you release one side and they spill out. This is the most reliable and the easiest to reset.
- Plastic tablecloth pouch (best budget): A lightweight pouch made from a plastic tablecloth releases balloons like a big confetti bag. Great if you cannot find netting.
- Crepe streamer curtain drop (best for low ceilings): Streamers hang down with balloons tucked behind or lightly taped in place, then you pull one release strand and everything cascades. This also doubles as a photo spot.
Ceiling height note: If your ceiling is low (or your room is packed with furniture), a smaller drop zone with a deeper “hammock” usually looks fuller than trying to cover the entire room. Low ceilings also make the streamer method feel extra dramatic because everything is already in your camera frame.
If you already love working with balloons, you can pair the drop with a garland for photos. My balloon longevity tips in DIY Organic Balloon Arch That Lasts All Weekend translate really well to New Year’s Eve setups.
Supplies list
Core supplies for any method
- Balloons: 9 to 12 inch latex balloons are easiest to manage indoors. Plan 25 to 50 for a small living room moment, 75 to 150 for a bigger crowd.
- Balloon pump: Hand pump or electric pump.
- Low-tack painter’s tape: For temporary positioning and protecting paint during setup.
- Monofilament/fishing line or strong string: For hanging and release lines.
- Scissors and step stool (or a small ladder).
- Removable hooks: Use hooks rated for your surface and load, and follow the brand’s surface-prep directions and cure time. Important: many adhesive hooks are not rated for ceilings or overhead use, or they hold less weight overhead. Check the label for ceiling or overhead use (or avoid ceiling mounting and shift anchors to walls or a doorway rod).
Method-specific supplies
- Net drop: Lightweight netting, tulle, or mesh fabric; 8 to 20 small zip ties or binder rings for gathering edges.
- Plastic tablecloth pouch: 1 to 2 plastic tablecloths; clear packing tape.
- Streamer curtain drop: Crepe paper streamers and a long dowel, curtain rod, or sturdy strip of cardboard as a top support.
Planning on hanging anything outdoors later? Keep my safety checklist handy from How to Safely Hang Fairy Lights Outdoors. The same “protect surfaces, test weight, avoid heat and sharp edges” mindset applies indoors too.
How many balloons do you need?
Balloon drops look fuller than you think because they fall and spread. Treat this as a good starting point and adjust for ceiling height, net depth, and how tight you want the “rain” to feel.
| Ceiling zone you are covering | Suggested balloon count | Notes |
|---|---|---|
| Small zone over coffee table (about 4 ft x 6 ft) | 25 to 50 | Great for apartments and lower ceilings. |
| Medium zone over living room seating (about 6 ft x 8 ft) | 60 to 100 | Big “wow” without becoming a cleanup marathon. |
| Large zone spanning most of the room | 120 to 200 | Only do this if you have time to inflate and a clear floor plan. |
Pro tip: Mix sizes for better volume. If you can, try roughly 70 percent 10 to 11 inch balloons and 30 percent 5 inch balloons. It is an easy ratio that fills gaps fast, but ceiling height and hammock depth can change what looks “full.”
Method 1: Net balloon drop
This is the version I recommend if you want a clean release that does not snag. You are basically building a shallow hammock near the ceiling and letting it spill at midnight.
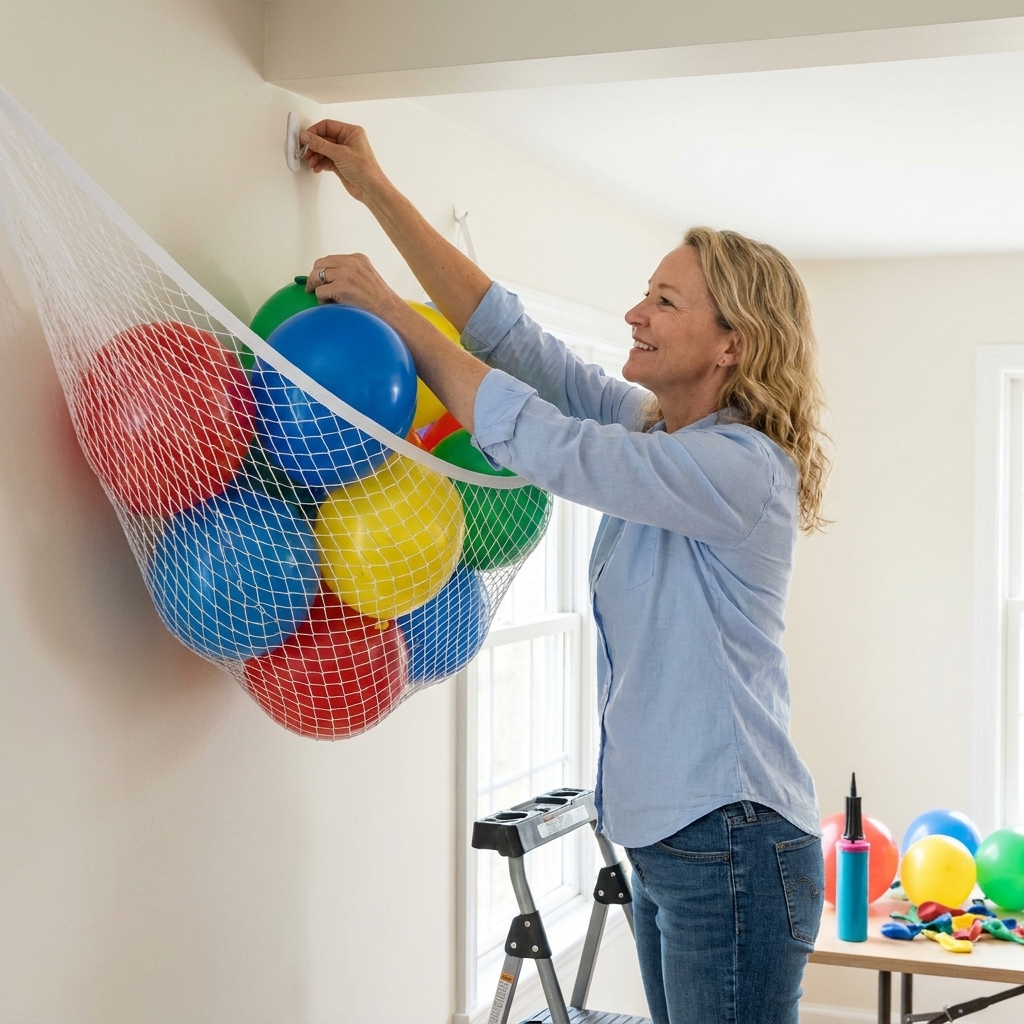
Step-by-step build
- Choose the drop zone. Pick an area with clear floor space where nobody will be standing directly underneath with drinks on the countdown. Over a coffee table is great if you can slide it aside for midnight.
- Prep your anchor surface. If you are using removable hooks, follow the package surface-prep instructions (some brands want alcohol cleaning, some do not) and respect the full cure time before loading weight.
- Install 4 to 6 anchor points. Two anchors on the “hinge” side and two on the “release” side are the minimum. More anchors means a smoother hammock and fewer saggy spots.
- Cut your netting. For a 6 ft x 8 ft area, start with roughly 7 ft x 9 ft netting so you have extra to tie and gather.
- Create a hinge edge. On one long side, gather the net and attach it to the two hinge anchors with zip ties, binder rings, or tied loops of string. This side stays fixed.
- Create 2 to 3 release points. On the opposite long side, gather the net at 2 to 3 spots and make a loop at each spot (string loop, zip tie loop, or binder ring).
- Unify the release into one pull. Run one longer pull cord through each release loop (like threading a curtain), then down a wall to an easy-to-reach spot. When you pull the cord, it slides out of all loops and the entire edge drops at once.
- Load balloons. Inflate balloons and place them into the net hammock. Keep them off sharp ceiling corners or textured popcorn edges if possible.
- Test the release (gently). Do a tiny tug on the pull cord to confirm it is the right cord and that nothing is caught, then re-secure it.
My no-fail release method
If you are worried about fumbling at midnight, do a simple loop-and-clip (or loop-and-snip) setup:
- Tie a loop at each release point.
- Clip each loop to its hook with a small carabiner, or use a zip tie as a breakaway “pin.”
- At midnight, unclip the carabiners, or snip the zip ties, and the whole edge drops cleanly.
Important: If you use the snip method, assign one person with scissors who is not holding a drink. This is absolutely a “designated balloon releaser” job.
Method 2: Plastic tablecloth pouch
This is my scrappy garage-supplies method. The pouch works like a long, lightweight bag that opens along one seam when you pull a single tape release.
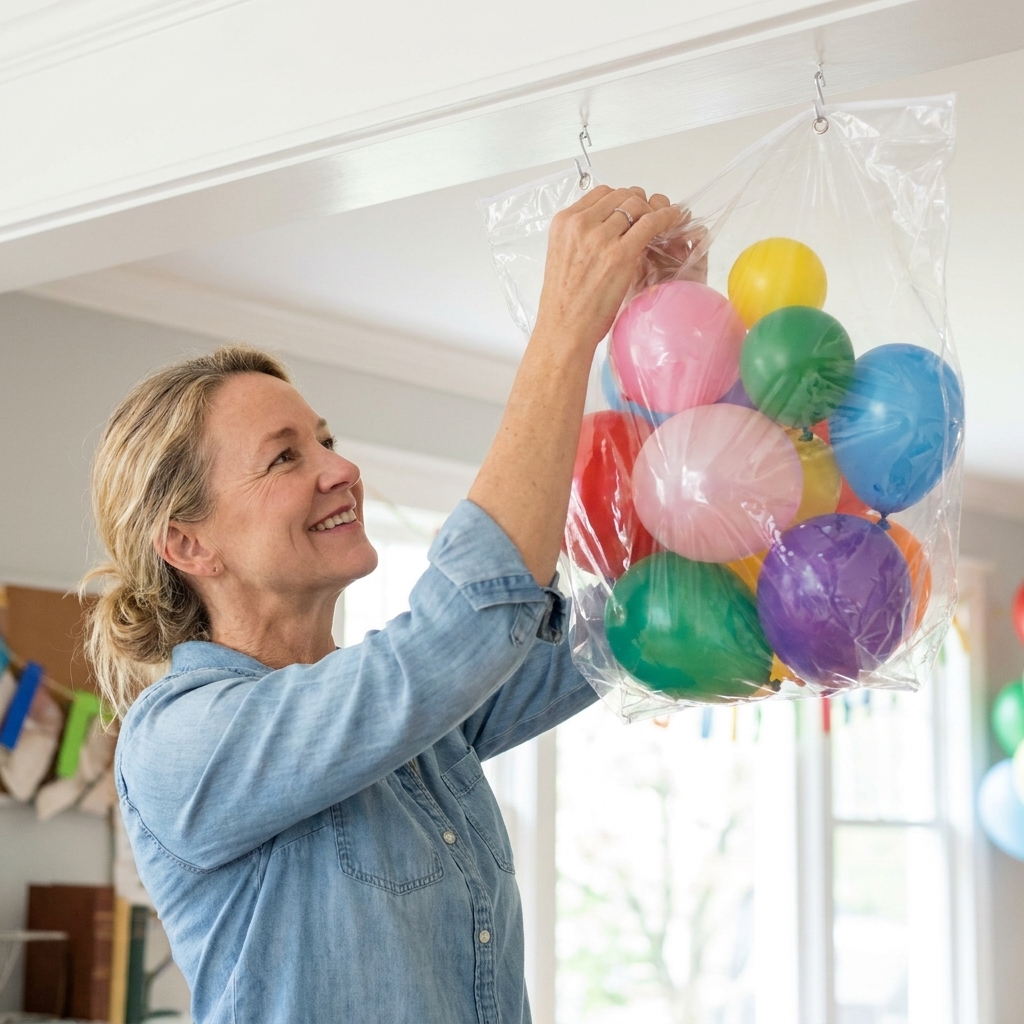
Step-by-step build
- Lay out one plastic tablecloth flat. If it is super thin, double it with a second tablecloth for strength.
- Fold it into a long tube. Think “giant burrito.” Leave one long edge as the opening seam.
- Tape the sides closed. Use packing tape to seal the two short ends. Do not tape the long seam shut permanently.
- Create a breakaway seam. Use small pieces of painter’s tape every 6 to 8 inches along the long seam so it holds during loading but tears open when pulled.
- Do a mini test run. Before you fill the whole pouch, load 5 to 10 balloons and hang it for 10 minutes. If the seam pops early, add more tape or space it closer. If it will not open, use fewer pieces of tape or switch to a lower-tack tape.
- Add hanging points. Tape several loops of string along the top of the pouch so you can hang it from hooks.
- Hang the pouch. Keep it close to the ceiling, but not rubbing against it.
- Load balloons. Slide balloons into the pouch through one end, then re-tape that end shut.
- Attach a pull cord. Tape a long pull cord to one end of the breakaway seam. When you pull, the seam opens and balloons tumble out.
Best for: tighter budgets, last-minute plans, and smaller balloon counts (under about 100). For a huge drop, the pouch can get heavy and awkward.
Method 3: Streamer curtain drop
If you have a low ceiling, textured ceiling, or a ceiling that does not love adhesives, a streamer curtain gives you the midnight moment without putting a big load overhead. You can also make it your photo backdrop.
If you want your streamers to look intentional and not like you panic-decorated at 11:40, my streamer tricks in 7 Creative Ways to Decorate with Crepe Paper Streamers are a great add-on.
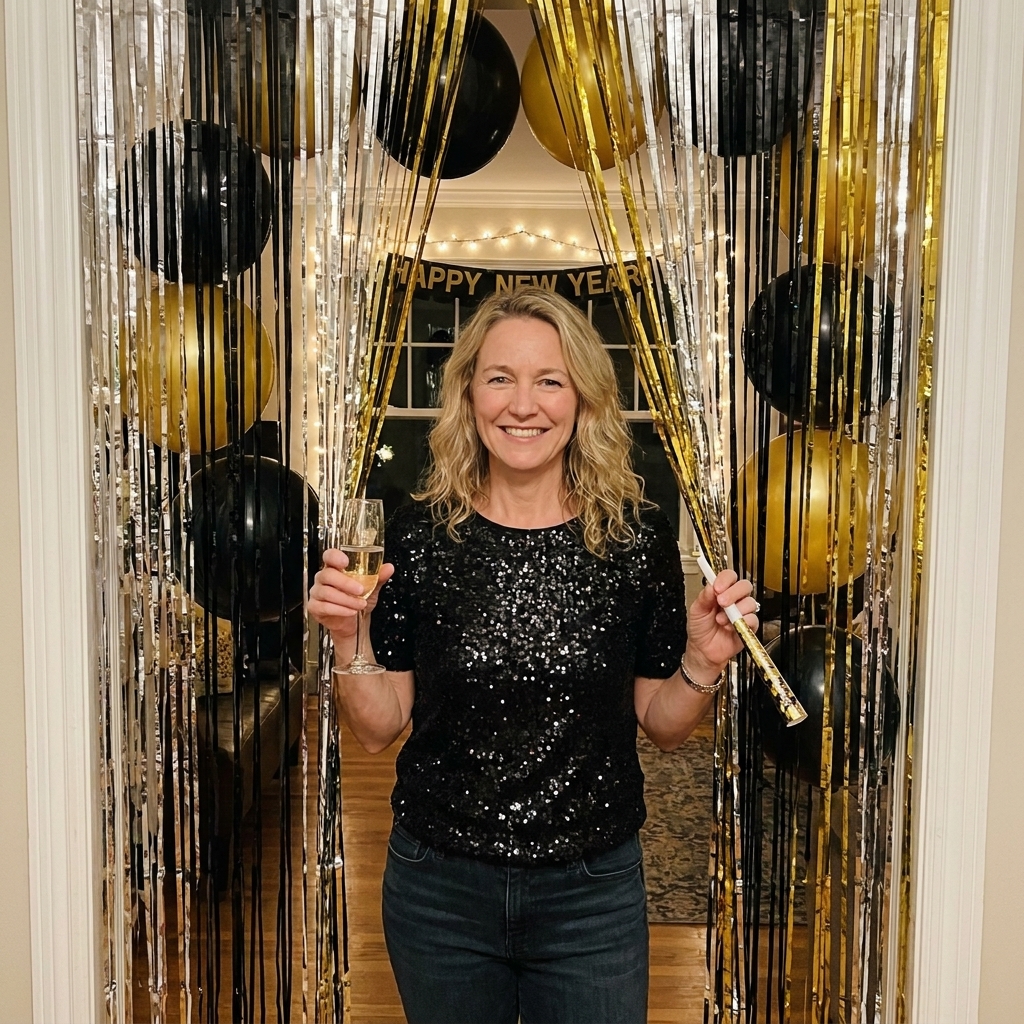
Step-by-step build
- Hang a top support. Use a curtain rod in a doorway, a tension rod, or removable hooks on the wall above your chosen spot.
- Attach streamers densely. More strands look more luxe. Vary lengths slightly for movement.
- Tuck balloons behind the streamers. Use tiny loops of painter’s tape to hold a few balloons in place so they cascade when released.
- Create one release strand. Run one longer ribbon or string through a few taped points. When you pull, it detaches multiple balloons at once.
Best for: rentals, textured ceilings, and anyone who wants the drop to double as a backdrop.
Ceiling-safe rigging tips
Know your ceiling type
- Smooth painted drywall: Some removable hooks can work well when applied properly, cured fully, and rated for ceiling or overhead use. If the package does not explicitly support overhead use, shift your anchors to walls or a doorway rod instead.
- Textured or popcorn ceiling: Avoid adhesives on the ceiling if you can. Shift load to walls, corners, curtain rods, or a doorway frame.
- Ceiling fan or fixtures: Keep the drop well away. Balloons plus blades is a bad combo.
Distribute the weight
Do not rely on one hook. Even a “light” balloon pile becomes a tugging, shifting load as balloons settle. Use more anchor points than you think you need.
Static and cling are real
Winter air plus plastic and balloons can get clingy. If you are using a pouch, leave extra slack and do not overstuff. If you are using a net, avoid wedging balloons into corners. A test release with a small handful of balloons will show you where things snag.
Keep the pull cord guest-proof
- Tape the pull cord down a wall, not across the room.
- Leave the handle end at adult height, out of traffic.
- Give a quick “do not touch” briefing to your most excited helper.
Timing plan: the last hour
This is my personal schedule for a midnight drop in a home. Adjust for your balloon count, but keep the order.
- T minus 60 minutes: Clear the drop zone floor. Move lamps, open flames, and fragile decor. Queue music.
- T minus 50 minutes: Inflate balloons (or finish inflating). If you are mixing sizes, inflate small ones last so they do not wander.
- T minus 35 minutes: Load balloons into the net or pouch. Check that nothing is rubbing against a sharp edge.
- T minus 25 minutes: Test the pull cord lightly and re-secure it. Do not fully release.
- T minus 10 minutes: Assign the release person. Hand them scissors if needed. Confirm where they will stand.
- T minus 2 minutes: Turn on brighter lights for the drop if you want photos. Dim lighting can make balloons disappear on camera.
- Midnight: Release confidently in one motion. No tiny tugs. Commit.
Make it look extra fancy
- Color palette trick: Choose 2 neutrals (white, black, champagne) and 1 accent (gold or a deep berry). Too many colors can read kid-party fast.
- Add a handful of metallic balloons: Not all metallic, just enough to catch the light as they fall.
- Use balloon shine sparingly: Apply earlier in the evening so it dries. Spot-test first, and keep it off floors and furniture fabrics since some products can transfer or make surfaces slippery.
- Confetti caution: Confetti balloons look amazing but they are messy. If you do them, keep it to 5 to 10 balloons, not 50.
If you love shiny effects but hate the cleanup, you might like the “looks like metal” trick in Faux Metal Finish for Plastic Platters for your snack table instead.
Safety and cleanup
Safety basics
- Keep balloons away from open flames. No candles under a balloon drop. If you want candlelight, use flameless options. (If you do use tapers elsewhere, this helps: How to Secure Taper Candles on Event Tables.)
- Supervise kids and pets. Popped balloon pieces are a choking hazard.
- Do not hang heavy objects overhead. Stick to balloons and lightweight netting only.
- Watch allergies. Latex sensitivity is real. If you have concerns, consider non-latex alternatives and communicate with guests.
Fast cleanup plan
- Have two big trash bags ready before midnight.
- After the drop, do a quick sweep for popped pieces first.
- To deflate quickly, snip balloon necks over a trash bag, not in the middle of the room.
Disposal note
Pop and trash latex balloons promptly, and keep fragments away from pets and wildlife. Skip balloon releases outdoors. They do not stay magical once they leave your party.
Troubleshooting
The balloons are stuck
- Cause: Netting is too tight, the pouch is overstuffed, or balloons are wedged into a corner.
- Fix: Build a deeper hammock with more slack, and keep the net away from ceiling edges. For pouches, reduce balloon count and re-test the breakaway seam.
The release cord snapped or slipped
- Cause: Thin string, bad knot, or too much friction at the release points.
- Fix: Use sturdier cord and a clip method, or run the pull cord through all release loops so one pull frees the whole edge. Always tape the cord path down the wall.
My ceiling will not hold removable hooks
- Cause: Texture, dust, humidity, paint type, or the hook is not rated for overhead use.
- Fix: Shift anchors to walls using hooks placed high near the ceiling line. You can also hang from a doorway tension rod and position the drop slightly lower. It is still dramatic.
The drop looks sparse on camera
- Cause: Dark lighting, too few balloons for the zone, or too shallow of a hammock.
- Fix: Turn on brighter lights for the countdown and concentrate balloons in a smaller area rather than spreading them across the whole room. Adding net depth helps the balloons “pour” instead of dribbling.
Quick FAQ
Should I use helium?
For a balloon drop, I prefer air-filled balloons. Helium balloons float and fight the “drop” part. If you want a few floaters for vibe, keep them separate from the drop.
How early can I set this up?
You can rig the net earlier in the day, then load balloons 1 to 3 hours before midnight. Balloons can soften slightly over time, especially in warm rooms, so I usually inflate the last batch closer to the party.
Will this damage paint?
It can if you use the wrong adhesive, skip cure time, or remove it incorrectly. Use removable hooks only when they are rated for your surface and overhead use, follow the package directions, and remove slowly as instructed. If you are nervous, anchor to walls or use a doorway rod method.
What is the simplest version that still feels special?
A small net drop over the coffee table with 30 to 40 balloons in white, black, and gold, plus a streamer curtain behind your snack table. Simple, photogenic, and not a 2 a.m. cleanup crisis.
One last tip
Do a full “midnight rehearsal” at least once. Stand where you will stand, touch the pull cord, and talk yourself through it. When the room is loud and sparkling and someone is yelling that they cannot find their glass, your future self will be so grateful you practiced.
If you are building out the rest of your New Year’s Eve setup, you can browse more ideas in Seasonal & Holiday and keep things budget-friendly with my favorite strategies in Budget Party Hacks.