Create dreamy ceiling draping without the wedding-tent mess. Learn safe, venue-friendly ways to hang tulle with fishing line, prevent sagging, and get clean,...
Gathova
Enchanted Forest Decor for a Plain Hall

Joanna Mercer
Joanna Mercer is an enthusiastic DIY event decorator and the creative spirit behind Gathova's party guides. With years of hands-on experience designing stunning tablescapes, balloon garlands, and custom photo backdrops for friends and family, she specializes in accessible, budget-friendly celebrations. Joanna loves sharing her practical tips and crafting tutorials to help anyone turn an ordinary space into a memorable party venue.
Published · Last updated
The first time I tried to turn a basic hall into a fairy tale, I learned a very specific truth: you do not need a fancy venue, you need softness up high and texture down low. Once the ceiling looks dreamy and the tables feel like they belong on a forest floor, the beige walls and fluorescent lights stop mattering.
This is my go-to enchanted forest plan for a Sweet 16 or Quinceañera using three workhorse elements that photograph beautifully: sheer draping, moss runners, and branch centerpieces. I will walk you through the order I set it all up, what to buy, how to make it safe in a rented hall, and the little “cheats” that make it look expensive.
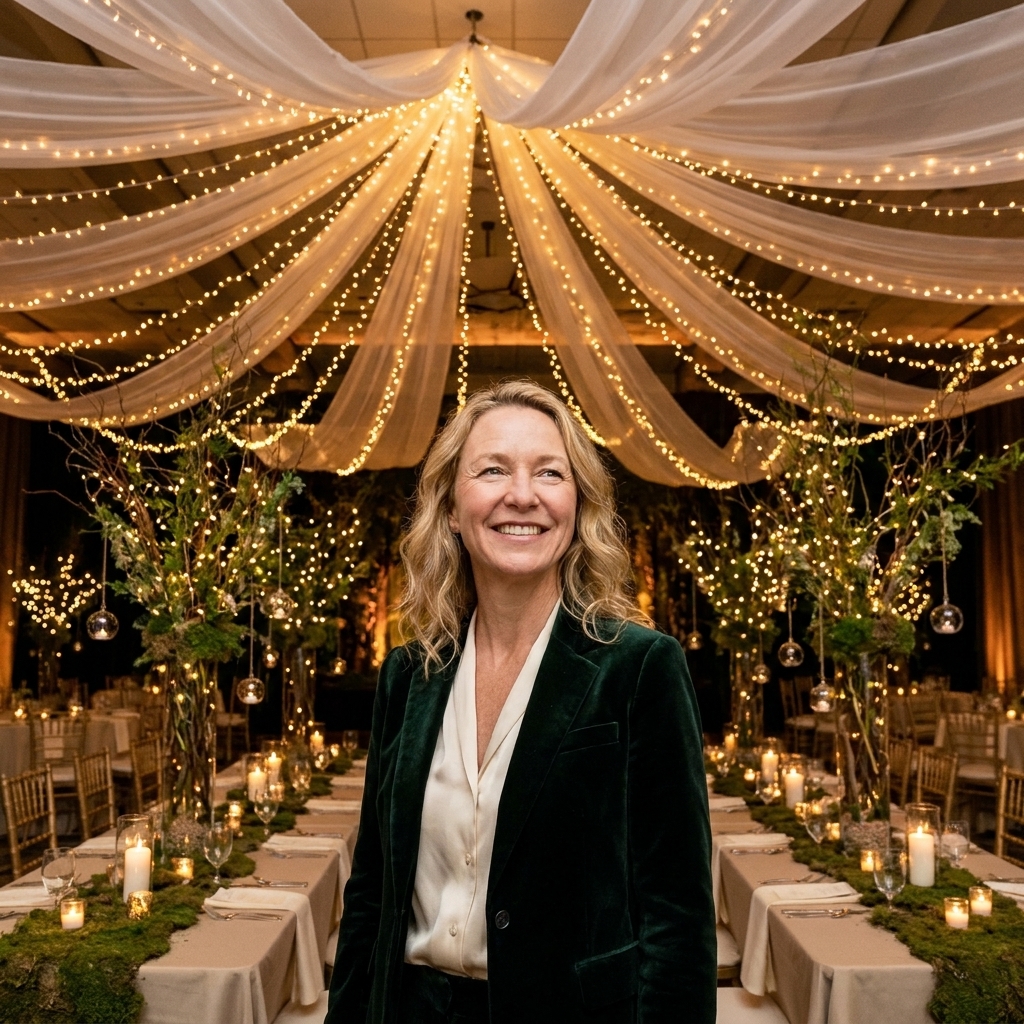
The game plan
When you are disguising a plain venue, you want your decor to work like a costume. Here is the structure that keeps the look cohesive.
- Ceiling: sheer draping to soften hard lines and visually downplay ugly lighting.
- Mid-level: branches and a few taller elements to create “trees.”
- Tabletop: moss runners and scattered details to create “forest floor.”
- Light: warm, twinkly points of light, not bright overhead glare.
If you only do one thing, do the ceiling. It is the biggest visual surface in a hall and it instantly changes the mood. That said, plenty of venues do not allow attaching anything to the ceiling or fixtures, and some fire codes require a pro for overhead installs. I included a no-ceiling-attachment plan below so you are not stuck if your hall says no.
What to ask the venue
Before you buy a single yard of fabric, get clear answers. I ask these questions up front because it saves money and last minute panic.
- Can we attach anything overhead? If yes, where specifically, and what hardware is allowed?
- Are ladders allowed, and who can use them? Some venues require staff or insured vendors for anything at height.
- What are the clearance rules? Sprinklers, EXIT signs, and vents usually have a required clearance. Ask for the venue’s required distance and follow it.
- Candles: real flame or LED only?
- Wall adhesives: are removable hooks allowed, and on what surfaces?
- Natural materials: are real branches, moss, or anything that sheds allowed?
- Load-in and load-out: exact times, door access, carts, elevators, and cleanup expectations.
Supplies list
Core supplies
- Sheer fabric: chiffon, voile, or sheer curtain panels (white, ivory, pale blush, or sage).
- Attachment tools: fishing line, clear zip ties, removable hooks approved by the venue, and gaffer tape for cable management (not for hanging weight).
- Moss table runners: preserved sheet moss or faux moss mats.
- Branches: curly willow, manzanita, or clean gathered branches (more on prep below).
- Vases: clear glass cylinders, bottles, or thrifted urns.
- Weights and anchors: floral stones, sand, or glass gems for stabilizing branch arrangements.
- Lighting: warm white string lights (thicker wire) and micro fairy lights (thin bendy wire), plus warm LED votives.
- Power basics: spare batteries or charged packs, plus painter’s tape or small labels for marking which battery box belongs to which table.
“Makes it enchanted” add-ons (choose 2)
- Hanging paper lanterns or orbs
- Butterfly accents (use sparingly)
- Mushroom decor (tiny clusters look chic, too many looks cartoonish)
- Gold accents (chargers, frames, votive cups)
- Sheer table overlays or gauze runners layered over moss
If you are building tablescapes from scratch, my general layering approach is the same no matter the theme. I keep it simple and intentional, then repeat it across tables: Layer chargers, plates, and napkins like a pro.
How much to buy
I never want you standing in a craft aisle guessing. These are real-world starting points that you can adjust to your room and your budget.
- Sheer ceiling panels: plan on 1 panel per 6 to 8 feet of room width for parallel rows, or 12 to 20 panels for a central canopy in a typical medium hall. More panels gives you more softness and better coverage.
- Moss per table: for an 8-foot banquet table, I plan for 8 to 10 feet of moss coverage (you want overlap and organic gaps). For a 6-foot table, 6 to 8 feet.
- Branch “tree” centerpieces: a good rule is 1 tall branch centerpiece for every 1 to 2 tables, then fill the rest with low moss and candle clusters. It looks designed and it keeps conversation easy.
- Lights: assume 1 battery pack per centerpiece if you wrap branches, plus extras for any backdrop or entry moment. Bring spares. Batteries always go faster than you think.
Step 1: Pick your palette
Enchanted forest can lean romantic, moody, or whimsical. For milestone birthdays, I like a palette that supports the dress and court colors without fighting them.
Three palettes that always work
- Classic fairy forest: emerald, ivory, gold, warm white lights.
- Soft enchanted garden: sage, blush, champagne, ivory drape.
- Moody enchanted: deep green, black accents, lots of candlelight (LED), touches of antique gold.
My rule: choose one metal (gold or silver) and stick to it. Mixing is possible, but it reads busy fast in a hall.
Step 2: Sheer ceiling draping
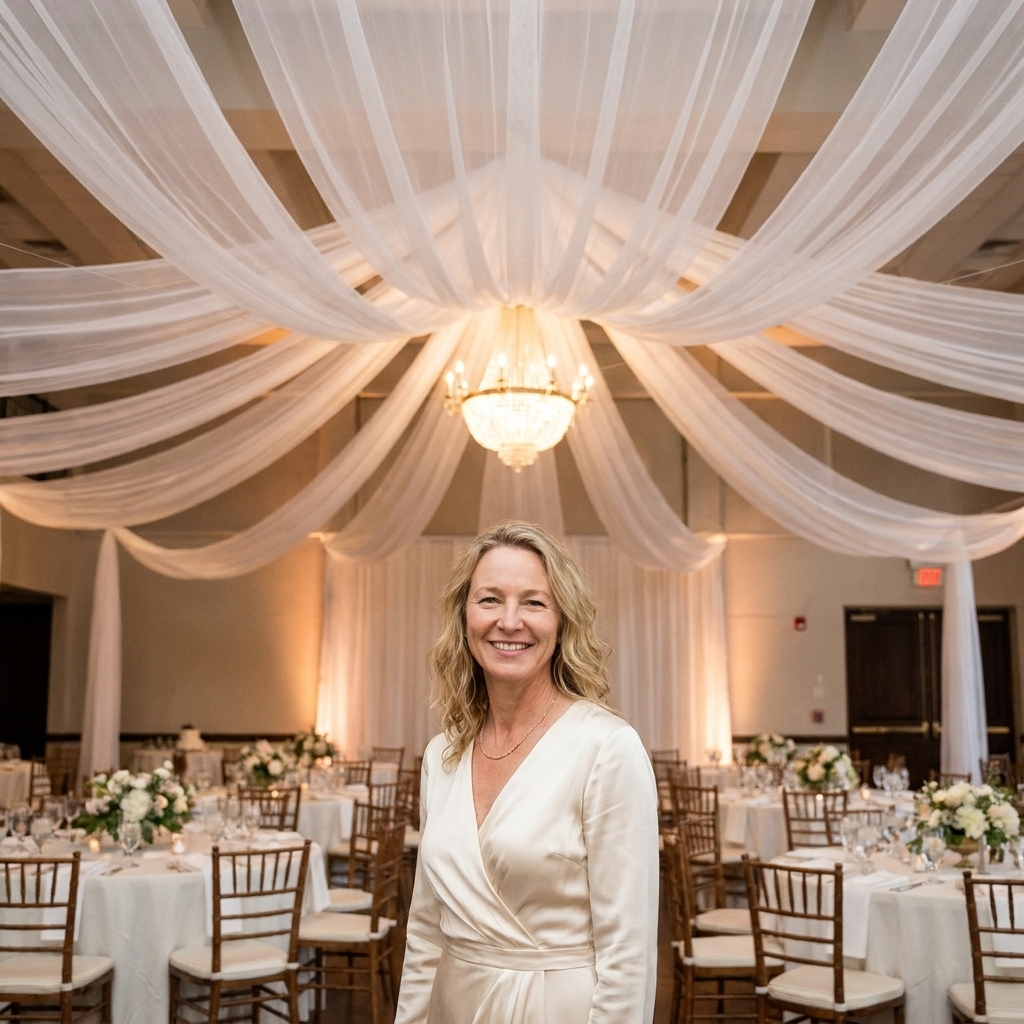
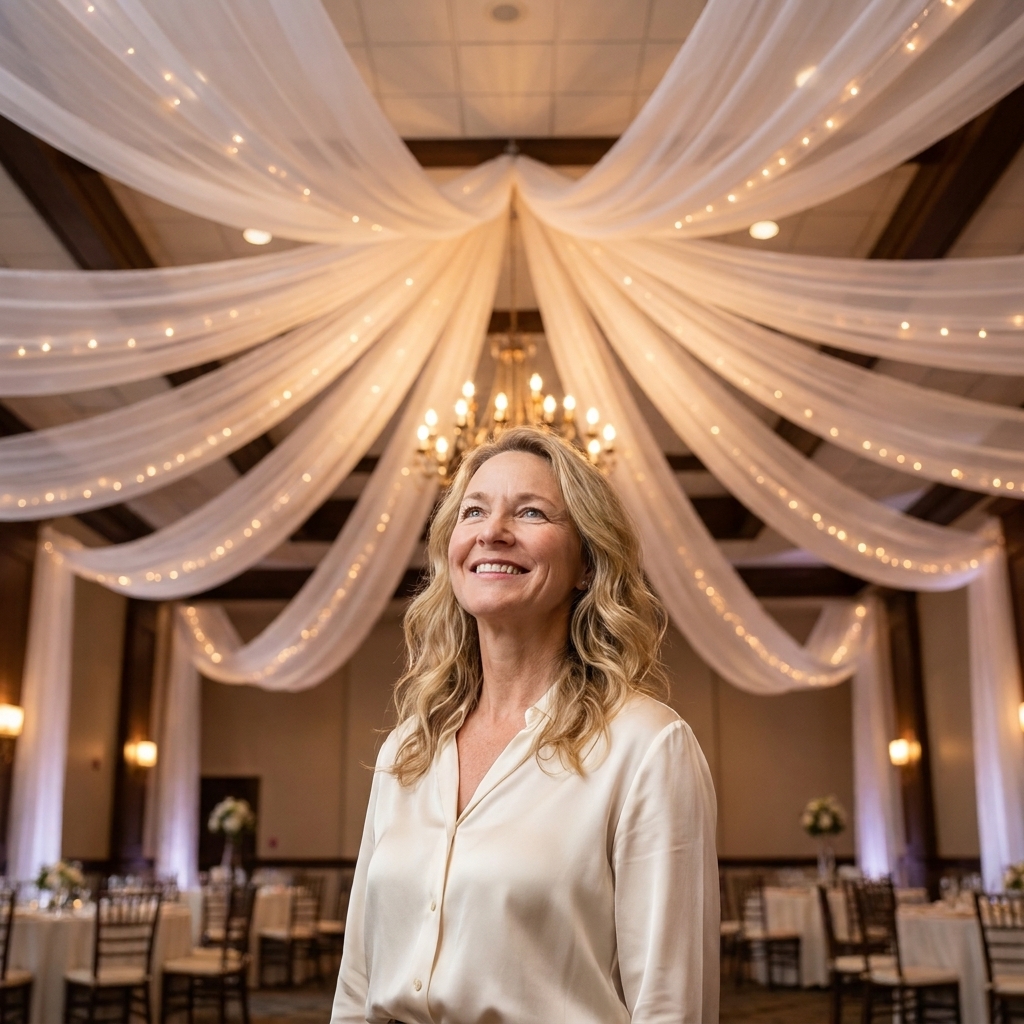
This is the makeover moment. Sheer fabric visually softens a low ceiling, downplays vents and industrial lights, and makes everything feel intentional.
First: Know your venue rules
- Many halls prohibit ceiling attachment. If you cannot attach overhead, skip to the no-ceiling-attachment options below.
- Get written approval for any hooks, ties, or attachment methods, especially if you are using existing fixtures or rails.
- Hook ratings are not guarantees. Paint type, texture, humidity, and time can change everything. Test in an inconspicuous spot with the venue’s permission and never hang weight over guests.
Option A: One central canopy
- Find the center point of the room or the dance floor. If the venue has a chandelier or a ceiling beam, that is your anchor zone only if the venue allows it.
- Create a hub: use a metal ring, sturdy hoop, or a compact “bundle” point where fabric can gather. The hub is where multiple fabric panels meet.
- Run fabric panels from the hub to the perimeter. Aim for even spacing like a wheel spoke pattern.
- Secure at the edges to existing safe anchor points approved by the venue (columns, balcony rails, or approved hooks). Keep tension gentle. You want swoops, not tight lines.
- Add lights last: weave warm fairy lights along a few of the fabric lines, not every single one.
Option B: Parallel drape rows
- Measure the room width.
- As a starting point, space rows about 3 to 5 feet apart. In most halls, that lands you in the 4 to 8 row range depending on width.
- Stagger the dips so it looks airy, not like a tent.
- Concentrate lights over the dance floor and head table area.
Option C: No-ceiling-attachment plan
If your venue says no to overhead attachment, you can still get the forest canopy feeling. These are the workarounds I reach for.
- Pipe and drape frame: build a freestanding canopy frame over the dance floor or head table area and swag sheer fabric across it.
- Backdrop focus: go big behind the head table and sweetheart area with layered drape and twinkle lights, then keep the rest of the room simple and glowy.
- Freestanding “tree” moments: use tall floor vases with branches and lights around the perimeter to pull eyes upward without touching the ceiling.
My safety notes
- Do not use tape as primary support for anything overhead. Tape is for managing cords, not holding weight.
- Maintain the venue’s required clearance from sprinklers, EXIT signs, vents, and anything code-related. Rules vary.
- Use lightweight fabric and more attachment points rather than fewer heavy ones.
If you want the specific method I use when I need the ceiling look without expensive rigging, I break it down here: Budget ceiling draping with tulle and fishing line.
Step 3: Moss runners
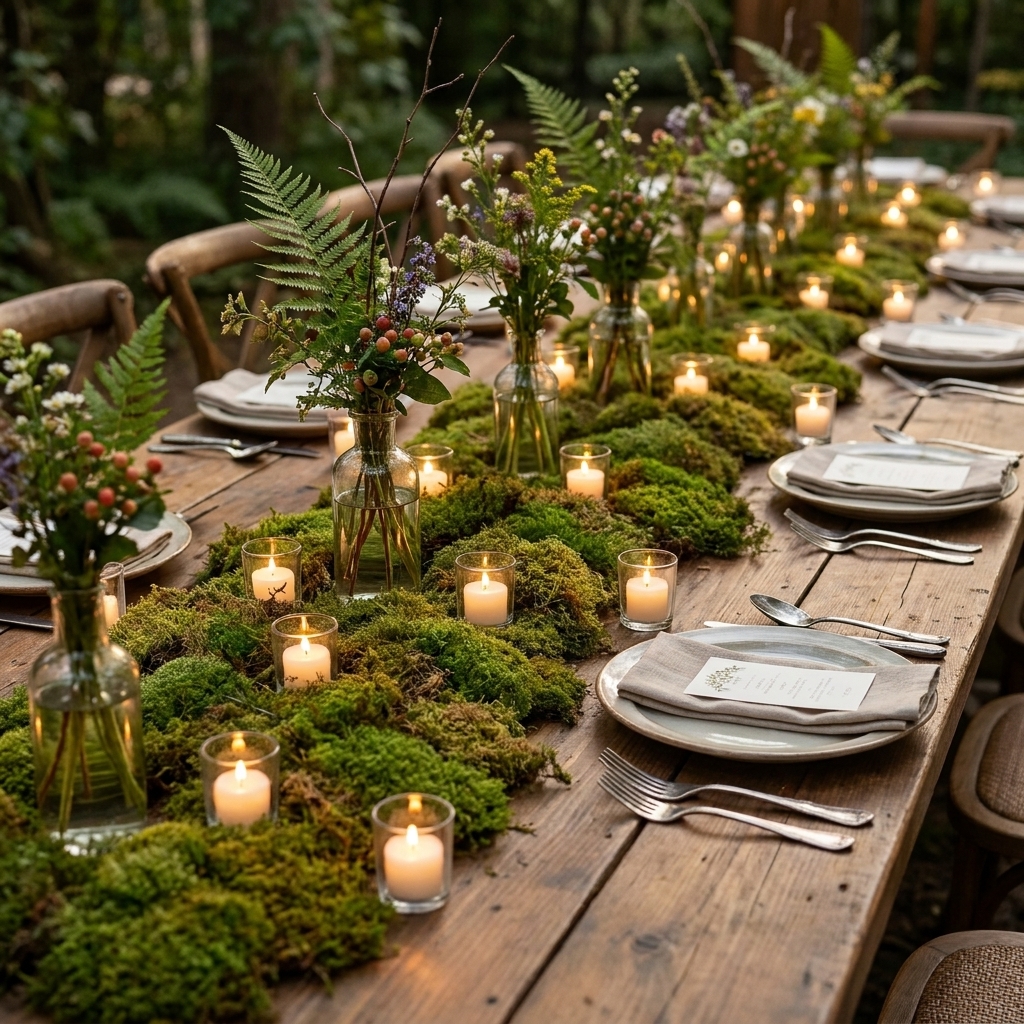
Moss runners are the easiest way to make banquet tables feel like part of the theme. They also hide seams in basic polyester linens and add texture in photos.
How I lay moss so it looks lush
- Start with a base runner (fabric or gauze) in ivory, sage, or champagne if your moss is sparse. The base helps hide the table showing through and protects linens.
- Layer moss in sections instead of one perfect strip. Overlap edges so it looks organic.
- Break up the line with clusters: candles, bud vases, and a few “found” elements like pinecones or faux mushrooms.
- Repeat your pattern every 18 to 24 inches as a starting point, then adjust for table length and how busy your runner already looks.
Preserved vs. faux moss
- Preserved sheet moss: most realistic texture. It can shed a bit, so I keep a lint roller in my setup kit. It is also often dyed or treated, so I avoid placing it directly on white linens or near light clothing. A base runner helps a lot.
- Faux moss mats: faster cleanup and better for venues that hate mess. Choose ones with varied tones so it does not look flat.
One more venue reality check: some halls do not allow natural moss or branches because of shedding or allergens. If that is your venue, faux moss mats and faux branches still photograph beautifully once you add warm lighting.
If you are building long tables or want more greenery options beyond moss, I keep a running list of budget picks that layer well: 7 inexpensive greenery picks for lush table runners.
Step 4: Branch centerpieces
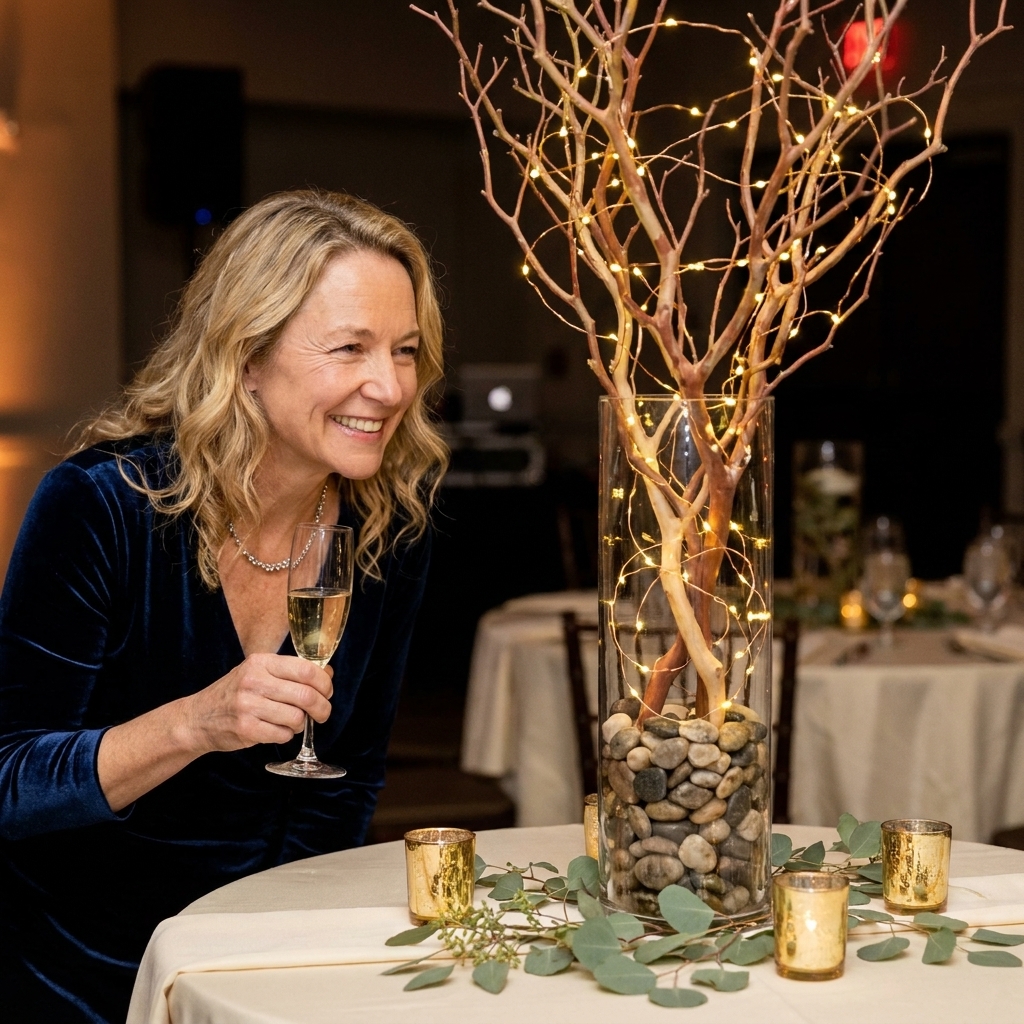
Branches do the heavy lifting in this theme. They add height, movement, and that woodland silhouette you cannot fake with flowers alone.
Prep your branches
- If you gather branches: choose clean, dry branches with interesting shape. Avoid anything with pests, soft spots, mold, or a musty smell.
- Let them fully dry: damp branches can shed, stain, or bring in surprises you do not want at a venue.
- Seal if needed: for shedding bark, a light coat of clear matte spray can reduce mess. Let it dry fully outdoors.
- Color option: a soft metallic gold or matte white spray can look stunning, especially for a Quinceañera. Keep it light so it still looks organic.
Simple branch centerpiece recipe
- Choose a heavy base vase (cylinder or bottle). Thrift stores are perfect for this.
- Add weight: fill the bottom third with stones, sand, or glass gems.
- Insert branches and test stability by gently tapping the vase. If it wobbles, add more weight.
- Add a light touch: wrap micro fairy lights through the branches, or hang a few small crystal-like ornaments (less is more).
- Finish the base: tuck preserved moss around the top of the stones so it looks like the branch is growing out of the table.
Height tips
- If branches spread wide, go taller so sightlines pass underneath.
- If you need a low option, use shorter branches laid horizontally down the runner with candles and bud vases.
If you are deciding between tall and low across the room, I like to alternate zones so the space feels designed: Tall vs. low centerpieces.
Step 5: Fix problem areas
Most halls have the same three issues: boring walls, harsh lighting, and chairs that do not match your vision. Here is how I handle each without blowing the budget.
Harsh overhead lights
- Ask the venue if they can dim or switch to warmer settings.
- Bring your own warm points of light: fairy lights, LED votives, and a few uplights if allowed.
- Concentrate glow around the dance floor, head table, and cake table so photos feel magical.
Plain walls
- Create one “moment” wall: photo backdrop, head table behind-drape, or an entry arch.
- Use vertical elements: potted trees (real or faux), tall branches in floor vases, or fabric panels.
Unattractive folding chairs
I am not anti chair covers, but I am picky about them. If you want a more custom look, ribbon weaving can be gorgeous in forest colors. I break down pros and cons here: Decorating ugly folding chairs: covers vs. ribbon weaving.
Step 6: Details without clutter
Enchanted forest is one of those themes that can tip into “craft store exploded” if every surface gets decorated. I choose a few details and repeat them.
- Place cards: small tags tied with twine and tucked into moss.
- Table numbers: keep them slim and vertical so they do not fight the branches. If you hate the cluttered look, you are not alone: Table numbers in centerpieces without the clutter.
- Candles: mix heights (votives plus a few taller hurricanes). Use LED if the venue requires it.
- “Dew drops”: a few scattered clear gems near candle clusters, not along the entire runner.
Setup timeline
The day before
- Prep branches and pre-wrap any fairy lights.
- Pack by zones: ceiling kit, each table kit, backdrop kit.
- Test one full centerpiece at home so you are not troubleshooting on-site.
- Label battery packs per table and pre-load batteries if you can. It is such a small thing that saves so much time.
On-site order
- Ceiling drape first (or your no-ceiling-attachment canopy or backdrop). Nothing else feels right until this is up.
- Backdrops and “moment areas” (head table, cake, photo spot).
- Tables: linens, then moss runners, then centerpieces, then candles and tiny details.
- Final lighting pass: turn off overheads as allowed and adjust glow.
Budget shortcuts
- Rent or thrift the vases, then keep the branches simple. Height reads expensive.
- Do fewer “tree” centerpieces and mix in lower moss-and-candle tables. It looks designed, and it is cheaper.
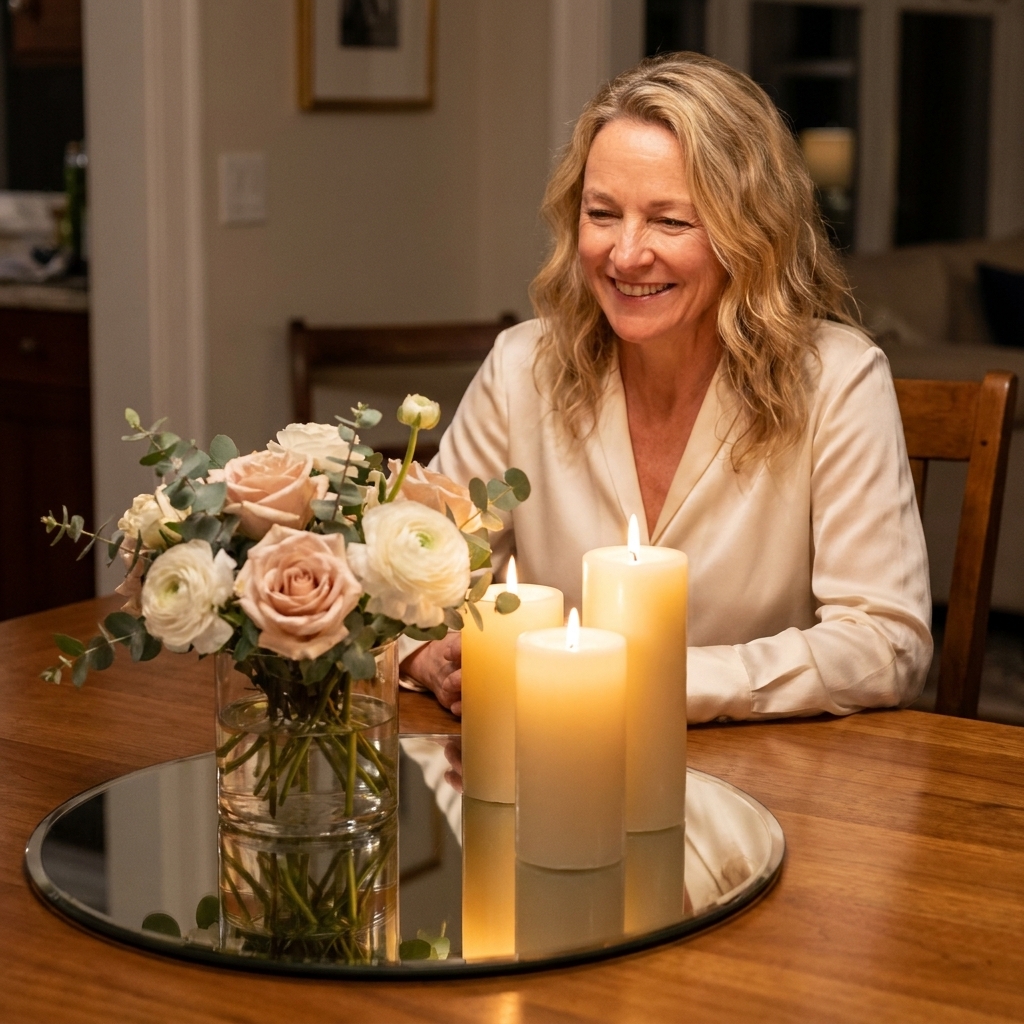
- Use mirror bases under a few centerpiece clusters to bounce candlelight. I love this trick for making dim halls feel brighter: Mirror bases for brighter centerpieces.
- Focus flowers only where people photograph: head table, cake table, welcome area.
Quick troubleshooting
My draping keeps sagging
Add more attachment points and lighten the load per point. Fabric looks better with multiple gentle supports than two tight ones. If your venue does not allow more attachment points, switch to the no-ceiling-attachment plan and concentrate drape where it matters most.
The moss is shedding everywhere
Use preserved sheet moss in larger pieces (less crumbly), keep it off high-traffic edges, and lay it over a base runner so cleanup is easy. If the venue is strict about mess, swap to faux moss mats.
Centerpieces feel too bare
Wrap micro lights through the branches and add 2 to 3 small hanging accents per arrangement. Stop there. The magic is in restraint.
My favorite finishing touch
If you want one detail that feels like a true fairy tale reveal, do this: keep the room lighting soft, then place a warm glow focal point right behind the guest of honor. A simple draped backdrop with twinkle lights and two “tree” arrangements on either side makes the entire hall feel intentional in photos.
And if you are deciding what to DIY vs. what to source ready-made, I always suggest investing in anything that saves setup time at height (where ladders and safety are involved), and DIYing what you can batch-assemble at home like moss runner bundles and branch centerpieces. For bigger events, this mindset helps a lot: Rent vs. buy event decor for large parties.