Make Dollar Tree basics look like rented wedding centerpieces with 10 easy hacks: stacked-glass hurricanes, faux stone compotes, floating candles, mercury gl...
Gathova
Floating Candle Centerpieces with Submerged Florals

Joanna Mercer
Joanna Mercer is an enthusiastic DIY event decorator and the creative spirit behind Gathova's party guides. With years of hands-on experience designing stunning tablescapes, balloon garlands, and custom photo backdrops for friends and family, she specializes in accessible, budget-friendly celebrations. Joanna loves sharing her practical tips and crafting tutorials to help anyone turn an ordinary space into a memorable party venue.
Published
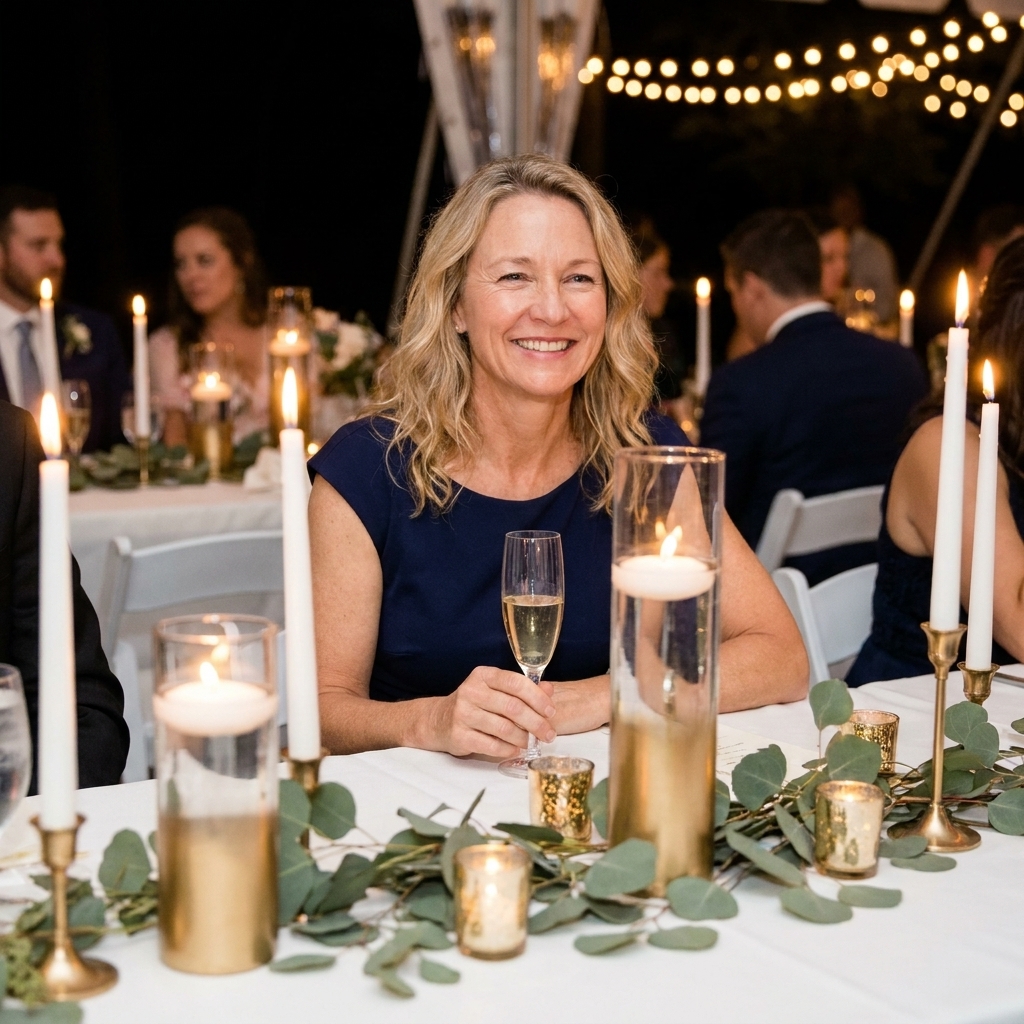
I have a soft spot for floating candle centerpieces because they do the most with the least. You get that dreamy evening glow, a little bit of “wow, you hired a pro,” and you do not need 40 identical flower arrangements to pull it off. The part that trips people up is always the same: getting the submerged florals to stay down and keeping the candle centered so it does not drift into the glass.
This is my go-to, foolproof build for cylinder vases. It is sturdy, it photographs beautifully, and it survives the jostle of dinner service.
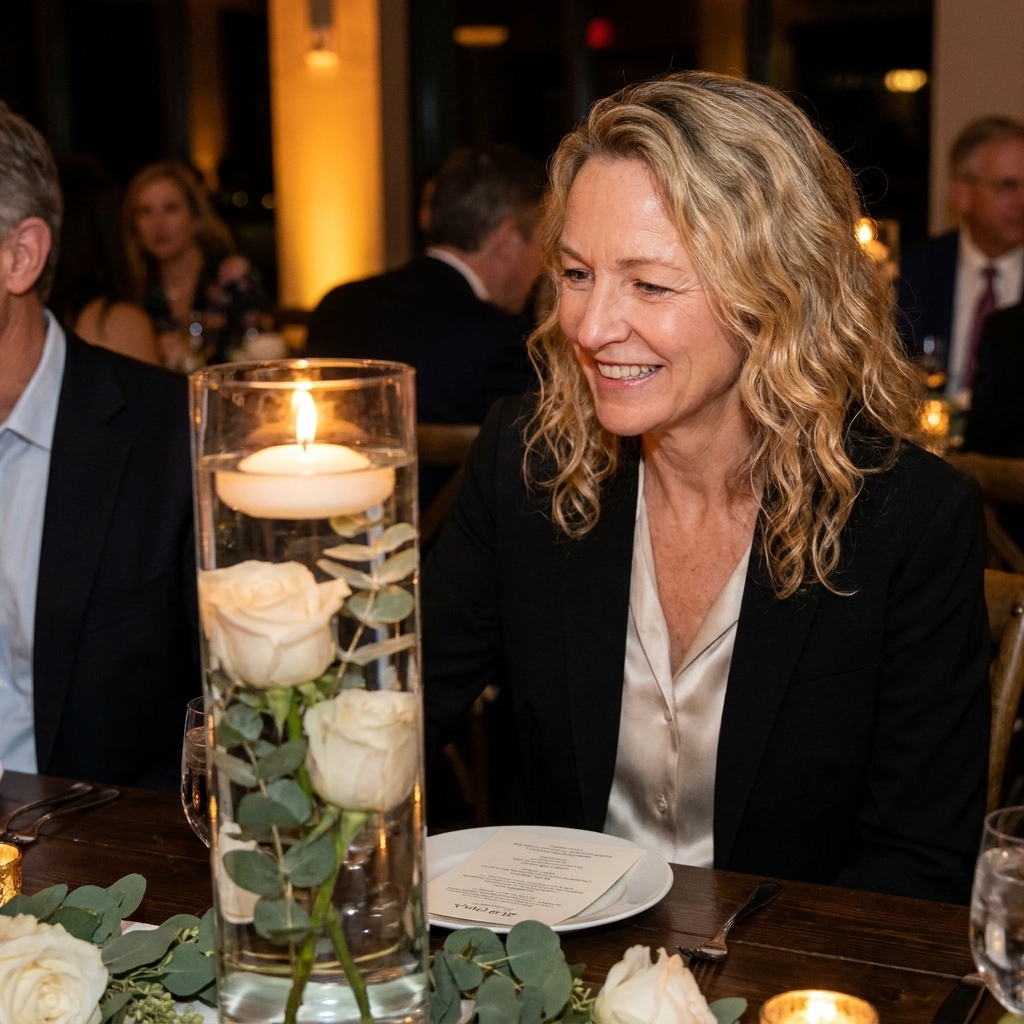
What makes this centerpiece work
A floating candle setup fails when one of three things happens: the flowers float up, the candle drifts to the edge, or the water looks cloudy and messy. My method solves those problems with two simple ideas:
- Build a weighted base that pins stems where you want them.
- Create a calm water surface so the candle stays centered and the vase looks crisp.
If you like clean, modern centerpieces, cylinders are perfect. If you are deciding between tall and low designs for your tables, my thoughts on sightlines and guest comfort are in Tall vs Low Centerpieces.
Supplies (with budget-friendly swaps)
Vessels and candles
- Glass cylinder vases (one per table, or cluster 3 per table). Straight-sided cylinders are easiest for a clean look.
- Floating candles. For the best proportions and the least drifting, I like a candle that is about 60 to 80 percent of the vase opening.
- Lighter or long match.
For submerged florals
- Fresh flowers that do well in water (orchids, carnations, mums, roses). You can also use hardy greenery.
- Test-first blooms (ranunculus and other delicate petals). These can bruise or turn translucent faster, especially if you are assembling ahead.
- Optional silk blooms if your event is long or you are transporting far. If you are weighing the pros and cons, see Silk vs Fresh Flowers for DIY Wedding Centerpieces.
For weighting and structure
- Clear glass gems or marbles (my favorite for a clean, “floating” look).
- River stones (more natural and heavier).
- Floral frogs (great if you want stems placed precisely, especially for a more designed look). I use this technique a lot in foam-free work, similar to what I cover in Chicken Wire and Floral Frogs for Foam-Free Centerpieces.
- Fishing line or clear beading line (for tying small bundles or anchoring tricky blooms).
- Floral tape or clear rubber bands (optional, for bundling stems).
For water clarity
- Distilled water (my best hack for crystal-clear vases, especially in hard-water areas).
- White vinegar (optional, for a quick rinse if your glass has mineral haze or residue).
- Microfiber cloth for fingerprints.
- Small funnel or measuring cup for clean pouring.
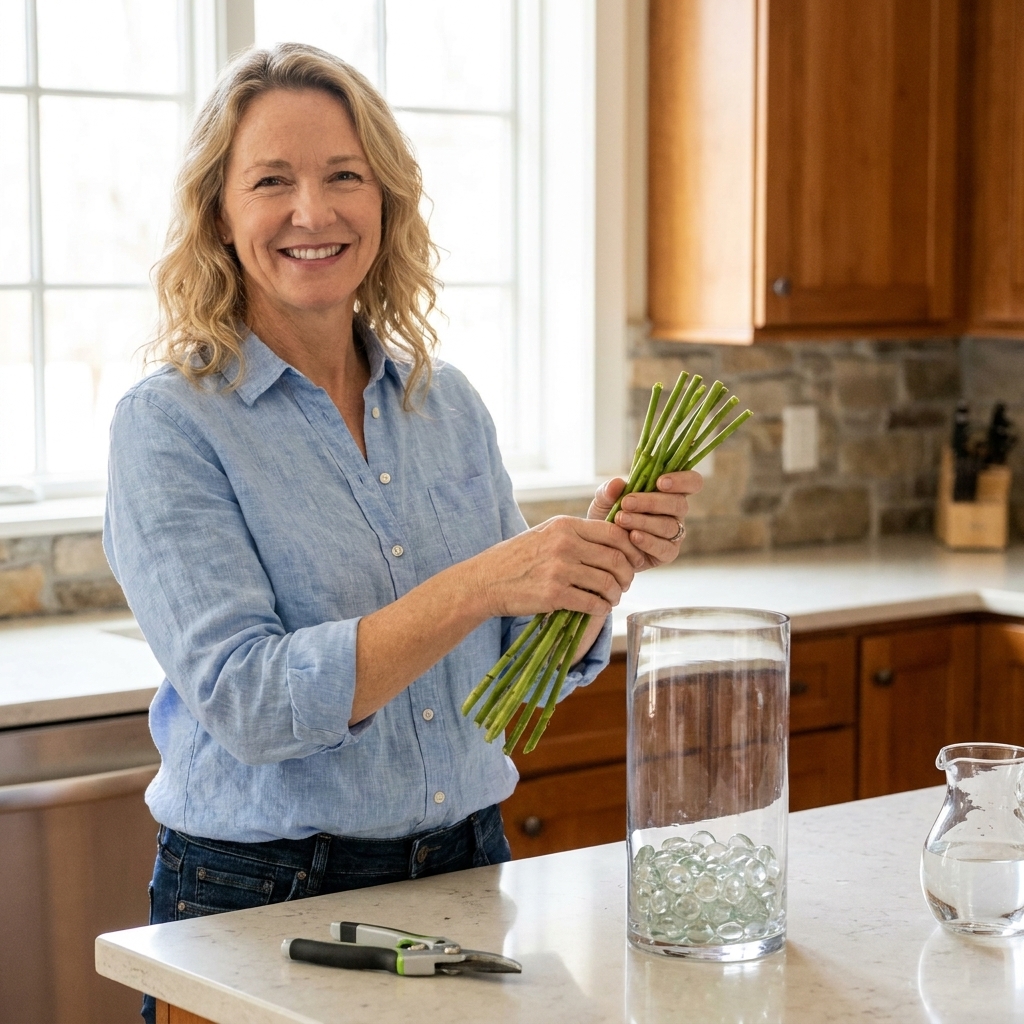
Quick sizing guide
If your candle is tiny in a wide cylinder, it is going to wander. If it is too big, it looks cramped and gets messy fast. This rule keeps it looking intentional:
- Choose a floating candle that is 60 to 80 percent of the vase opening.
- Keep about 1 inch of clearance between the candle edge and the inside rim of the vase.
Example: in a 4 inch wide cylinder opening, a 3 inch floating candle usually looks balanced and behaves well.
Flower picks that behave underwater
Underwater, you want petals that do not instantly bruise or turn translucent. These are my “safe bets” for submerged work:
- Orchid blooms: luxe, clean, and surprisingly sturdy when handled gently.
- Carnations: budget-friendly and tough. Great for practice.
- Mums: hold shape well and look full underwater.
- Roses: choose more open blooms and handle the petals carefully.
- Greenery: ruscus, salal, or similar sturdy leaves.
Avoid very delicate petals unless you have tested them. Also skip anything that drops pollen easily. Pollen plus water equals “why is my vase dusty?”
The foolproof build: weighted base + pinned stems
Step 1: Clean the vase like you mean it
Fingerprints and hard-water spots show up the second candlelight hits glass. Wash with dish soap, rinse well, and dry with a microfiber cloth.
If your glass has a filmy look, do a quick rinse with a little white vinegar and water, then rinse again and dry. Distilled water helps a lot, but it works best when the glass is truly clean.
Step 2: Add a weight layer (this is your anchor)
Pour in 1 to 2 inches of clear glass gems, marbles, or river stones. This layer does two jobs: it looks intentional and it gives stems something to wedge into.
Quick rule: heavier stems and bigger blooms need a thicker weight layer.
Step 3: Prep stems for underwater use
- Strip leaves from any portion that will be underwater. Leaves break down fast and cloud the water.
- Trim stems so blooms sit where you want them, usually in the lower half to two-thirds of the vase.
- For bloom heads with little to no stem (like individual orchid blooms), tie clear line around the calyx or the tiny stem nub so the bloom has something to “hold on to” underwater.
Step 4: Pin the stems so they cannot float up
Choose one of these methods based on what you have and how precise you want the design to be.
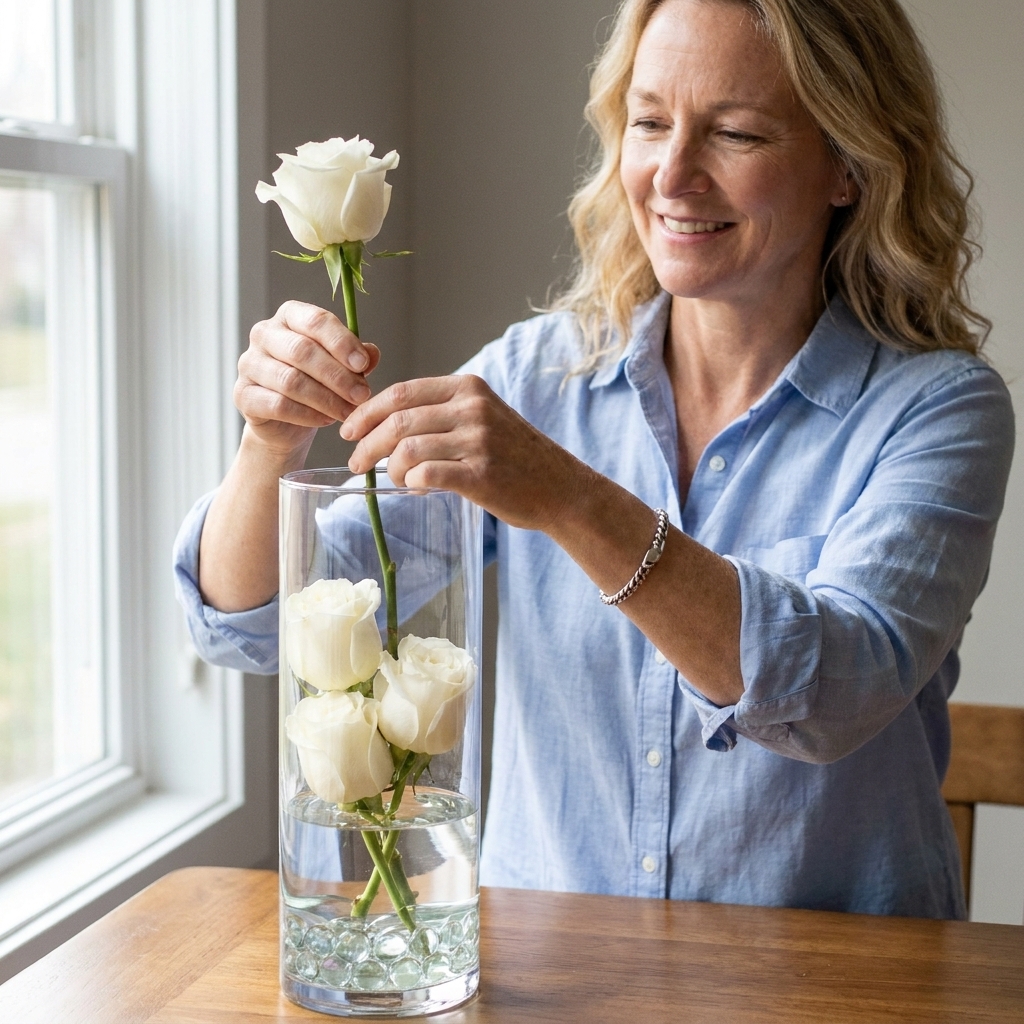
Method A (my default): wedge stems into glass gems
- Place stems into the vase, pushing the cut ends down into the gems.
- Add a few more gems on top, just enough to lock the stems in place.
- Gently tug up on each stem. If it slides, add more gems and wedge again.
Method B (best for precision): a floral frog hidden at the bottom
- Set a floral frog at the bottom of the vase.
- Cover it with a thin layer of gems or stones so you do not see mechanics.
- Insert stems into the frog, then fill around it with more gems to stabilize.
Method C (best for floating blooms): fishing line anchor
This is my “stubborn orchid” trick.
- Tie clear fishing line around the base of the bloom or a short stem section.
- Anchor the other end by tying it around a small stone or a cluster of gems.
- Drop the anchor into the vase so the bloom sits at your chosen height.
- Hide the evidence by tucking the knot and anchor behind the bottom gem layer so the vase still reads clean.
Fill with water without disturbing everything
The cleanest-looking centerpieces have water that reads like glass.
- Pour slowly down the inside wall of the vase. A funnel helps.
- Pause halfway and check that nothing shifted. Re-wedge stems if needed.
- Top off until the water line is about 1 to 1.5 inches below the rim. That gives you space for the floating candle to sit safely without sloshing.
Note on flower food: I usually skip it for submerged designs because it can cloud the water faster. In this style, clear water is the whole point.
Pro tip: If you are using fresh flowers and assembling ahead, store vases in a cool spot away from sun and HVAC blasts. Heat speeds up cloudiness.
Keep the candle centered
Floating candles are tiny divas. They love to scoot to the edge if the water surface is moving.
My simplest “stay centered” trick
- Let the water settle for 10 to 15 minutes after filling.
- Place the floating candle gently on the surface.
- Check the gap between candle and glass all the way around.
If the candle keeps drifting
- Reduce surface movement: keep vases away from fans, open doors, and high-traffic corners.
- Use better proportions: aim for a candle that is 60 to 80 percent of the vase opening.
- Swap vase size: if the cylinder is much wider than the candle, drifting is inevitable. Better to use a narrower vase or cluster multiple cylinders.
- Level the table: an uneven table top will pull the candle to one side. Folded cardstock under a table leg can save your sanity.
If you love candlelit tables, you might also appreciate my step-by-step safety method for keeping tapers stable in holders: How to Secure Taper Candles on Event Tables.
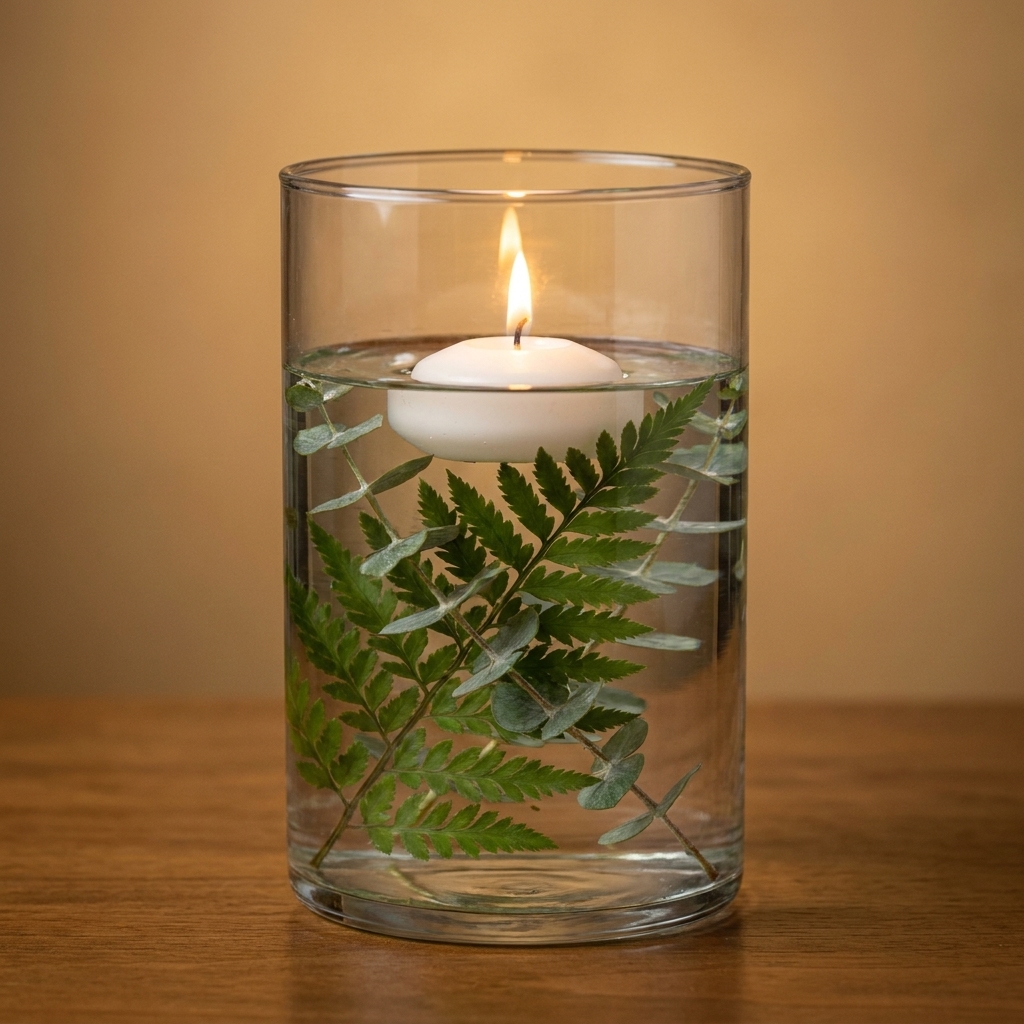
Timing
For same-day events (best results)
- 2 to 4 hours before guests arrive: assemble vases, fill with distilled water, place candles but do not light yet.
- 10 to 20 minutes before guests are seated: light candles.
For next-day events
You can assemble the weighted stems and water the night before, but some blooms will look tired or slightly translucent by the next evening. If you are committed to making them early, choose carnations, mums, and sturdy greenery, and keep them cool overnight. Add candles day-of.
Design formulas
Formula 1: Single bloom repeat
Pick one type of bloom and repeat it around the inside of the vase at slightly different heights. Simple, modern, and very “evening wedding.”
Formula 2: Greenery wrap + one hero bloom
Line the inside of the cylinder with greenery like a sleeve, then add one or two blooms for a focal point. This reads lush without using many flowers. If you want more greenery ideas for the rest of your tablescape, see 7 Inexpensive Greenery Picks for Lush Table Runners.
Formula 3: Clustered cylinders
Instead of one big vase, group three cylinders (short, medium, tall) with one floating candle each. It fills space and looks high-end, especially for long banquet tables.
Common problems and quick fixes
“My flowers keep floating up.”
- Add more weight material on top of the stems.
- Shorten stems so there is less buoyant leverage.
- Switch to a frog or fishing line anchor for stubborn blooms.
“The water looks cloudy.”
- Use distilled water and clean vases thoroughly (vinegar rinse if needed).
- Remove any submerged leaves.
- Swap in sturdier blooms that do not bruise easily, or assemble closer to event time.
“The candle went out.”
- Keep the wick dry before lighting.
- Avoid placing centerpieces under strong airflow.
- Use fresh floating candles, not ones that have been stored in heat.
“Wax dripped into the vase.”
A little wax is normal. If it bothers you, use candles with a wider rim and keep them centered. Also do not overfill the vase. I like at least 1 to 1.5 inches of space below the rim so the candle sits securely and the top edge stays clean.
Safety notes
- Always follow venue rules and local fire code. Some venues do not allow open flame, period.
- Consider flameless floating candles if open flame is not allowed, or if you want the look without the worry.
- Never light until close to guest time if kids are around during setup.
- Keep flames below eye level and away from hanging decor.
- Use stable, wide-based vases so a bumped table does not topple anything.
- Assign one person to do a quick candle check during the event. It takes two minutes and prevents surprises.
If you are styling an outdoor evening event, wind can be sneaky. My outdoor lighting safety checklist is in How to Safely Hang Fairy Lights Outdoors.
Budget shortcut
If you are building a lot of centerpieces, the biggest cost is usually the glass and candle count, not the flowers. I have pulled together several budget swaps and look-for-less ideas in 10 Dollar Tree Wedding Centerpiece Hacks That Look Expensive. Even if it is not a wedding, the tricks translate beautifully to birthdays, showers, and anniversary dinners.
Quick FAQ
Can I use tap water?
You can, but distilled water usually gives you the clearest look, especially in venues with hard water. If you still see specks or haze, it is often residue on the glass, so do a quick vinegar rinse, rinse again, and dry with a microfiber cloth.
How many floating candles per table?
For a standard 60-inch round, I love one statement vase or a cluster of three cylinders. For a 6 to 8-foot banquet table, plan three to five cylinders spaced evenly, depending on table runner and place setting density.
Will submerged florals stain the water?
Some darker blooms can tint water as they age. For a crystal-clear look, stick to whites, blush, pale peach, and greenery, or assemble same-day.