Make 4th of July porch bunting look crisp and classic. Follow this step-by-step method to measure spans, plan swag depth, and secure pleated bunting with zip...
Gathova
How to String Papel Picado Safely on an Outdoor Patio

Joanna Mercer
Joanna Mercer is an enthusiastic DIY event decorator and the creative spirit behind Gathova's party guides. With years of hands-on experience designing stunning tablescapes, balloon garlands, and custom photo backdrops for friends and family, she specializes in accessible, budget-friendly celebrations. Joanna loves sharing her practical tips and crafting tutorials to help anyone turn an ordinary space into a memorable party venue.
Published
Every Cinco de Mayo, I swear I am going to keep it simple. And every Cinco de Mayo, I end up on a patio chair with a roll of line in my teeth, trying to get papel picado to float beautifully instead of shredding itself in the first breeze.
The good news is you do not need heavy hardware or a giant budget to hang papel picado safely outdoors. You just need the right line, the right tension, and a plan that assumes the wind will show up uninvited.
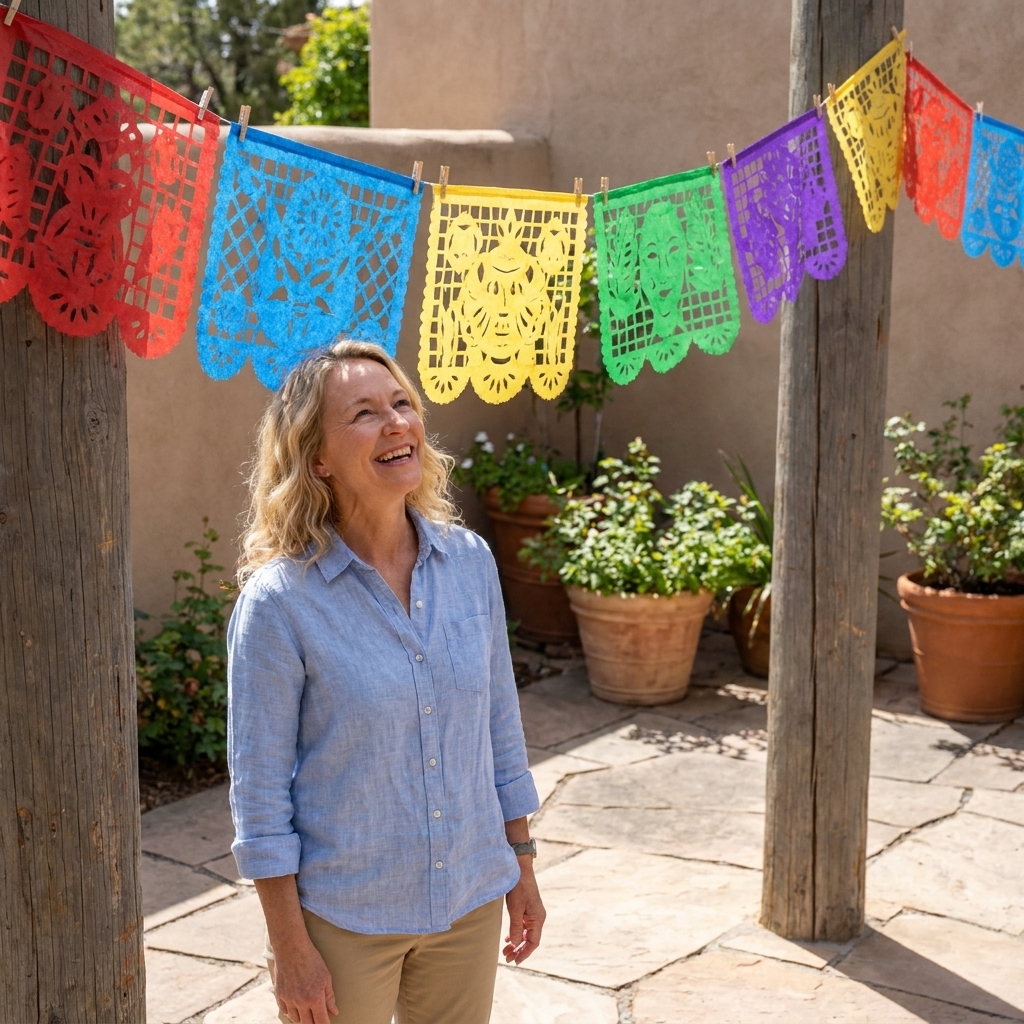
Before you start: banner and line
Paper vs plastic
Traditional papel picado is perforated tissue paper. It is gorgeous and also the definition of delicate outdoors. If you have the option, plastic papel picado is the easy mode choice for patios because it handles moisture and a light tug much better.
If you are using paper, you can still make it work. You just have to hang it so the line takes the load, not the paper.
If you are using tissue papel picado, I also recommend taking it down overnight. Dew and humidity are sneaky, and “dry paper” can turn into “confetti” by morning.
Use a support line
Most banners come with a thin string attached to the tops of the flags. Outdoors, I treat that string as decoration, not structure.
- Best support line: braided nylon mason line or a thin clothesline-style cord
- Also works: clear monofilament fishing line (strong, but hard to see and easy to tangle). It can also degrade in sun over time, so check it for rough spots, and use it as the support line only, not rubbing directly on tissue edges.
- Avoid: rough jute twine if your banner is tissue paper, because it can abrade and cut under tension
If you want more guidance on safe outdoor hanging in general, my outdoor lighting tips translate well to banners too: How to Safely Hang Fairy Lights Outdoors.
Measure your patio
Pick two solid anchor points
Start by choosing where the line will begin and end. Great anchors include:
- Wood pergola beams
- Fence posts
- Structural patio columns
- Sturdy tree branches (thick, healthy, and not deadwood)
Skip flimsy options like thin lattice, gutter downspouts, or anything decorative that can flex. Papel picado does not weigh much, but tension can put surprising force on hardware.
How much length to cut
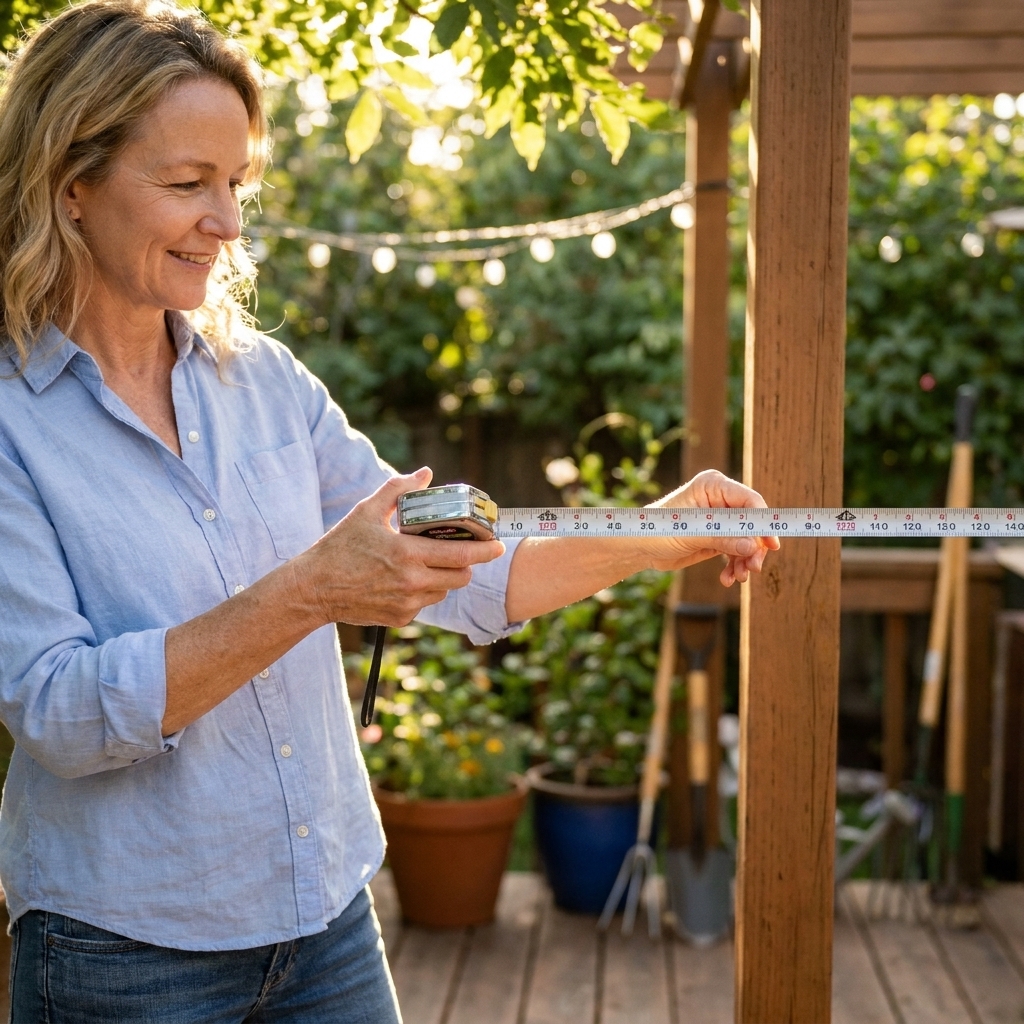
Measure the straight distance between anchors. Then add extra for tying and tensioning:
- Add 2 to 3 feet for knots if you are tying directly to anchors
- Add 4 to 6 feet if you plan to use a tensioning method (recommended) and want more working room
I also plan for a little swag. A slight curve looks intentional and reduces stress on paper. Think “gentle smile,” not “clothesline droop.”
My go-to setup
This is the setup I use when I actually care if it survives the party.
What you need
- Braided nylon line (support line)
- Papel picado banner
- Small clips: mini clothespins, binder clips, or small plastic clips
- Scissors
- Optional: a step stool (on level ground), not a wobbly chair
Step-by-step
- Hang the support line first. Tie one end to your first anchor point.
- Add controlled tension. Pull the line snug, but do not try to make it guitar-string tight. Outdoors, the line needs a tiny bit of give.
- Secure the second end. Tie off at the second anchor, leaving a slight curve in the center.
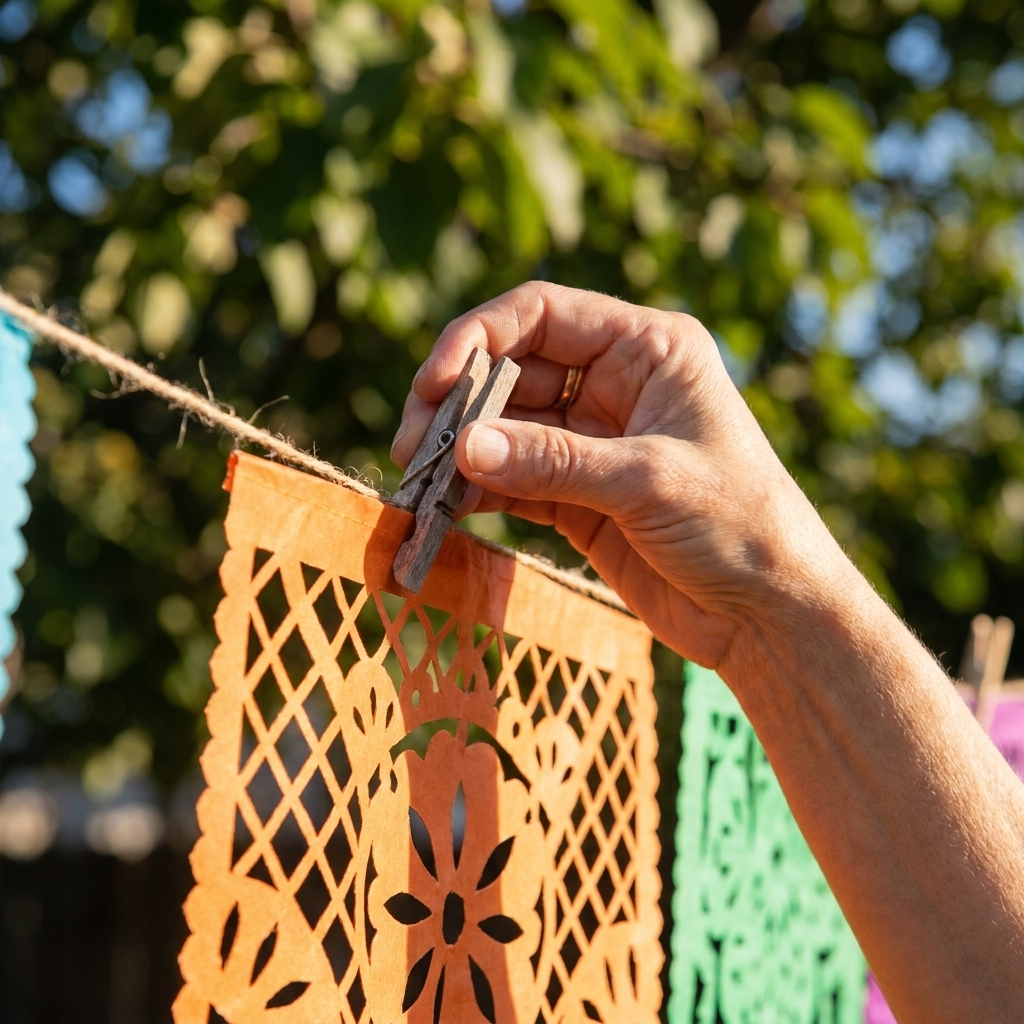
- Clip the banner to the support line. Clip over the banner’s top string or reinforced folded top edge. Do not punch clips through the tissue. Add a clip every 12 to 18 inches.
- Add extra clips at stress points. Place a clip near each end and anywhere you notice the banner pulling.
This method works because wind tugs on the banner and the force transfers into the support line through the clips, instead of ripping the perforated paper.
Tensioning tricks
The wrap and lock tie
If you are tying around a pergola post or fence post, you can get stable tension without aggressive knots:
- Wrap the line around the post 2 to 3 times.
- Pull the free end to snug the wraps.
- Finish with two tight half-hitches (two simple locking knots) around the standing line (the taut part of the line).
The wraps add grip, so you do not need to crank down as hard.
Add a soft buffer
If your patio gets light wind, a tiny “shock absorber” helps. My low-tech version is a short loop of ribbon or a small hair elastic at one end of the line, then tie the support line to that loop. It gives just enough flex that gusts do not rip the banner.
Keep it modest. Too much stretch makes everything sag over time. Also, keep elastics out of reach of kids and pets, and skip old, brittle ones that could snap.
Anchors and attachments
Choose patio-friendly methods
- Pergola beams: tie line around the beam, or use removable outdoor-rated hooks if you already have them
- Wood fence posts: tie around the post, or use a screw-in cup hook if it is your fence and you are okay with a tiny permanent hole
- Metal posts: use a strap, zip tie, or line wrapped multiple times to prevent sliding
- Stucco or brick walls: avoid improvising with random tape. If you do not already have mounted hooks, choose a different anchor point
I love a good shortcut, but outdoors I draw a hard line at anything that could fall onto food, guests, or candles. Secure first, pretty second.
If you do not have anchor points
If your patio is basically wide open, you still have options. I have had good luck with two freestanding poles (even shepherd’s hooks or tall plant stakes) set in heavy planters or buckets filled with gravel. The key is weight at the base and a pole that will not wobble when you tug the line. If the “anchors” move, the banner will whip, and that is when tissue paper loses the battle.
Wind-proofing
Hang it above head height
Papel picado looks dreamy overhead, but it should also be safely out of the way. If you can, aim for around 7 feet in walking areas, or simply as high as you can safely reach and secure.
Test the direction
If you know which direction the wind usually comes from, try orienting the line so the banner is not acting like a sail. A slight diagonal across the patio can help, but wind is weird around houses, so I do a quick test: hold up a strip of ribbon and see which way it wants to fly.
Use shorter runs
If you are spanning a big space, consider two shorter strings with a break in the middle rather than one very long banner. Long runs amplify sag and whip more in wind.
Space multiple rows
Hanging more than one strand? Give them breathing room. I like to leave at least 12 to 18 inches between rows so they do not tangle and slap each other when the air starts moving.
Quick fixes
If the banner is sagging
- Add one more clip at the lowest point to transfer weight to the support line
- Re-tie one end to increase tension slightly
- If it is a long span, create a middle support point by tying the support line to a third anchor above
If the paper is tearing
- Move the clip away from the tear to a stronger section
- Fold a tiny strip of paper or napkin over the torn spot and clip through the folded “buffer” to spread the pressure
If wind picks up
If gusts go beyond “light wind,” take it down. Tissue papel picado is not worth fighting a real breeze, and you will enjoy your fiesta more if you are not doing emergency repairs all evening.
Safety checklist
- Nothing is attached to power lines, lighting wires, or anything electrical
- Anchors are solid and do not flex when I tug the support line
- Banner is above head height in walkways
- No sharp clip edges are positioned where someone might brush against them
- Banner is not hovering above open flames, grills, or patio heaters
- I have a plan to take it down fast if the wind changes
Styling idea
Papel picado does a lot of heavy lifting visually, so I like to keep the table decor bold but not fussy. A citrus-and-color tablescape looks right at home for Cinco de Mayo, and it photographs beautifully outdoors.
If you want an easy starting point, this is one of my favorite directions: Fresh Citrus Tablescapes That Look Like Summer.
FAQ
Can I use tape outside?
For outdoor patios, I do not rely on tape as the primary support. Heat, humidity, and dusty surfaces make tape fail at the worst moment. If you must use tape, use it only as a temporary helper while you tie a real line, and keep banners away from guest traffic.
How tight should the line be?
Snug, not rigid. If your line is extremely tight, gusts have nowhere to go and the weakest part becomes the paper. A slight curve in the center reduces stress and usually looks better.
What if I only have the banner string?
You can still hang it, but reduce risk by adding extra attachment points. Instead of tying only the ends, add a few loops of string over the line or use clips to secure the banner at intervals so the paper is not taking all the strain in one spot.