Learn how to build a sturdy, reusable PVC pipe backdrop stand for photo booths. Includes ideal sizes, a 6x7 cut list, assembly steps, and stability tips for ...
Gathova
1980s Neon Party Decor Without the Cheese

Joanna Mercer
Joanna Mercer is an enthusiastic DIY event decorator and the creative spirit behind Gathova's party guides. With years of hands-on experience designing stunning tablescapes, balloon garlands, and custom photo backdrops for friends and family, she specializes in accessible, budget-friendly celebrations. Joanna loves sharing her practical tips and crafting tutorials to help anyone turn an ordinary space into a memorable party venue.
Published · Last updated
I fell in love with neon the same way I fell in love with parties, in somebody’s backyard with a boombox humming, folding tables covered in snacks, and a whole neighborhood showing up like it was the best idea we’d had all summer. The trick with an 80s neon party now is keeping the joy and the nostalgia, but editing the look so it feels like a cool event design choice, not a costume aisle exploded in your living room.
Here’s how I style 1980s neon decor so it reads bold, graphic, and photogenic, with blacklight glow, geometric tape moments, and a wink of retro arcade energy.
The rule that keeps neon from looking cheesy
If you remember one thing, make it this: pick one “loud” idea and keep everything else clean. Neon already brings the drama, so your job is to give it structure.
- Limit your palette: 2 neon colors max, plus black, plus one neutral (white or silver).
- Repeat shapes: triangles, grids, zigzags, and bold diagonals.
- Choose one hero moment: one focal point guests see first, like a tape wall, a blacklight dance corner, or an arcade snack table. Not all three in the same line of sight.
- Use real negative space: empty wall space makes neon feel intentional and modern.
When you do those four things, the party reads like curated retro, not a parody.
Color palettes that feel 80s
Here are my go-to combinations that photograph well in regular lighting and under blacklight.
Palette A: Classic arcade
- Neon pink + neon blue
- Black base
- Silver accents (disco, foil curtain strips, metallic cups)
Palette B: Miami night
- Neon coral + aqua
- White base
- Clear acrylic details (signs, risers, frames)
Palette C: Highlighter pop
- Neon yellow + neon green
- Black base
- Small hits of purple (one accessory color only)
Tip from my garage-of-craft-supplies life: if your neon items are all slightly different shades (they will be), unify them by repeating the black elements everywhere: black tablecloths, black tape lines, black frames, black balloons.
Blacklight done right
Blacklights are the difference between “cute theme” and “whoa, this feels like a scene.” They can also make a room feel a little grimy if you aim them randomly, because UV light loves to highlight lint, dust, scuffs, and wall texture. Here’s how I set them up.
Where to place blacklights
- One main wash: aim a blacklight across the dance floor or photo wall, not directly at faces.
- Two side lights (optional): angle from left and right for more even glow and fewer harsh shadows.
- Keep food out of the darkest zone: snacks look questionable under heavy UV. Put the snack table in normal lighting, and let the “glow zone” be its own moment.
Materials that glow best
- White balloons, white streamers, white tissue pom-poms
- Neon duct tape and gaffer tape
- Neon poster board and neon cardstock
- Highlighter-colored paper straws and napkins
Safety and setup notes
Use party blacklights (UVA) intended for events, not germicidal UVC fixtures. Follow the manufacturer guidance for distance and duration, avoid staring directly into the light source, and keep fixtures and cords out of kids’ reach. Also, do a quick walk-through: blacklight can make dark corners feel extra dark, so add a few warm lamps or string lights outside the glow zone for comfort and navigation. If you’re hanging any lights outdoors, my safety checklist is here: How to Safely Hang Fairy Lights Outdoors.
One more practical note: not all “neon” reads the same under UV. If you can, test your tape, cardstock, and balloons under the actual light a day or two before you decorate so you’re not doing surprise color math at 6 p.m.
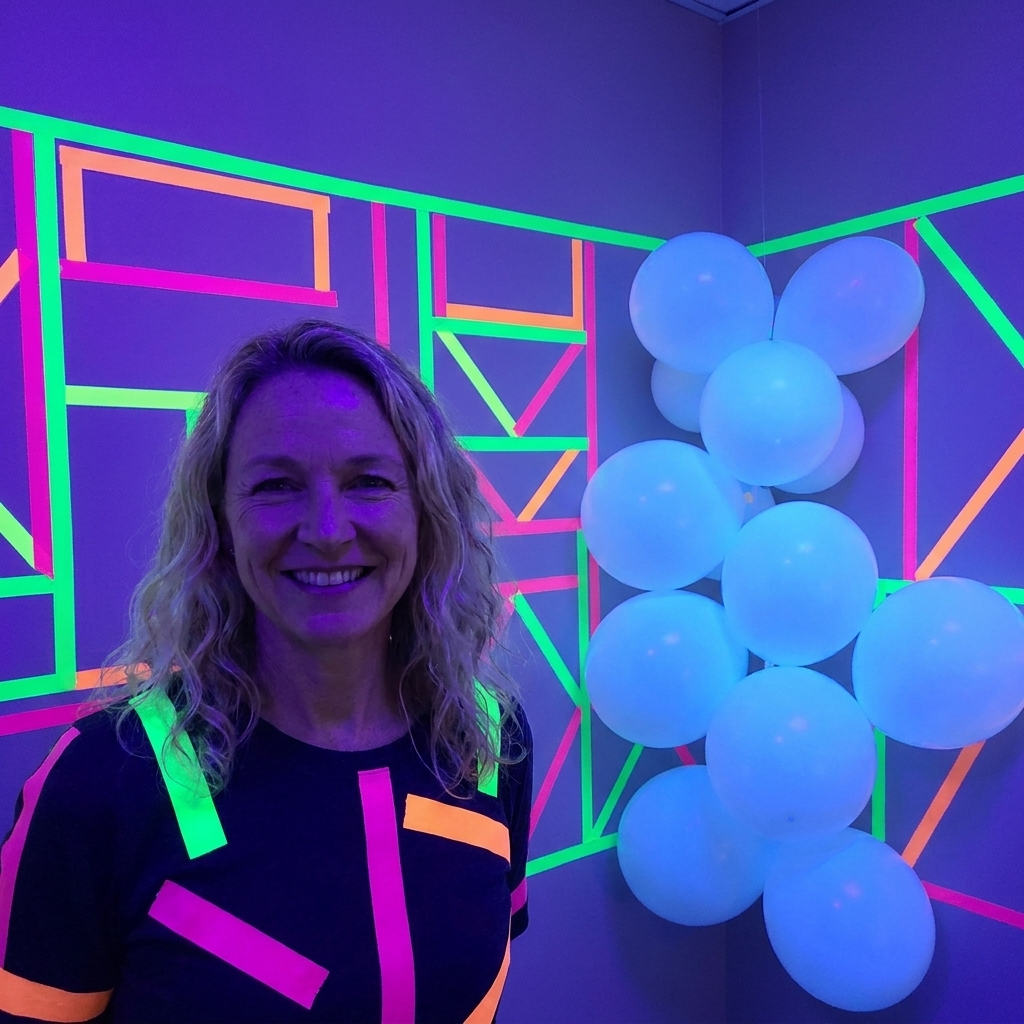
Geometric neon tape
If you want one decor trick that screams 80s without buying a bunch of plastic props, it’s neon tape graphics. Think bold angles, grids, and frames.
Best places to use neon tape
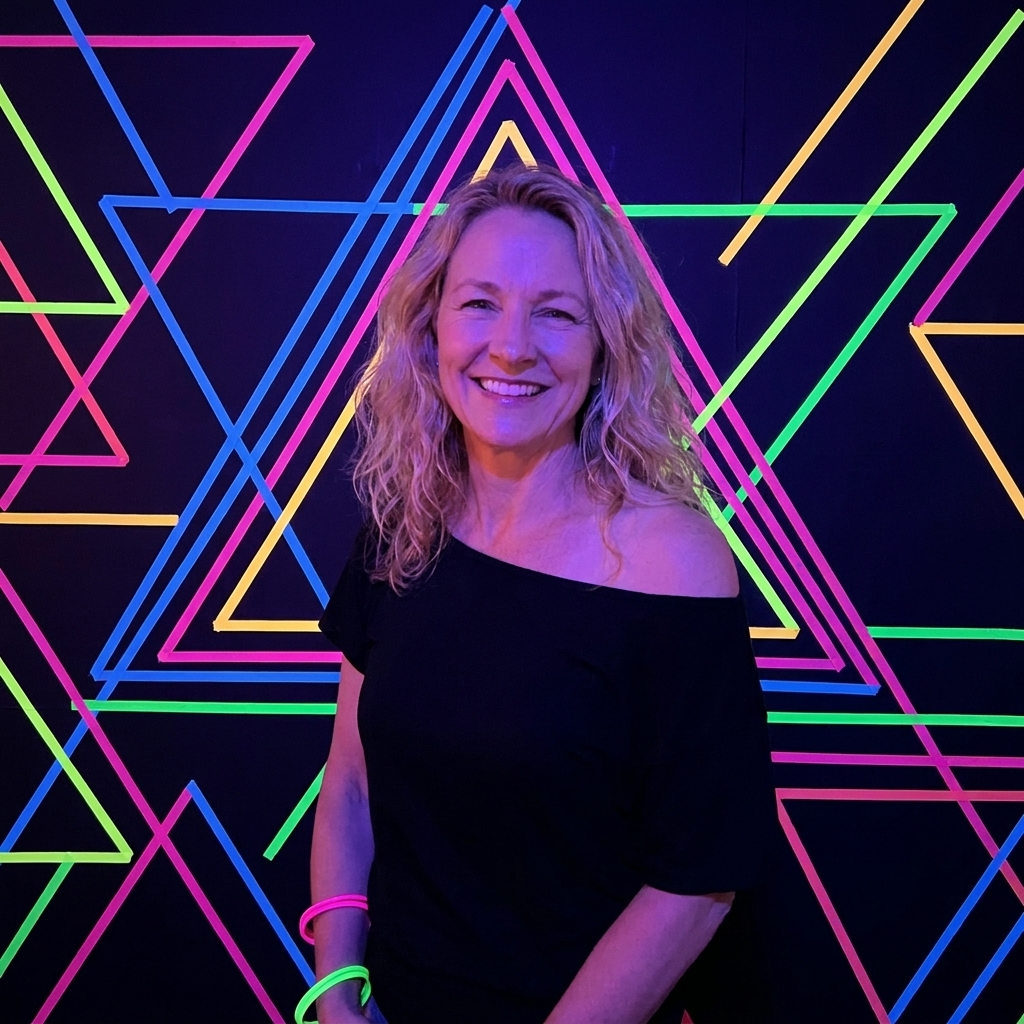
- Photo wall: create a giant triangle cluster or a layered “frame” people can stand inside.
- Floor runner: tape a diagonal “racing stripe” path from entry to snack table. Keep it simple and symmetrical.
- Table edges: one stripe along the front edge of the tablecloth looks crisp and intentional.
- Cups and trays: wrap one band around clear cups or label snack trays with a single neon strip (no handwritten doodles needed).
My tape wall method (simple and fast)
- Pick one pattern: diagonal stripes, triangles, or a grid.
- Mark two anchor points with painter’s tape so your angles stay consistent.
- Lay long lines first, then add shorter cross pieces.
- Step back every 5 lines. If it starts looking chaotic, stop and leave negative space.
For a small wall section and a simple pattern, this usually takes me about 10 to 20 minutes. Bigger walls, intricate patterns, and lots of trimming add time fast.
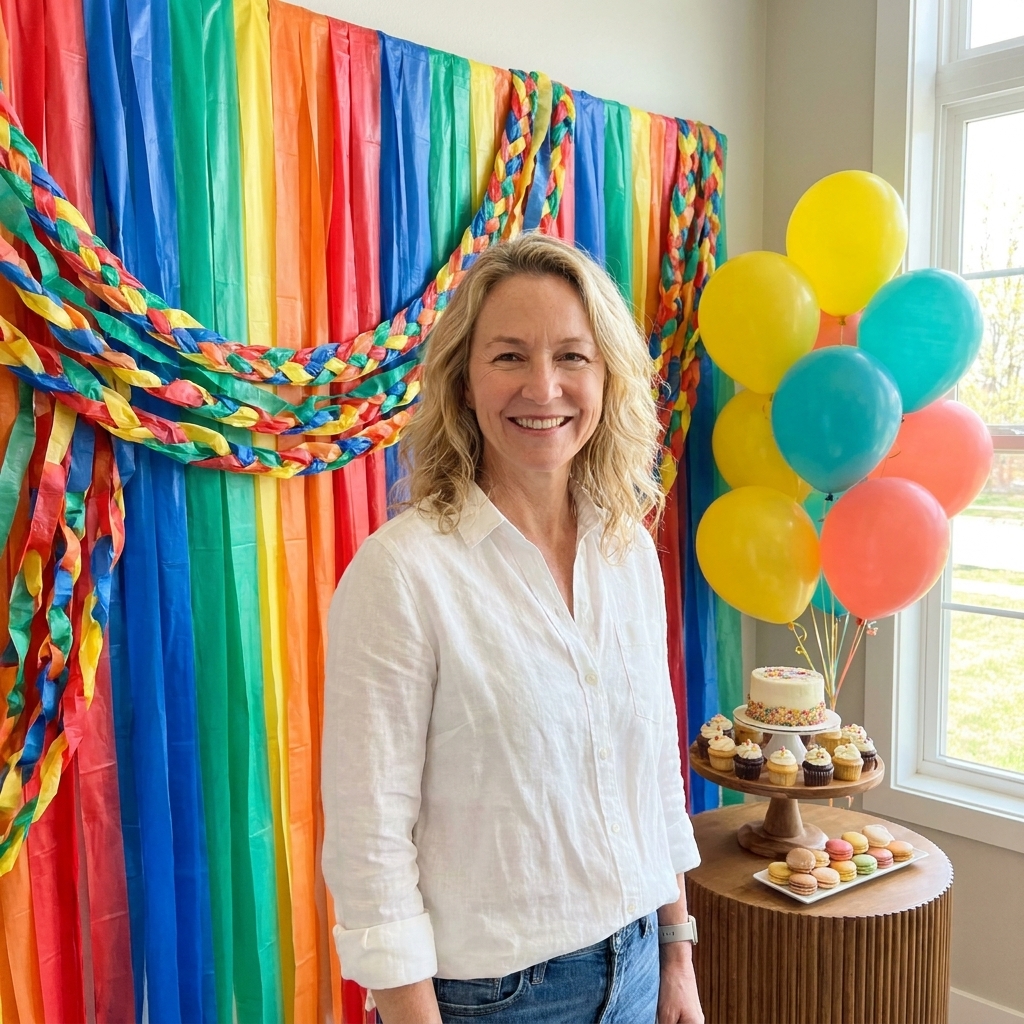
Surface tip: tape sticks best to smooth walls. Matte paint, older paint, or delicate finishes can lift or leave residue, so test a small strip in an inconspicuous spot first and remove it slowly. If you have textured paint, build your pattern on a large foam board or plastic tablecloth backdrop instead. This plastic tablecloth trick is still one of my favorite budget backdrops: Plastic Tablecloth Photo Backdrop That Looks Expensive.
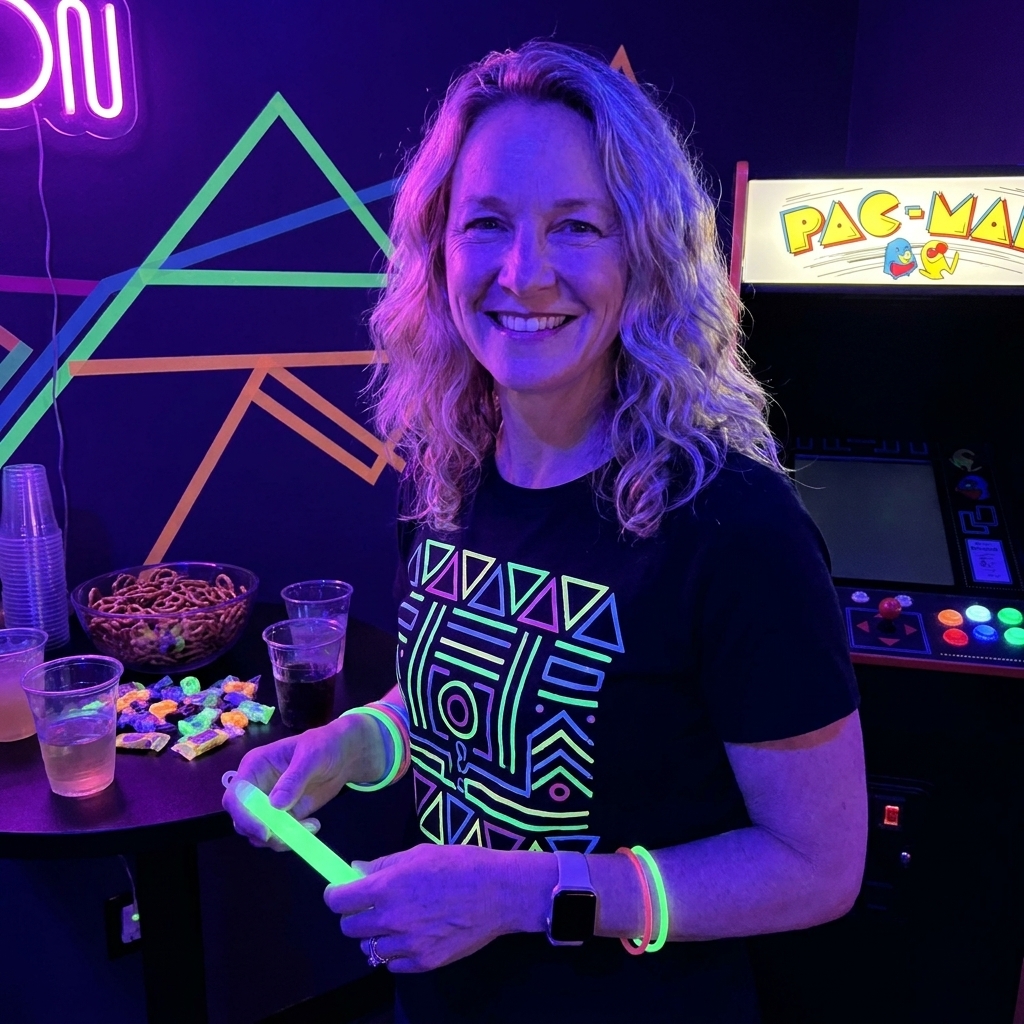
Retro arcade details
Arcade elements are the easiest way to make the theme instantly recognizable, but they can tip into “kid birthday” fast. My fix is to keep the arcade reference tight and graphic.
Easy arcade moments
- Token bar: a clear jar of plastic tokens or chocolate coins, one small sign, one tray of “prizes” (candy, mini Rubik’s cubes, glow bracelets).
- High score wall: a simple black board with a few names in clean lettering. Limit it to 10 lines.
- Controller cords: curl neon ribbon or neon cording in loose spirals on the table as a nod to old-school cords.
- Pixel snack labels: cut blocky rectangles from neon cardstock and keep the typography bold and minimal.
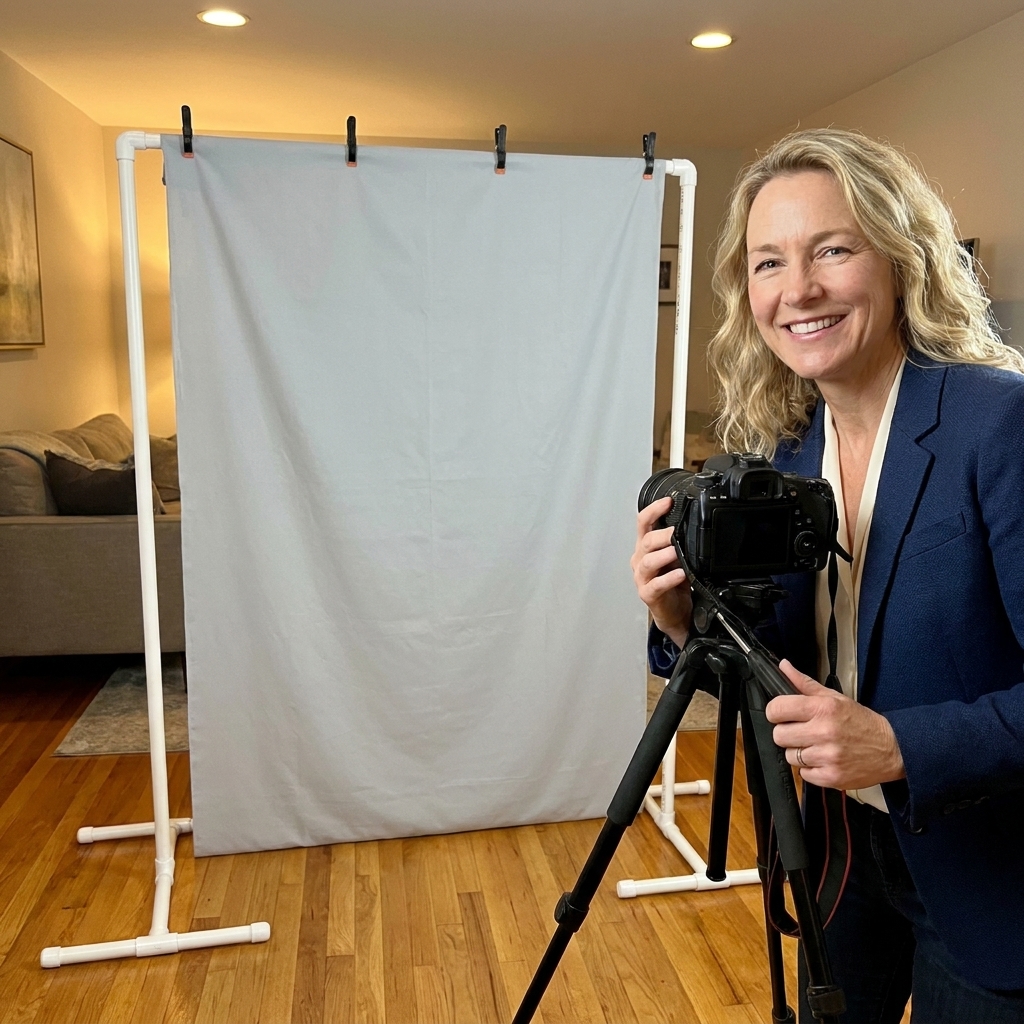
If you want a true focal point, make a DIY photo backdrop stand and hang a curtain of metallic foil or black fringe behind it. I walk through the build here: DIY PVC Pipe Photo Booth Backdrop Stand.
Table styling
Tables are where neon can go from fun to chaotic in about three seconds. The solution is structure: a base, a repeatable centerpiece formula, and a tiny pop of neon.
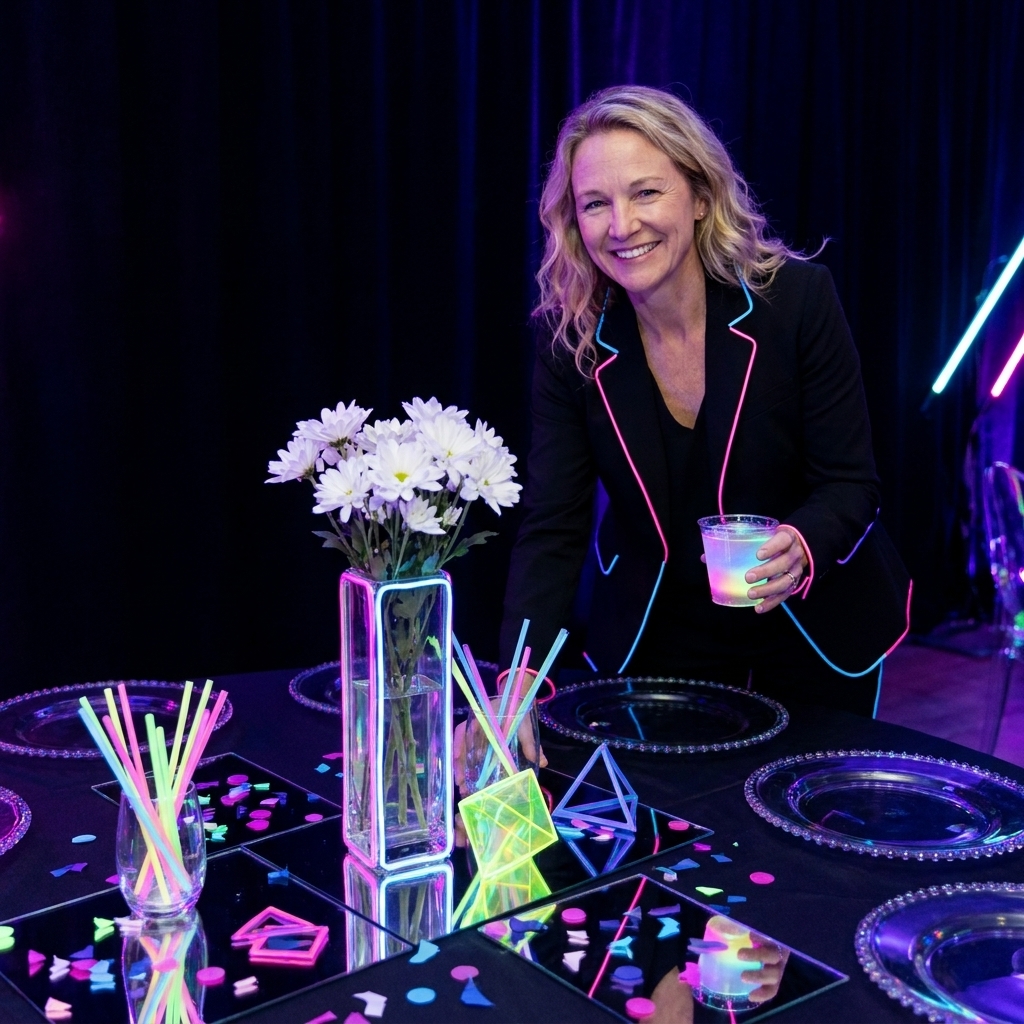
My no-fail neon table formula
- Base: black tablecloth or black runner
- Reflective layer: mirror tiles, a mirrored tray, or a silver plastic table runner cut into strips
- Centerpiece shape: one tall item or one low cluster, not both
- Neon accent: one neon element per place setting (napkin, cup, or straw)
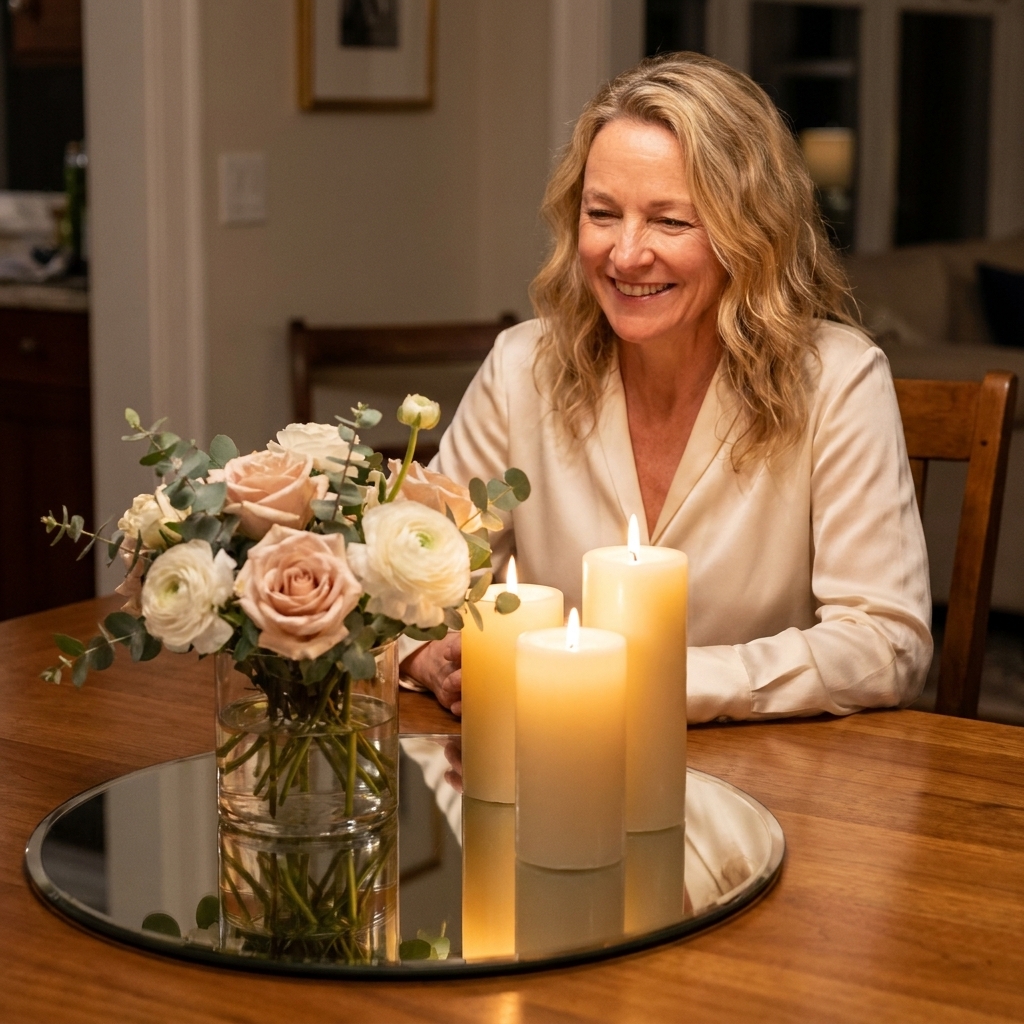
For reflection that makes glow look brighter, I love mirror bases. It’s a small change with big payoff: Mirror Bases for Brighter Centerpieces.
Centerpiece ideas
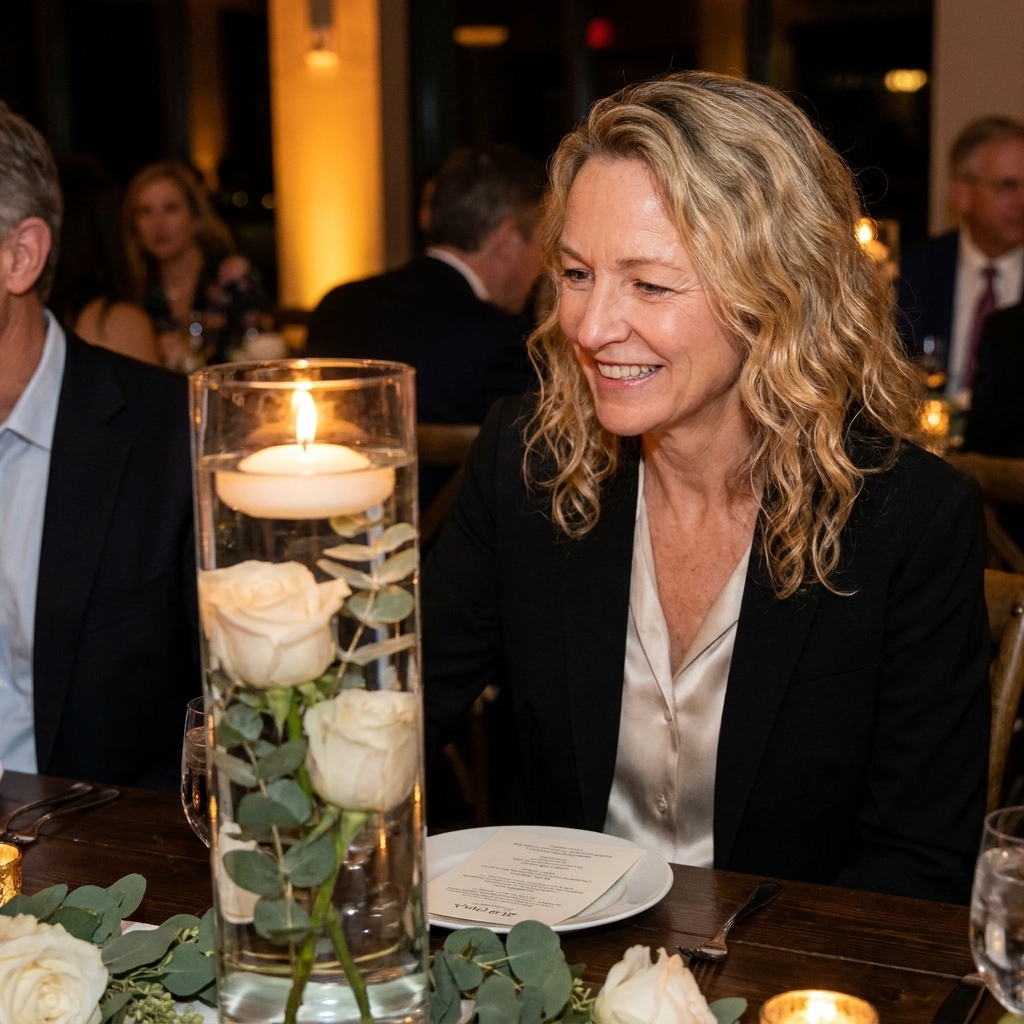
- Glow vases: clear cylinder vases filled with water and a floating candle, plus a few neon acrylic shapes scattered around the base (keep it sparse). If you want the floating candle look, this is my step-by-step: Floating Candle Centerpieces With Submerged Florals. If you have kids, pets, or a breezy outdoor setup, LED floating candles are my no-stress swap.
- Graphic risers: stack a couple of hardcover books (wrapped in black paper) and top with a single neon object like a small disco ball or a clean geometric sculpture. More on book risers here: Hardcover Books as Centerpiece Risers.
- Foam-free mini arrangements: neon blooms are optional, but if you do florals, keep them minimal and structural. I love using mechanics that do not require foam: Chicken Wire and Floral Frogs for Foam-Free Centerpieces.
Ceiling and wall decor
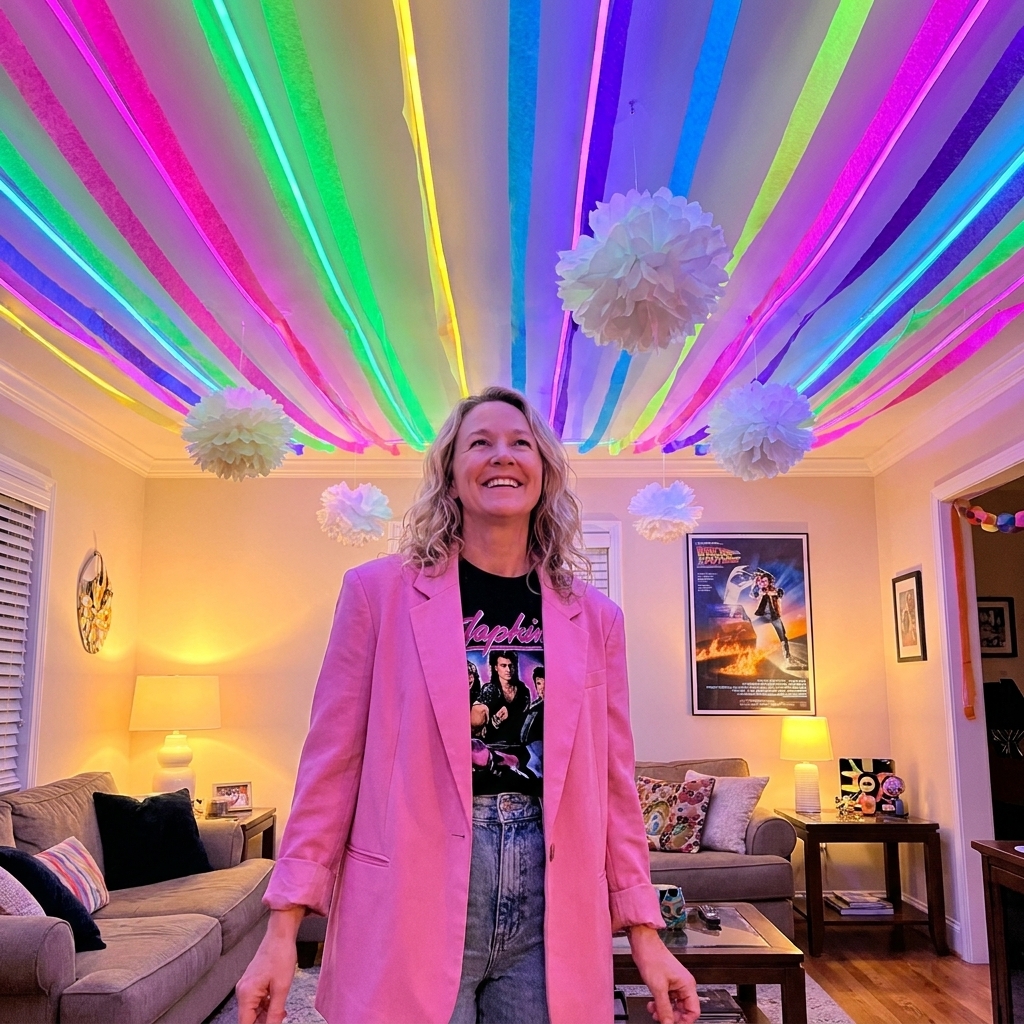
The 80s were not shy, but your ceiling decor can still be tidy and modern. Think layers, repetition, and controlled volume.
Streamers, but graphic
Instead of twisting every streamer in sight, use them like line work. Run 6 to 10 long strands in two neon colors across the ceiling or down a wall, then stop. This guide has lots of layout ideas: 7 Creative Ways to Decorate With Crepe Paper Streamers.
Pom-poms for soft contrast
Neon plus black can feel sharp. Pom-poms add a little softness so the space feels party-ready, not harsh. I like white and neon mixed together so they glow under UV: DIY Tissue Paper Pom-Poms for Ceiling Decor.
Budget ceiling draping
If you want the room to feel like an actual venue, drape lightweight fabric in simple lines, then hit it with blacklight and a few pin spots. This method uses tulle and fishing line and works beautifully for home parties: Budget Ceiling Draping With Tulle and Fishing Line.
Lighting recipe for photos
Phone cameras can struggle in a very dark blacklight room. Here’s the lighting mix that gives you glow and flattering photos.
- Blacklight zone: one area for dancing and photos
- Warm ambient light: add lamps near the entry and in seating corners, outside the glow zone
- One accent light: a small colored LED wash (pink or blue) aimed at a blank wall
Before guests arrive, stand in your photo spot and take one test photo. If images look too purple or too dark, turn the blacklight down one notch (or move it farther back) and lean a little more on warm ambient light. Glow reads better when faces are not blasted with UV from two feet away.
What to skip
I say this with love, because I have absolutely overdone themes in my younger years.
- Too many printed cutouts at different sizes and styles
- Five or more neon colors at once
- Random inflatable guitars everywhere
- Messy signage with lots of jokes and different fonts
- Confetti on the floor before the party starts (it will travel to places confetti should never go)
If you want a fun gag, pick one and place it intentionally. A single giant pair of retro sunglasses as a photo prop is cute. Twenty pairs scattered on tables is clutter.
If you love the confetti look, do it in a controlled way: fill one clear tray on the snack table with shiny “confetti” (paper bits, sequins, or cut streamer fringe) and keep it contained.
Quick shopping checklist
If you’re building this from scratch, these are the things I buy first so the theme reads instantly.
- UVA blacklight fixtures: enough to cover one wall or one corner evenly (start with one, add a second if the glow looks patchy).
- Neon tape: one to two rolls in your chosen colors for wall graphics and clean label bands.
- White elements: a handful of white balloons, streamers, or tissue decor to make the UV glow feel intentional.
- Black base: black tablecloths or runners to calm the palette and hide visual mess.
- One reflective piece: a mirrored tray, mirror tiles, or silver accents to bounce light.
Quick plan
When I’m decorating on a deadline, I work in layers so the room looks “done” early, and details become optional, not stressful.
- Room reset: clear surfaces, hide cords, decide your photo spot
- Big blocks: tablecloths, backdrop stand, any ceiling drape
- Lighting: blacklight aim, warm light placement, test photos
- Graphics: neon tape wall, streamer lines, simple signage
- Table styling: centerpieces first, then place settings, then one neon accent
- Final polish: mirror bases, small props in one tray, music on
If you like party planning shortcuts, you’ll probably enjoy my round-up of simple wins here: Budget Party Hacks.
FAQ
How do I make neon decor look more modern?
Use a limited palette (2 neon colors), repeat one geometric motif, and anchor everything with black. Then give the room negative space so your neon reads like design, not noise.
Do blacklights make everything look dirty?
They can, especially on food tables and high-traffic floors, because UV highlights lint and scuffs. Keep your glow moment contained to a backdrop and dance area, and let the snack table live in normal, warm lighting.
What is the easiest DIY focal point?
A neon tape photo wall on a dark background, plus one blacklight aimed across it. It’s fast, inexpensive, and instantly on-theme.
Can I do an 80s neon party outside?
Yes, but you’ll get the best glow after dark. Use outdoor-safe power planning, keep connections protected from moisture, and secure cords carefully. If you’re adding string lights for ambiance, follow this guide: How to Safely Hang Fairy Lights Outdoors.