Flip thrifted decor into luxe-looking event props with 9 easy ideas—vases, candlesticks, frames, baskets, cake stands, mirrors, silver and books—plus a quick...
Gathova
Travel-Themed Retirement Party Decor With Vintage Maps and Globes

Joanna Mercer
Joanna Mercer is an enthusiastic DIY event decorator and the creative spirit behind Gathova's party guides. With years of hands-on experience designing stunning tablescapes, balloon garlands, and custom photo backdrops for friends and family, she specializes in accessible, budget-friendly celebrations. Joanna loves sharing her practical tips and crafting tutorials to help anyone turn an ordinary space into a memorable party venue.
Published · Last updated
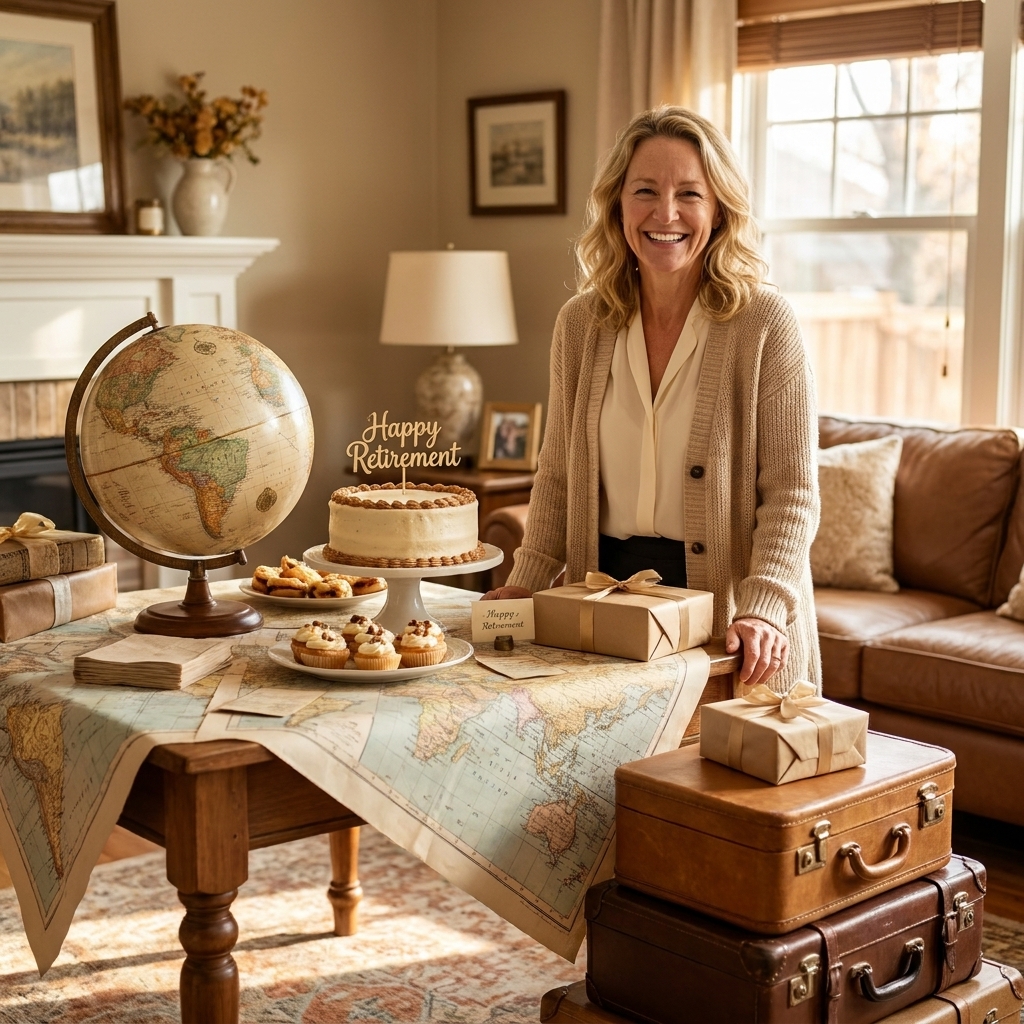
I have a soft spot for travel-themed parties because they basically decorate themselves. Give me a stack of old maps, one thrifted globe, and a couple of beat-up suitcases and suddenly the whole room feels like a love letter to someone’s next chapter.
For a retirement party, that “next chapter” vibe is perfect. You are honoring all the miles they put in at work, while gently nudging the story forward into the fun part: new places, new routines, and maybe a passport that finally gets used.
Start with a simple travel palette
The easiest way to make maps and globes look intentional instead of cluttered is to pick a tight color palette. Vintage travel pieces already bring a lot of visual texture, so your job is to keep the supporting cast calm.
- Classic explorer: kraft, cream, black, brass, forest green
- Coastal getaway: navy, white, tan, light wood, a touch of gold
- Retro postcard: muted teal, terracotta, buttery yellow, warm white
Quick rule I use: let the maps be the “pattern,” then keep linens and big surfaces mostly solid. If you want more ideas that feel elevated without being fussy, browse the party styling posts in Themes & Occasions.
Where to find maps, globes, and luggage props
You do not need rare antiques. You need pieces that read “well-traveled” from five feet away and still look good in photos.
- Thrift stores: globes, old atlases, suitcases, brass candlesticks, frames
- Library discard sales: outdated atlases (amazing for crafting)
- Estate sales: better quality globes and luggage, often inexpensive late in the day
- Office supply leftovers: push pins, binder clips, label holders for place cards
If you love a good thrift flip, my approach is always: buy the shape, upgrade the finish at home. This mindset is the backbone of Thrift Store Decor Flips.
My safety note: true antiques can be fragile. Do not use irreplaceable maps as food liners or glue them permanently. If it feels museum-worthy, protect it and use reproductions for cutting and folding.
Map-wrapped decor that looks custom
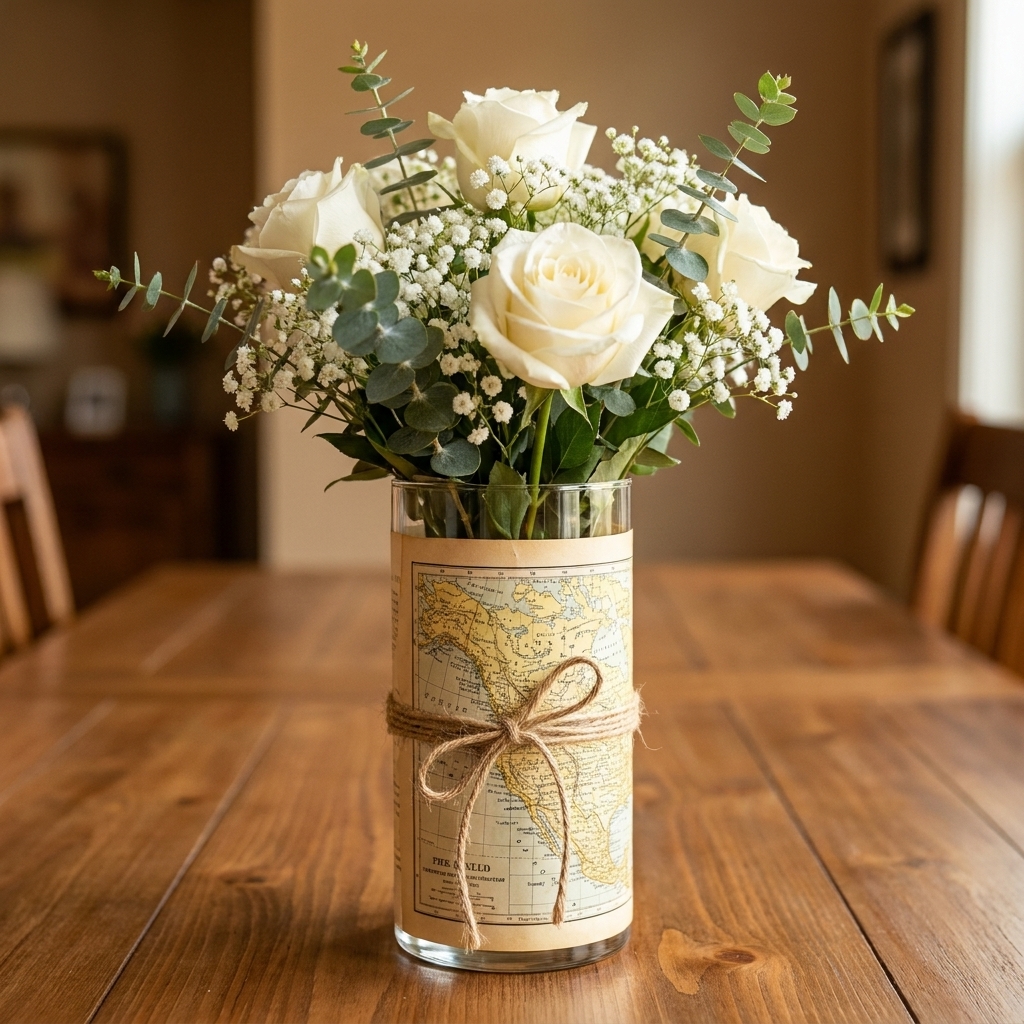
1) Map-wrapped vases for centerpieces
This is my favorite “instant theme” trick. It takes plain glass from basic to boutique in minutes.
- Supplies: plain cylinder vase or jar, vintage map pages (or copies), double-sided tape, twine or thin ribbon
- Wrap the map around the vase and trim so it overlaps about 1 inch.
- Secure the seam with double-sided tape.
- Tie twine around the middle, then tuck a small tag under the bow (more on tags below).
Fill with greenery and a few focal blooms. If you want your flowers to look fuller for less, pair this with my tricks in How to Make Baby’s Breath Look Expensive.
2) Luggage tag place cards
Cut cardstock into luggage-tag shapes (rounded corners look nicest), punch a hole, and tie each tag to a napkin with baker’s twine. Write names with a black pen or paint marker.
Extra-cute detail: stamp a tiny “Departing” and “Arriving” line on each tag and fill in the retiree’s name as the destination for one special tag at their place setting.
3) Map-lined trays for a dessert or coffee station
Line the bottom of a serving tray with a map page and cover it with a clear liner so it wipes clean. If you are using adhesive shelf liner, trim it slightly smaller than the tray bottom so you can lift it out later without leaving a sticky edge behind. (Even better: choose a removable, low-tack liner if you have it.)
If you have plastic platters that need a glow-up first, the method in Faux Metal Finish for Plastic Platters pairs beautifully with a travel theme.
4) LED-only map candle cylinders
Only do this with LED candles. Wrap the outside of a glass cylinder with a map page and place an LED pillar inside. You get the cozy glow without worrying about heat on paper.
Make globes look styled
Globes can go “classroom shelf” fast if you plop one on a table and call it decor. Here is how I make them feel intentional.
Use globes as height
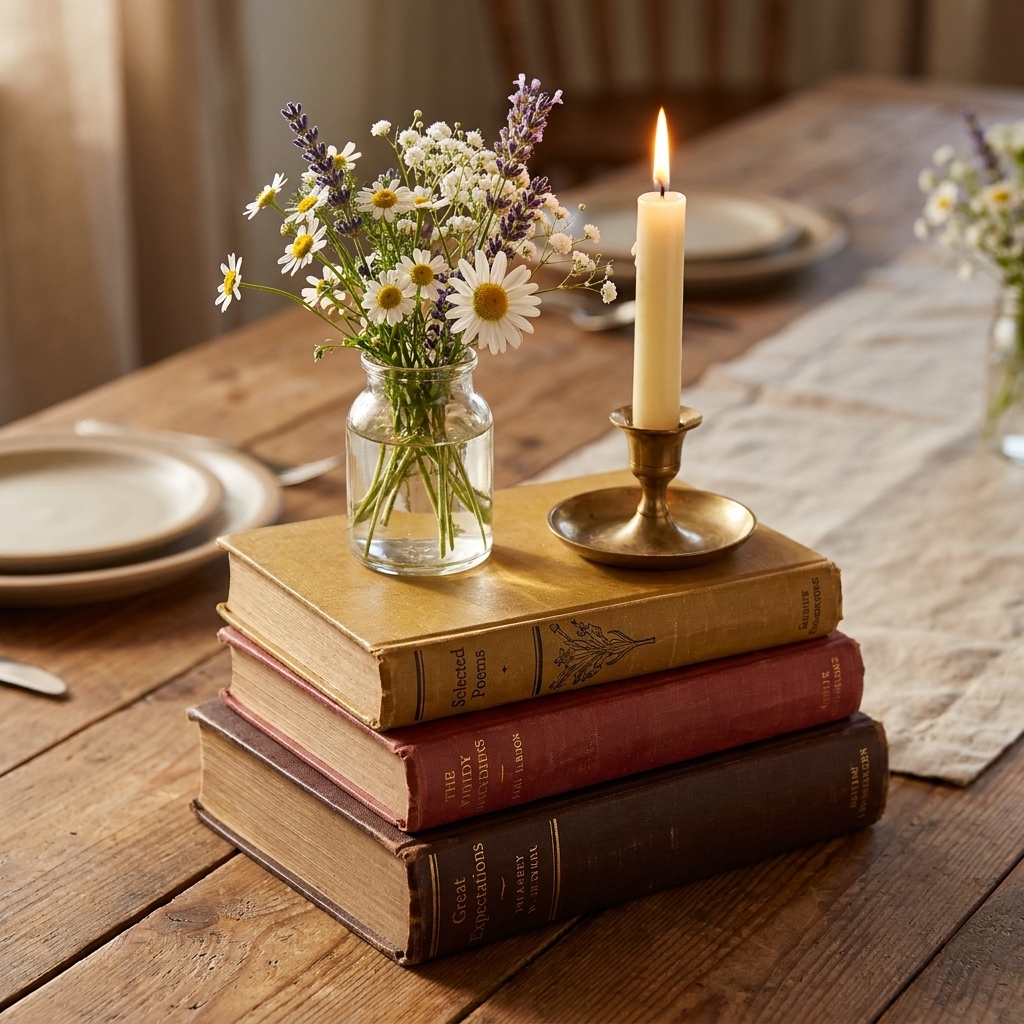
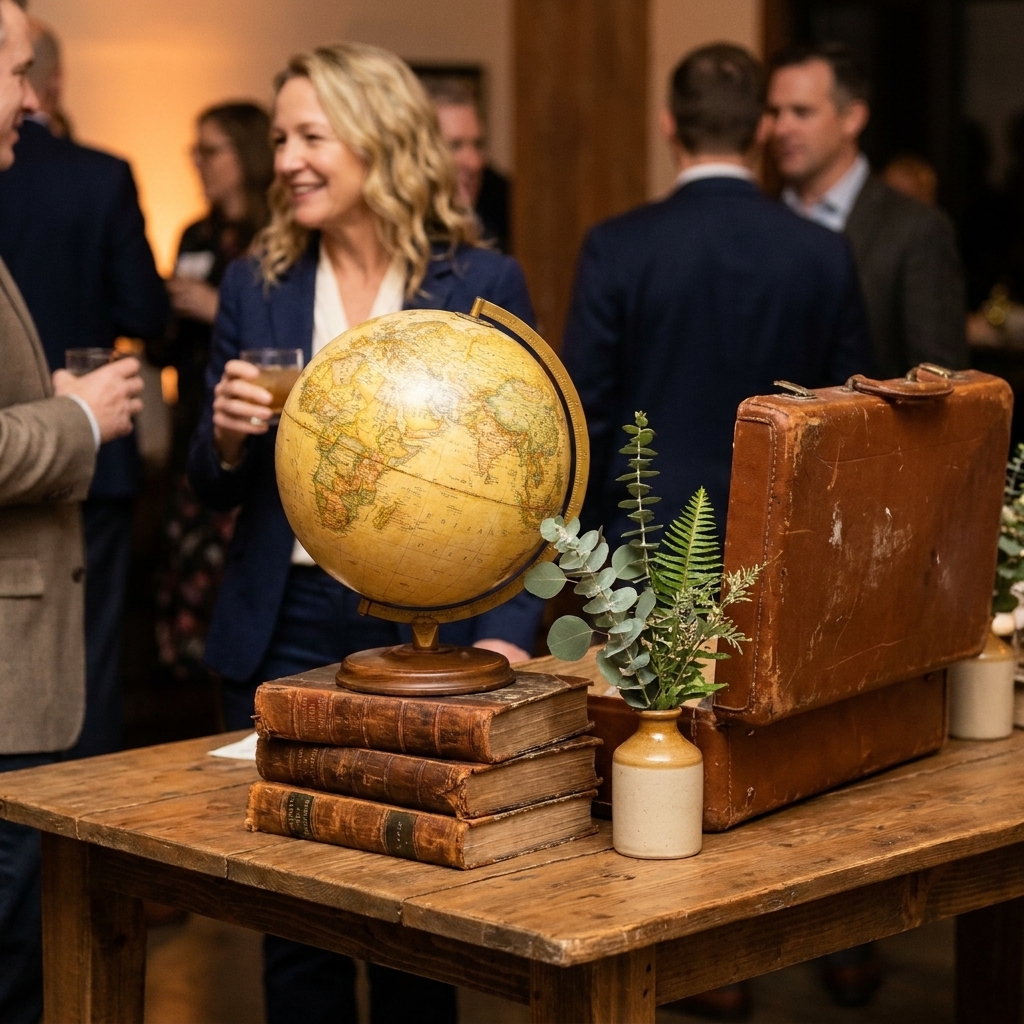
- Place a globe slightly off-center on a riser (a wood slice, cake stand, or stacked books).
- Add a low cluster: tea lights, a small bud vase, and a few place cards.
For budget-friendly height tricks, I love using hardcovers. The full how-to is in Hardcover Books as Centerpiece Risers.
Create a “pinned destinations” moment
Use tiny map pins to mark places that mattered in their career or life: hometown, college, favorite work trip, dream retirement destination. This is a sweet conversation starter, which is exactly what you want at a retirement party.
Upgrade a scuffed globe quickly
- Wipe gently with a dry microfiber cloth.
- Polish the base if it is wood or metal (test a small spot first).
- Swap the stand ribbon tie or add a small tag that says “Next Stop.”
Suitcases: the photo-worthy focal area
If your budget only allows for one big moment, make it a small vignette that feels like a set.
Build an “Airport Lounge” gift and card station
- Stack 2 to 4 vintage suitcases (largest on bottom).
- Top with a globe, a framed photo of the retiree, and a bowl for cards.
- Add one lamp or string lights nearby for warm lighting.
For lighting outdoors or on patios, follow the safety tips in How to Safely Hang Fairy Lights Outdoors.
Create a mini “baggage claim” favor display
Use a long table as the belt. Lay a runner (kraft paper or neutral fabric). Place favors in small boxes or bags, then tie each with twine and a tiny destination tag. Add a sign that says “Claim Your Treat.”
Boarding-pass style signage (no designing)
If you do not want to fuss with designing printables, use a black foam board and a white paint pen. Keep it bold and simple:
- “Flight: RETIRE 2026” (or the year of the party)
- “Gate: NEW ADVENTURES”
- “Boarding: NOW”
Set the sign on an easel near the entry. If you love a crisp welcome sign moment, my general tips in DIY Acrylic Welcome Signs translate well to travel themes too, even if you use foam board instead of acrylic.
Tablescape ideas that work with food
Use maps as runners
A map runner down the middle looks amazing, but you still want a wipeable surface under plates. My go-to setup:
- Solid tablecloth (cream, white, navy, or kraft-toned)
- Map “runner” centered (use multiple pages overlapped)
- To stop sliding: use tiny rolled loops of painter’s tape under the overlaps, or place a clear runner over the top so everything stays put
- Clear, wipeable runner on top if kids are attending or food will be messy (a piece of clear vinyl or even a disposable plastic runner works)
Go low with centerpieces
Retirement parties are story parties. Keep centerpieces low enough that people can laugh and share memories without leaning like they are in a maze.
If you are deciding between tall and low arrangements, I break it down in Tall vs Low Centerpieces.
Place settings with a “postcard” pop
- Neutral plates
- One accent: a napkin in your palette color
- A postcard or map snippet tucked under the fork as a “message from the journey”
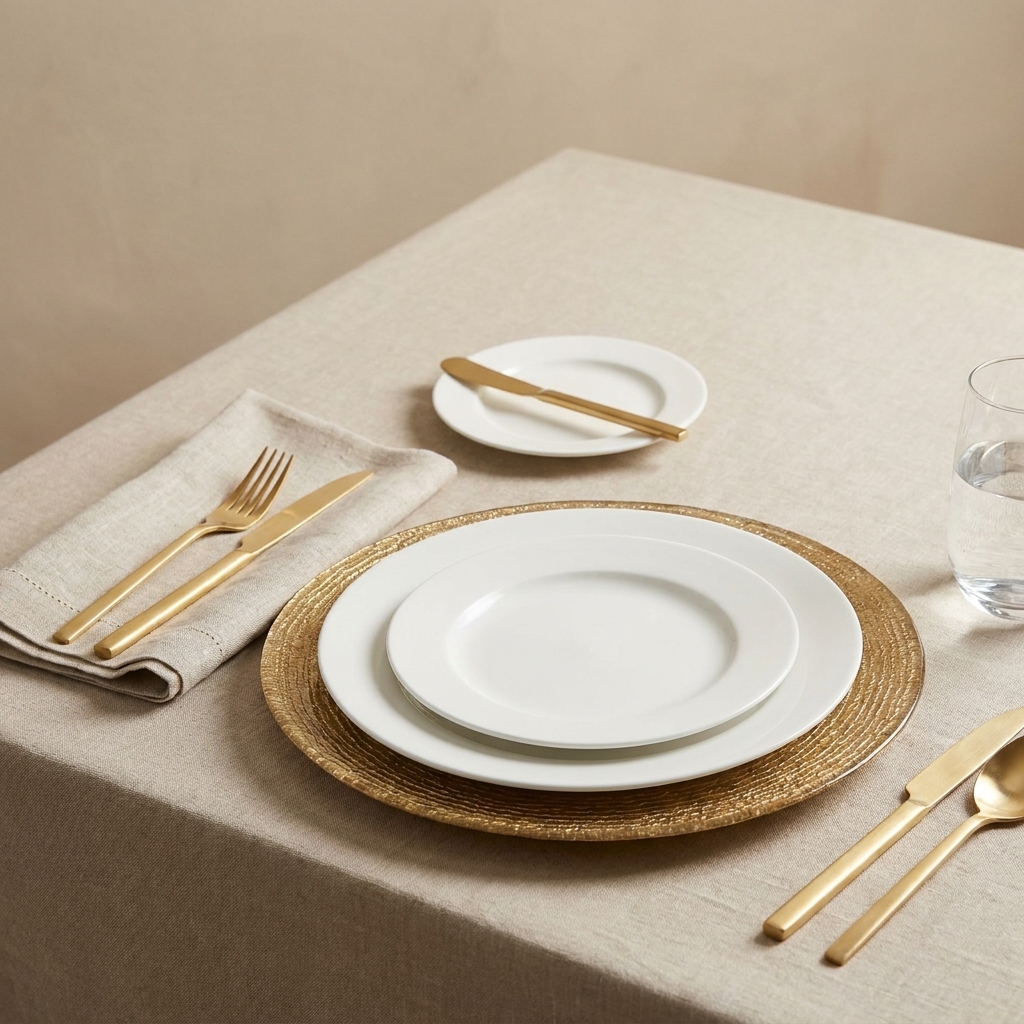
Want a more polished layered look? Use the step-by-step in Layer Chargers, Plates, and Napkins Like a Pro.
Easy map wall backdrop
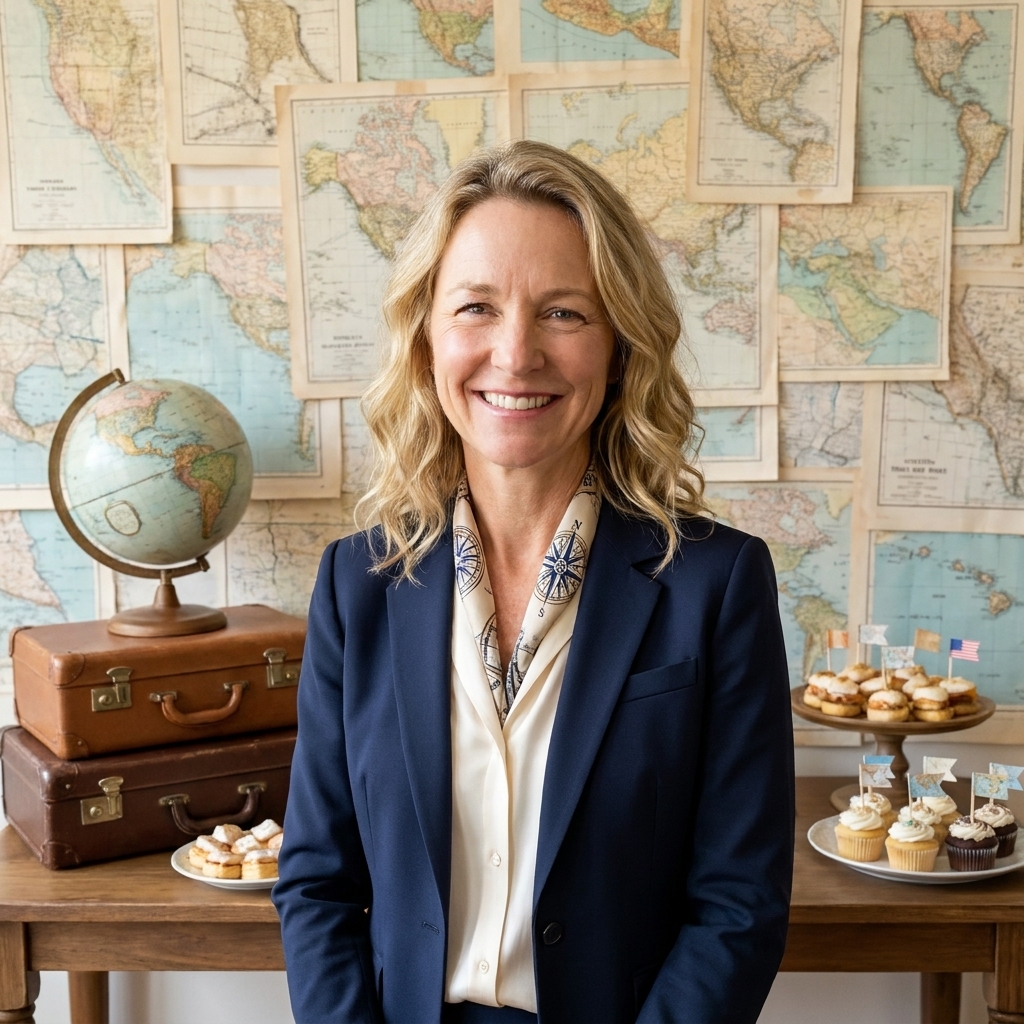
This is a great solution for basements, community rooms, and living rooms. It reads big in photos, but it still packs down fast when the party is over.
Painter’s tape + map grid
- Choose one wall area behind the dessert table or photo spot.
- Test first: painter’s tape is usually gentle, but matte paint, older paint, and poorly cured paint can still lift. Press a small strip in an out-of-the-way corner, then peel it back after a few minutes.
- Use painter’s tape to attach map pages in a simple grid, overlapping edges slightly.
- Add one strand of warm fairy lights around the perimeter.
- Place a suitcase stack and globe in front to create depth.
Tip from my “setup chaos” experience: build the grid from the center out. If you start in a corner and your pages drift crooked, you will be quietly fixing it while guests arrive, which is not the vibe.
Centerpiece recipes
Option A: The “Next Stop” globe cluster
- 1 small globe on a book stack
- 1 bud vase with greenery
- 3 LED tea lights
- Map runner underneath
Option B: The map-wrapped vase with candle glow
- Map-wrapped cylinder vase with flowers
- 2 to 4 map-wrapped LED candle cylinders
- Scatter a few brass keys or compass-style accents (thrifted)
Option C: The suitcase table anchor
- 2 stacked suitcases
- One framed photo
- One small floral arrangement
- A bowl or tray for cards
If you prefer foam-free florals (especially when you are arranging the night before), my favorite method is in Chicken Wire and Floral Frogs for Foam-Free Centerpieces.
Details that make it about them
- Map the retiree’s story: highlight places they lived, worked, or traveled and frame one page as a keepsake.
- Career nods without going corporate: tuck in one subtle reference, like a napkin in company colors, a framed milestone photo, or a “Years of Service” luggage tag on the gift table.
- Memory “postcards” instead of a guest book: set out blank postcards for guests to write notes. Clip them to twine with mini clothespins.
- Signature drink: name it after a destination they love. Serve with a citrus twist for a summery feel. (I love citrus styling ideas in Fresh Citrus Tablescapes.)
How much is enough?
This theme can go from “perfectly styled” to “thrift store exploded” if you keep adding pieces. Here is what I consider the sweet spot:
- Small space (apartment, office break room table): 1 globe, 1 suitcase stack, maps as runners and tags.
- Medium space (living room, community hall corner): 1 to 2 globes, 2 to 4 suitcases, plus one map wall behind the dessert or gift table.
- Large space (full hall): repeat your “anchor” vignette at two zones (entry and gift table, or dessert and photo spot). Keep dining tables simpler so it still feels breathable.
Quick shopping list
- Vintage or reproduction maps (enough for runners and wrapping)
- 1 to 3 globes (mix sizes)
- 2 to 5 vintage suitcases or one large statement suitcase
- Twine, double-sided tape, painter’s tape
- LED candles (tea lights and pillars)
- Greenery (real or faux) and a few simple blooms
- Neutral tablecloths and one accent napkin color
- Optional: clear vinyl or a disposable clear runner for wipeability
If you are hosting in a backyard or garage and need the whole space to feel party-ready, you might also like the flow tips in Backyard Graduation Party Decor. Different occasion, same “make it feel intentional” challenge.
FAQ
Are vintage maps safe to use on tables with food?
Use maps as runners or under clear liners, not directly under messy foods. For buffets, place serving platters on trays or chargers so paper stays decorative, not functional.
What if I cannot find a globe?
Lean harder into maps and luggage. You can also use travel books, framed map pages, and destination tags to carry the theme. One suitcase stack can do the heavy lifting visually.
How do I keep it from looking like a classroom?
Stick to a refined palette, use warm lighting, and mix in “grown-up” textures like linen napkins, brass candlesticks, and wood risers. Also: fewer, larger statement pieces look more styled than many small knickknacks.
My setup plan (90 minutes before guests arrive)
- Set linens first. Solid tablecloths, then map runners.
- Place big anchors. Suitcase stacks, globe vignette, backdrop grid.
- Add light. Fairy lights and LED candles.
- Finish with florals and tags. Greenery last so it stays fresh and perky.
When you build in that order, your travel theme reads instantly, and you are not chasing tiny details while people are walking in the door. Retirement parties should feel like exhaling, for the honoree and for you.